
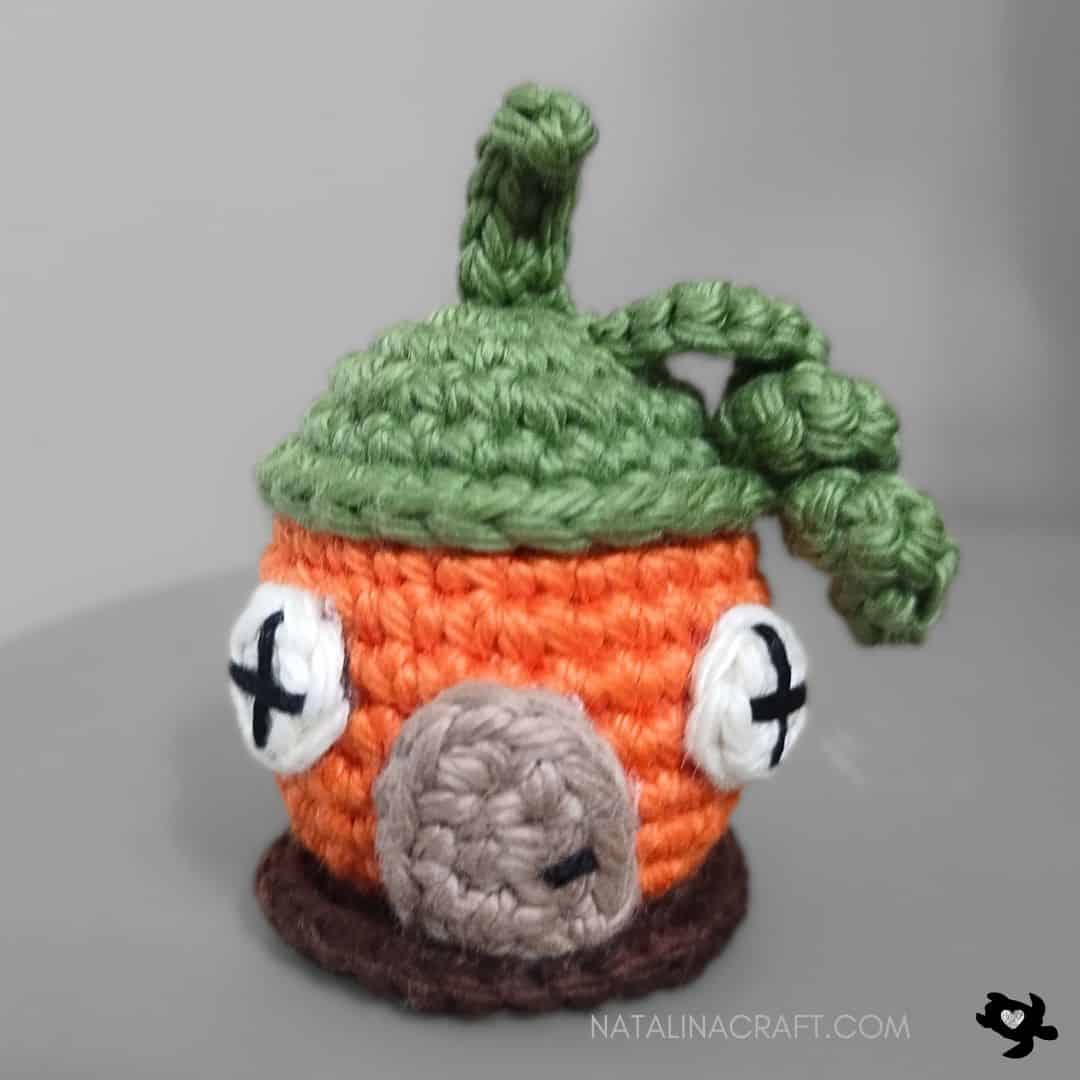
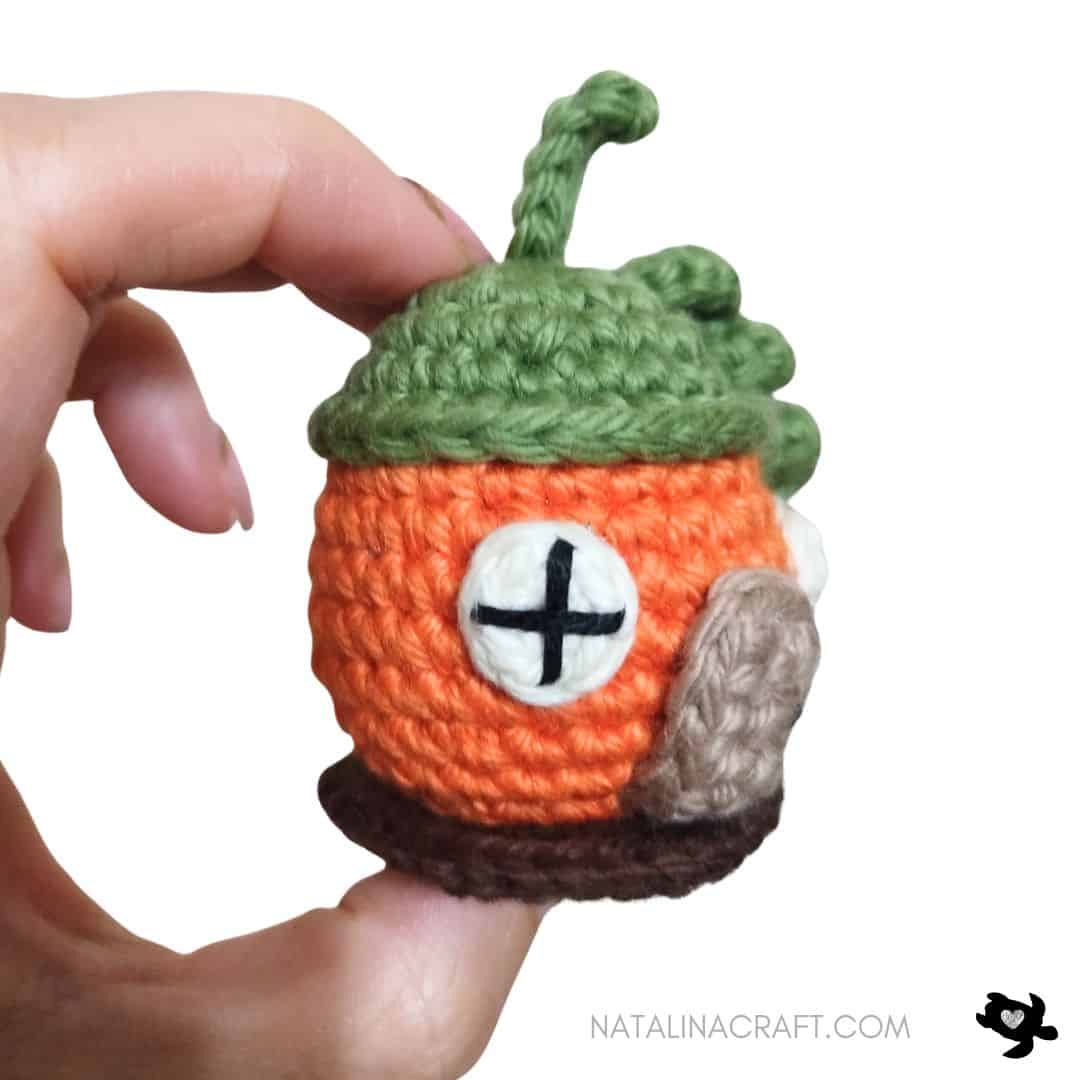
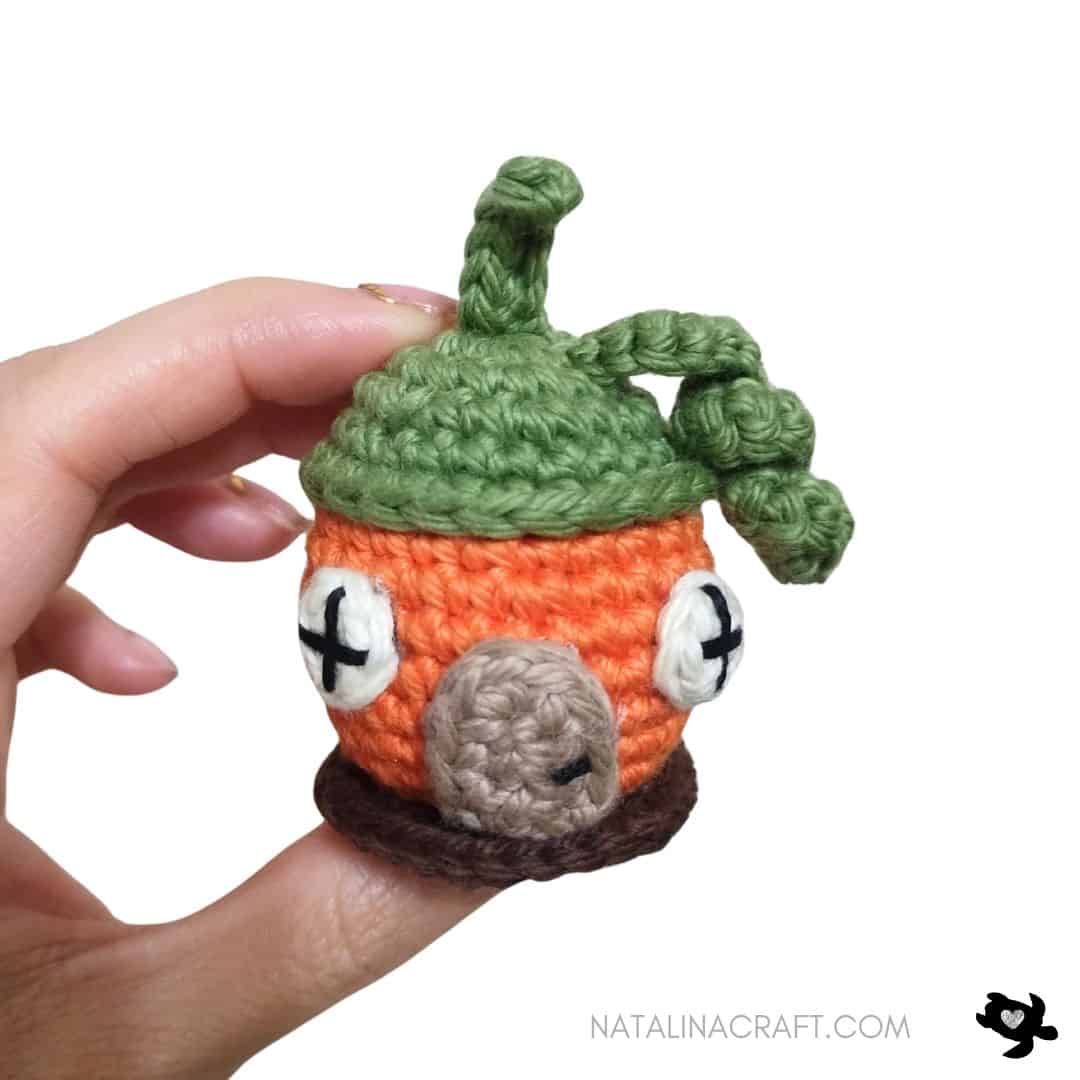
Looking for the perfect fall crochet project that’s both whimsical and fun? This mini crochet dollhouse in the shape of a pumpkin is just what you need! Part playset, part decoration, this little pumpkin house is bursting with cozy charm. Kids will love using it for imaginative play, while adults will enjoy displaying it as a unique autumn or Halloween decoration.
It’s beginner-friendly! Whether you’re making it for a child, as a seasonal décor piece, or simply because you can’t resist the cuteness, this pumpkin dollhouse is sure to become a favorite.
Remember to become a part of my VIP Facebook group HERE. This is where you can ask any questions you might have and showcase your completed projects. I’ll frequently inquire about the patterns you’d like to work on next. Of course, feel free to propose ideas even if I haven’t asked for suggestions!
I hope you will enjoy and understand the pattern. If you have any questions, please don’t hesitate to write to me. I’ll do my best to help you. And I would love to see your work! Don’t forget to share your finished projects using the hashtag #natalinacraft. I love seeing your incredible work!
Follow me on Instagram and Facebook for exclusive sneak peeks, behind-the-scenes updates, and the latest news on upcoming patterns and collections. Let’s build a vibrant crochet community together!

Crochet Pattern – Free Crochet Pattern – Pumpkin Dollhouse
Start Here:
Please read the entire pattern carefully before beginning.
The pattern is written using US terms. The design can be created with yarn in various sizes. I made it with worsted yarn.
Size:
- 2 inches (5 cm) tall with light worsted yarn
Material:
- Yarn calling for a 5.5 mm hook in green, dark brown, light brown, cream, and orange
- Embroidery thread in black for the windows and the door handle.
- Size 2.75 mm crochet hook (B/2).
- Stitch markers (if needed)
- Tapestry needle
- Facultative: Fabric or hot glue
- poly-fill
Abbreviations:
- chain (ch)
- magic ring (mr)
- single crochet (sc)
- increase (inc)
- invisible decrease (dec)
- slip stitch (sl st)
- half double crochet (hdc)
- double crochet (dc)
- back loop only (blo)
Pattern: How to crochet a pumpkin dollhouse?
Let’s start – Free Crochet Pattern – Pumpkin dollhouse
- The dollhouse is worked in continuous rounds (as a spiral). Use a stitch marker if needed.
- Fill as you work.
The Pumkin:
We are starting at the top of the house.
With a 2.75 mm crochet and the green yarn:
- Round 1: start 6 sc in a magic ring. (6)
- Round 2: [6 inc]. (12)
- Round 3: [1 inc, 1 sc] x6. (18)
- Round 4: [1 inc, 2 sc] x6. (24)
- Round 5: [1 sc in all st]. (24)
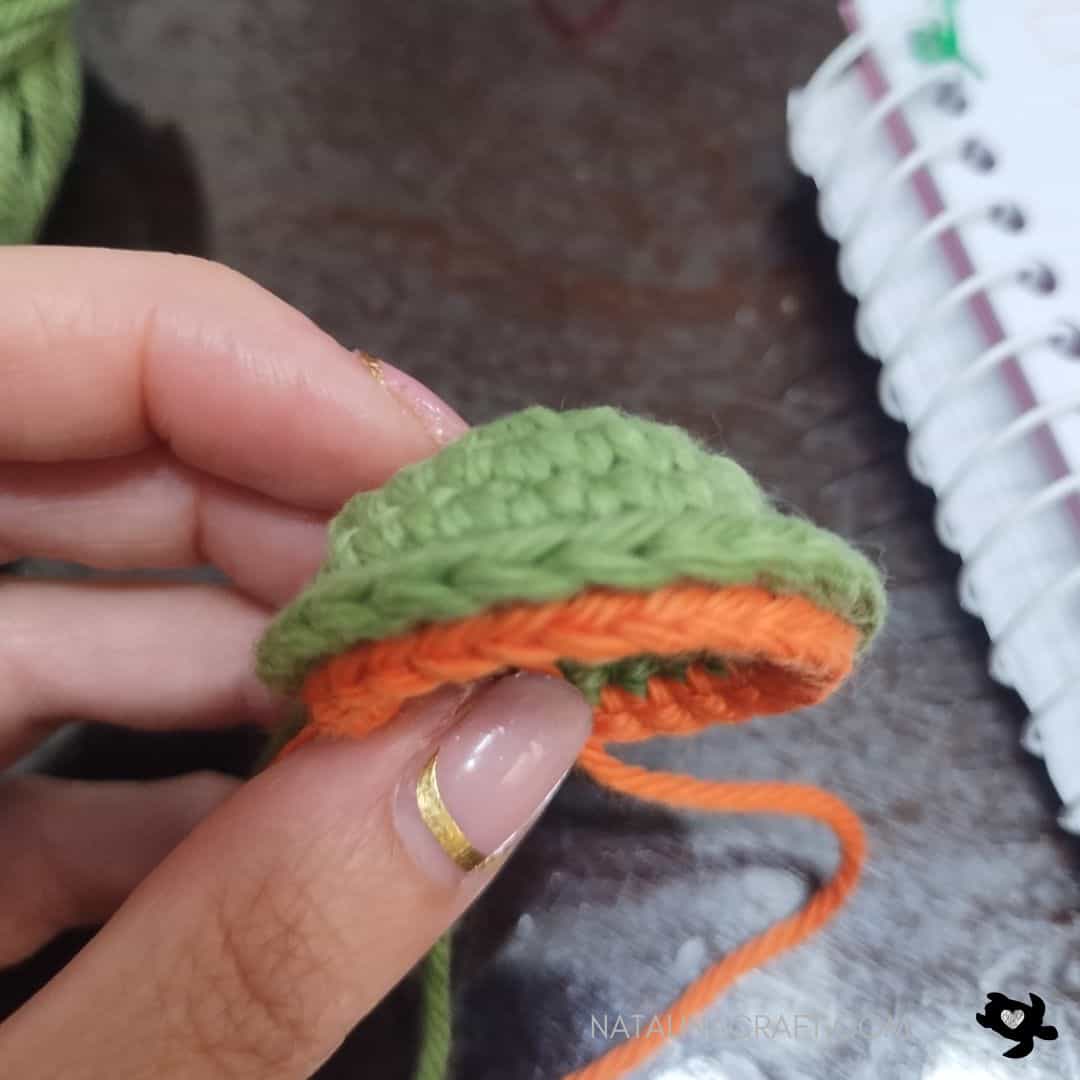
- Round 6: working in the front loop only: [1 sc in all st]. (24)
Cut the yarn and fasten off.
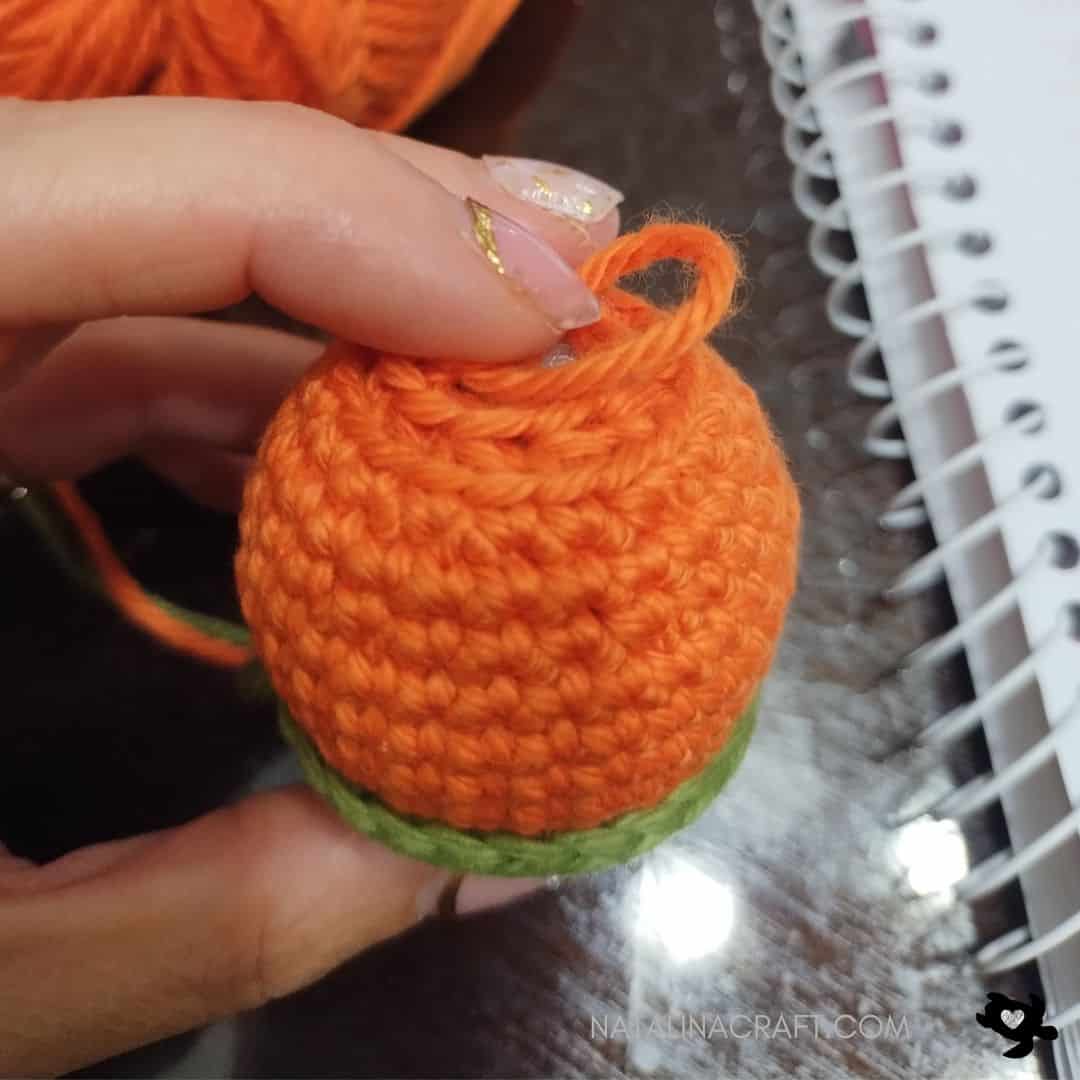
Continue with the orange yarn: join it into the back loop of any stitch from Round 5 (I attached mine at the back to keep it less noticeable).

- Round 7: working in the back loops only of Round 5: [1 sc in all st]. (24)
- Round 8: [1 sc in all st]. (24)
- Round 9: [3 sc, 1 inc] x6. (30)
- Rounds 10 to 12: [1 sc in all st]. (30)
- Round 13: [3 sc, 1 dec] x6. (24)
- Round 14: [1 sc in all st]. (24)
- Round 15: [2 sc, 1 dec] x6. (18)
- Round 16: working in the back loop only: [9 dec]. (9)
Fill the dollhouse.
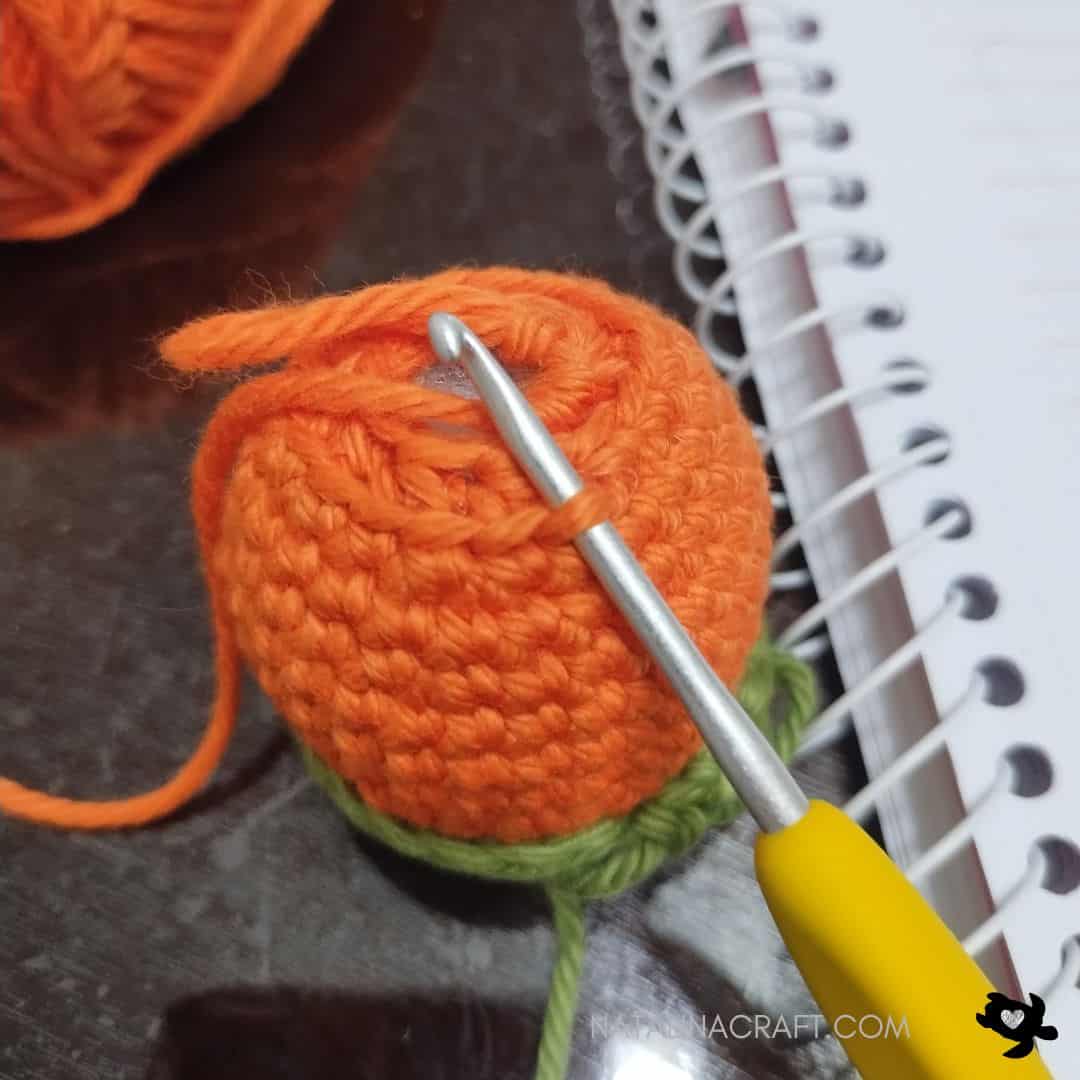
Cut the yarn, leaving a long tail to close the dollhouse. Using your tapestry needle, weave the tail through all the front loops of Round 16, then pull tight to close. Fasten off.
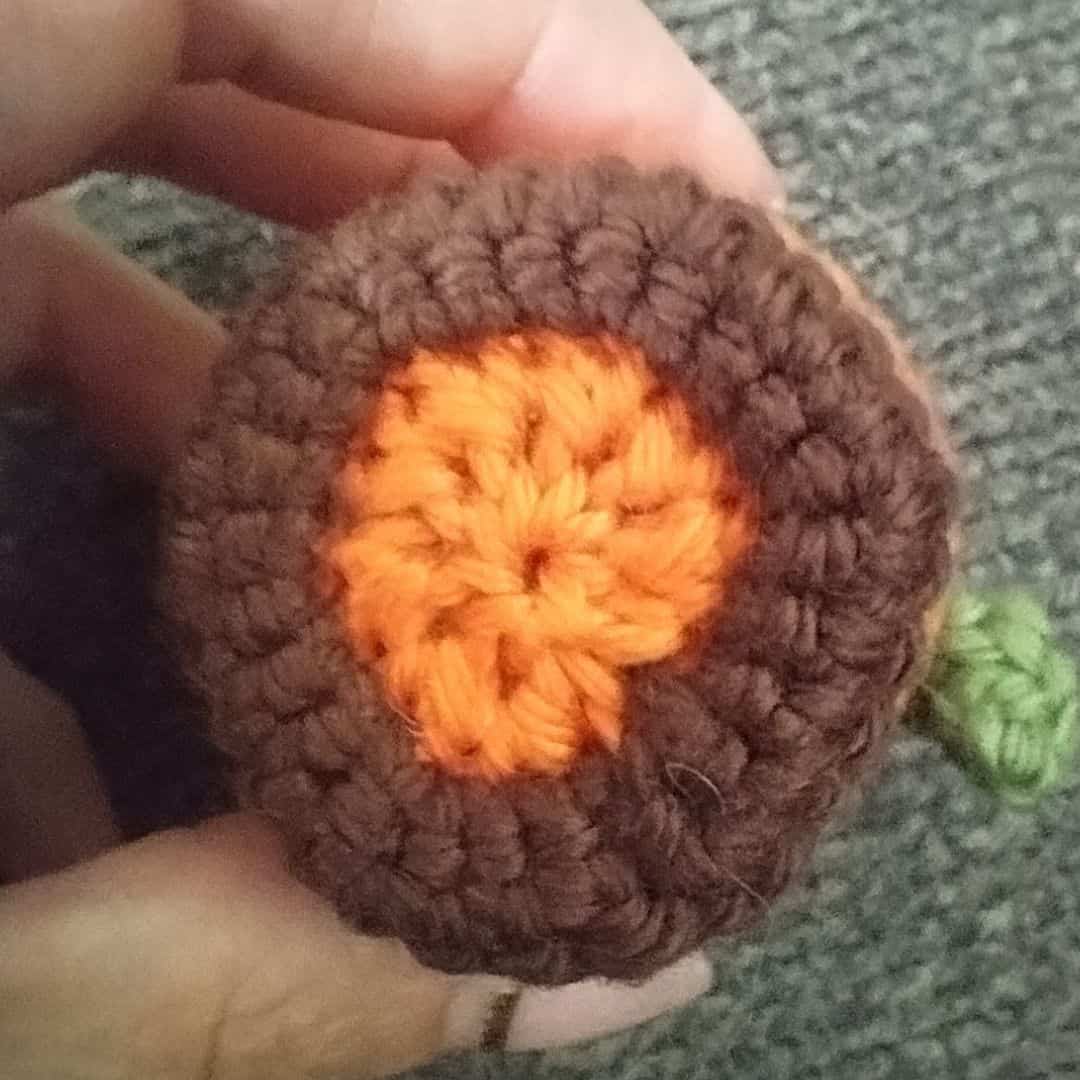
Continue with the dark brown yarn: join it into the front loop of any stitch from Round 15 (I attached mine at the back to keep it less noticeable).
- Round 17: working in the front loop only of Round 15: [2 sc, 1 inc] x6. (24)
- Round 18: [3 sc, 1 inc] x6. (30)
Cut the yarn and fasten off.

The stem:
With a 2.75 mm crochet and the green yarn:
- Row 1: ch 6; starting in the second ch from the hook: [5 sc]. (5)
Cut the yarn, leaving a long tail for sewing. Sew the stem at the top of the dollhouse.
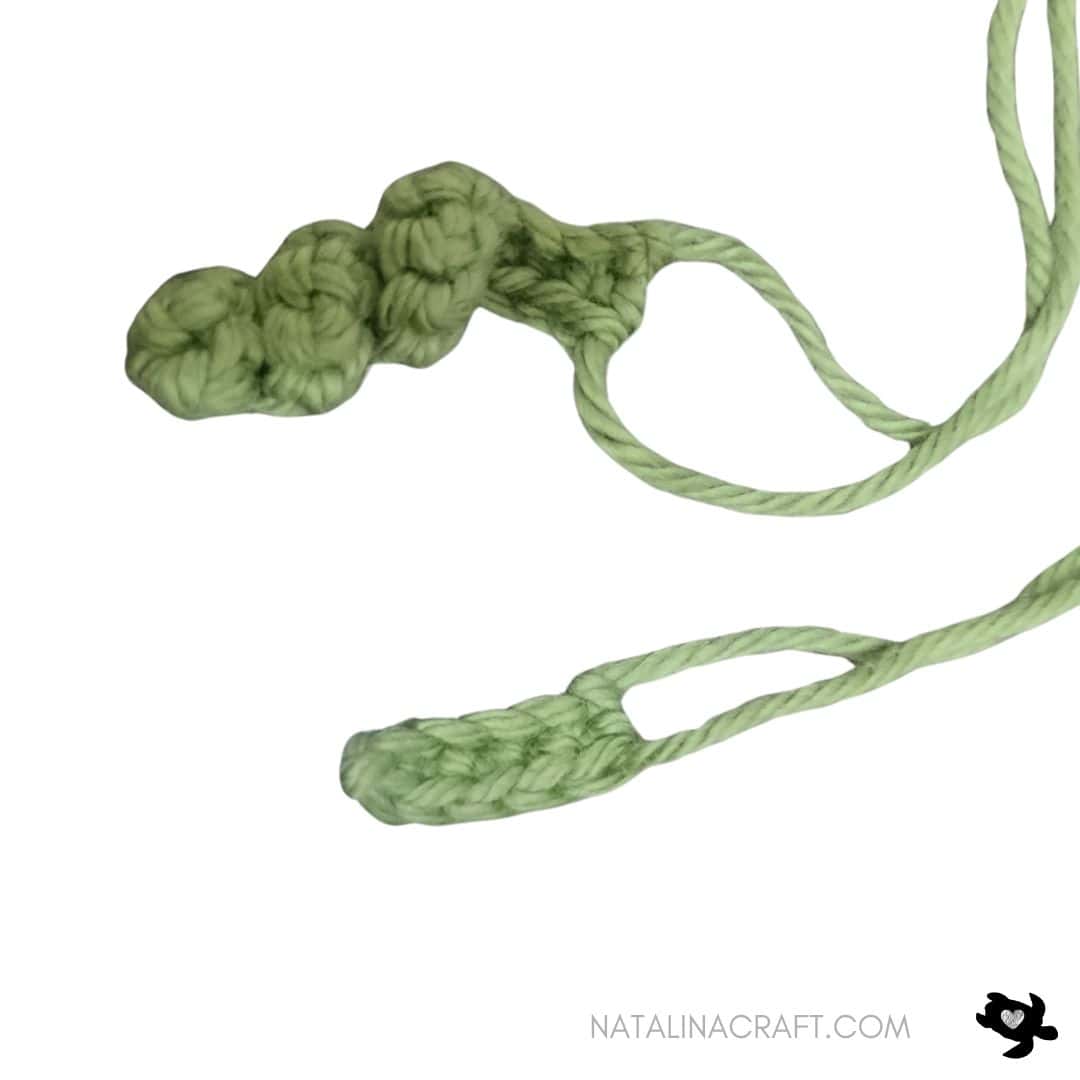
The vine:
With a 2.75 mm crochet and the green yarn:
- Row 1: ch 17; starting in the second ch from the hook: [(1 sc, 1 inc) x7, 1 sc in the last 2 ch]. (23)
Cut the yarn, leaving a long tail for sewing. Sew the vine at the top of the dollhouse, next to the stem.

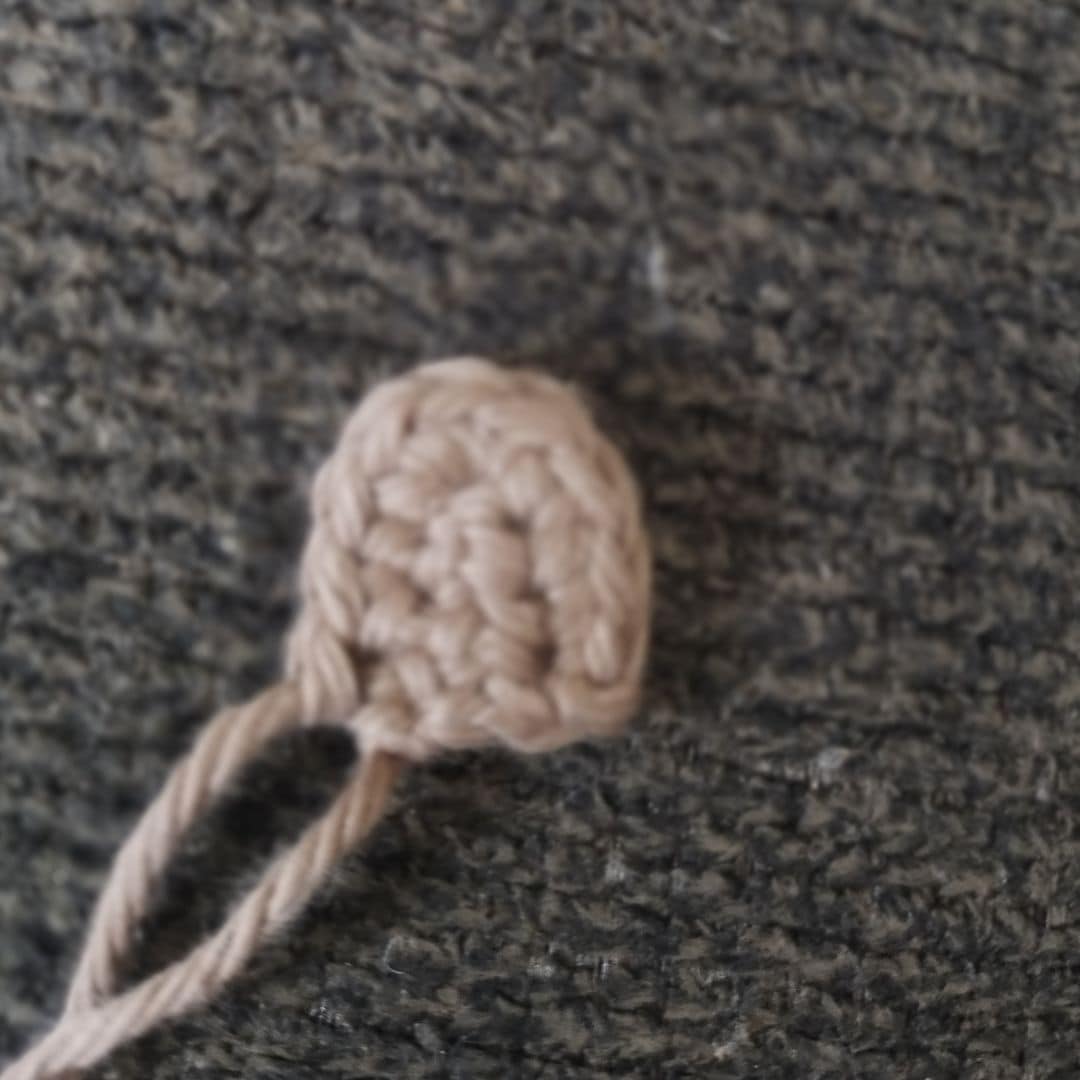
The door:
With a 2.75 mm crochet and the light brown yarn:
- Row 1: ch 5; starting in the second ch from the hook: [1 sc, 1 hdc in the next 3 ch]. (4)
- Row 2: ch1, turn; [1 sc in the next 3 st, 3 sc in the last st; working now on the other side of the chain, 1 sc in the next 3 ch]. (9)
Cut the yarn, leaving a long tail for sewing.
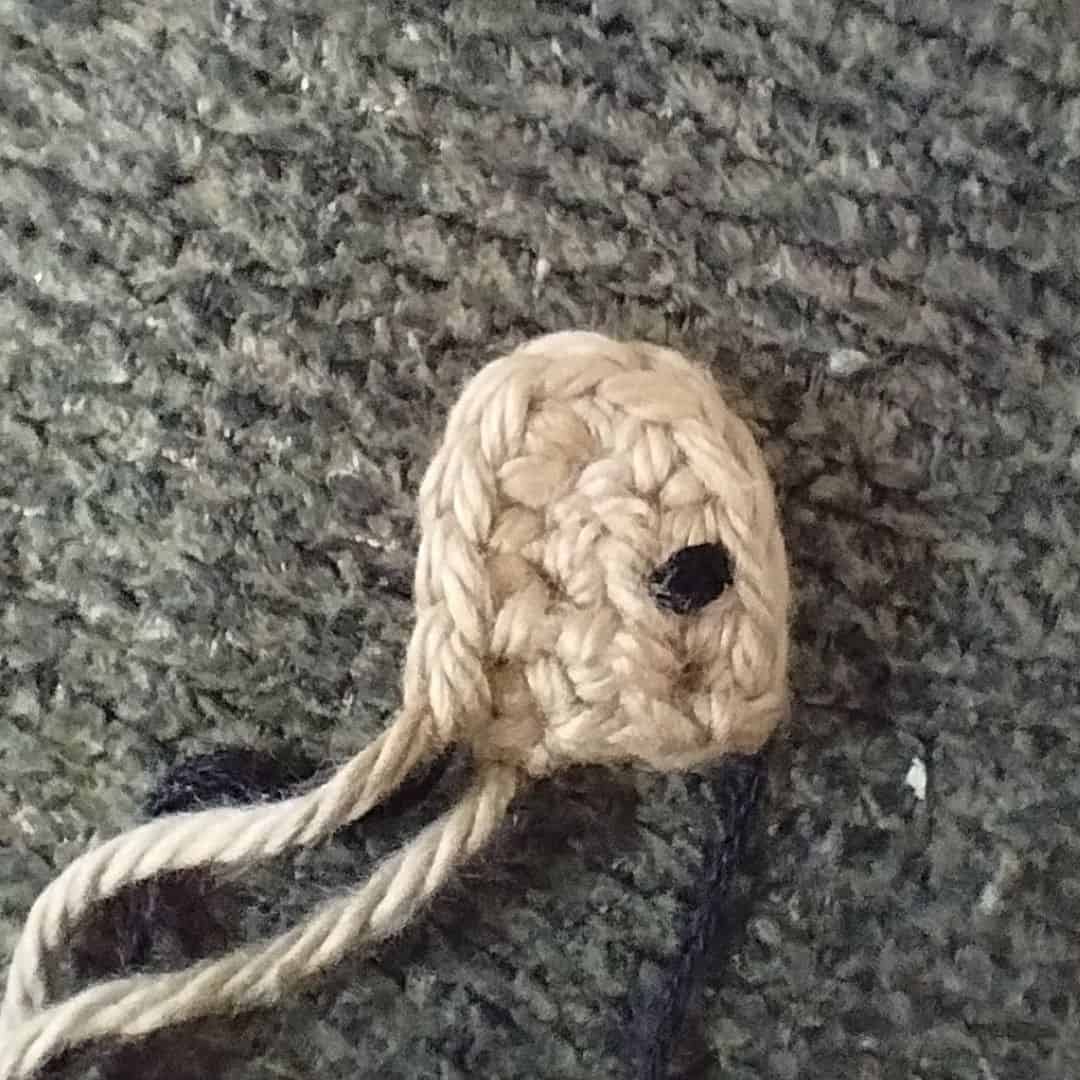
Using a tapestry needle and black embroidery thread, stitch a small door handle. Then sew (or glue) the door to the front of the pumpkin dollhouse.
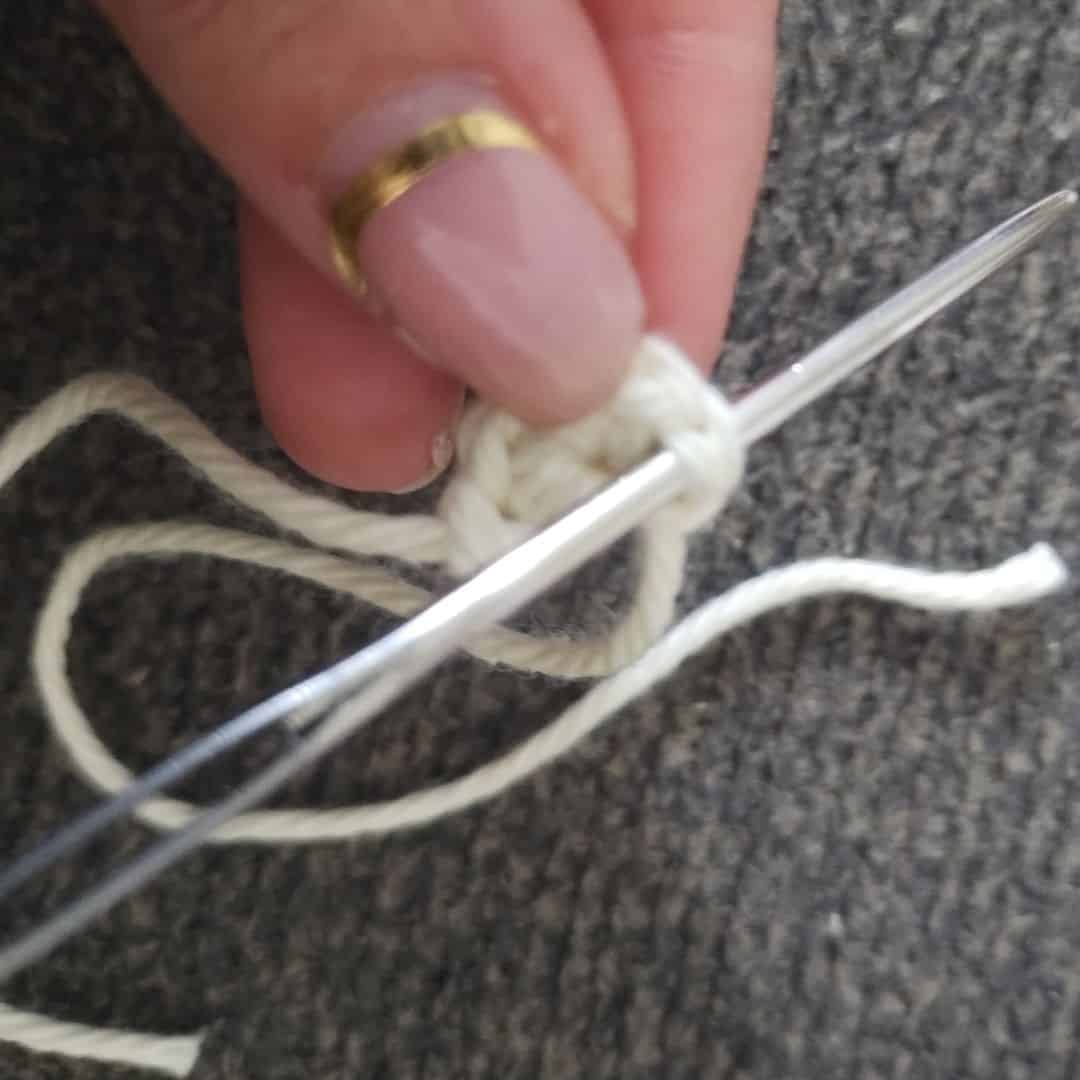
The windows (make 2):
With a 2.75 mm crochet and the cream yarn:
- Round 1: start 6 sc in a magic ring. (6)
Cut the yarn, leaving a long tail for sewing. Using your tapestry needle, insert the yarn through both loops of the first stitch of Round 1, then into the back loop only of the last stitch of Round 1. This creates a ‘fake’ single crochet and helps form a neat, perfect circle for the window.
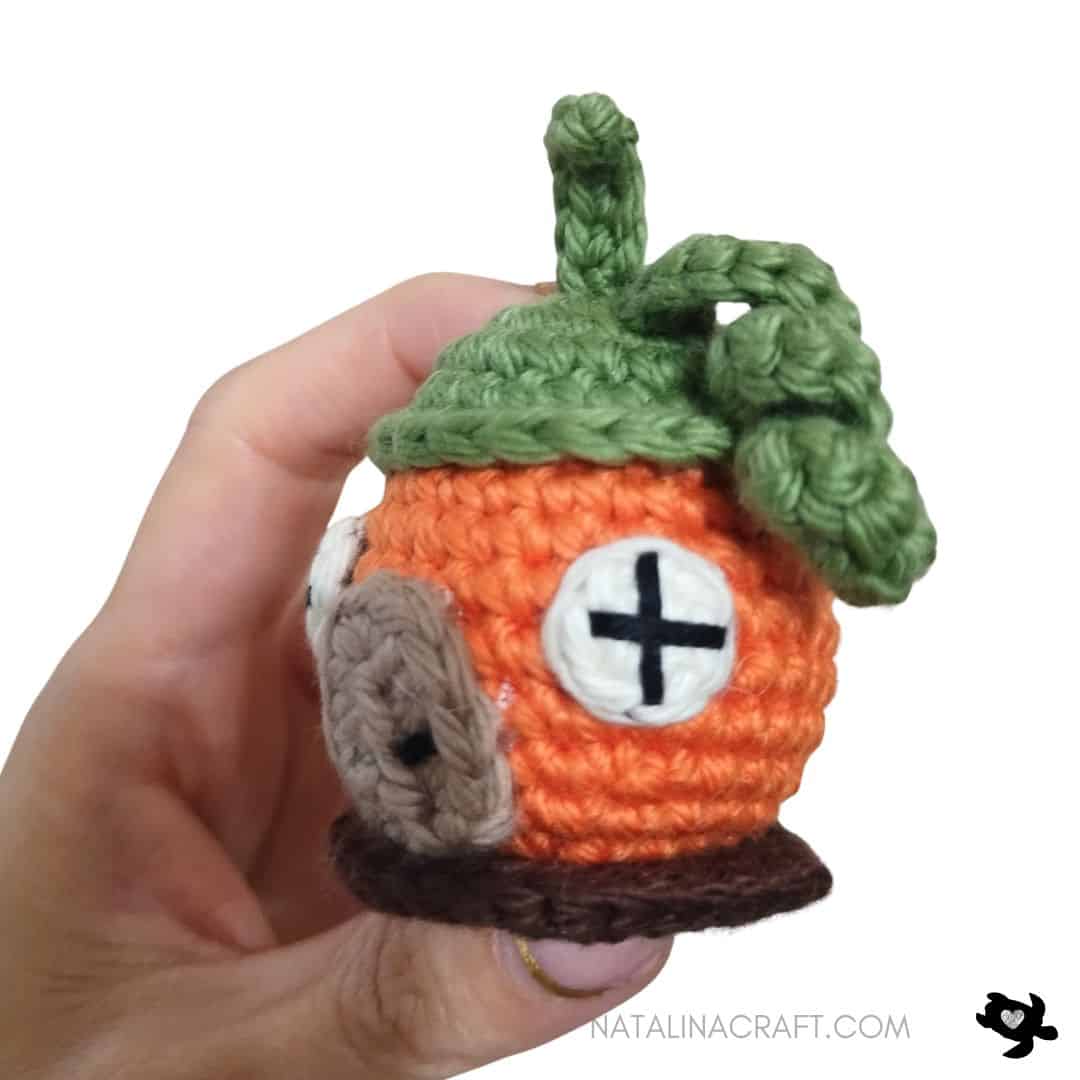
With a tapestry needle and black embroidery thread, stitch a small ‘+’ on each window. Then sew (or glue) the windows to the front of the pumpkin dollhouse, placing one on each side of the door.


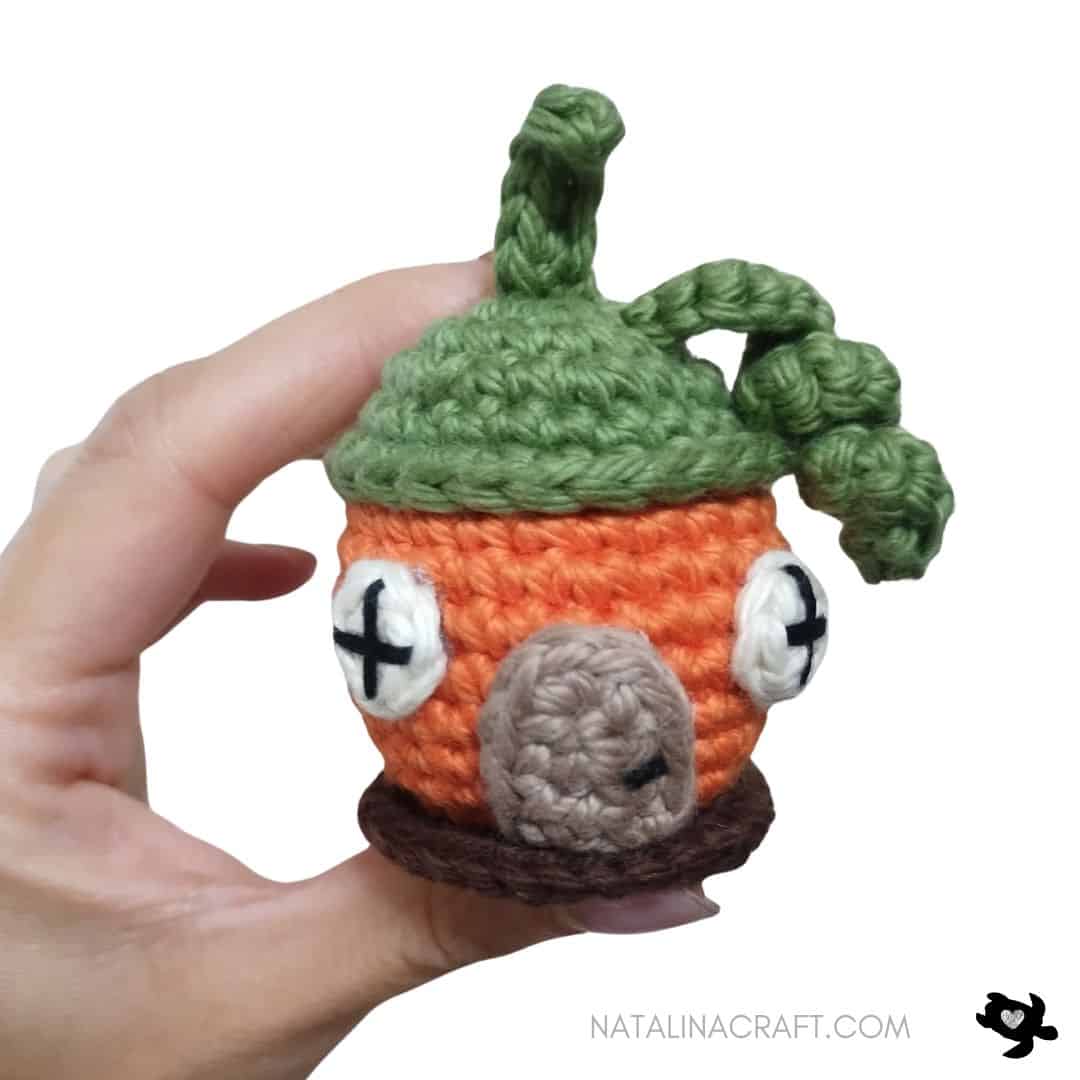
Your little pumpkin dollhouse is ready!
All rights reserved.
The pattern and photographs contained in this document are the property of Natalina Craft. This pattern is available for personal use only. No unauthorized reproduction, in whole or in part, or distribution of this pattern or content is allowed.
You may sell finished items in limited amounts. If you sell your finished products online, I would be grateful if you can add a statement saying « Pattern by Natalina Craft » and link back to my post.
Free Crochet Pattern – Pumpkin Dollhouse
Free Crochet Pattern – Pumpkin Dollhouse
Instructions
Crochet Pattern - Free Crochet Pattern - Pumpkin Dollhouse
Start Here:
Please read the entire pattern carefully before beginning.
The pattern is written using US terms. The design can be created with yarn in various sizes. I made it with worsted yarn.
Size:
- 2 inches (5 cm) tall with light worsted yarn
Material:
- Yarn calling for a 5.5 mm hook in green, dark brown, light brown, cream, and orange
- Embroidery thread in black for the window and the door handle.
- Size 2.75 mm crochet hook (B/2).
- Stitch markers (if needed)
- Tapestry needle
- Facultative: Fabric or hot glue
- poly-fill
Abbreviations:
- chain (ch)
- magic ring (mr)
- single crochet (sc)
- increase (inc)
- invisible decrease (dec)
- slip stitch (sl st)
- half double crochet (hdc)
- double crochet (dc)
- back loop only (blo)
Pattern: How to crochet a pumpkin dollhouse?
Let's start - Free Crochet Pattern - Pumpkin dollhouse
- The dollhouse is worked in continuous rounds (as a spiral). Use a stitch marker if needed.
- Fill as you work.
The Pumkin:
We are starting at the top of the house.
With a 2.75 mm crochet and the green yarn:
- Round 1: start 6 sc in a magic ring. (6)
- Round 2: [6 inc]. (12)
- Round 3: [1 inc, 1 sc] x6. (18)
- Round 4: [1 inc, 2 sc] x6. (24)
- Round 5: [1 sc in all st]. (24)
- Round 6: working in the front loop only: [1 sc in all st]. (24)
Cut the yarn and fasten off.
Continue with the orange yarn: join it into the front loop of any stitch from Round 5 (I attached mine at the back to keep it less noticeable).
- Round 7: working in the back loops only of Round 5: [1 sc in all st]. (24)
- Round 8: [1 sc in all st]. (24)
- Round 9: [3 sc, 1 inc] x6. (30)
- Rounds 10 to 12: [1 sc in all st]. (30)
- Round 13: [3 sc, 1 dec] x6. (24)
- Round 14: [1 sc in all st]. (24)
- Round 15: [2 sc, 1 dec] x6. (18)
- Round 16: working in the back loop only: [9 dec]. (9)
Fill the dollhouse.
Cut the yarn, leaving a long tail to close the dollhouse. Using your tapestry needle, weave the tail through all the front loops of Round 16, then pull tight to close. Fasten off.
Continue with the dark brown yarn: join it into the front loop of any stitch from Round 15 (I attached mine at the back to keep it less noticeable).
- Round 17: working in the front loop only of Round 15: [2 sc, 1 inc] x6. (24)
- Round 18: [3 sc, 1 inc] x6. (30)
Cut the yarn and fasten off.
The stem:
With a 2.75 mm crochet and the green yarn:
- Row 1: ch 6; starting in the second ch from the hook: [5 sc]. (5)
Cut the yarn, leaving a long tail for sewing. Sew the stem at the top of the dollhouse.
The vine:
With a 2.75 mm crochet and the green yarn:
- Row 1: ch 17; starting in the second ch from the hook: [(1 sc, 1 inc) x7, 1 sc in the last 2 ch]. (23)
Cut the yarn, leaving a long tail for sewing. Sew the vine at the top of the dollhouse, next to the stem.
The door:
With a 2.75 mm crochet and the light brown yarn:
- Row 1: ch 5; starting in the second ch from the hook: [1 sc, 1 hdc in the next 3 ch]. (4)
- Row 2: ch1, turn; [1 sc in the next 3 st, 3 sc in the last st; working now on the other side of the chain, 1 sc in the next 3 ch]. (9)
Cut the yarn, leaving a long tail for sewing.
Using a tapestry needle and black embroidery thread, stitch a small door handle. Then sew (or glue) the door to the front of the pumpkin dollhouse.
The windows (make 2):
With a 2.75 mm crochet and the cream yarn:
- Round 1: start 6 sc in a magic ring. (6)
Cut the yarn, leaving a long tail for sewing. Using your tapestry needle, insert the yarn through both loops of the first stitch of Round 1, then into the back loop only of the last stitch of Round 1. This creates a ‘fake’ single crochet and helps form a neat, perfect circle for the window.
With a tapestry needle and black embroidery thread, stitch a small ‘+’ on each window. Then sew (or glue) the windows to the front of the pumpkin dollhouse, placing one on each side of the door.
Your little pumpkin dollhouse is ready!
All rights reserved.
The pattern and photographs contained in this document are the property of Natalina Craft. This pattern is available for personal use only. No unauthorized reproduction, in whole or in part, or distribution of this pattern or content is allowed.
You may sell finished items in limited amounts. If you sell your finished products online, I would be grateful if you can add a statement saying « Pattern by Natalina Craft » and link back to my post.