
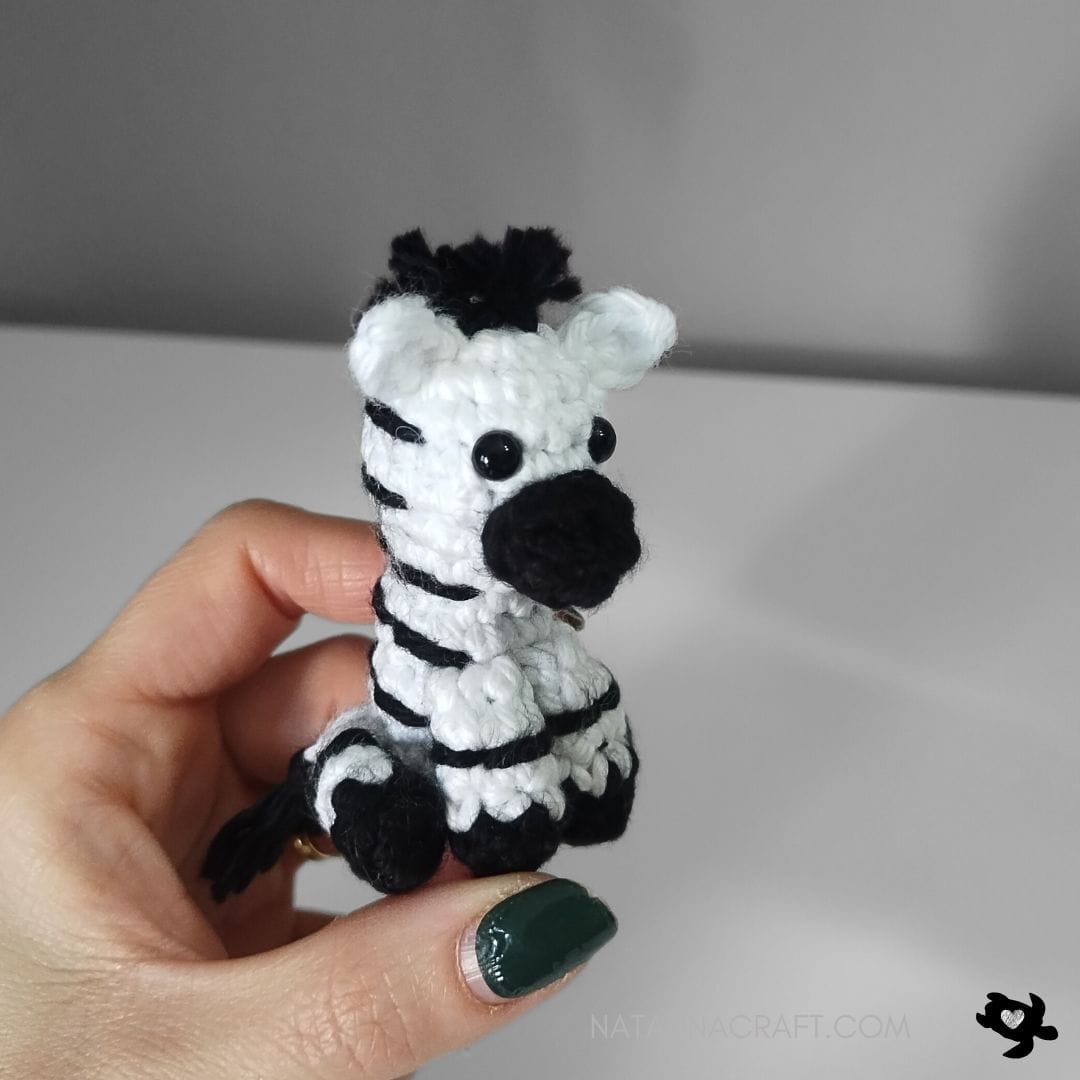
Do you have a pile of black and white yarn scraps staring at you from your stash? I certainly did! That’s how Zippy the Mini Zebra was born.
The result is a quick and easy crochet zebra pattern that’s perfect for beginners! This mini zebra amigurumi is the perfect project for beginners! It’s small, cute, and works up fast, making it ideal for last-minute gifts, keychains, or adding to your crochet animal collection.
This free crochet pattern uses basic stitches and simple construction, so even if you’re new to amigurumi, you’ll be able to make your own tiny zebra with ease.
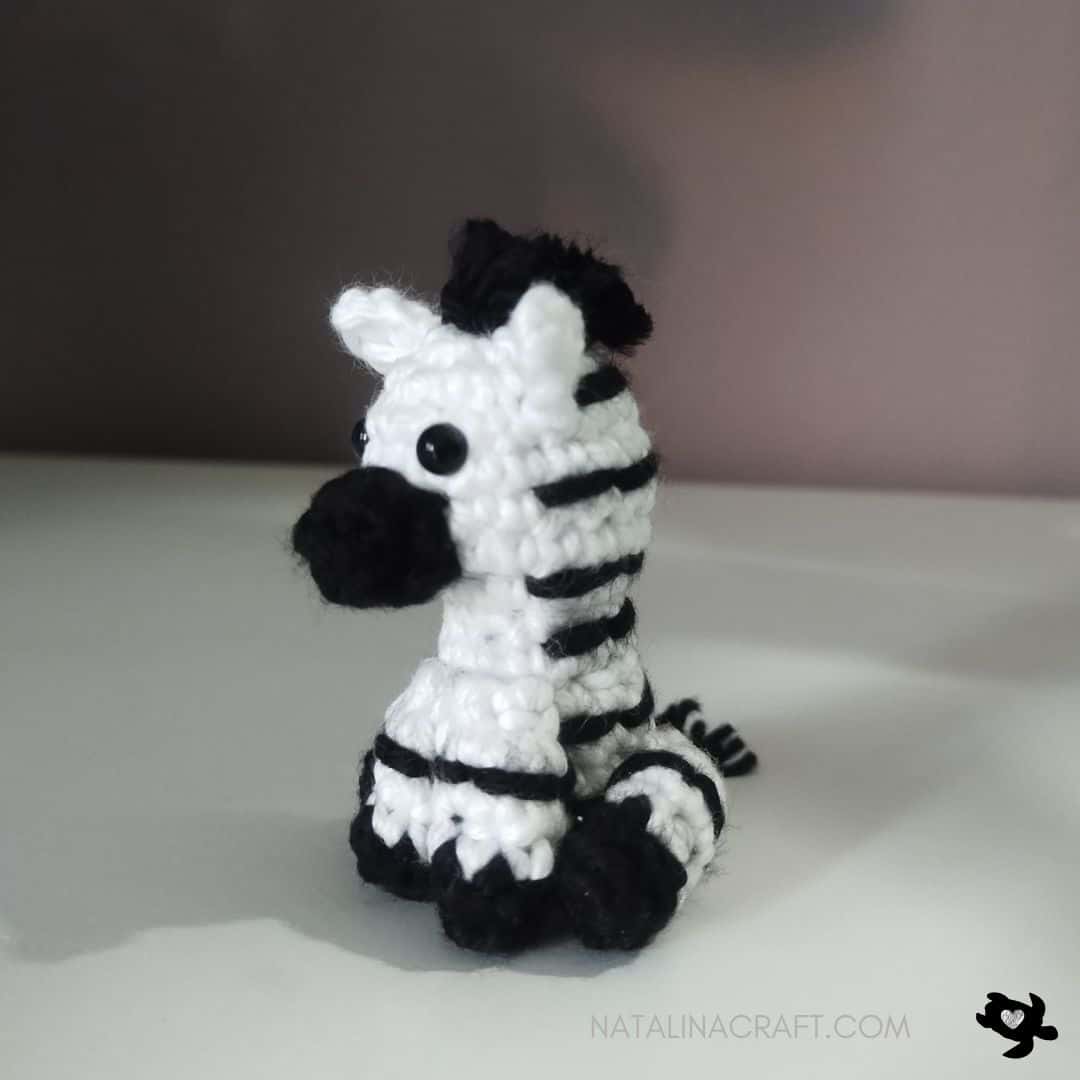
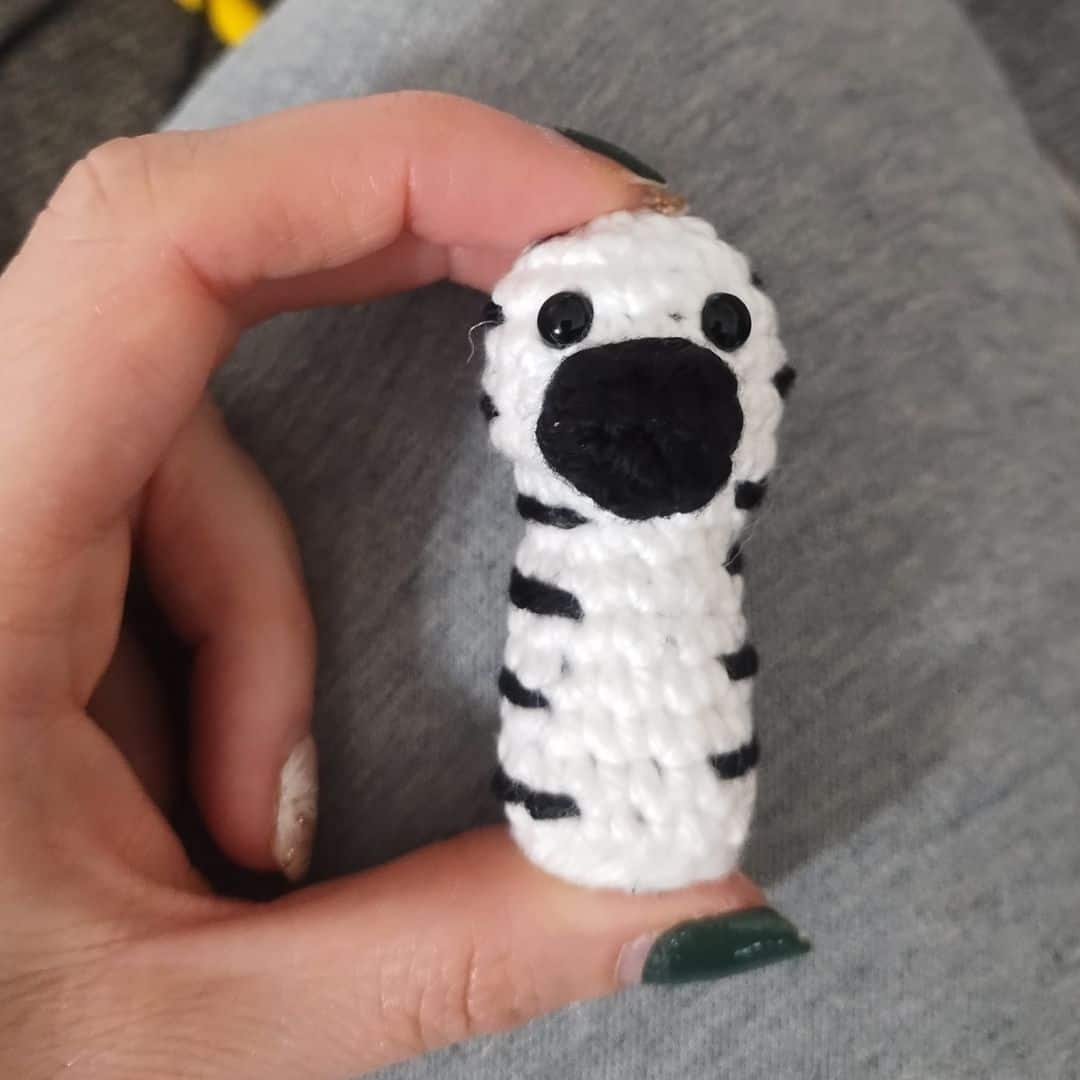
I’ll be honest with you: getting those stripes right wasn’t easy on the first try. I initially attempted to crochet the black stripes directly into the body, but it didn’t look right on such a small body. After frogging it twice, I realized the secret was to crochet a clean white body first and then embroider the stripes on top. This method gives you total control over the placement and keeps the zebra’s shape perfectly smooth. It adds about 10 minutes to the project, but the result is so much sharper!
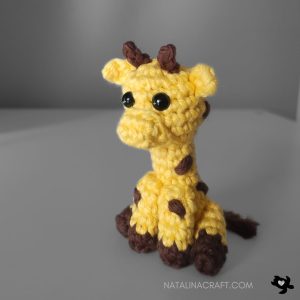
Clocking in at just 3 inches tall, this pattern is designed to be a “one-sitting” make. Whether you need a last-minute party favor, a cute desk companion, or a lightweight keychain (just add a clip!), this little guy works up in under an hour. He’s the perfect addition to your mini animal collection—once you make him, you might just want to line him up next to my Mini Hippo and Mini Giraffe.
Below, you’ll find the full free pattern, including my step-by-step tips for embroidering those tricky stripes. Let’s get hooking!
Join my Facebook group here, where you can ask questions, share your finished projects, and help me choose future designs!
I hope you will enjoy and understand the pattern. If you have any questions, please write to me. I will try my best to help you.
What animal should I design next for the mini series? A lion or a panda? Let me know in the comments below!
Tag me @NatalinaCraft on Instagram with your zebra’s name! I’d love to see if you gave yours a unique stripe pattern.

Mini Zebra – Crochet Pattern
Pattern Quick Facts:
- Skill Level: Beginner (Confident Beginner recommended for stripe embroidery)
- Finished Size: Approx. 3 inches (7.5 cm) tall (fits in the palm of your hand!)
- Time to Complete: 45–60 minutes (One-sitting project)
- Sewing Level: Minimal (Small parts = fast assembly!)
- Yarn Weight: Light Worsted (Category 3)
- Hook Size: US C (2.75 mm)
- Terms: US Crochet Terms
Designer Notes & Tips
- The “Perfect” Stripe Myth: Don’t stress if your embroidered stripes aren’t perfectly straight! Zebras in nature are unique. If a stripe wobbles or varies in width, just call it “character.” The embroidery method actually lets you fix mistakes easily: just pull the thread out and try again without frogging the whole body.
- Baby-Safe Option: This pattern uses 5mm safety eyes by default. However, if making for a child under 3 years old, you must skip the safety eyes and embroider the eyes with black yarn instead to prevent choking hazards.
- Stuffing Tip: Since the legs are small, use the eraser end of a pencil or a chopstick to push polyfill firmly into the bottom of the legs before attaching them.
Why You’ll Love This Mini Zebra
- Quick and easy to make
- Beginner-friendly and simple stitches
- Scrap-Buster Project: Perfect for using up those leftover black and white yarn bits (just like I did!)
- Adorable small size (great for gifts or keychains)
- Build Your Herd: Matches my other mini animals like the Mini Hippo and Mini Giraffe!
FAQ
Is this mini zebra crochet pattern beginner-friendly?
Yes! This pattern uses basic stitches and simple shaping, making it perfect for beginners.
How big is the finished zebra?
The zebra is small and fits in the palm of your hand, depending on your yarn and hook size.
Can I use different yarn?
Yes, you can use cotton or acrylic yarn. Just adjust your hook size to keep the stitches tight.
Is this a no-sew pattern?
It is not but it requires minimal sewing (small pieces are fast to sew!), making it quick and easy to assemble.
Parts:
- 1 Body
- 2 ears
- 1 muzzle
- 4 legs
- 1 tail
- 1 mane
Size:
- 3 inches with light worsted yarn (I used I love this cotton from Hobby Lobby)
Material:
- Worsted yarn in white and black
- Size US C / 2.75 mm crochet hook
- 2 black safety eyes (5 mm)
- Stitch markers (if needed)
- Tapestry needle
- Polyfill
Abbreviations:
- chain (ch)
- magic ring (mr)
- single crochet (sc)
- increase (inc)
- invisible decrease (dec)
- slip stitch (sl st)
- double crochet (DC)
- Half double crochet (HDC)
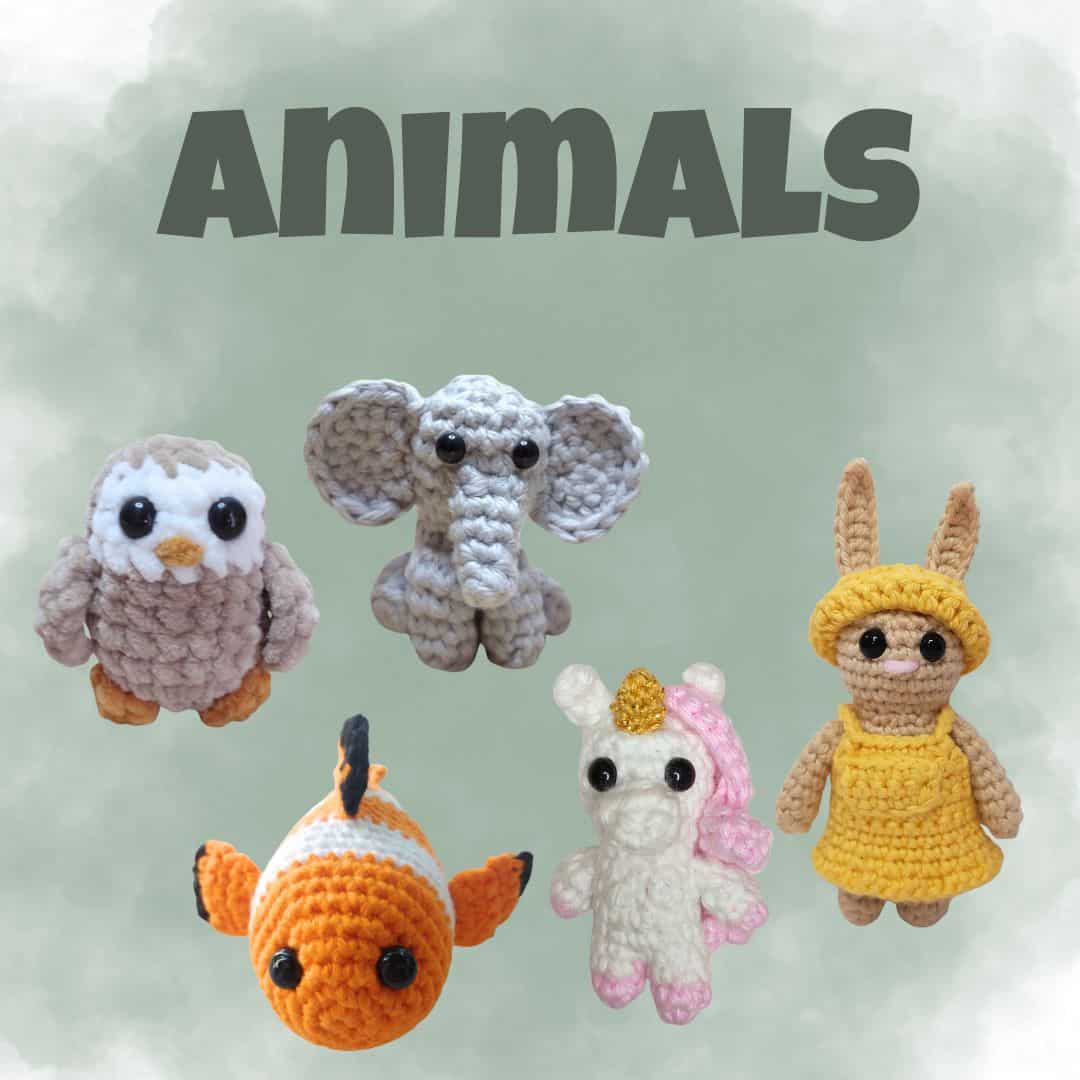
Looking for more Animal ideas?
How to crochet a Mini Zebra?
Muzzle
- Worked around a chain.
With a 2.75 mm crochet and yarn in black:
- Round 1: ch 5.
- Round 2: starting in the 2nd ch from the hook: [1 sc in the next 3 ch, 2 sc in the last ch; now working on the other side of the chain: 1 sc in the next 3 ch]. (8)
- Round 3: [1 sc in all st]. (8)
1 sl st in the next st.
Cut the yarn but leave a long tail for sewing. Keep it for later.
Ears (make 2)
- Worked in rows.
With a 2.75 mm crochet and yarn in white:
- Row 1: ch 4.
- Row 2: starting in the 2nd ch from the hook: [1 sc, 1 hdc, 1 sc]. (3)
Cut the yarn but leave a long tail for sewing.
Keep aside for later.
Legs (make 4)
- Worked in continuous rounds (as a spiral). Use a stitch marker if needed.
- You can slightly stuff the bottom part of the leg.
With a 2.75 mm crochet and yarn in black:
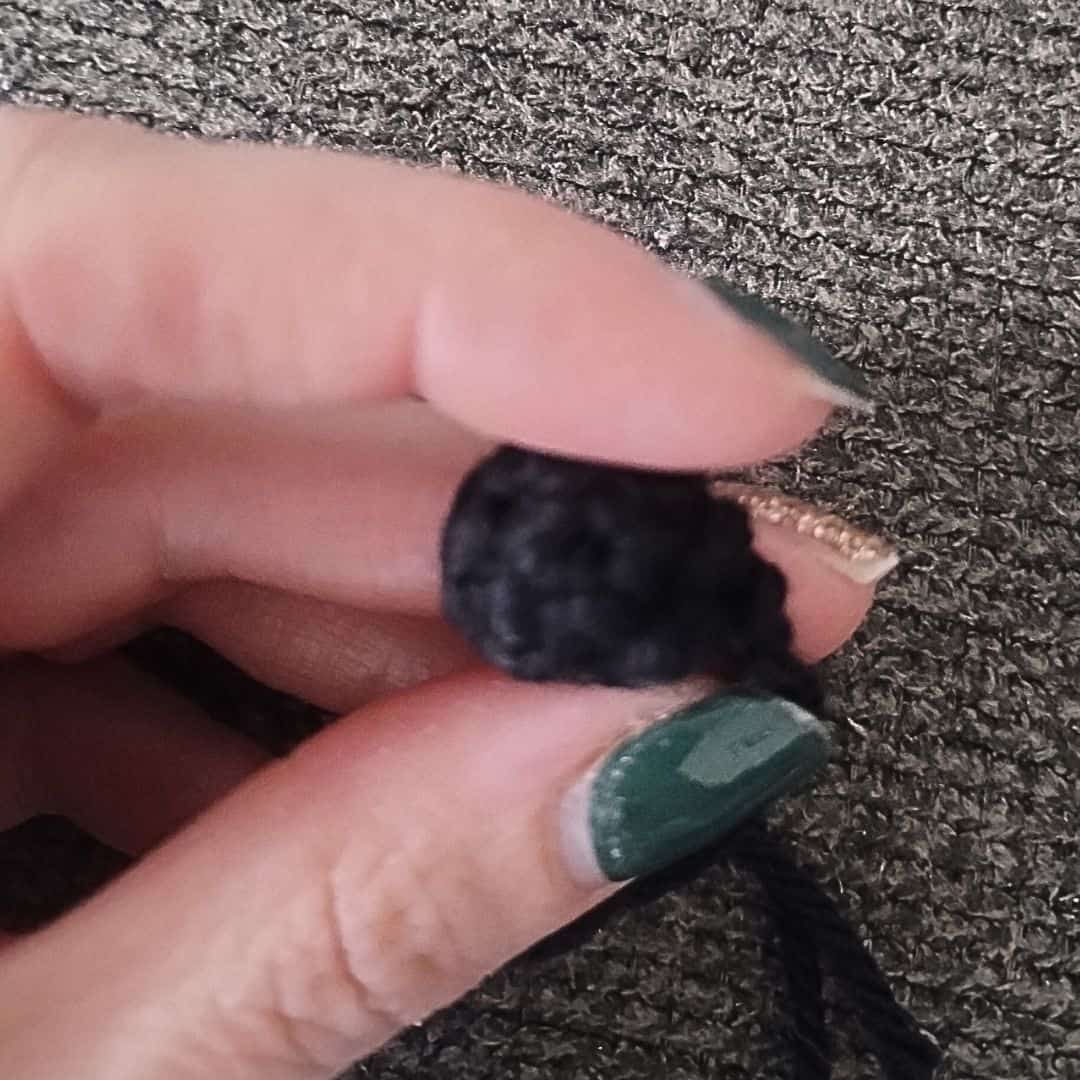
- Round 1: 6 sc in a magic ring. (6)
- Round 2: working in the back loops only (BLO): [1 sc in all st]. (6)
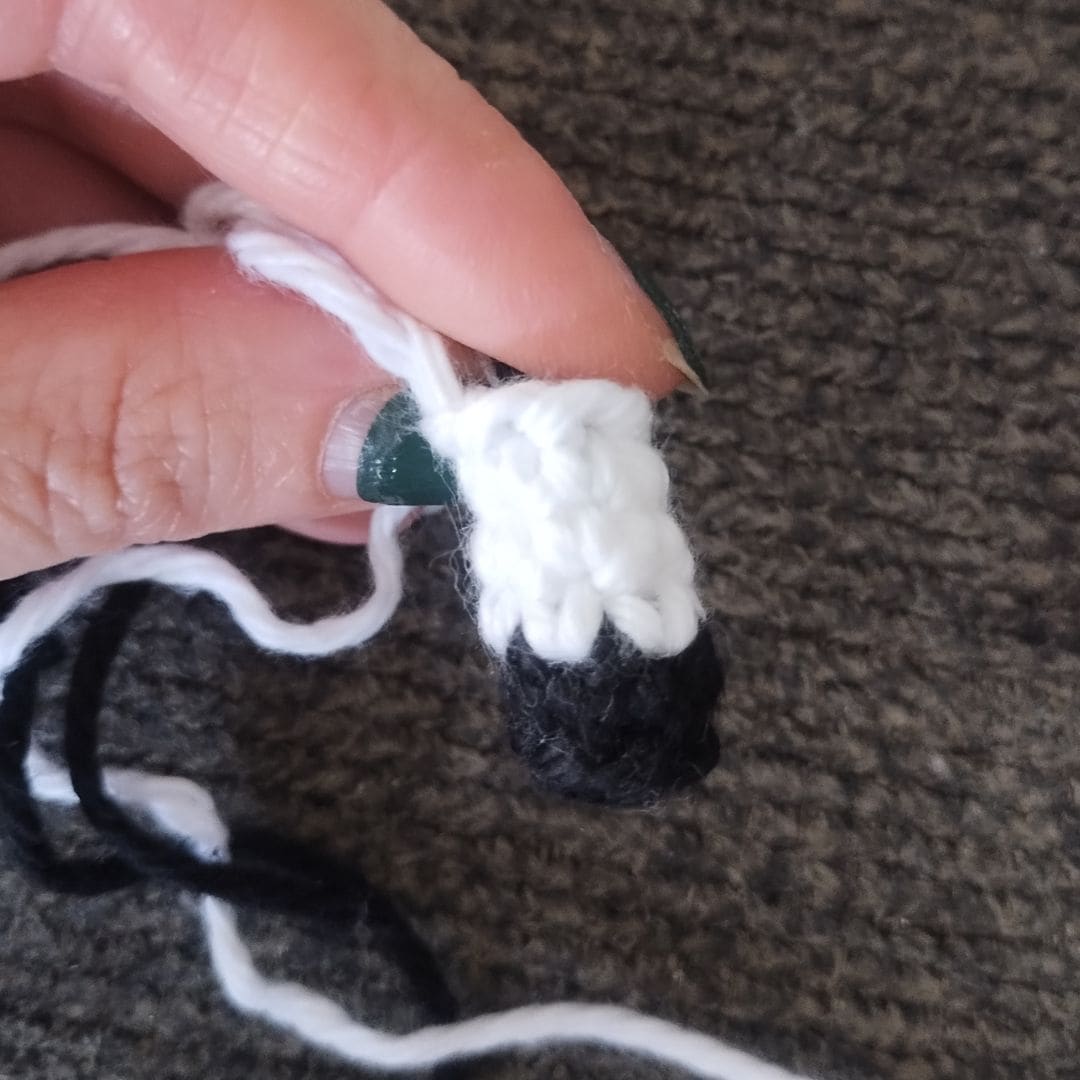
Change to the white yarn:
- Rounds 3-5: [1 sc in all st]. (6)
Cut the yarn but leave a long tail for sewing. Set aside for later.
Body and head
- Worked in continuous rounds (as a spiral). Use a stitch marker if needed.
- We start from the bottom of the body and finish with the head.
- Stuff as you go.
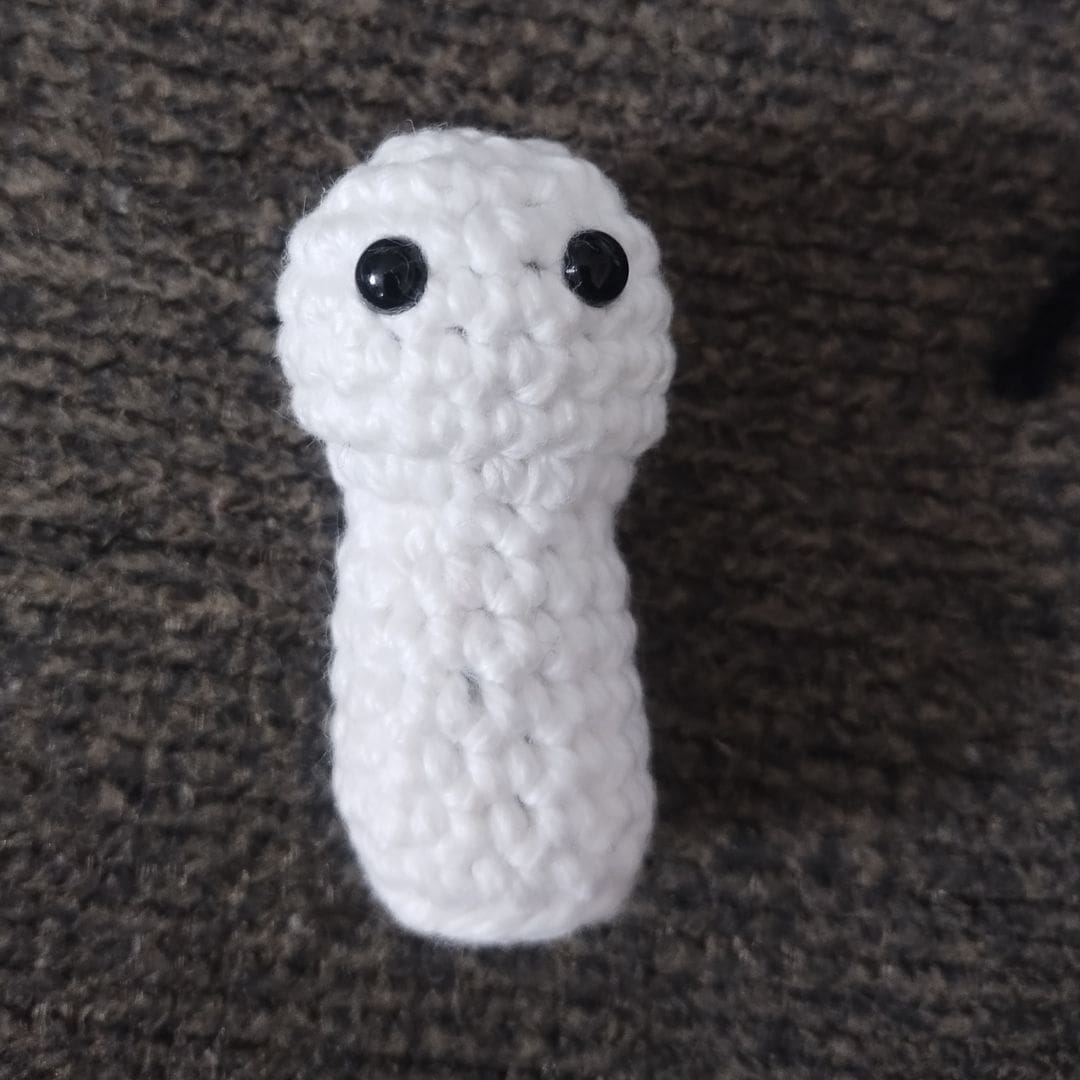
With a 2.75 mm crochet and yarn in white:
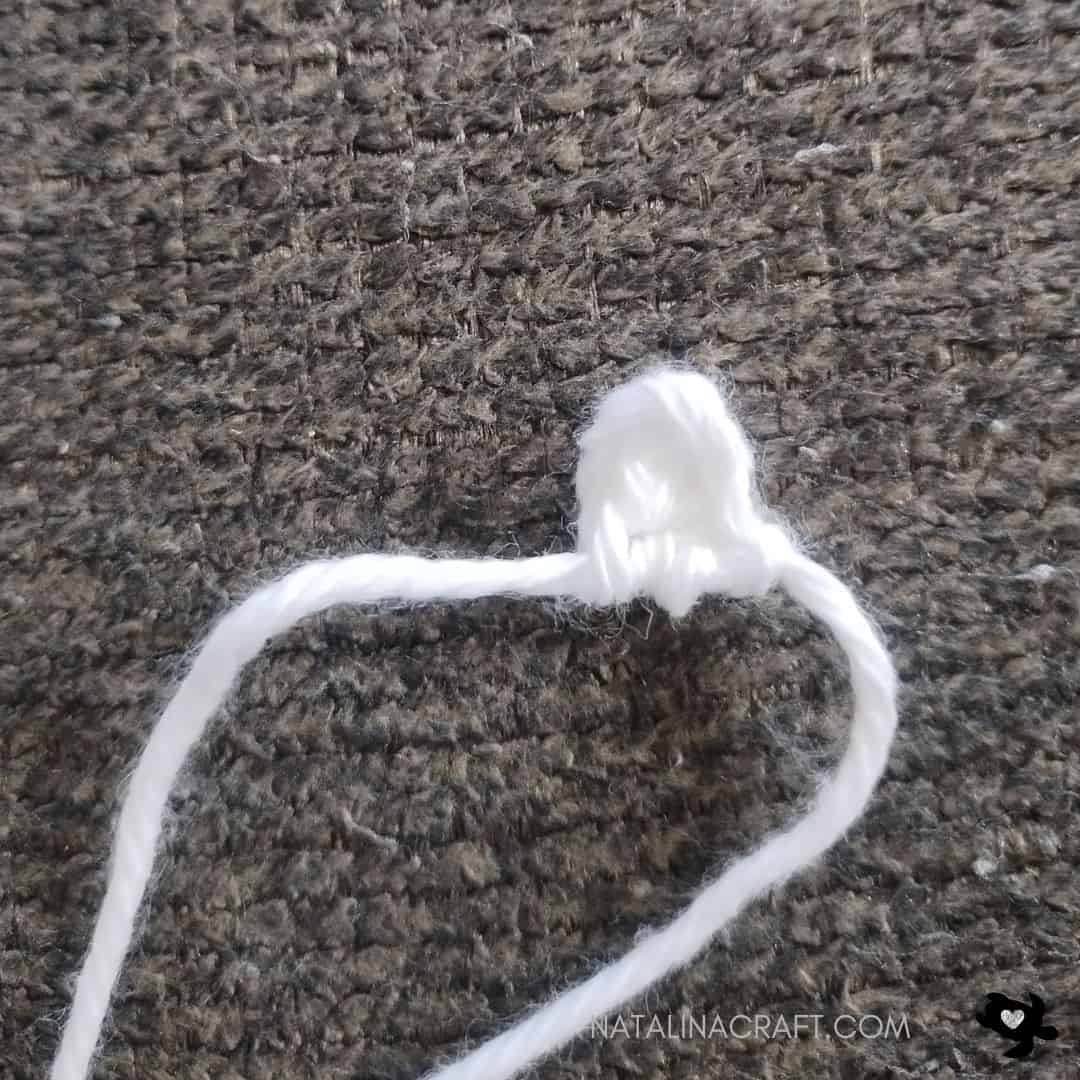
- Round 1: 6 sc in a magic ring. (6)
- Round 2: [6 inc]. (12)
- Round 3: working in the back loops only (BLO): [1 sc in all st]. (12)
- Rounds 4-8: [1 sc in all st]. (12)
- Round 9: [2 sc, 1 dec] x3. (9)
- Round 10: [9 inc]. (18)
- Rounds 11-14: [1 sc in all st]. (18)
- Round 15: [1 sc, 1 dec] x6. (12)
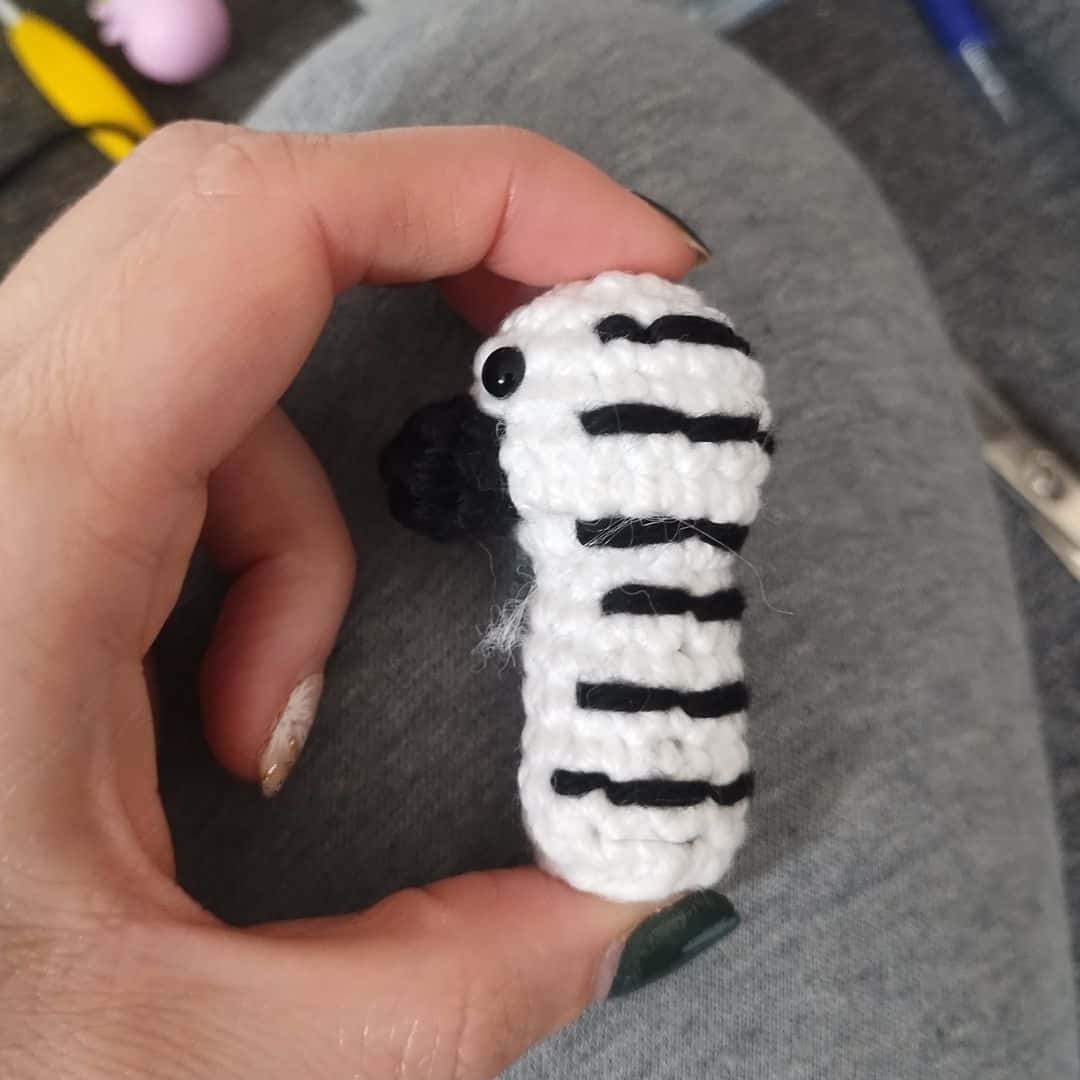
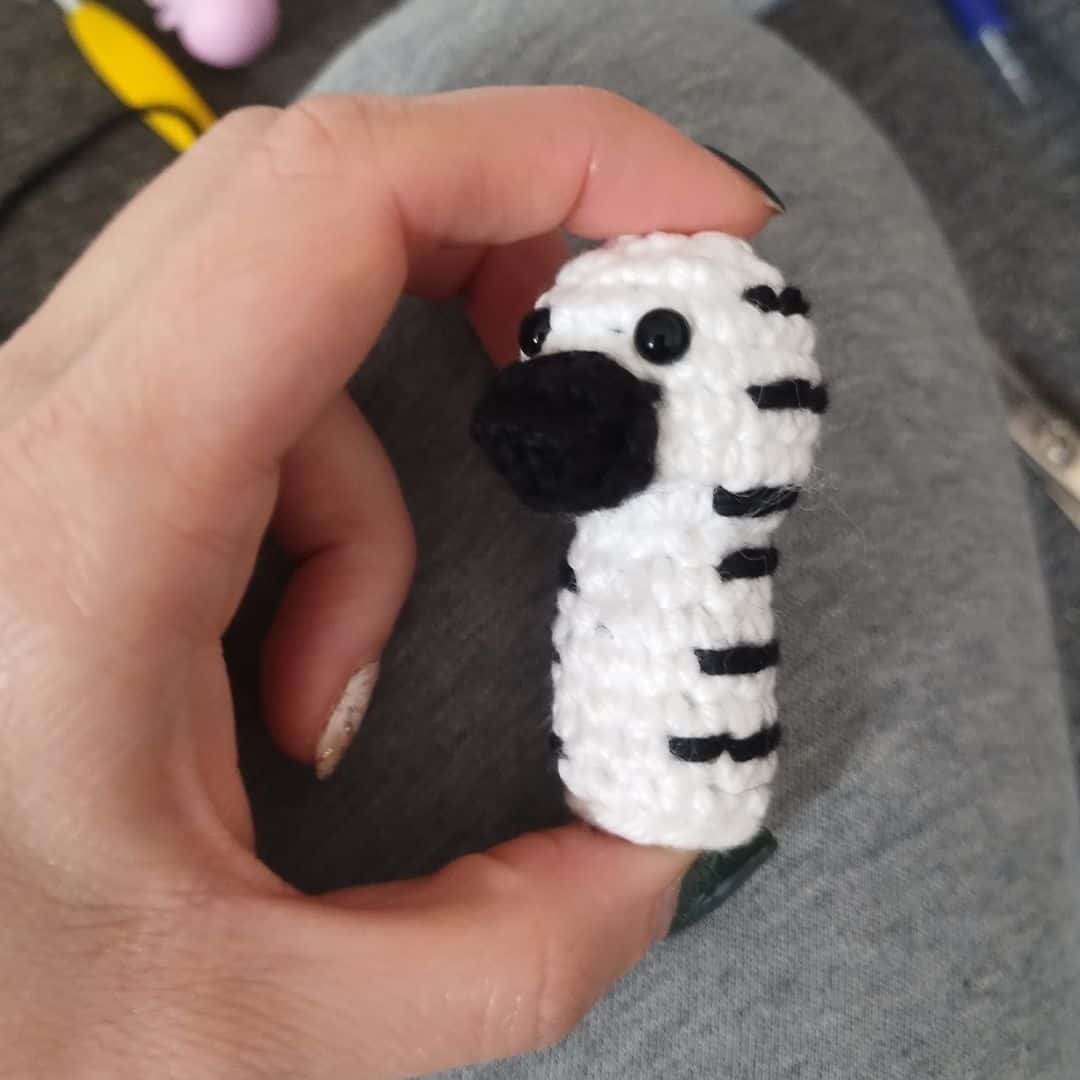
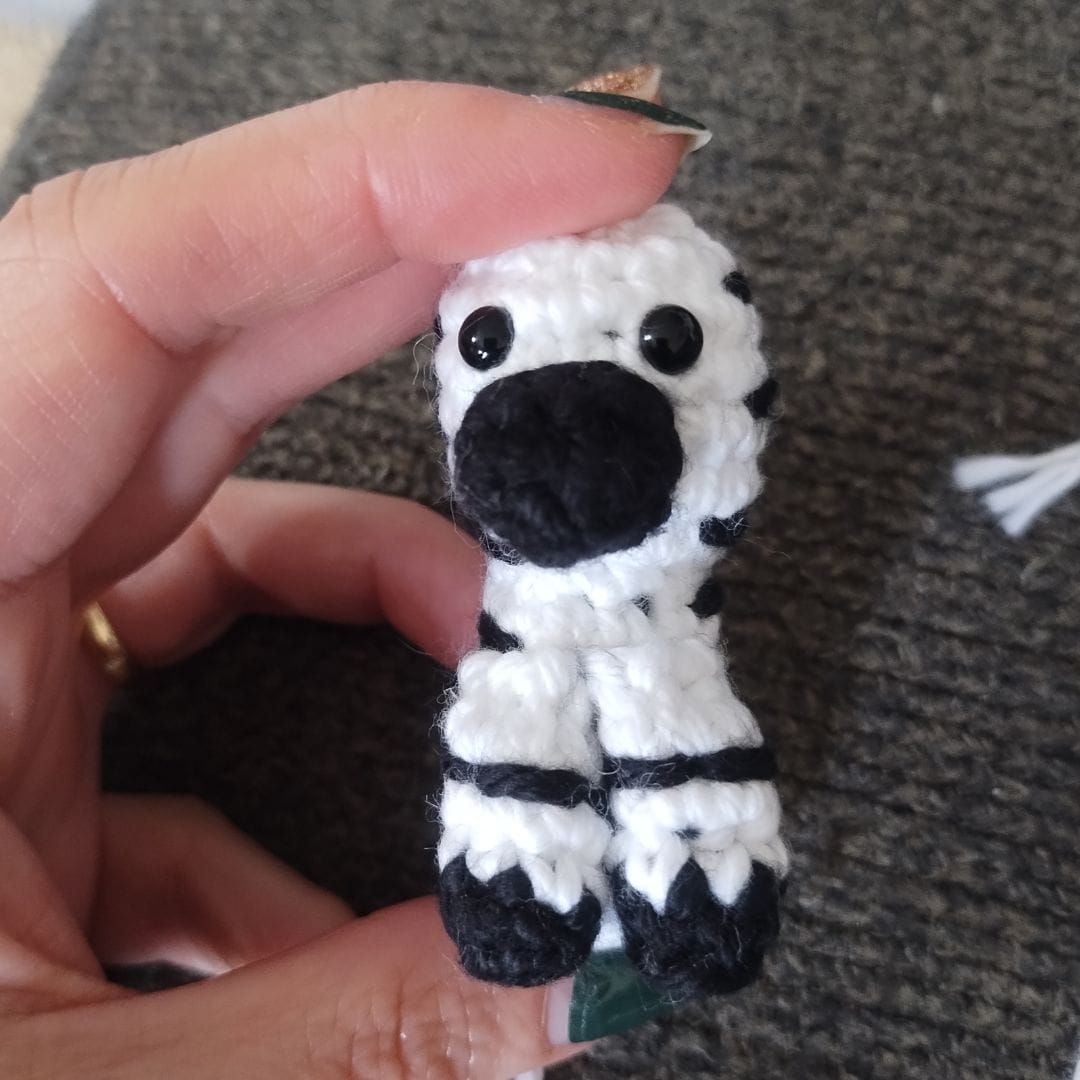
Place the eyes between Rounds 13 and 14, spaced by 2 st.
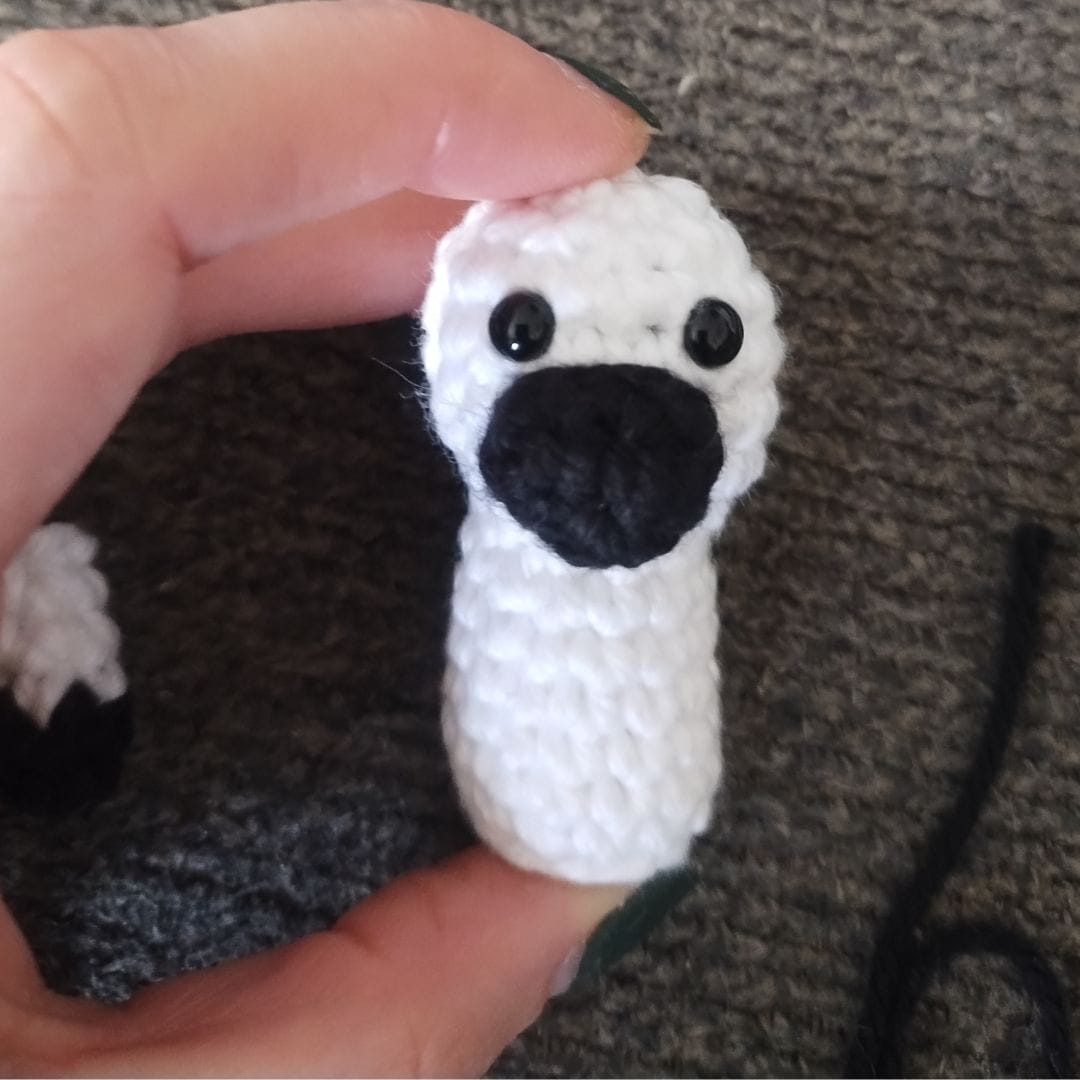
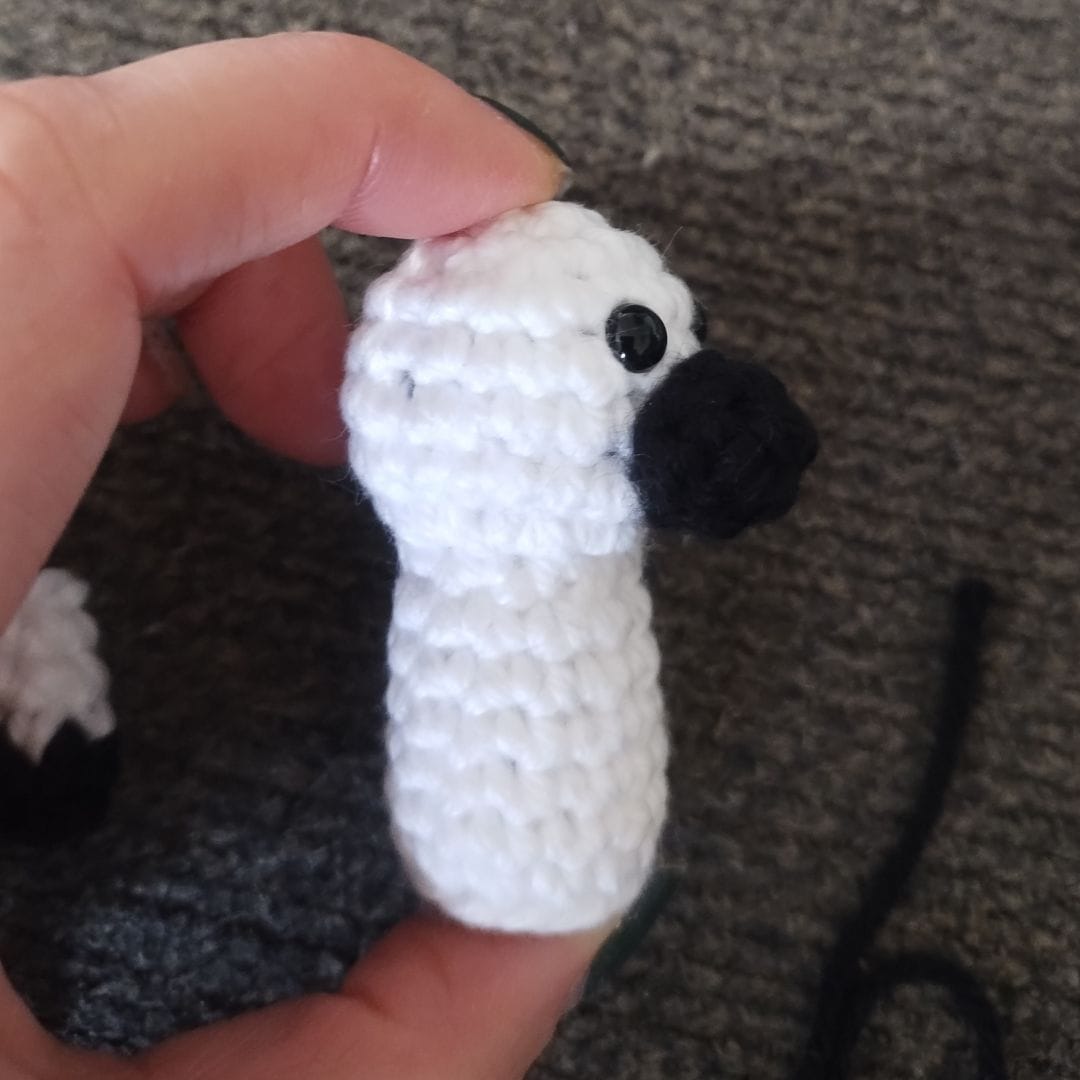
Sew the muzzle to the head, centered below the eyes. The bottom of the muzzle should be between Rounds 10 and 11. The top of the muzzle should be between Rounds 12 and 13.
Remember to fill the body before closing it.
- Round 16: [6 dec]. (6)
Cut the yarn, close the body and fasten off.
Stripes
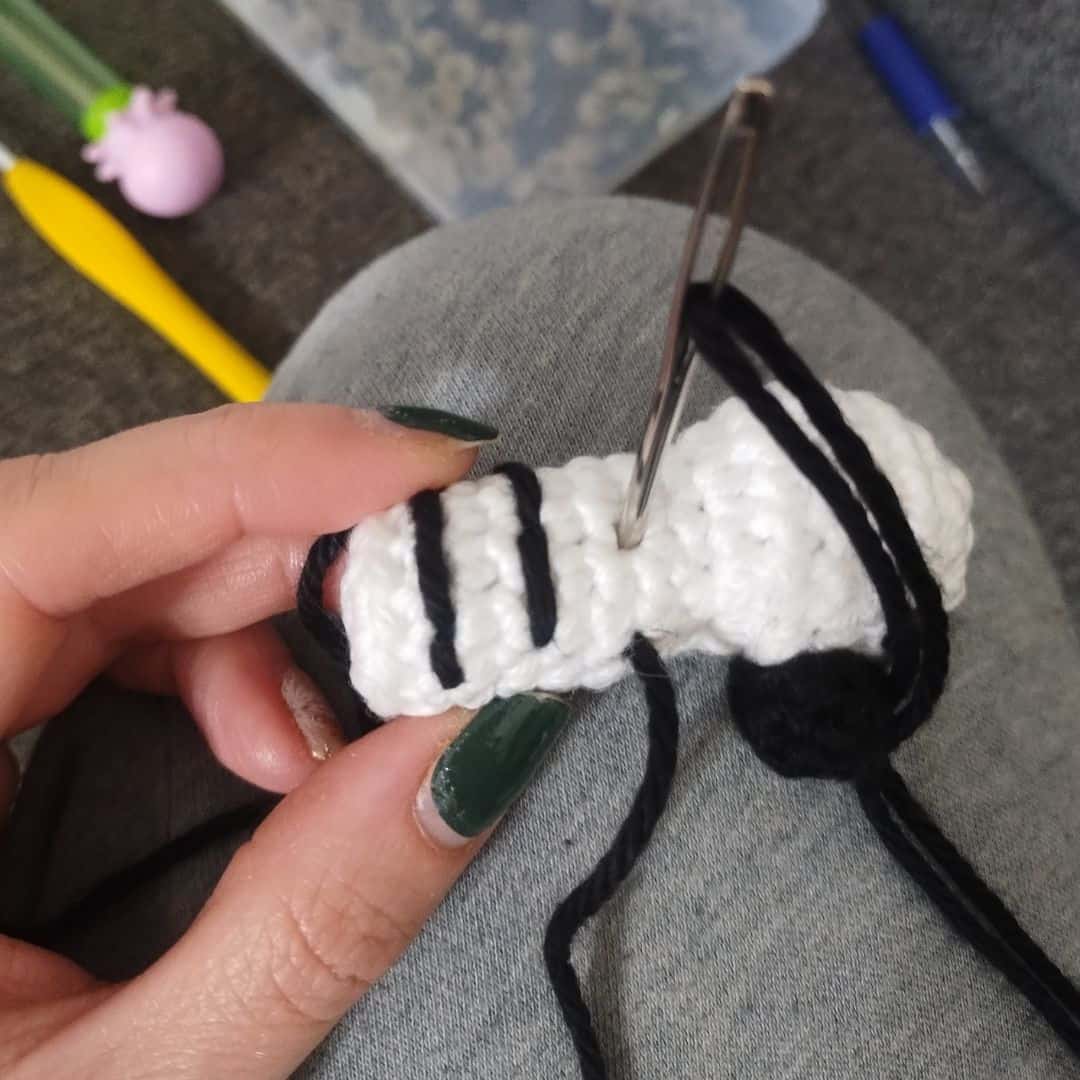
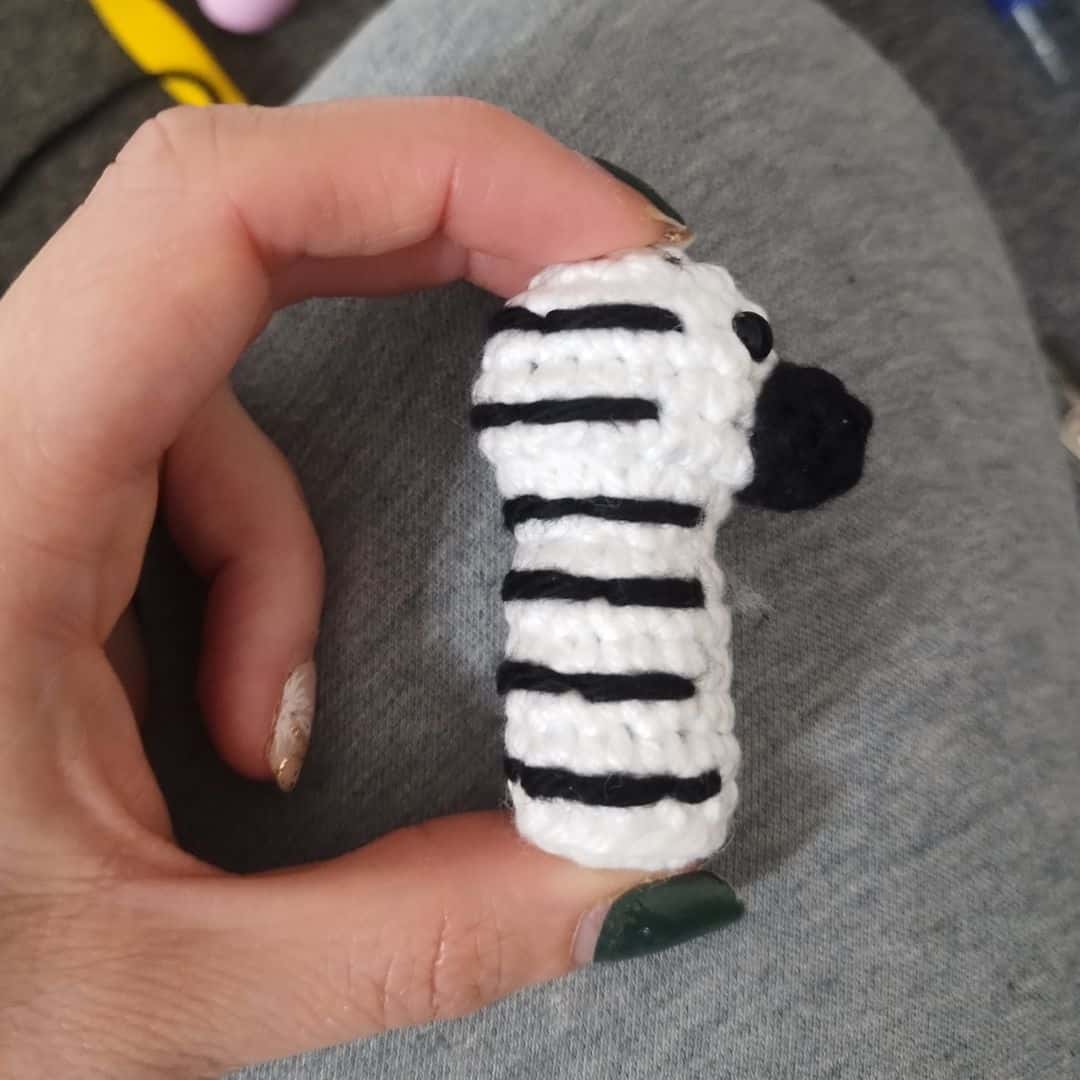
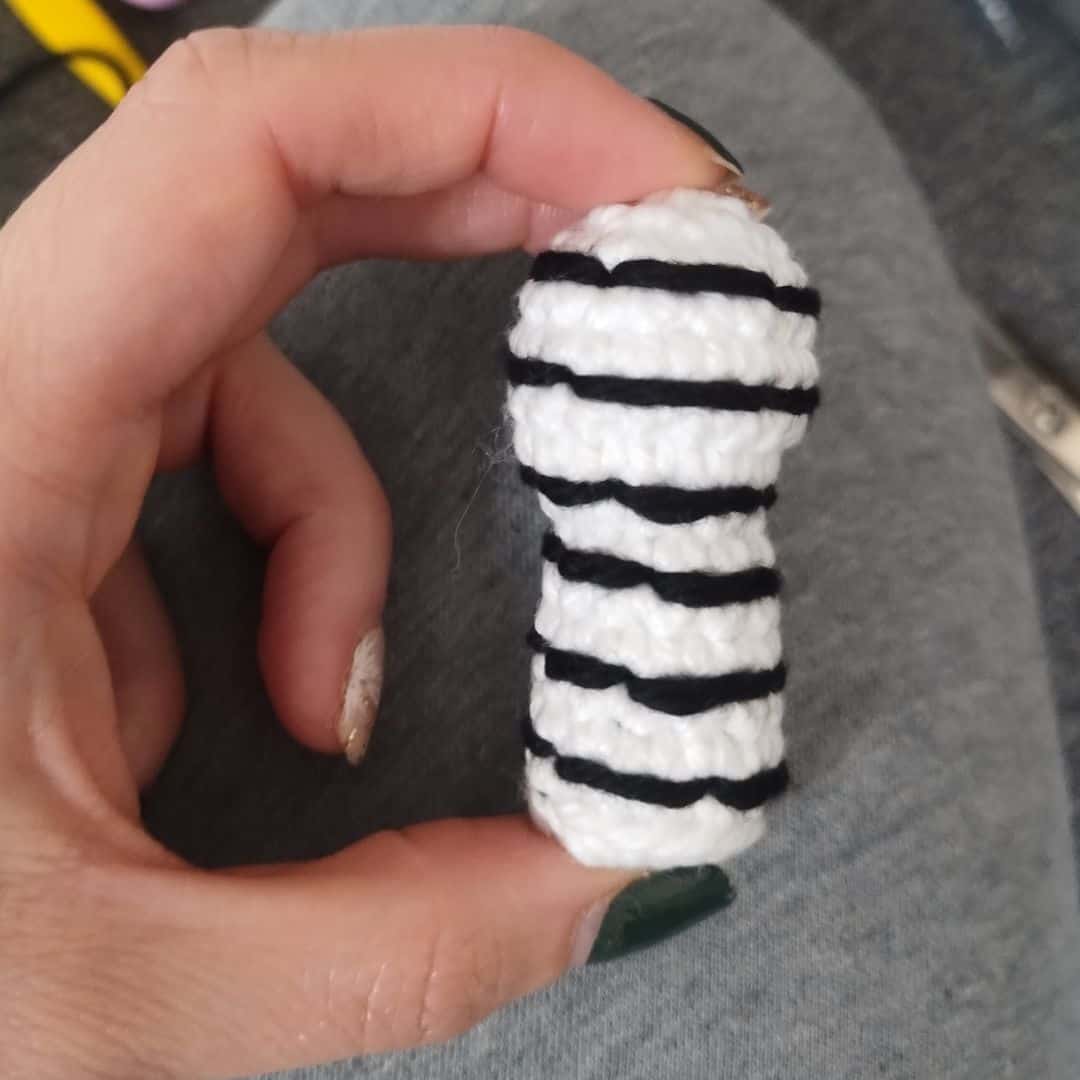
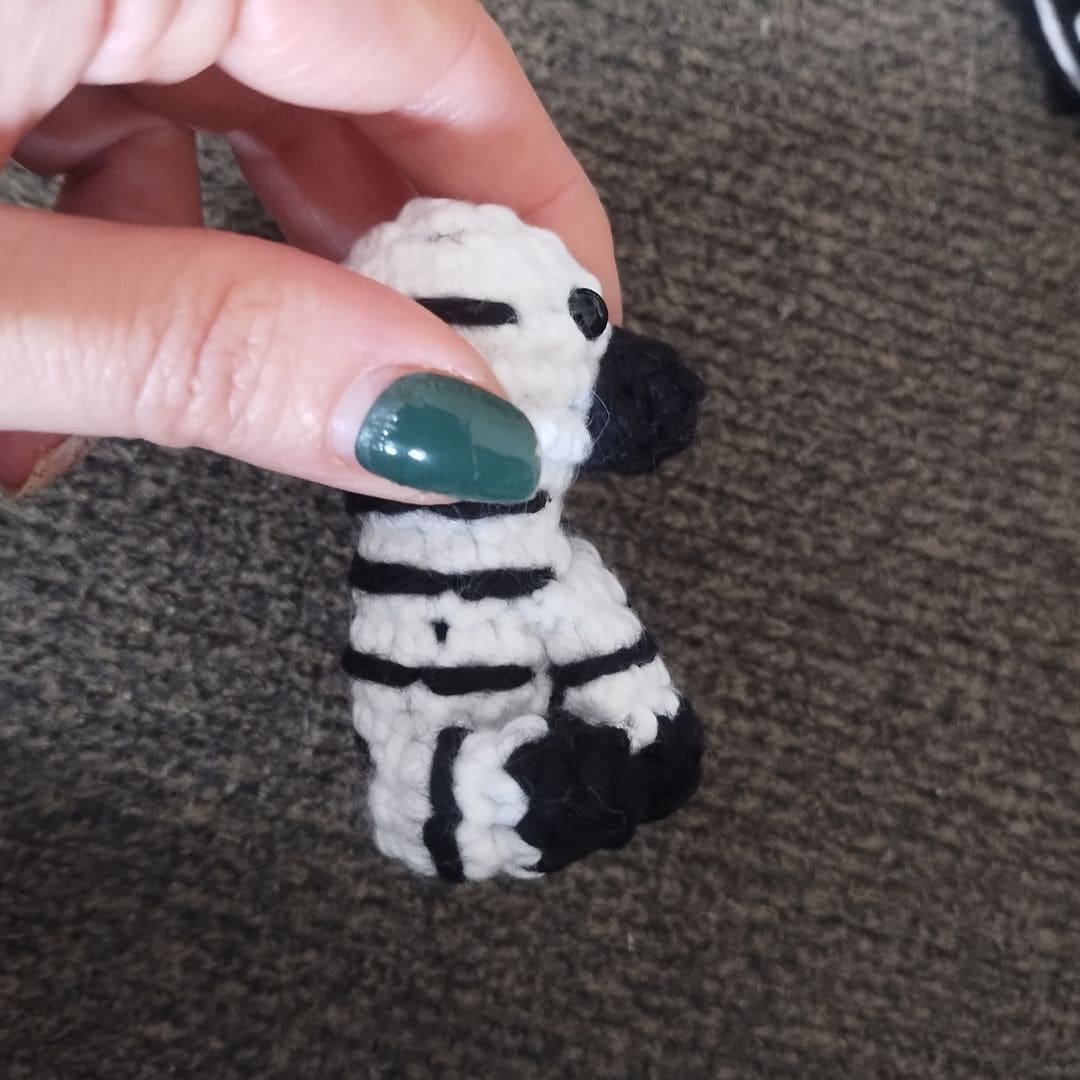
Using black yarn and a tapestry needle, embroider the stripes onto the body.
Start between Rounds 4 and 5 at the bottom of the body. I began on the left side of the belly when the zebra is facing you.
Embroider over 3–4 stitches at a time, then move around the body to create a stripe.
Repeat the stripes every 2 rounds, working your way up toward the head.
⚠️ Leave the belly free of black stripes.
⚠️ Leave the front of the face without stripes as well.
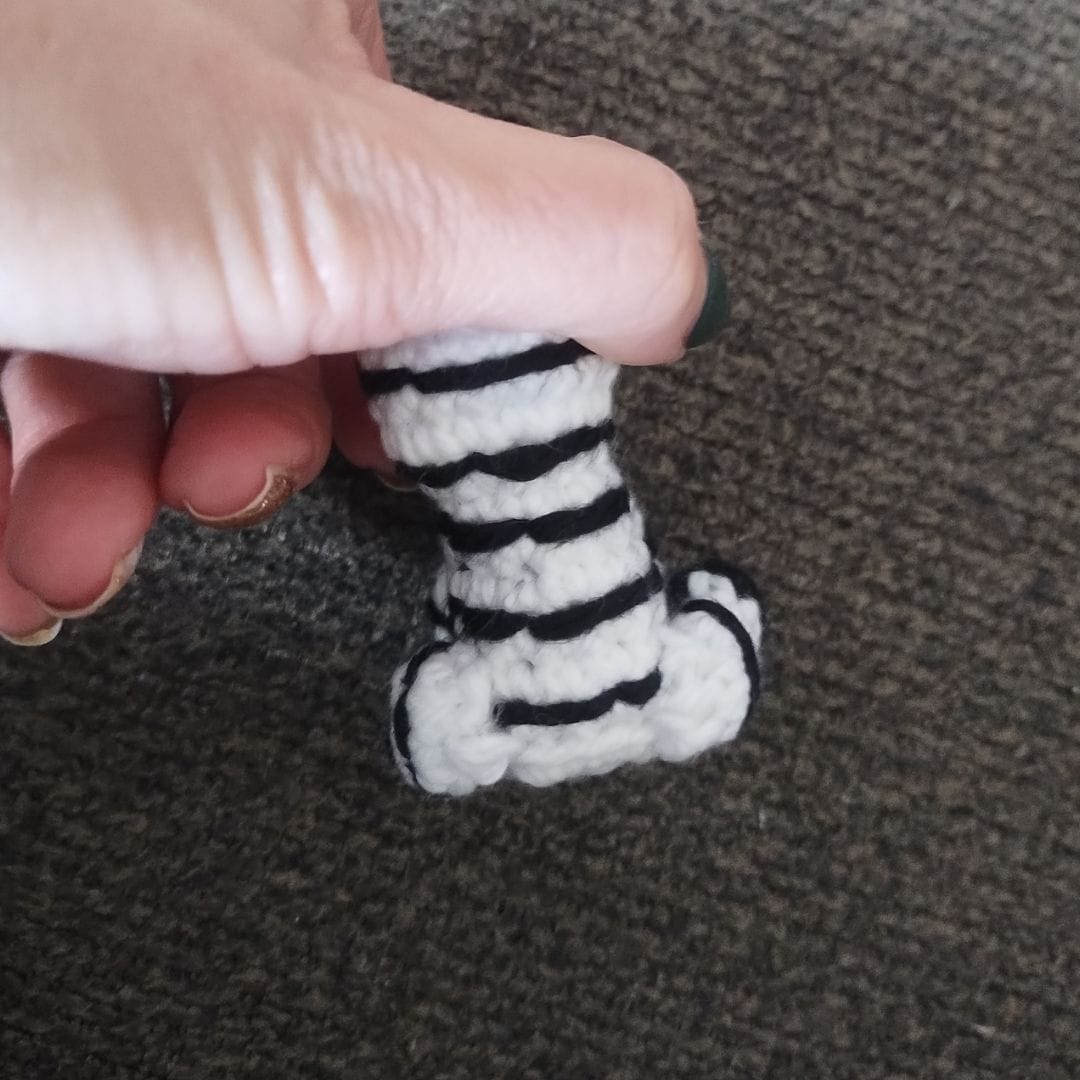
For the legs, add one stripe between Rounds 4 and 5 on each leg.
Assembling
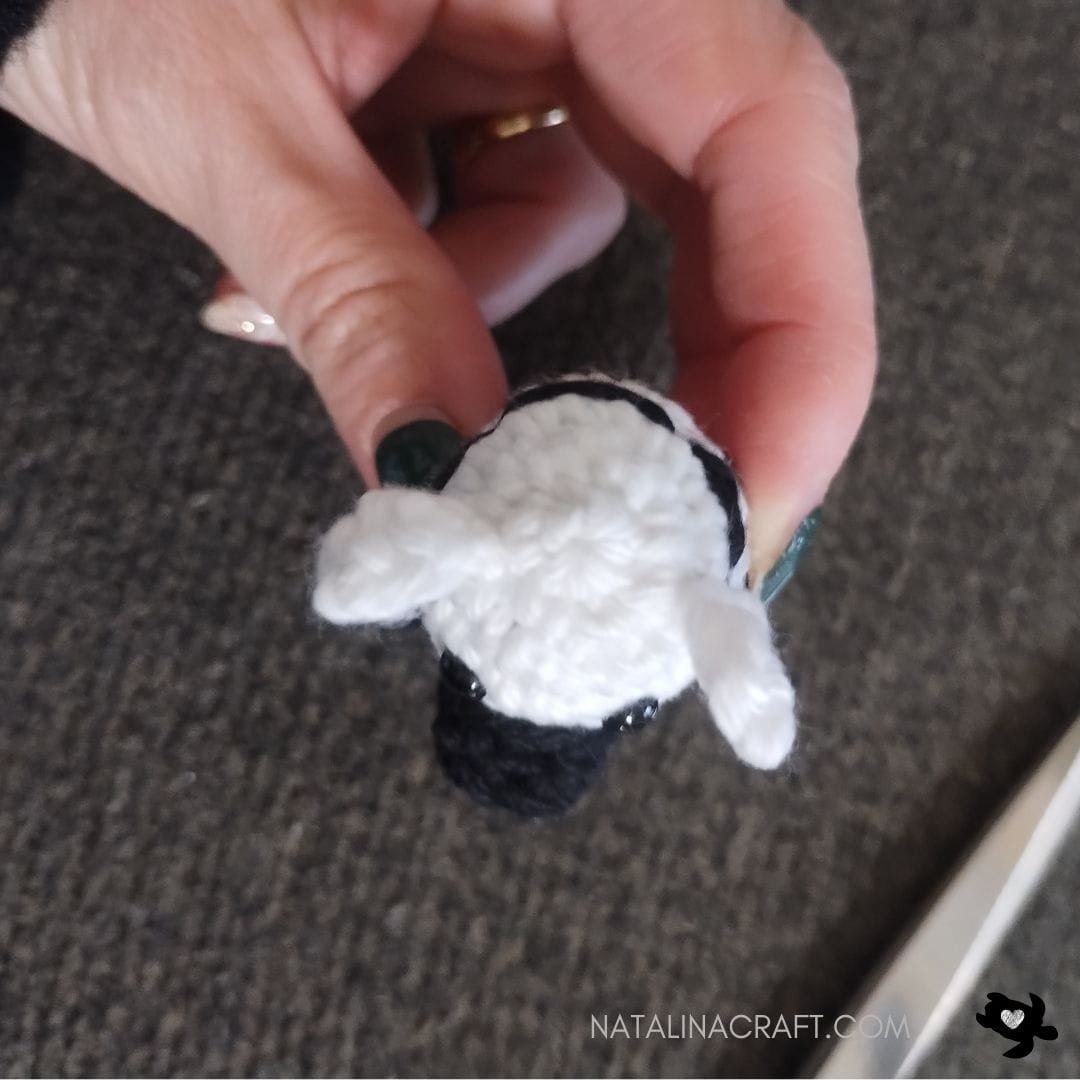
Sew the ears to the head over Round 15.
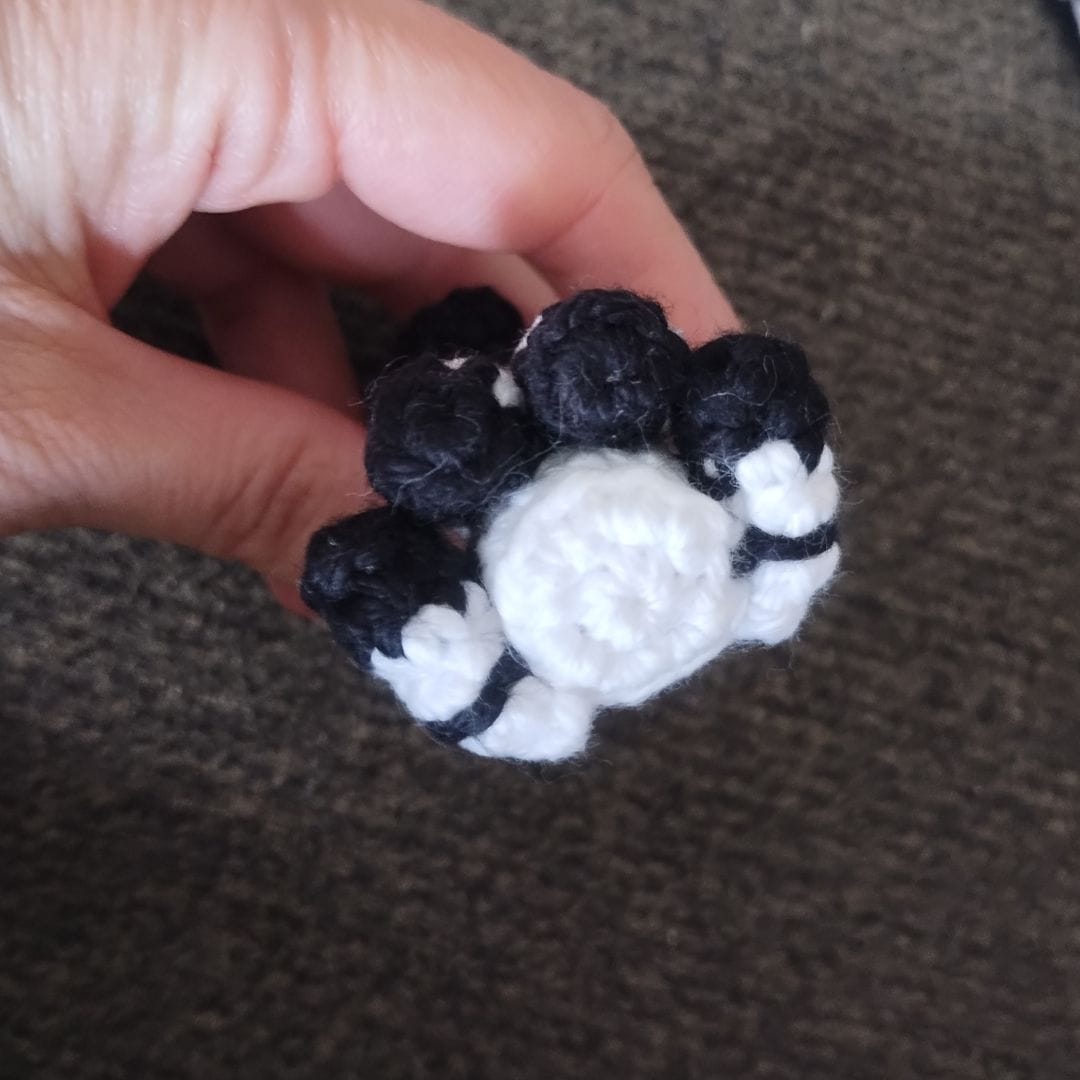
Sew the two front legs to the body with your tapestry needle. The top of the legs should be between Rounds 7 and 8.
Sew the two back legs to the body. They should be placed over Rounds 3 and 4. Look at the pictures below to help you.
Ensure the zebra sits flat before sewing the legs in place.

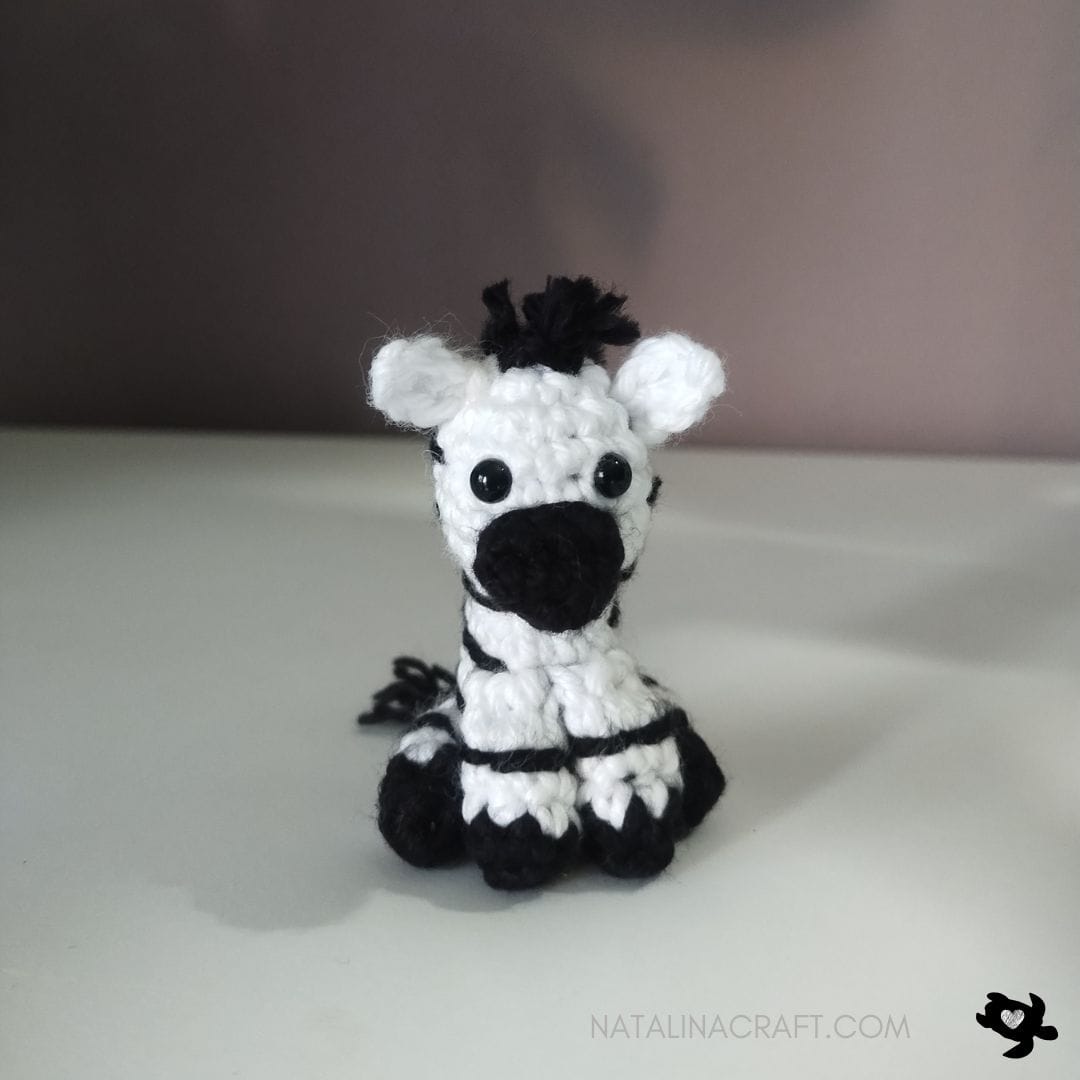
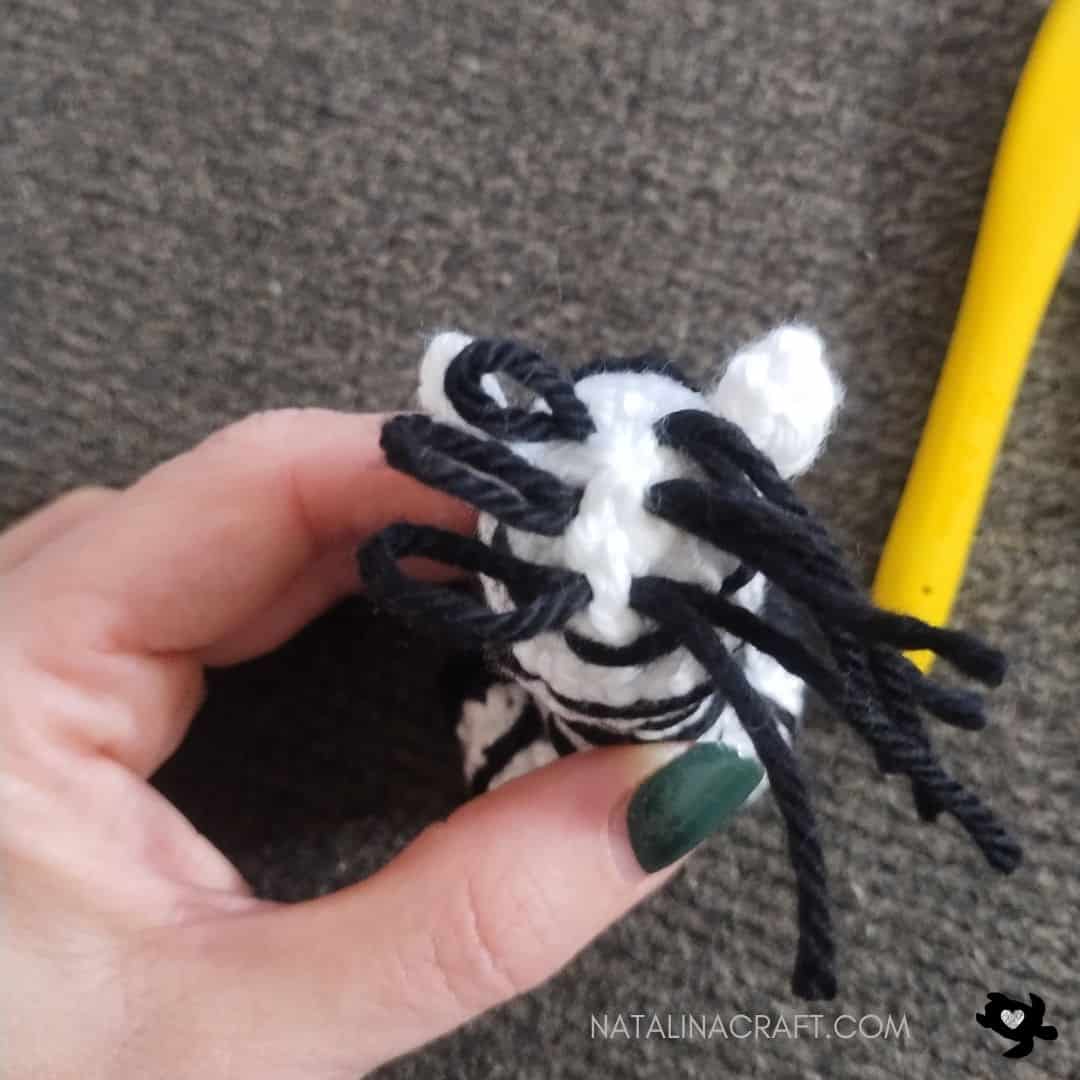
Mane
Cut several strands of black yarn, about 5.5 inches (14 cm) long. I used 5 strands, but you can add more or fewer depending on how full you would like the mane to be.
Starting after Round 16, attach the strands along the center of the head. To do this, fold one strand in half and use your crochet hook to pull the folded middle through a stitch. Then pull both loose ends through the loop and tighten to secure.
Once attached, gently separate each strand of the yarn to create a fuller, fluffier look. Trim the strands to your desired length.
Continue adding strands in the same way along the center of the head until you reach the desired length for the mane.
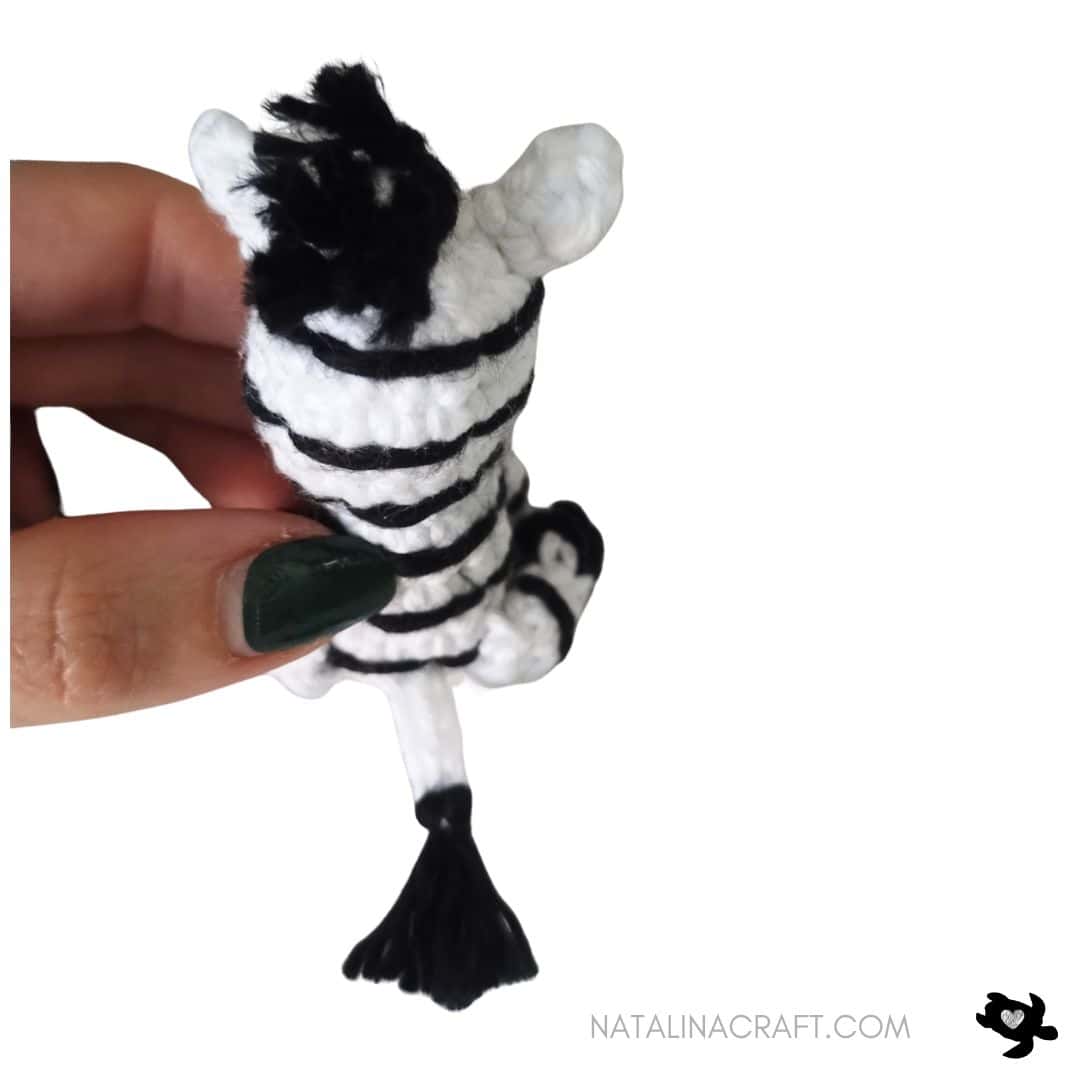
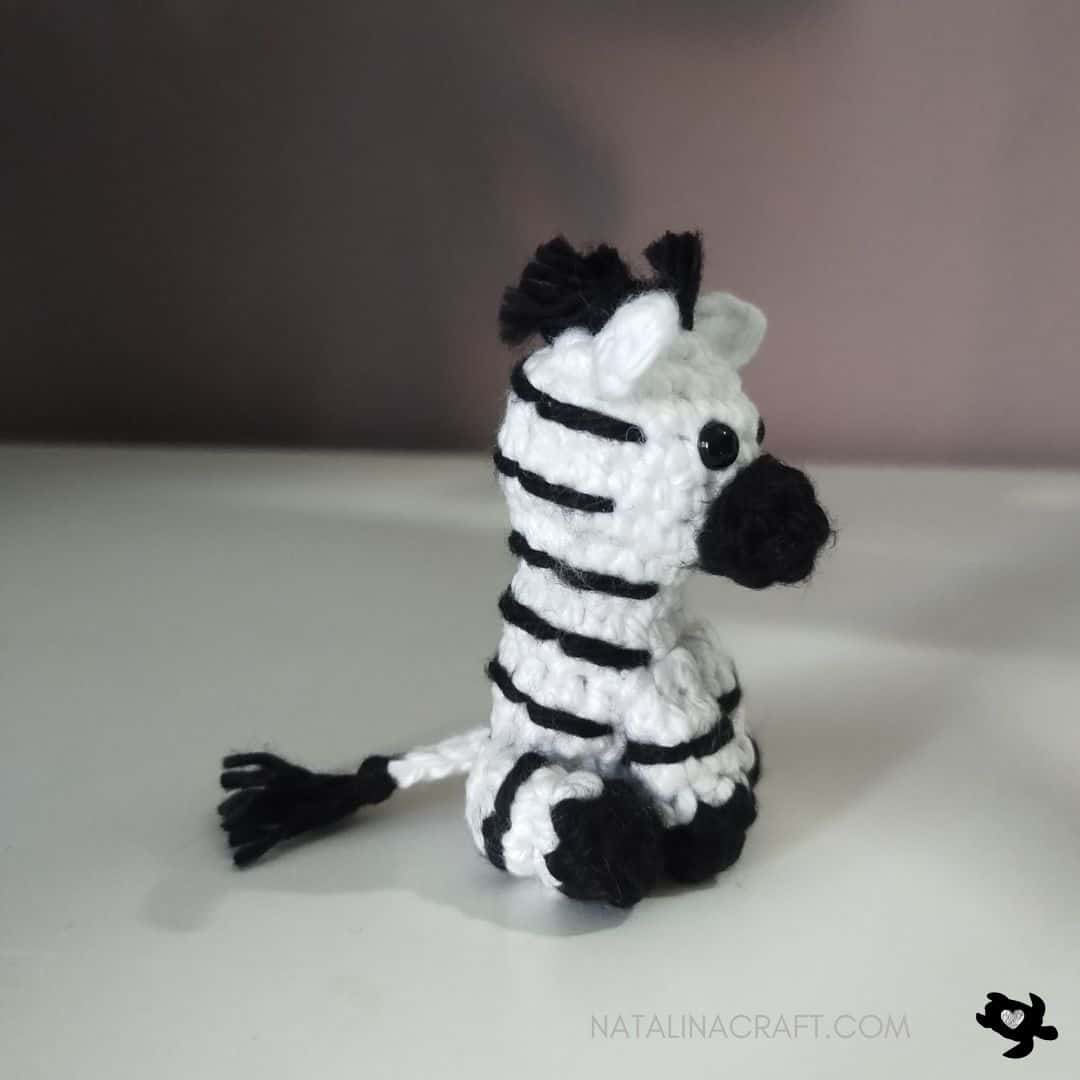
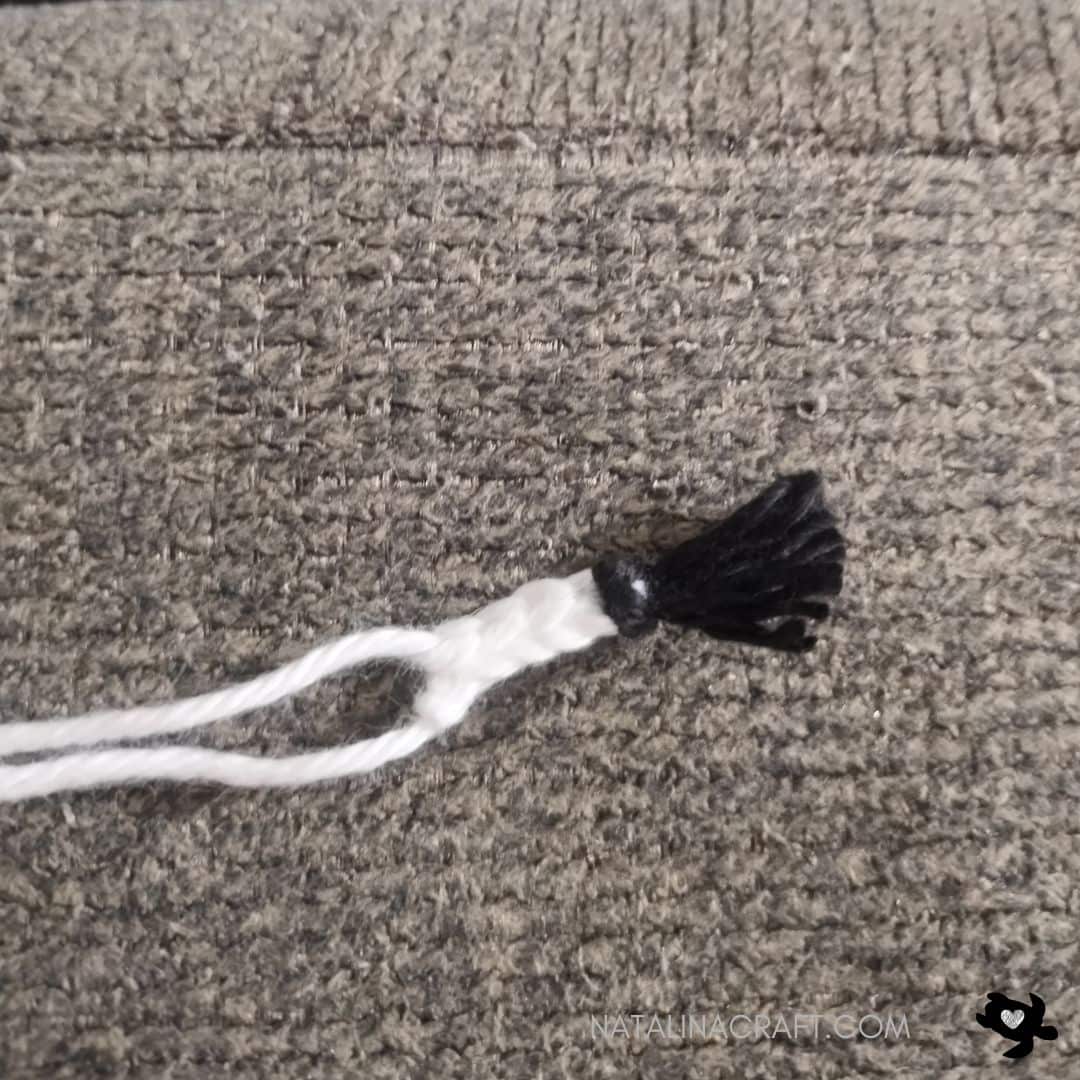
Tail
With a 2.75 mm crochet and yarn in white:
- Row 1: ch 5.
- Row 2: starting in the 2nd ch from the hook: 1 sl st in the next 4 ch. (4)
Cut the yarn but leave a long tail for sewing.
Cut two strands of black yarn (about 5.5″/14cm).
Insert the hair in the first sl st of the tail: grab the yarn by the middle with your crochet hook, insert both ends into the loop, and tighten it up. Separate each strand of the yarn as shown in the picture below and trim it to your desired length.
Sew the tail at the back of the body between rounds 3 and 4.
Congratulations on crafting the cutest crochet little Zebra!


Copyright Notice:
All rights reserved. The pattern and photographs presented in this document are the sole property of Natalina Craft and are protected under copyright law. This pattern is provided for personal use only. Any unauthorized reproduction, in whole or in part, or distribution of this pattern or its contents is strictly prohibited.
You are permitted to sell finished items created from this pattern in limited quantities. If you choose to sell your finished products online, it would be greatly appreciated if you include a statement attributing the pattern to Natalina Craft and provide a link back to the original post. Thank you for your understanding and adherence to these guidelines.
Mini Zebra – Crochet Pattern
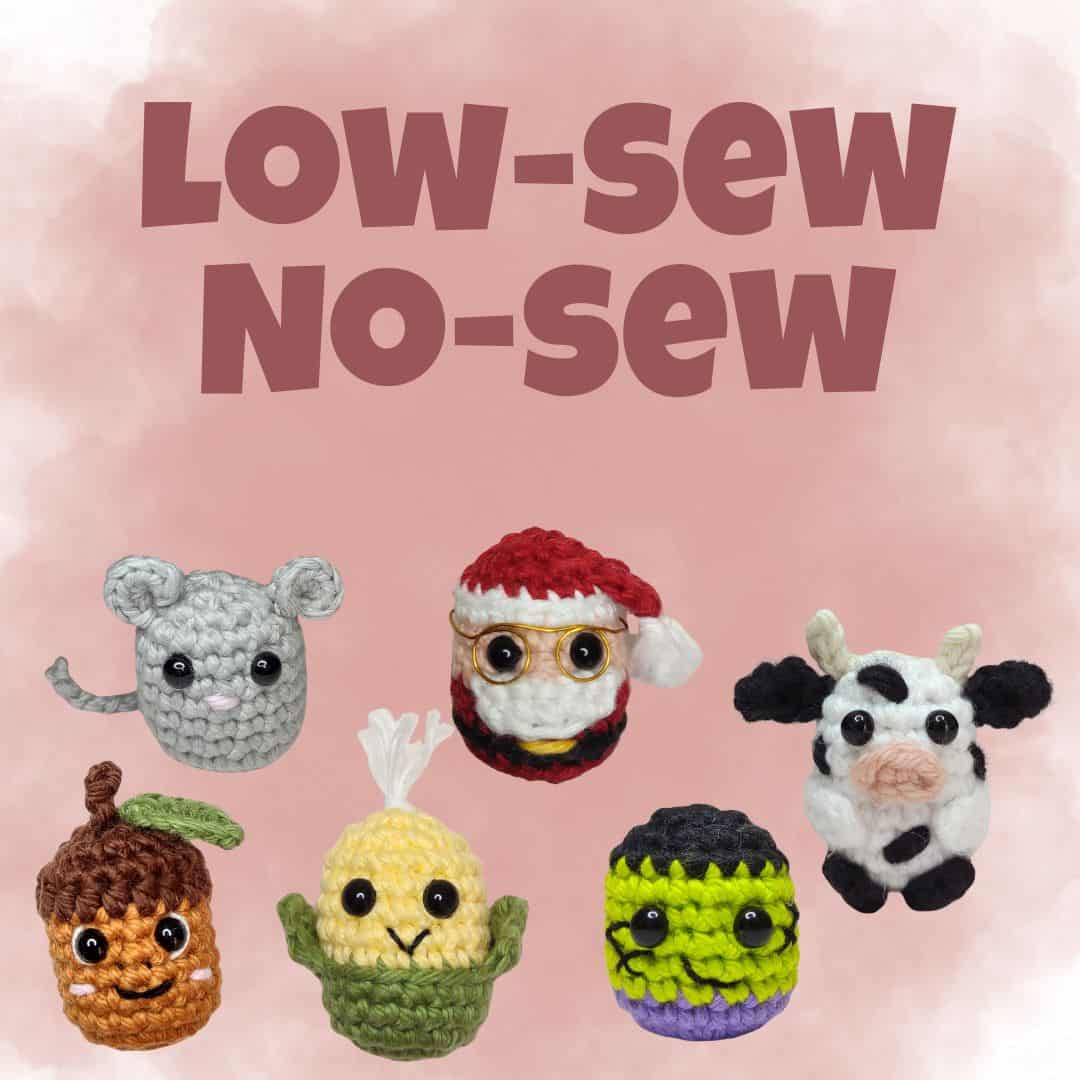
Looking for more Low-Sew/No-Sew crochet ideas?
Mini Zebra Crochet Pattern
Instructions
Mini Zebra - Crochet Pattern
Start Here:
- Please read the entire pattern properly before starting.
- The pattern is written using US terms.
Parts:
- 1 Body
- 2 ears
- 1 muzzle
- 4 legs
- 1 tail
- 1 mane
Size:
- 3 inches with light worsted yarn (I used I love this cotton from Hobby Lobby)
Material:
- Worsted yarn in white and black
- Size US C / 2.75 mm crochet hook
- 2 black safety eyes (5 mm)
- Stitch markers (if needed)
- Tapestry needle
- Polyfill
Abbreviations:
- chain (ch)
- magic ring (mr)
- single crochet (sc)
- increase (inc)
- invisible decrease (dec)
- slip stitch (sl st)
- double crochet (DC)
- Half double crochet (HDC)
How to crochet a Mini Zebra?
Muzzle
- Worked around a chain.
With a 2.75 mm crochet and yarn in black:
- Round 1: ch 5.
- Round 2: starting in the 2nd ch from the hook: [1 sc in the next 3 ch, 2 sc in the last ch; now working on the other side of the chain: 1 sc in the next 3 ch]. (8)
- Round 3: [1 sc in all st]. (8)
1 sl st in the next st.
Cut the yarn but leave a long tail for sewing. Keep it for later.
Ears (make 2)
- Worked in rows.
With a 2.75 mm crochet and yarn in white:
- Row 1: ch 4.
- Row 2: starting in the 2nd ch from the hook: [1 sc, 1 hdc, 1 sc]. (3)
Cut the yarn but leave a long tail for sewing. Keep aside for later.
Legs (make 4)
- Worked in continuous rounds (as a spiral). Use a stitch marker if needed.
- You can slightly stuff the bottom part of the leg.
With a 2.75 mm crochet and yarn in black:
- Round 1: 6 sc in a magic ring. (6)
- Round 2: working in the back loops only (BLO): [1 sc in all st]. (6)
Change to the white yarn:
- Rounds 3-5: [1 sc in all st]. (6)
Cut the yarn but leave a long tail for sewing. Set aside for later.
Body and head
- Worked in continuous rounds (as a spiral). Use a stitch marker if needed.
- We start from the bottom of the body and finish with the head.
- Stuff as you go.
With a 2.75 mm crochet and yarn in white:
- Round 1: 6 sc in a magic ring. (6)
- Round 2: [6 inc]. (12)
- Round 3: working in the back loops only (BLO): [1 sc in all st]. (12)
- Rounds 4-8: [1 sc in all st]. (12)
- Round 9: [2 sc, 1 dec] x3. (9)
- Round 10: [9 inc]. (18)
- Rounds 11-14: [1 sc in all st]. (18)
- Round 15: [1 sc, 1 dec] x6. (12)
Place the eyes between Rounds 13 and 14, spaced by 2 st. Sew the muzzle to the head, centered below the eyes. The bottom of the muzzle should be between Rounds 10 and 11. The top of the muzzle should be between Rounds 12 and 13. Remember to fill the body before closing it.
- Round 16: [6 dec]. (6)
Cut the yarn, close the body and fasten off.
Stripes
Using black yarn and a tapestry needle, embroider the stripes onto the body.
Start between Rounds 4 and 5 at the bottom of the body. I began on the left side of the belly when the zebra is facing you.
Embroider over 3–4 stitches at a time, then move around the body to create a stripe.
Repeat the stripes every 2 rounds, working your way up toward the head.
⚠️ Leave the belly free of black stripes.⚠️ Leave the front of the face without stripes as well.
For the legs, add one stripe between Rounds 4 and 5 on each leg.
Mane
Cut several strands of black yarn, about 5.5 inches (14 cm) long. I used 5 strands, but you can add more or fewer depending on how full you would like the mane to be.
Starting after Round 16, attach the strands along the center of the head. To do this, fold one strand in half and use your crochet hook to pull the folded middle through a stitch. Then pull both loose ends through the loop and tighten to secure.
Once attached, gently separate each strand of the yarn to create a fuller, fluffier look. Trim the strands to your desired length.
Continue adding strands in the same way along the center of the head until you reach the desired length for the mane.
Assembling
Sew the ears to the head over Round 15.
Sew the two front legs to the body with your tapestry needle. The top of the legs should be between Rounds 7 and 8.Sew the two back legs to the body. They should be placed over Rounds 3 and 4. Look at the pictures below to help you. Ensure the zebra sits flat before sewing the legs in place.
Tail
With a 2.75 mm crochet and yarn in white:
- Row 1: ch 5.
- Row 2: starting in the 2nd ch from the hook: 1 sl st in the next 4 ch. (4)
Cut the yarn but leave a long tail for sewing. Cut two strands of black yarn (about 5.5"/14cm). Insert the hair in the first sl st of the tail: grab the yarn by the middle with your crochet hook, insert both ends into the loop, and tighten it up. Separate each strand of the yarn as shown in the picture below and trim it to your desired length. Sew the tail at the back of the body between rounds 3 and 4.
Congratulations on crafting the cutest crochet little Zebra!
Copyright Notice: All rights reserved. The pattern and photographs presented in this document are the sole property of Natalina Craft and are protected under copyright law. This pattern is provided for personal use only. Any unauthorized reproduction, in whole or in part, or distribution of this pattern or its contents is strictly prohibited. You are permitted to sell finished items created from this pattern in limited quantities. If you choose to sell your finished products online, it would be greatly appreciated if you include a statement attributing the pattern to Natalina Craft and provide a link back to the original post. Thank you for your understanding and adherence to these guidelines.
So adorable! I love zebras!
Thank you!