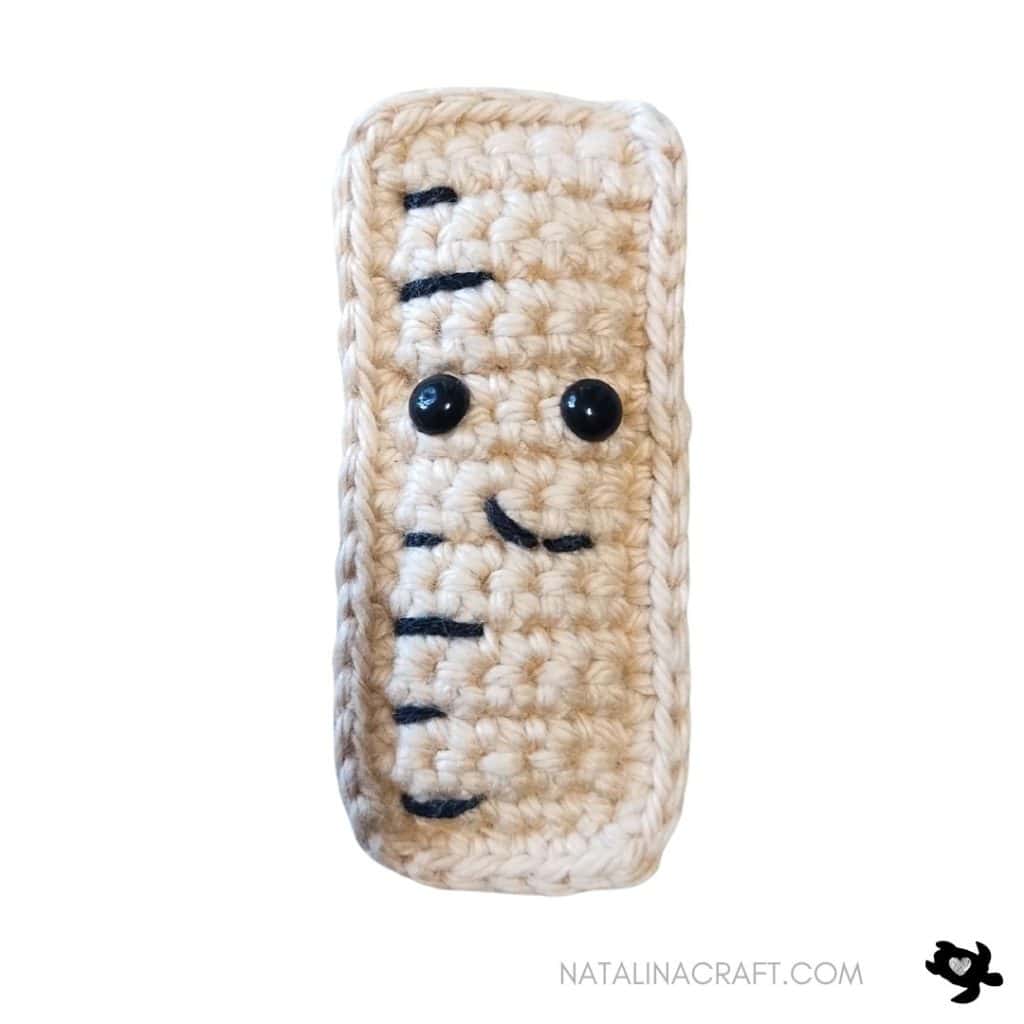
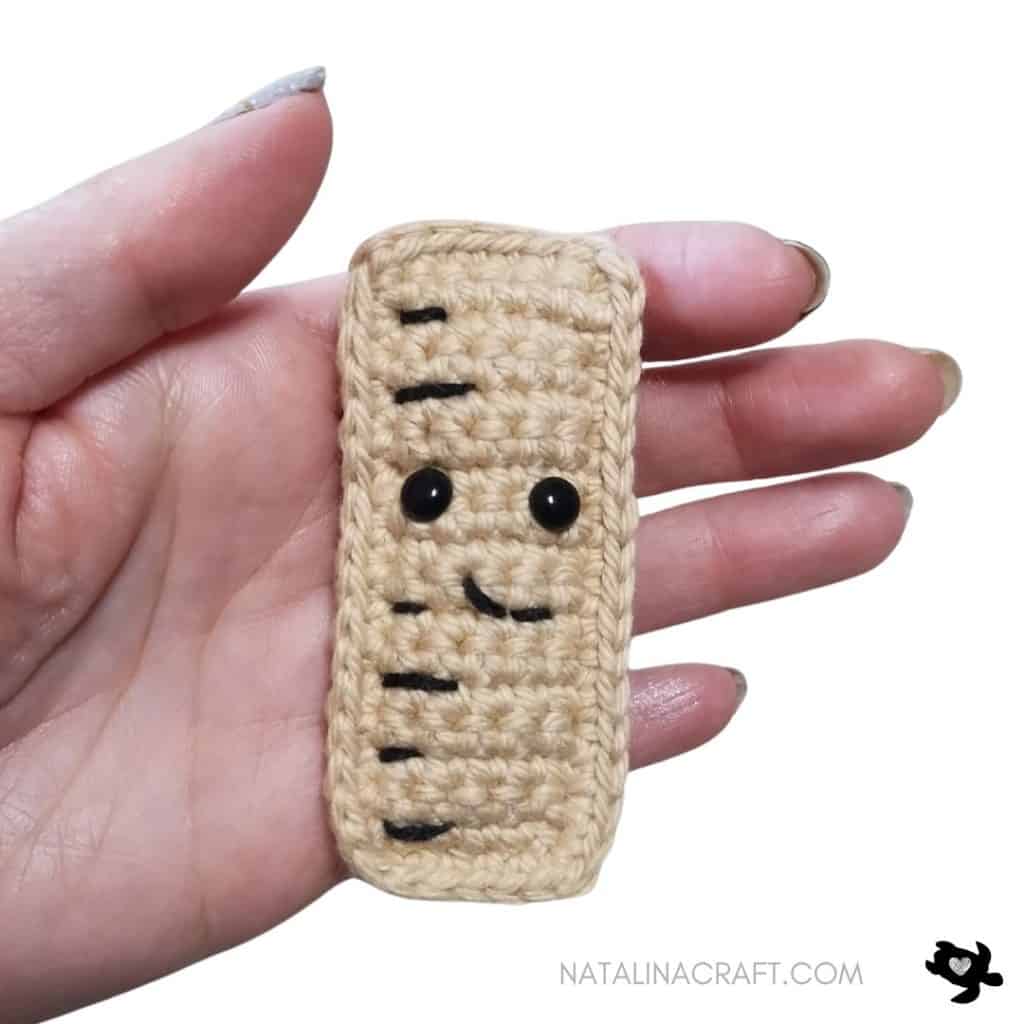
Looking for another fun addition to your Back to School crochet collection? Today I’m sharing the next pattern in the series — a cute Ruler Amigurumi! 🧶 This project is small, quick, and beginner-friendly, making it a perfect little make for teachers, students, or anyone who loves school-themed crafts.
Like the pencil, glue bottle, and notebook patterns in this series, the ruler is designed in a squishy, easy-to-follow style with minimal sewing. It works up fast, uses just a small amount of yarn, and makes a great teacher appreciation gift, classroom decoration, or market stall item.
Whether you’re adding it to your Back to School crochet set, making it as a playful desk buddy, or gifting it to a teacher, this ruler amigurumi is sure to bring a smile. Stay tuned — more school supply patterns are coming soon to complete the collection!
Remember to become a part of my VIP Facebook group HERE. This is where you can ask any questions you might have and showcase your completed projects. I’ll frequently inquire about the patterns you’d like to work on next. Of course, feel free to propose ideas even if I haven’t asked for suggestions!
I hope you will enjoy and understand the pattern. If you have any questions, please don’t hesitate to write to me. I’ll do my best to help you. And I would love to see your work! Don’t forget to share your finished projects using the hashtag #natalinacraft. I love seeing your incredible work!
Follow me on Instagram and Facebook for exclusive sneak peeks, behind-the-scenes, and updates on upcoming patterns and collections. Let’s build a vibrant crochet community together!
Crochet Pattern – Free Crochet Pattern – Ruler
Start Here:
Please read the entire pattern carefully before beginning.
The pattern is written using US terms. The design can be created with yarn in various sizes. I made it with worsted yarn.
Size:
- 3 inches (7.5 cm) tall with light worsted yarn
Material:
- Yarn calling for a 5.5 mm hook in light brown.
- Embroidery thread in black for the mouth and the graduations.
- Size 2.75 mm crochet hook (B/2).
- 2 black safety eyes (6 mm)
- Stitch markers (if needed)
- Tapestry needle
- poly-fill
Abbreviations:
- chain (ch)
- magic ring (mr)
- single crochet (sc)
- increase (inc)
- invisible decrease (dec)
- slip stitch (sl st)
- half double crochet (hdc)
- double crochet (dc)
- back loop only (blo)
Pattern: How to crochet a ruler?
Let’s start – Free Crochet Pattern – Ruler
- The ruler is worked in rows.
Back of the ruler:
With a 2.75 mm crochet and brown yarn
- Row 1: ch 7. Starting in the 2nd ch from the hook: 1 sc in the next 6 ch. (6)
- Rows 2 to 16: ch1, turn; 1 sc in the next 6 ch. (6)
Cut the yarn, secure the end, and keep it for later use.
Front of the ruler:
With a 2.75 mm crochet and brown yarn
- Row 1: ch 7. Starting in the 2nd ch from the hook: 1 sc in the next 6 ch. (6)
- Rows 2 to 16: ch1, turn; 1 sc in the next 6 ch. (6)
Do not cut the yarn.
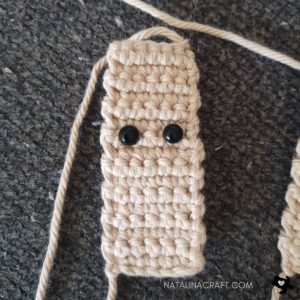
Place the eyes between Rows 10 and 11, spaced by 2 stitches.
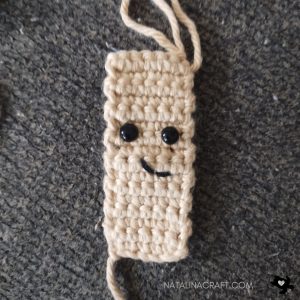
With the black embroidery thread, make a mouth between Rows 7 and 8.
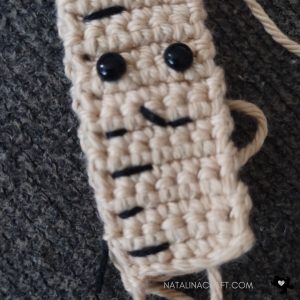
With black embroidery thread, add the ruler’s markings on the left side. Work 1 long line (over 2 stitches), then 1 short line (over 1 stitch), and continue alternating. Make a total of 3 long lines and 3 short lines. Skip the area with the eyes. Refer to the pictures below for guidance.
Place the front of the ruler over the back, aligning the edges. Work 1 sc all around, inserting your hook through both layers to join them together. At each corner, make 1 ch before continuing in the next stitch — this will help keep the corners square. Add a little stuffing inside before closing completely. Once you reach the starting point, finish with 1 sl st into the first sc. Cut the yarn, fasten off, and weave in the end.
Congratulations, your ruler is ready!
Copyright Notice:
All rights reserved. The pattern and photographs presented in this document are the sole property of Natalina Craft and are protected under copyright law. This pattern is provided for personal use only. Any unauthorized reproduction, in whole or in part, or distribution of this pattern or its contents is strictly prohibited.
You are permitted to sell finished items created from this pattern in limited quantities. If you choose to sell your finished products online, it would be greatly appreciated if you include a statement attributing the pattern to Natalina Craft and provide a link back to the original post. Thank you for your understanding and adherence to these guidelines.
Ruler – Free Crochet Pattern
Free crochet pattern - Ruler
Instructions
Crochet Pattern - Free Crochet Pattern - Ruler
Start Here:
Please read the entire pattern carefully before beginning.
The pattern is written using US terms. The design can be created with yarn in various sizes. I made it with worsted yarn.
Size:
- 3 inches (7.5 cm) tall with light worsted yarn
Material:
- Yarn calling for a 5.5 mm hook in light brown.
- Embroidery thread in black for the mouth and the graduations.
- Size 2.75 mm crochet hook (B/2).
- 2 black safety eyes (6 mm)
- Stitch markers (if needed)
- Tapestry needle
- poly-fill
Abbreviations:
- chain (ch)
- magic ring (mr)
- single crochet (sc)
- increase (inc)
- invisible decrease (dec)
- slip stitch (sl st)
- half double crochet (hdc)
- double crochet (dc)
- back loop only (blo)
Pattern: How to crochet a ruler?
Let's start - Free Crochet Pattern - Ruler
- The ruler is worked in rows.
Back of the ruler:
With a 2.75 mm crochet and brown yarn
- Row 1: ch 7. Starting in the 2nd ch from the hook: 1 sc in the next 6 ch. (6)
- Rows 2 to 16: ch1, turn; 1 sc in the next 6 ch. (6)
Cut the yarn, secure the end, and keep it for later use.
Front of the ruler:
With a 2.75 mm crochet and brown yarn
- Row 1: ch 7. Starting in the 2nd ch from the hook: 1 sc in the next 6 ch. (6)
- Rows 2 to 16: ch1, turn; 1 sc in the next 6 ch. (6)
Do not cut the yarn.
Place the eyes between Rows 10 and 11, spaced by 2 stitches.
With the black embroidery thread, make a mouth between Rows 7 and 8.
With black embroidery thread, add the ruler’s markings on the left side. Work 1 long line (over 2 stitches), then 1 short line (over 1 stitch), and continue alternating. Make a total of 3 long lines and 3 short lines. Skip the area with the eyes. Refer to the pictures below for guidance.
Place the front of the ruler over the back, aligning the edges. Work 1 sc all around, inserting your hook through both layers to join them together. At each corner, make 1 ch before continuing in the next stitch — this will help keep the corners square. Add a little stuffing inside before closing completely. Once you reach the starting point, finish with 1 sl st into the first sc. Cut the yarn, fasten off, and weave in the end.
Congratulations, your ruler is ready!
Copyright Notice:
All rights reserved. The pattern and photographs presented in this document are the sole property of Natalina Craft and are protected under copyright law. This pattern is provided for personal use only. Any unauthorized reproduction, in whole or in part, or distribution of this pattern or its contents is strictly prohibited.
You are permitted to sell finished items created from this pattern in limited quantities. If you choose to sell your finished products online, it would be greatly appreciated if you include a statement attributing the pattern to Natalina Craft and provide a link back to the original post. Thank you for your understanding and adherence to these guidelines.

