
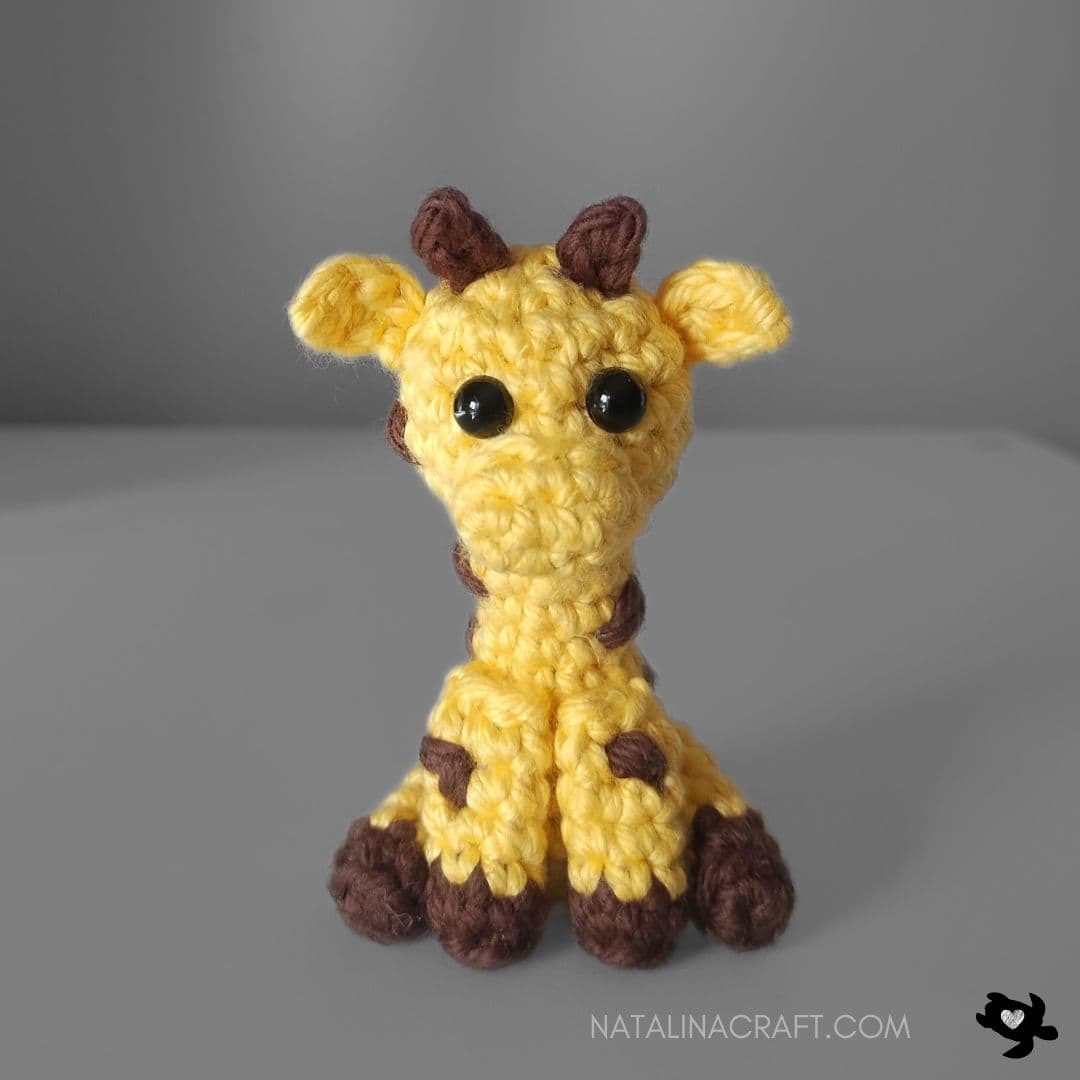
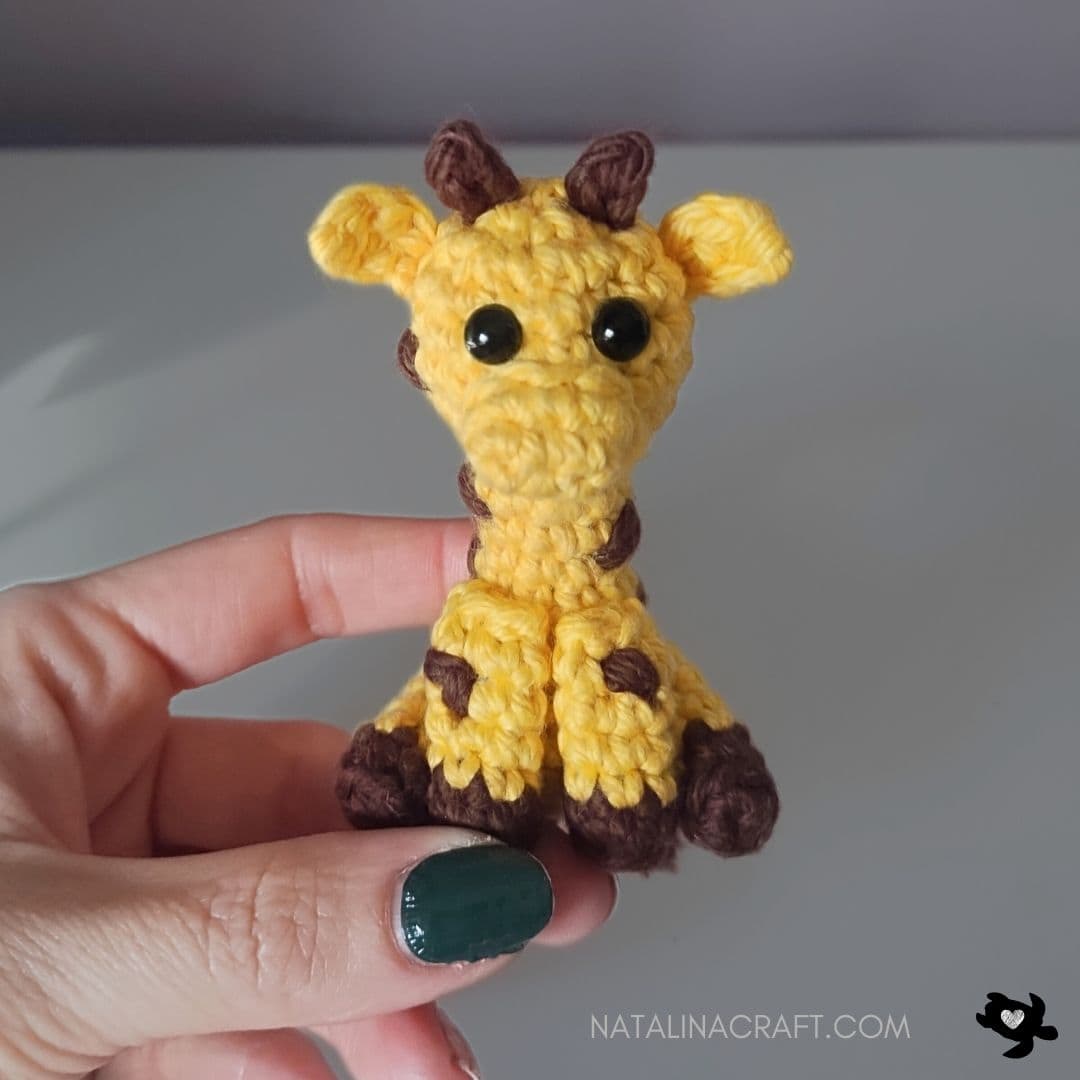
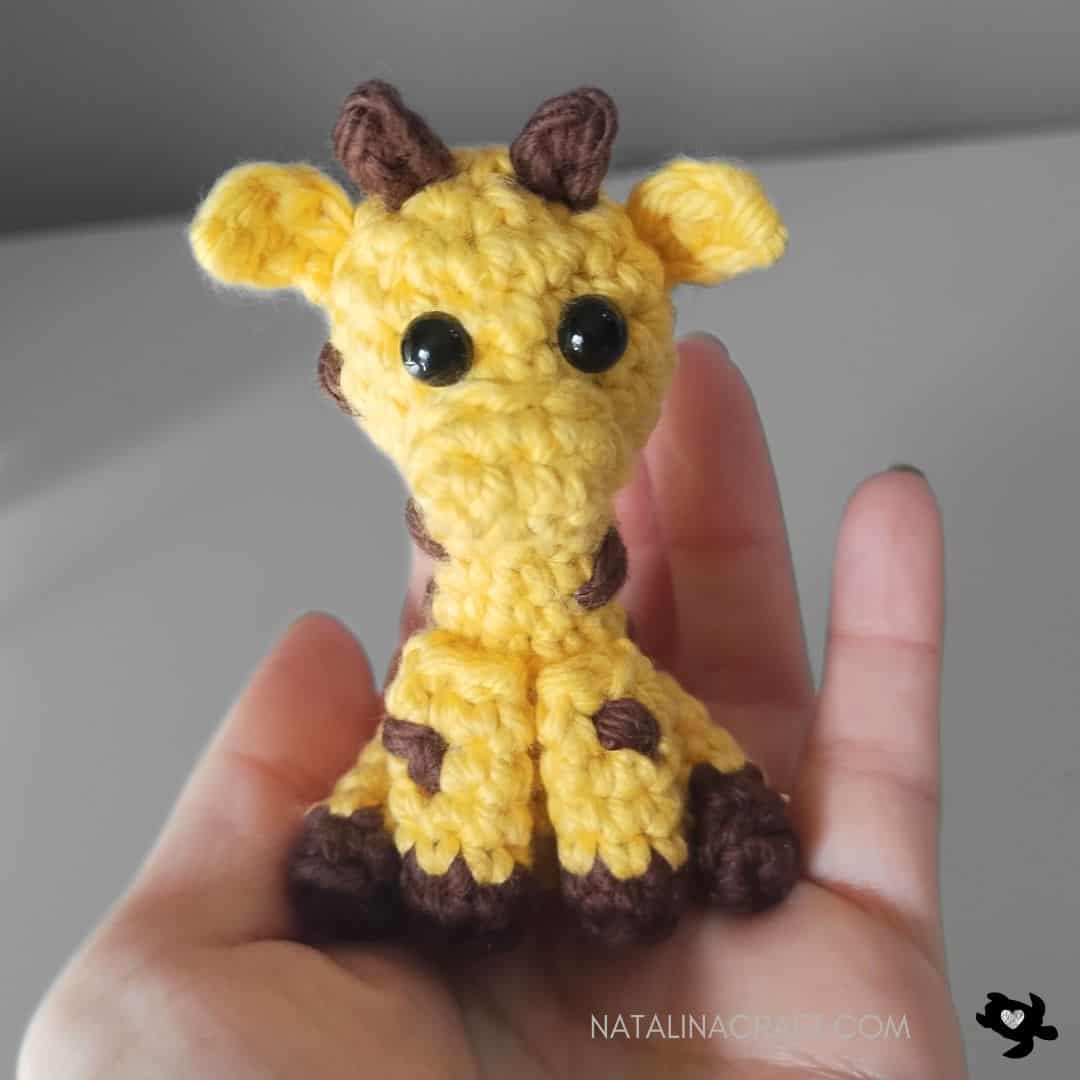
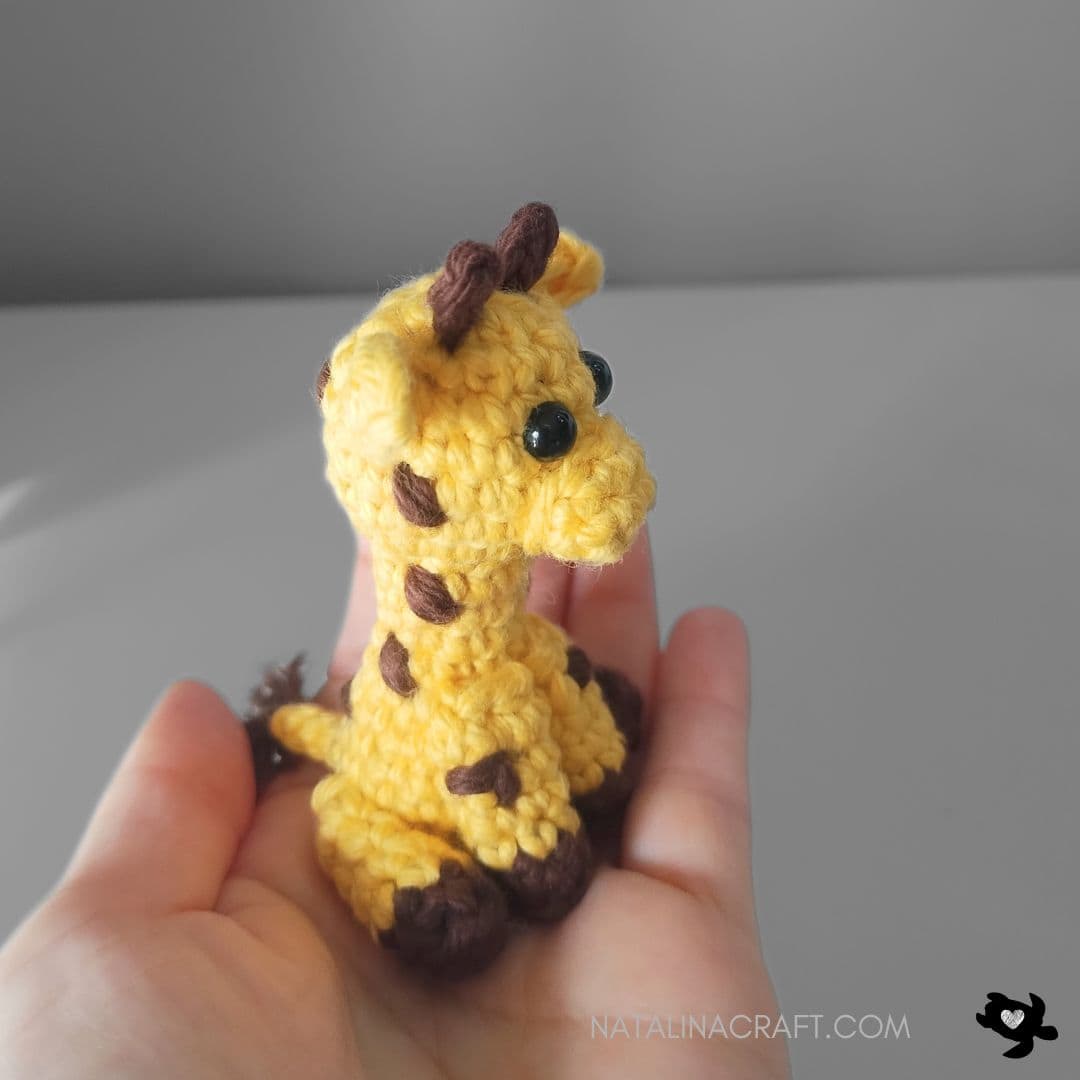
If you love tiny amigurumi and quick projects, you’re going to fall in love with this mini giraffe crochet pattern! This adorable little giraffe is soft, round, and perfectly sized to fit in the palm of your hand. Whether you’re looking for a sweet handmade gift, a cute nursery decoration, or a fun addition to your animal collection, this tiny crochet giraffe is sure to bring smiles.
This free giraffe amigurumi pattern is beginner-friendly and works up quickly using small amounts of yarn — making it perfect for scrap yarn projects. With its simple construction and minimal sewing, it’s an enjoyable make for both new crocheters and experienced makers who want a fast and satisfying project.
Tiny animals are always a favorite, and this little giraffe is perfect for safari-themed nurseries, baby gifts, keychains, or craft fair items. You can customize the colors, use plush or worsted yarn, and create a whole herd of mini giraffes in no time!
Join my Facebook group here, where you can ask questions, share your finished projects, and help me choose future designs!
I hope you will enjoy and understand the pattern. If you have any questions, please write to me, I will try my best to help you. And I would love to see your work! Don’t forget to share your finished projects using the hashtag #natalinacraft. I love seeing your beautiful work!
Mini Giraffe – Crochet Pattern
Start Here:
- Please read the entire pattern properly before starting.
- The pattern is written using US terms.
Parts:
- 1 Body
- 2 ears
- 2 horns
- 1 nose
- 4 legs
- 1 tail
Size:
- 3 inches with light worsted yarn (I used I love this cotton from Hobby Lobby)
Material:
- Worsted yarn in yellow and brown
- Size US C / 2.75 mm crochet hook
- 2 black safety eyes (5 mm)
- Stitch markers (if needed)
- Tapestry needle
- Polyfill
Abbreviations:
- chain (ch)
- magic ring (mr)
- single crochet (sc)
- increase (inc)
- invisible decrease (dec)
- slip stitch (sl st)
- double crochet (DC)
- Half double crochet (HDC)
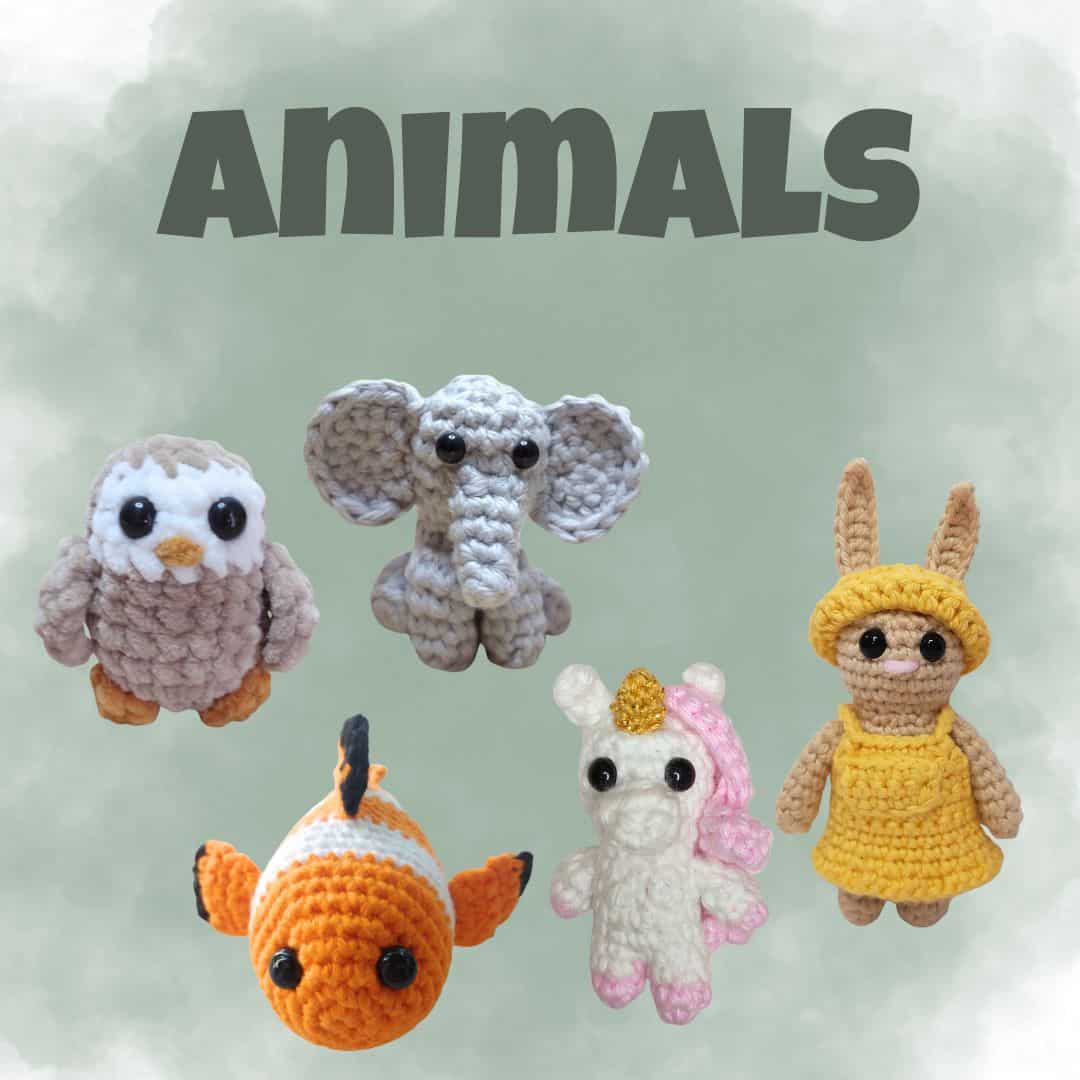
Looking for more Animal ideas?
How to crochet a Mini Giraffe?
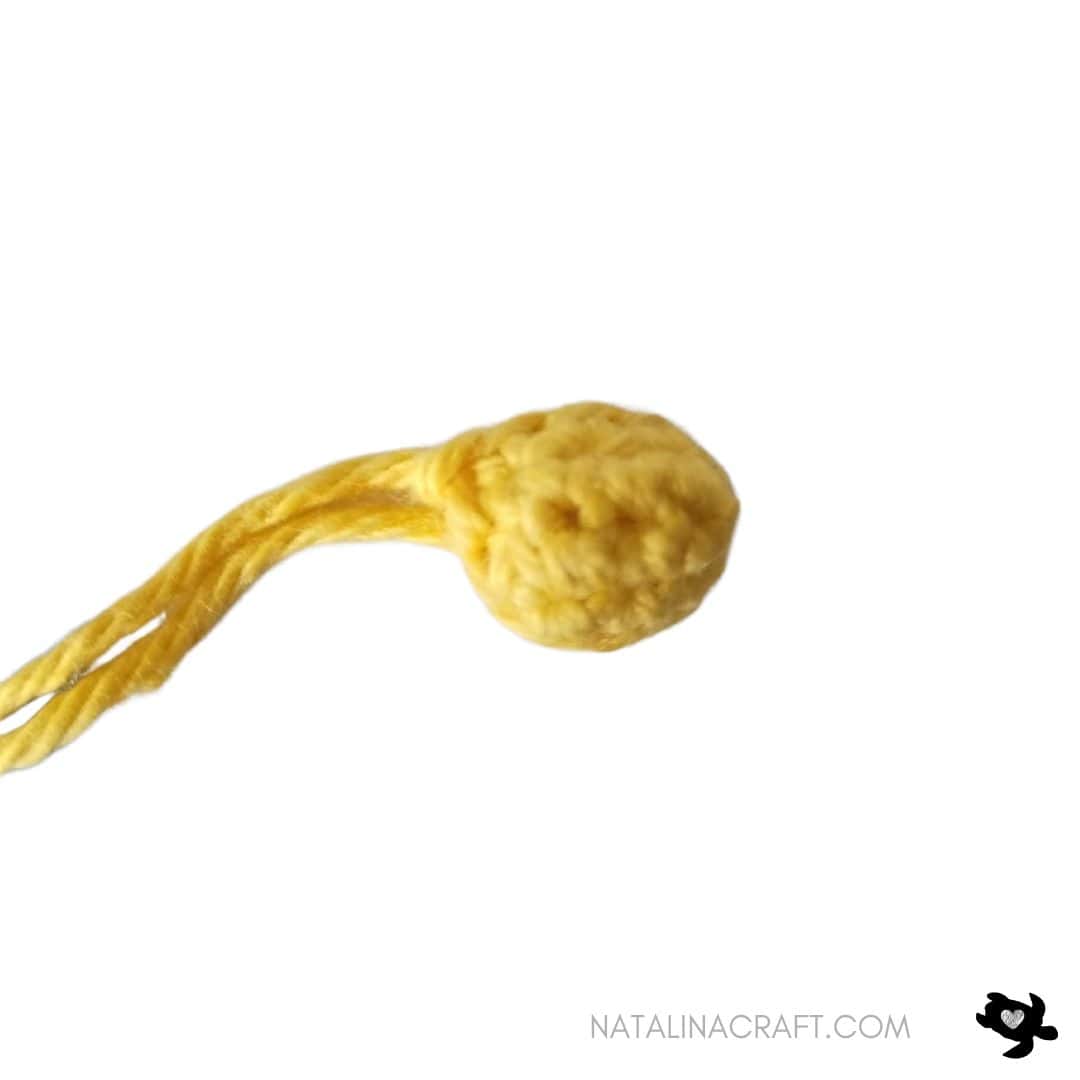
Nose
- Worked around a chain.
With a 2.75 mm crochet and yarn in yellow:
-
- Round 1: ch 5.
- Round 2: starting in the 2nd ch from the hook: [1 sc in the next 3 ch, 2 sc in the last ch; now working on the other side of the chain: 1 sc in the next 3 ch]. (8)
- Round 3: [1 sc in all st]. (8)
1 sl st in the next st.
Cut the yarn but leave a long tail for sewing. Keep it for later.
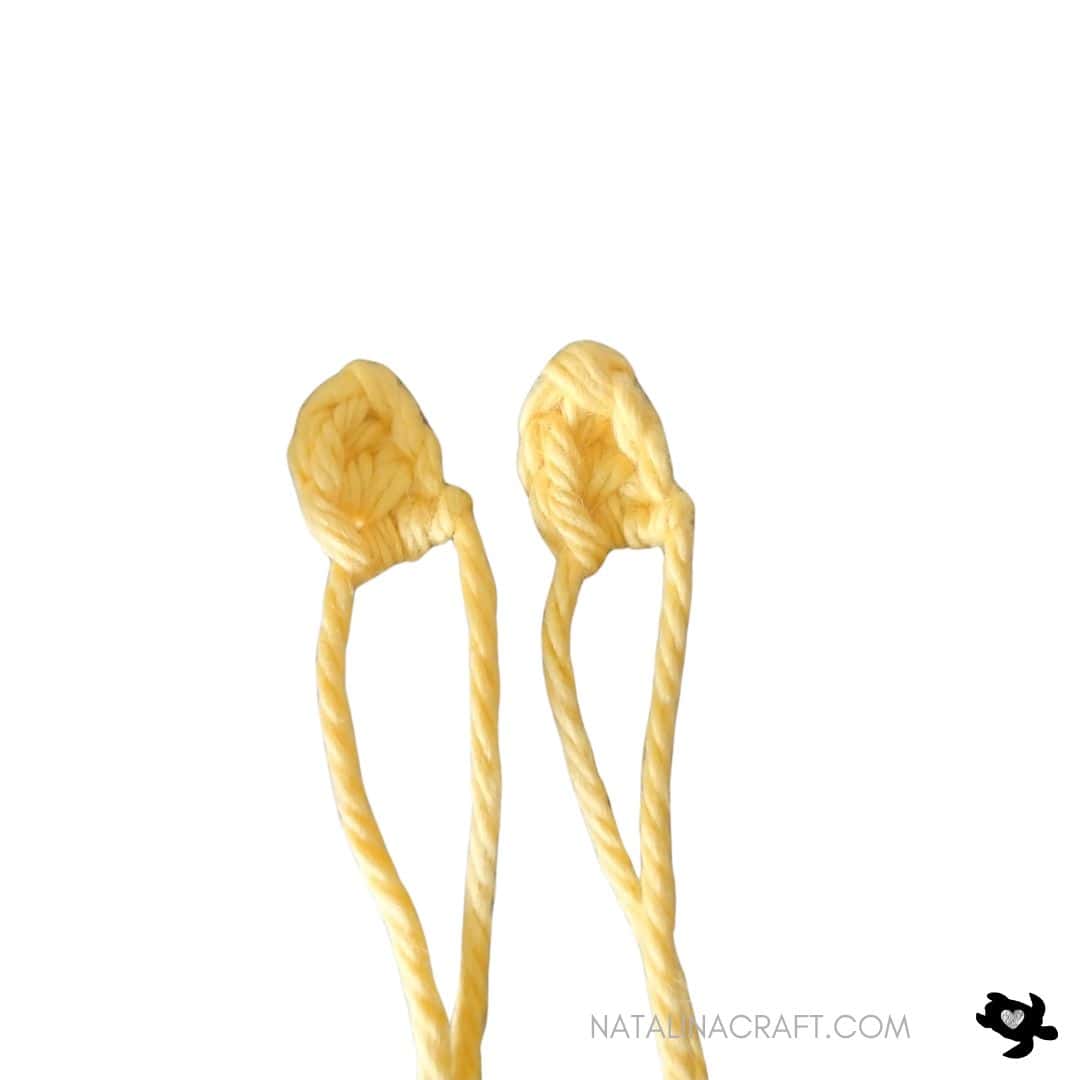
Ears (make 2)
- Worked in rows.
With a 2.75 mm crochet and yarn in yellow:
- Row 1: ch 4.
- Row 2: starting in the 2nd ch from the hook: [1 sc, 1 hdc, 1 dc]. (3)
Cut the yarn but leave a long tail for sewing.
Keep aside for later.
Horns (make 2)
- Worked in rows.
With a 2.75 mm crochet and yarn in brown:
- Round 1: ch 3.
- Round 2: starting in the 2nd ch from the hook: [2 sl st]. (2)
Cut the yarn but leave a long tail for sewing.
Keep aside for later.
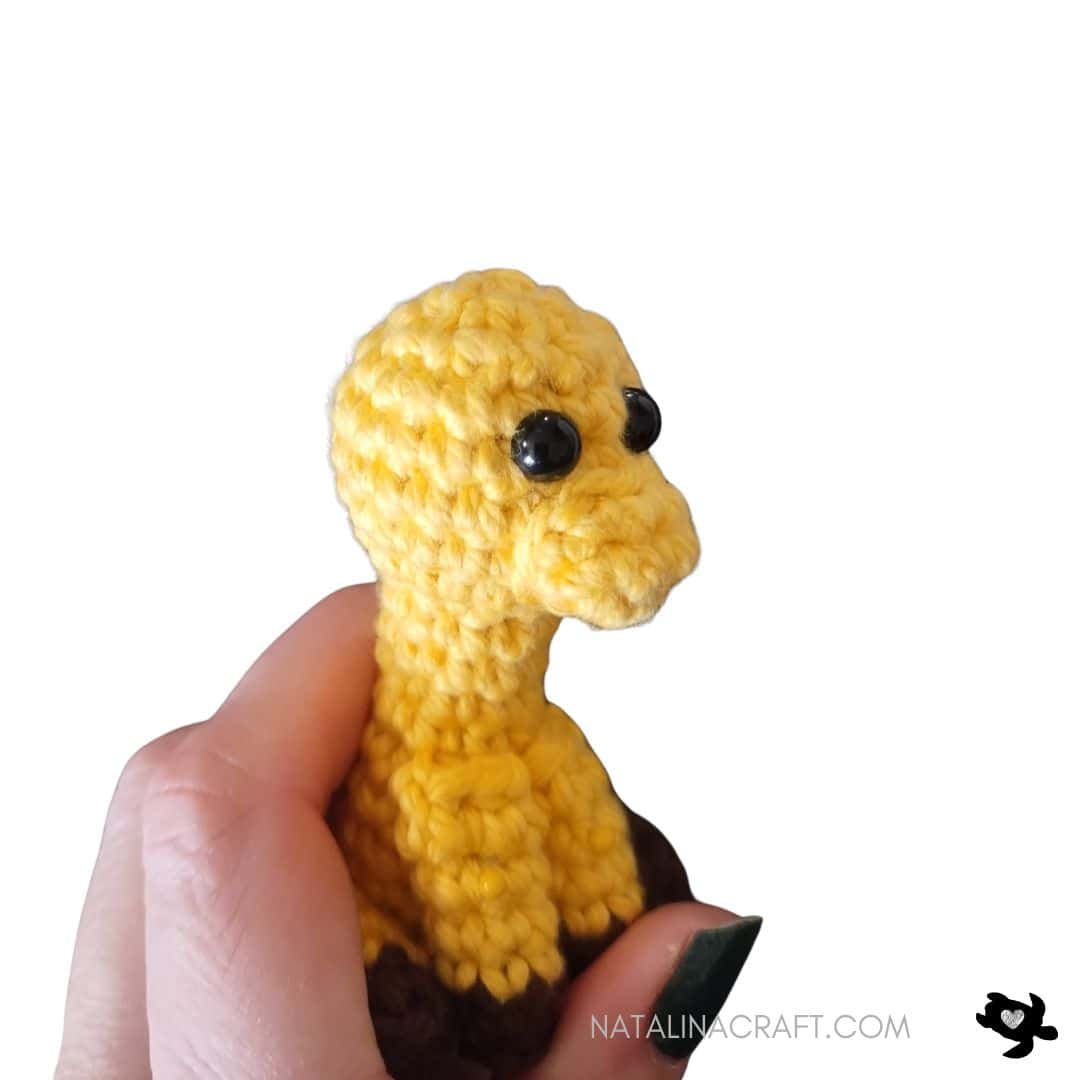
Body and head
- Worked in continuous rounds (as a spiral). Use a stitch marker if needed.
- We start from the bottom of the body and finish with the head.
- Stuff as you go.
With a 2.75 mm crochet and yarn in yellow:
-
- Round 1:6 sc in a magic ring. (6)
- Round 2: [6 inc]. (12)
- Round 3: working in the back loops only (BLO): [1 sc in all st]. (12)
- Rounds 4-7: [1 sc in all st]. (12)
- Round 8: [2 sc, 1 dec] x3. (9)
- Rounds 9-13: [1 sc in all st]. (9)
- Round 14: [9 inc]. (18)
- Rounds 15-18: [1 sc in all st]. (18)
- Round 19: [1 sc, 1 dec] x6. (12)
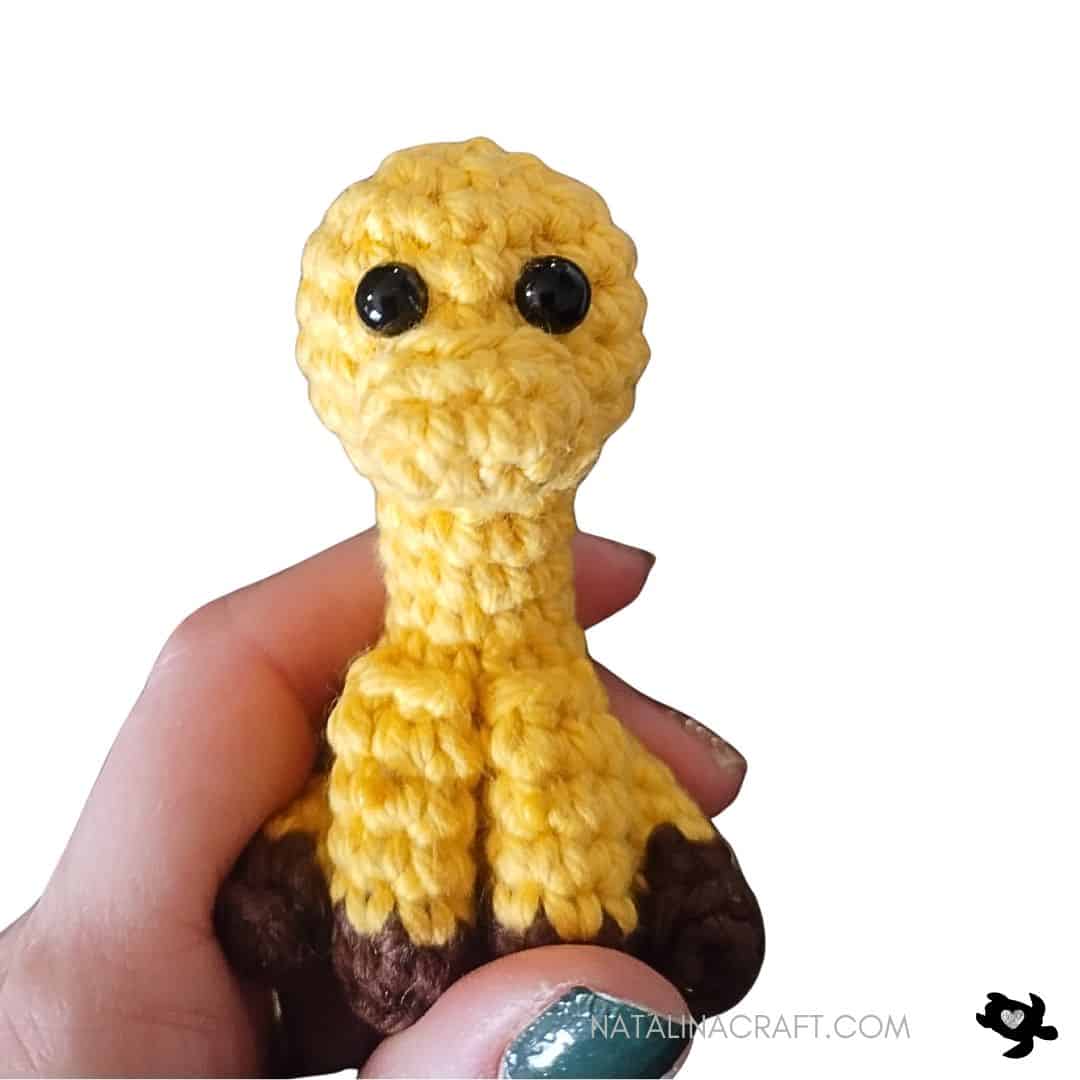
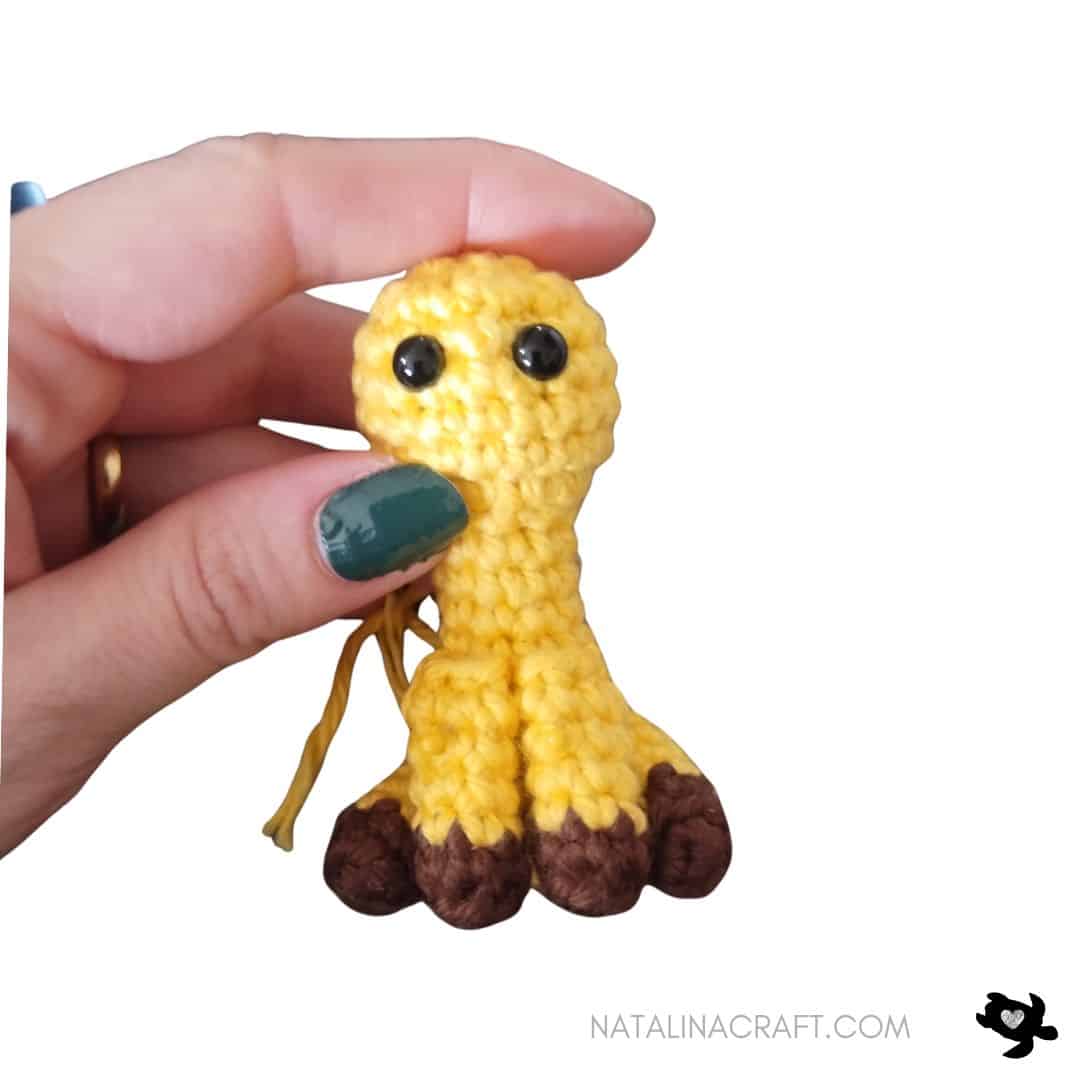
Place the eyes between Rounds 17 and 18, spaced by 2 st.
Sew the nose to the head, centered below the eyes. The bottom of the mouth should be between Rounds 14 and 15. The top of the mouth should be between Rounds 16 and 17.
Remember to fill the body before closing it.
-
- Round 20: [6 dec]. (6)
Cut the yarn, close the body and fasten off.
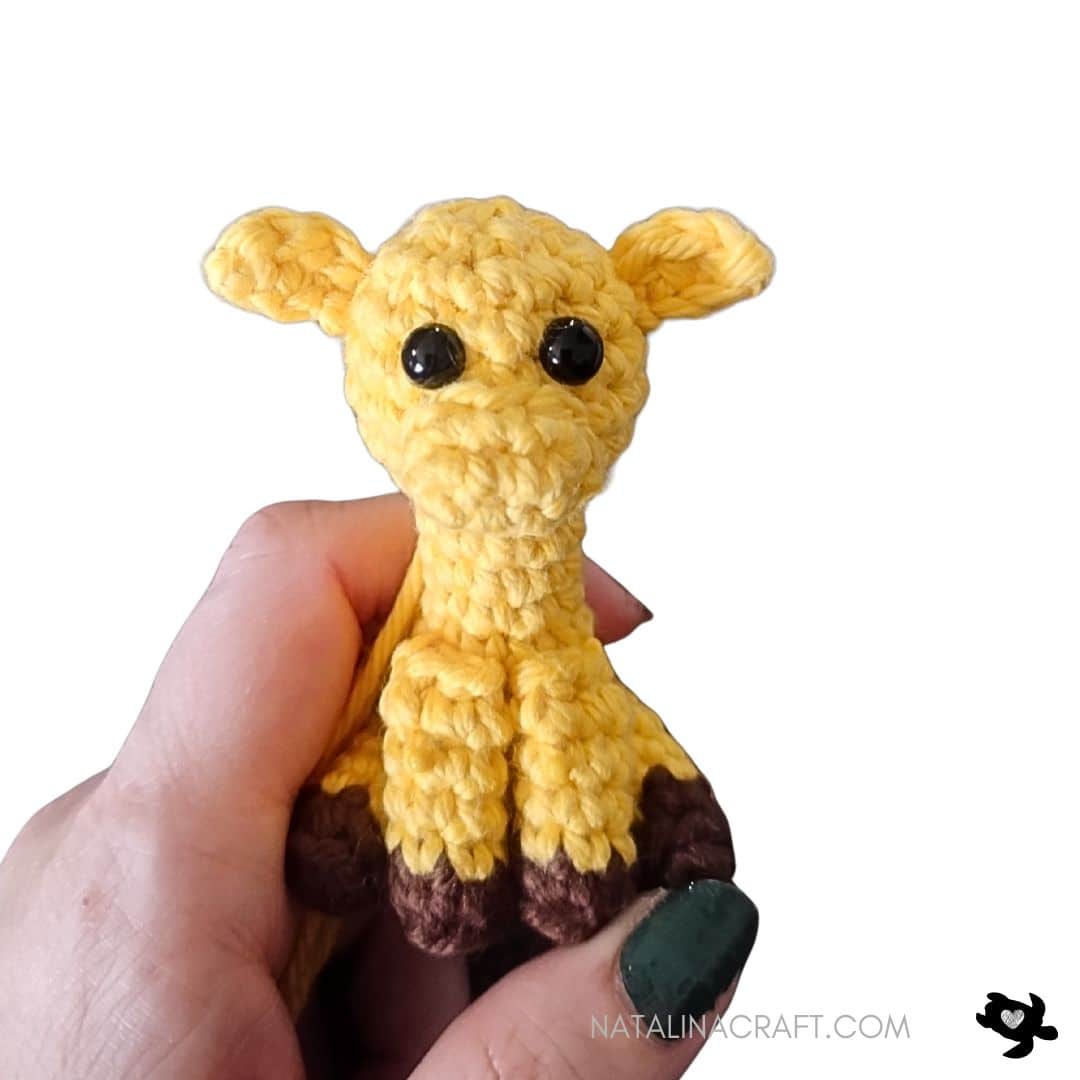
Sew the ears to the head over Round 18, 3 stitches away from the eyes.
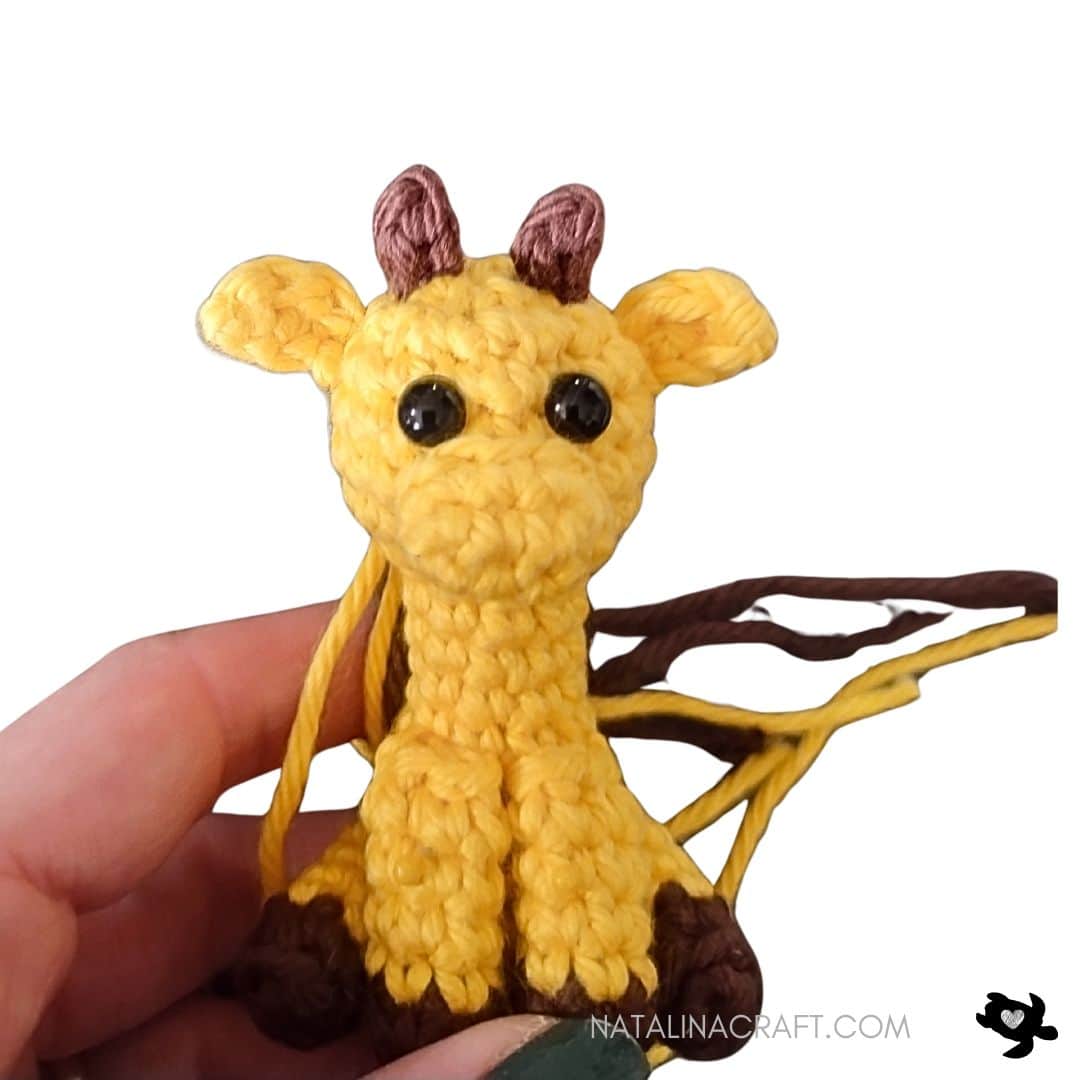
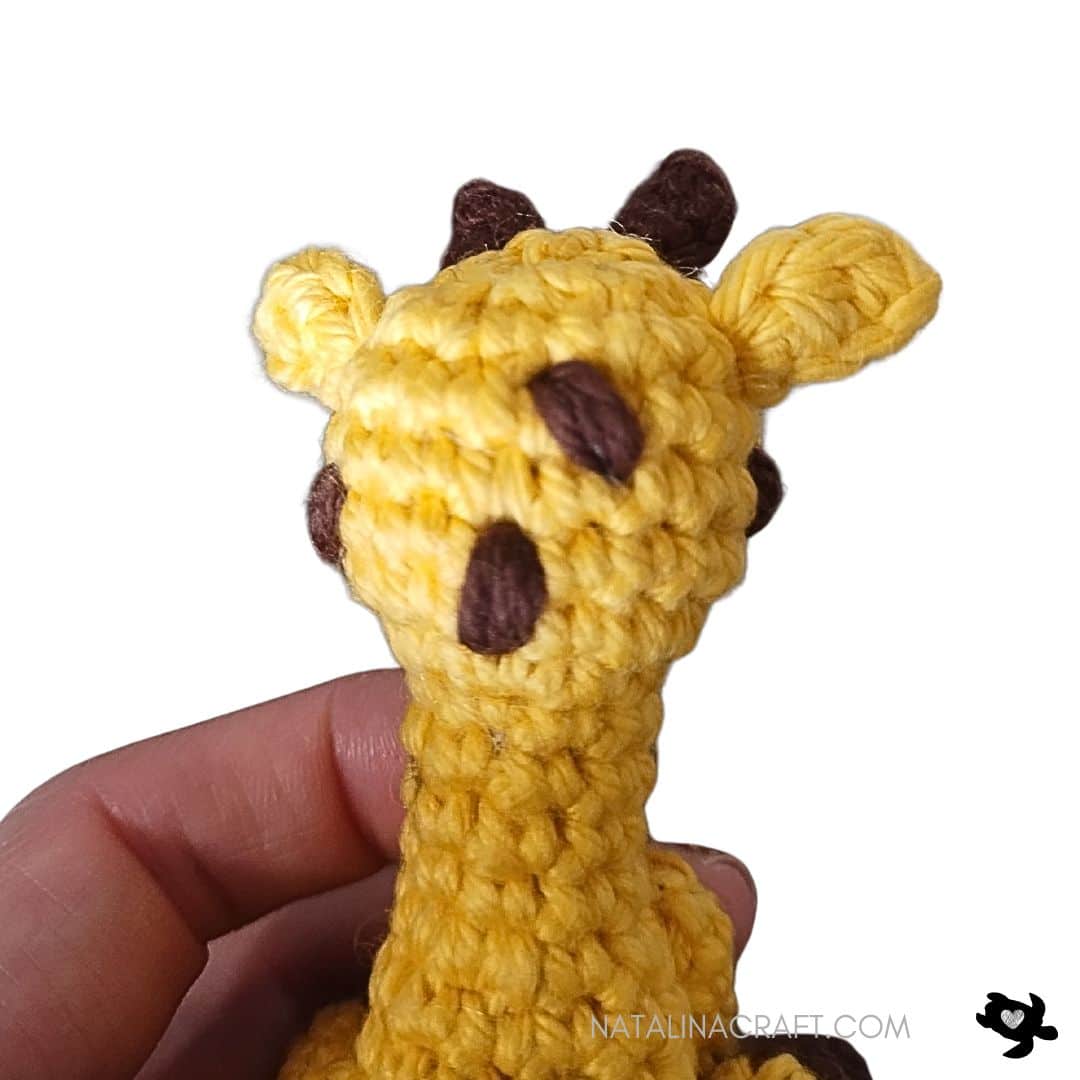
Sew the horns to the top of the head over Round 20. I used the yarn tails from the horns to create the brown spots on the head. To do this, thread the tail onto a tapestry needle and make small stitches in different areas of the head. I made each spot by stitching over one stitch three times.

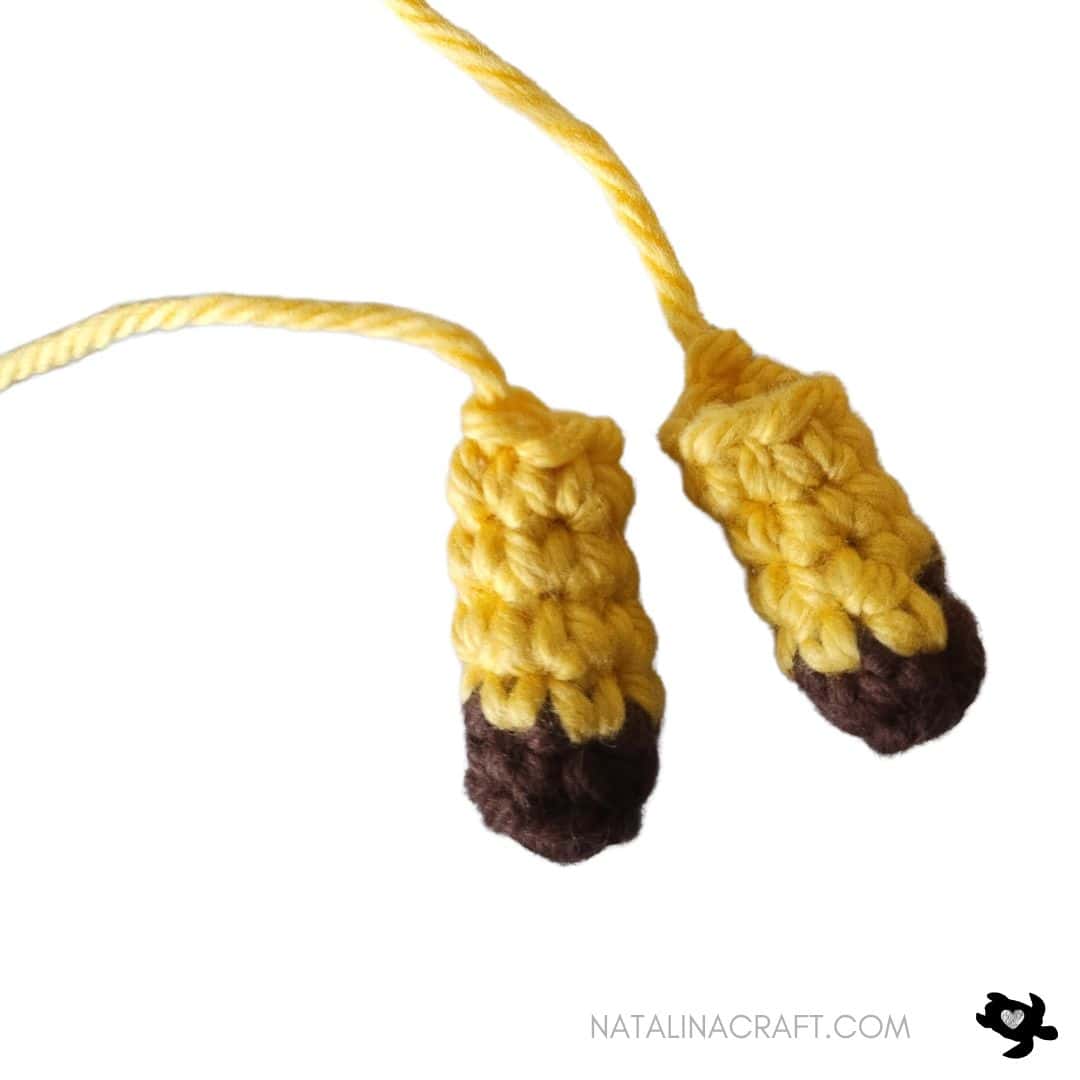
Legs (make 4)
- Worked in continuous rounds (as a spiral). Use a stitch marker if needed.
- You can slightly stuff the bottom part of the leg.
With a 2.75 mm crochet and yarn in brown:
- Round 1: 6 sc in a magic ring. (6)
- Round 2: working in the back loops only (BLO): [1 sc in all st]. (6)
Change to the yellow yarn:
- Rounds 3-6: [1 sc in all st]. (6)
Cut the yarn but leave a long tail for sewing.
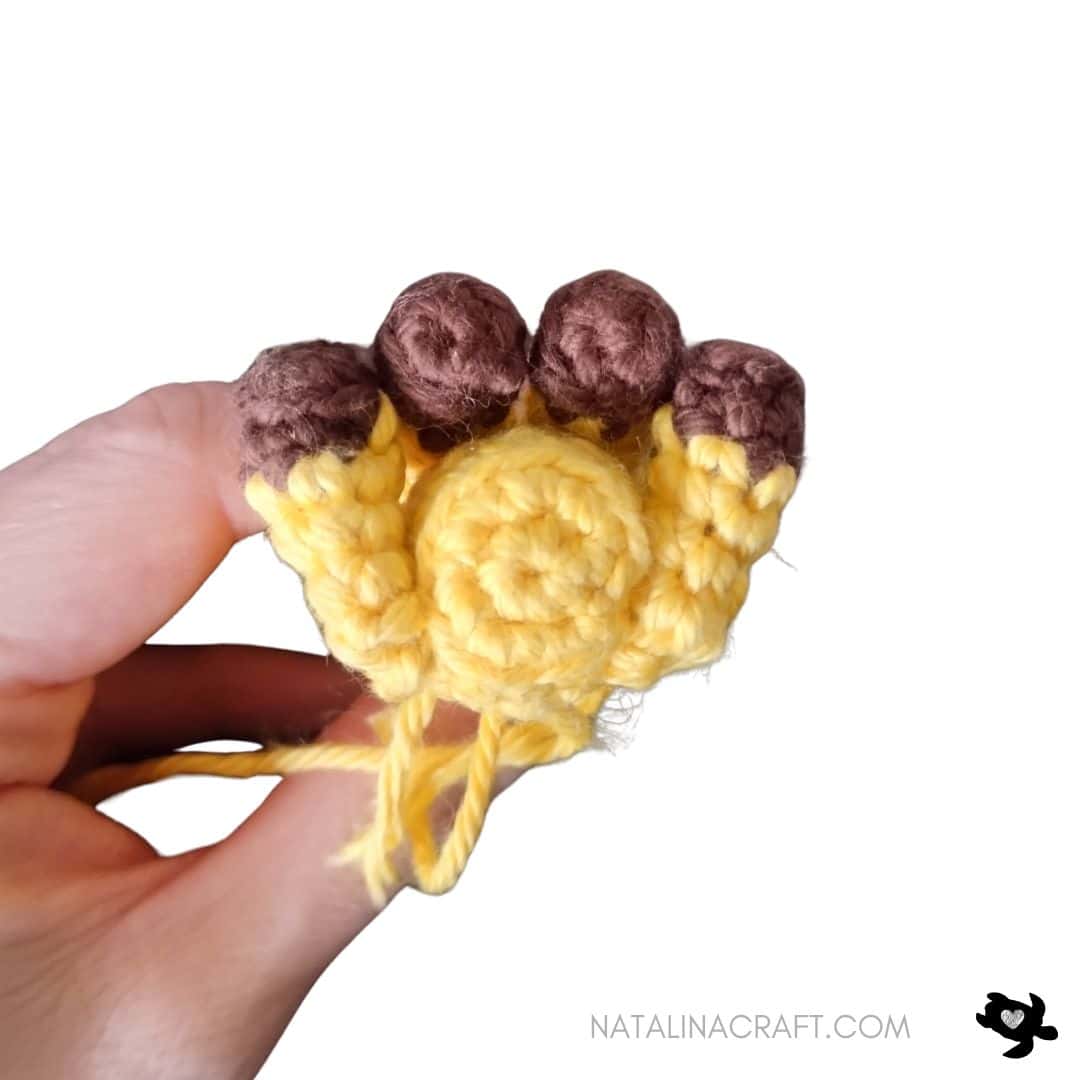
Sew the two front legs to the body with your tapestry needle. The top of the legs should be between Rounds 8 and 9.
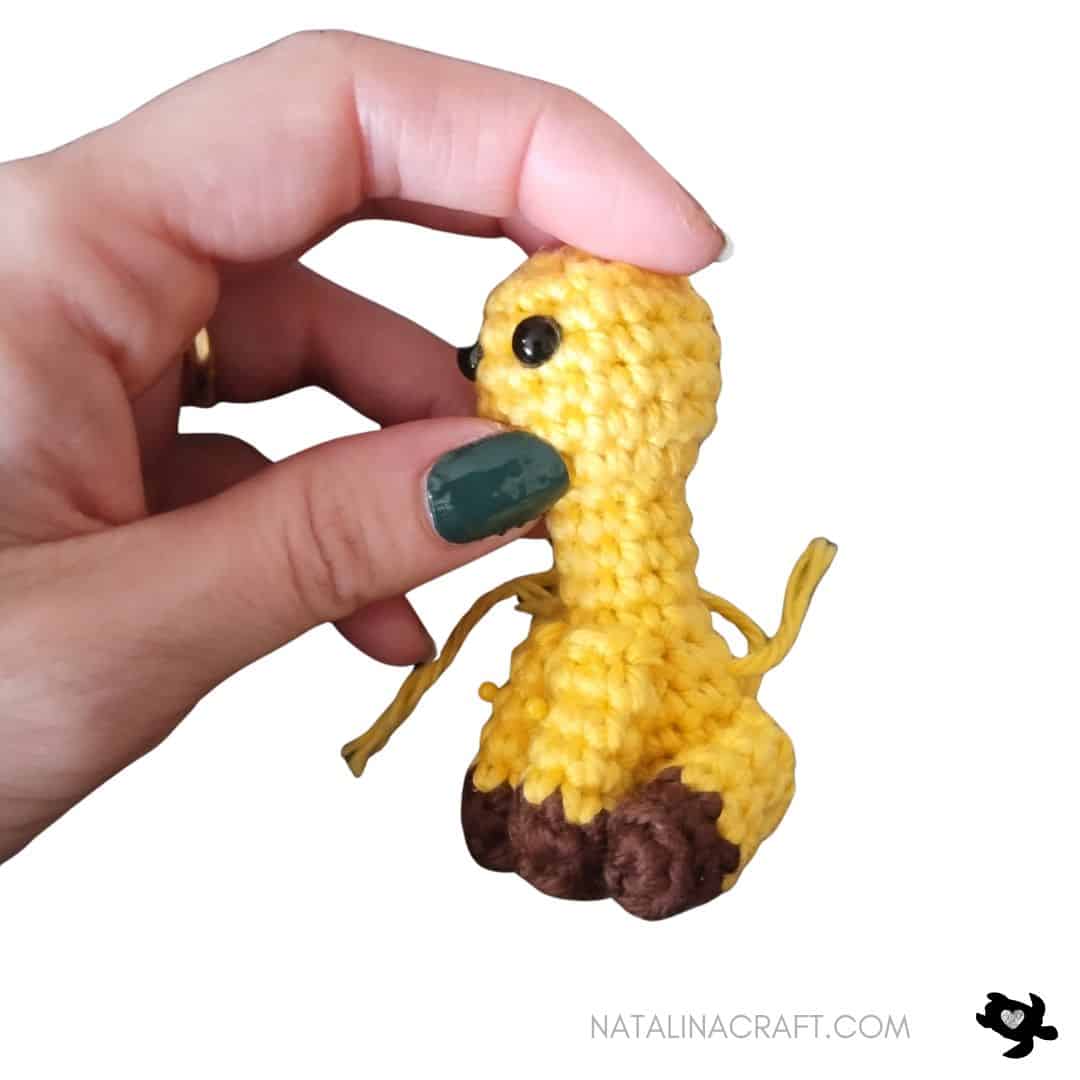
Sew the two back legs to the body. They should be placed over Rounds 3 and 4. Look at the pictures below to help you.
Ensure the giraffe sits flat before sewing the legs in place.
Tail
With a 2.75 mm crochet and yarn in yellow:
- Row 1: ch 5.
- Row 2: starting in the 2nd ch from the hook: 1 sl st in the next 4 ch. (4)
Cut the yarn but leave a long tail for sewing.
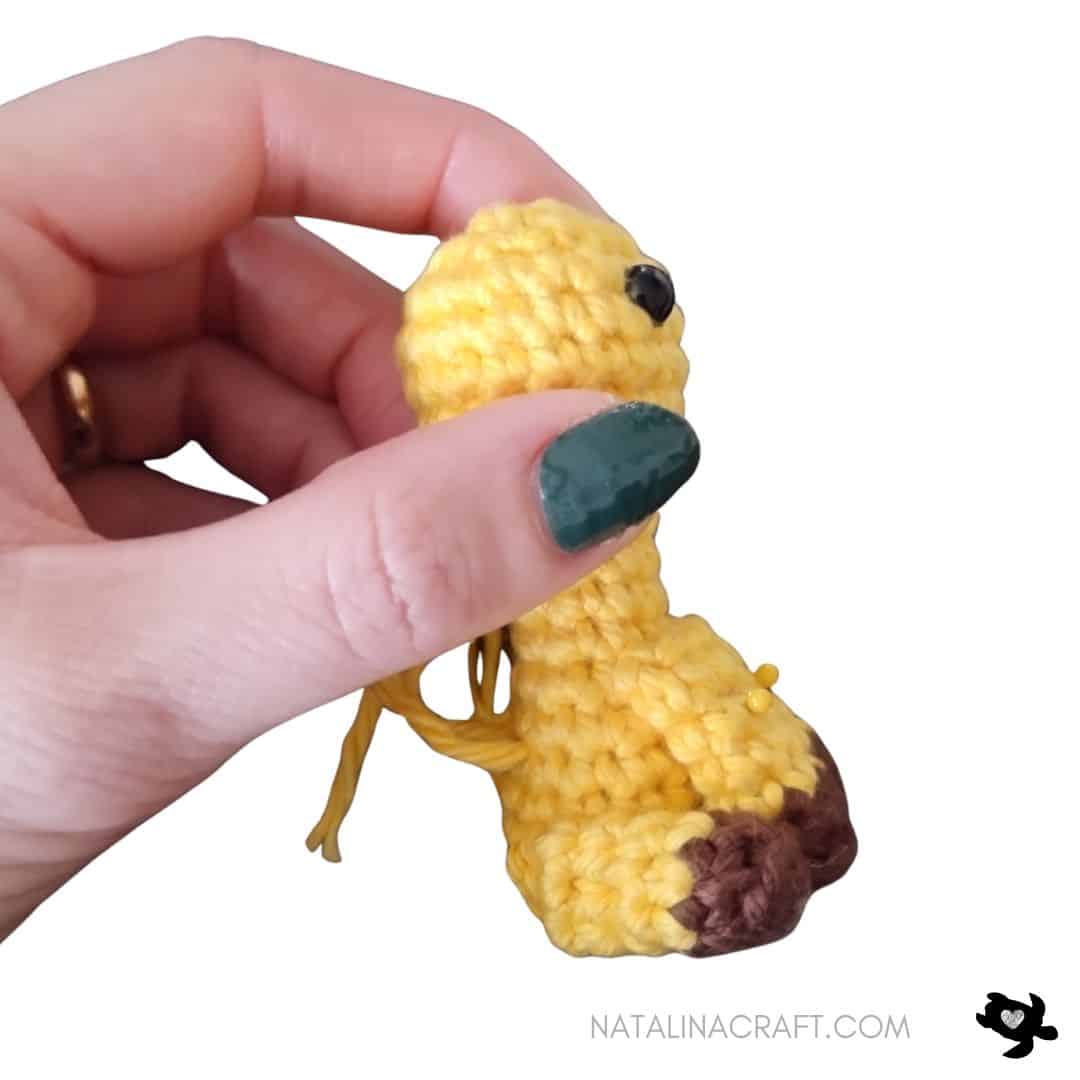
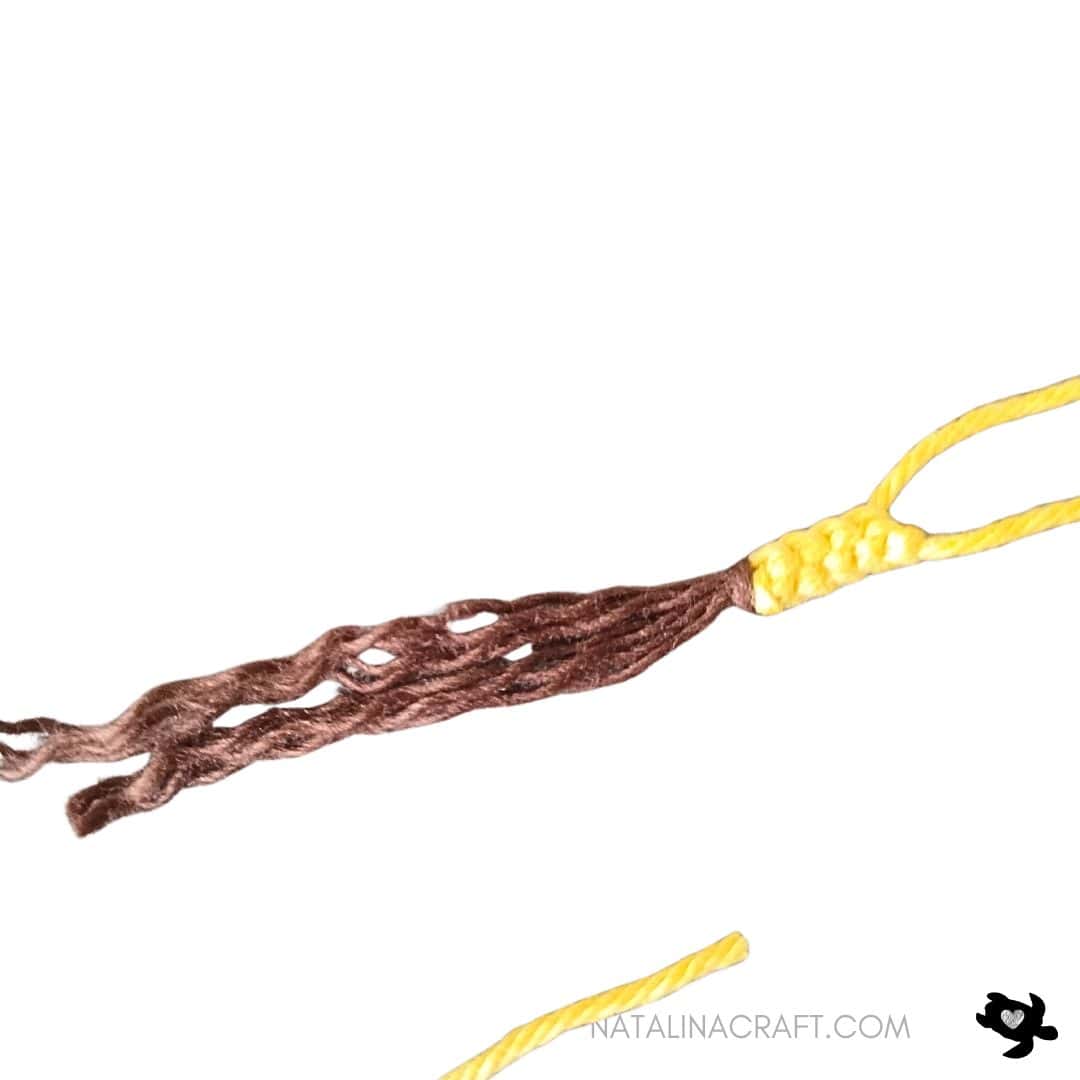
Cut two strands of brown yarn (about 5.5″/14cm).
Insert the hair in the first sl st of the tail: grab the yarn by the middle with your crochet hook, insert both ends into the loop, and tighten it up. Separate each strand of the yarn as shown in the picture below and trim it to your desired length.
Sew the tail at the back of the body between rounds 3 and 4.
Add more brown spots all over the body, just as you did on the head. Thread the brown yarn onto a tapestry needle and make small stitches in different areas. I created each spot by stitching over a single stitch three times.
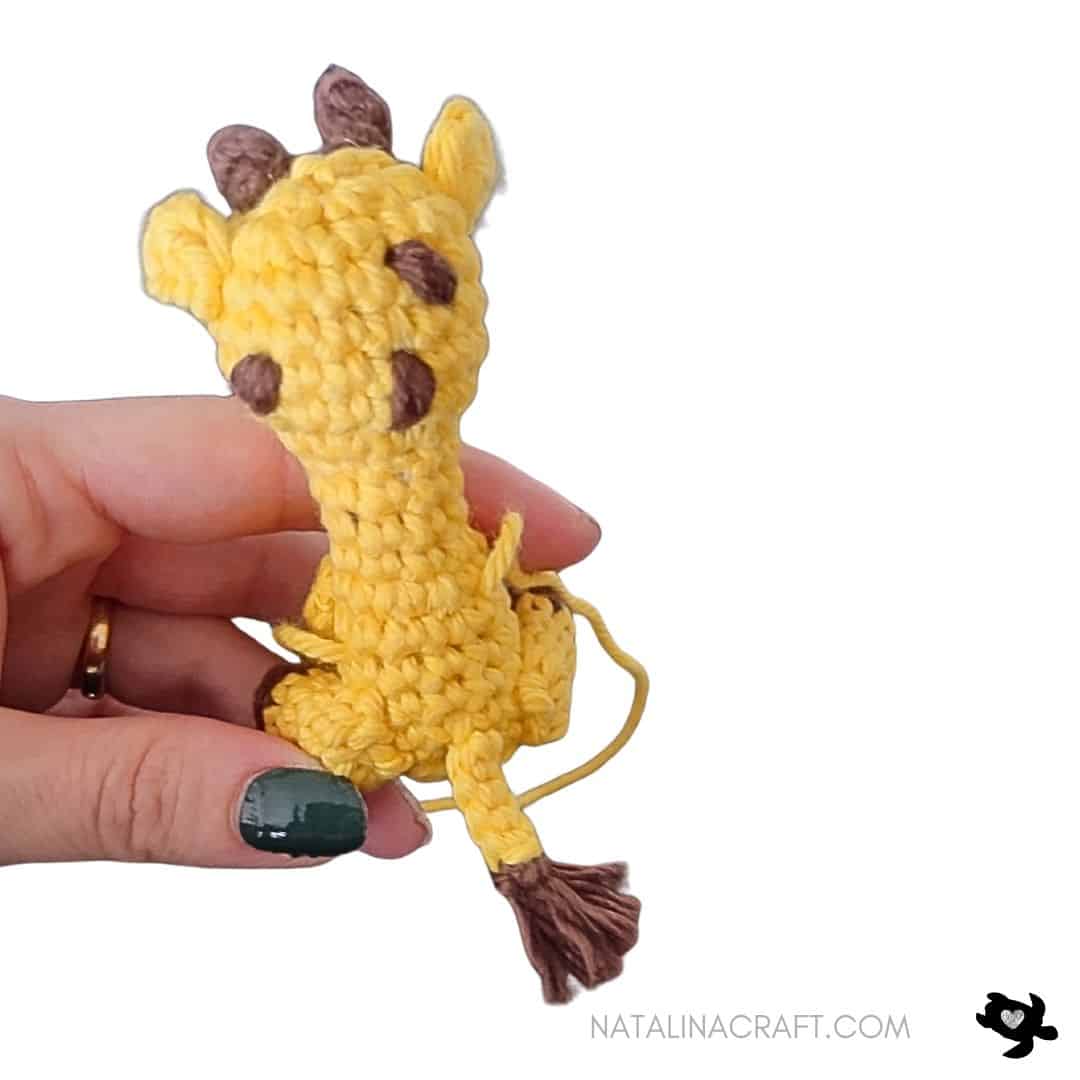
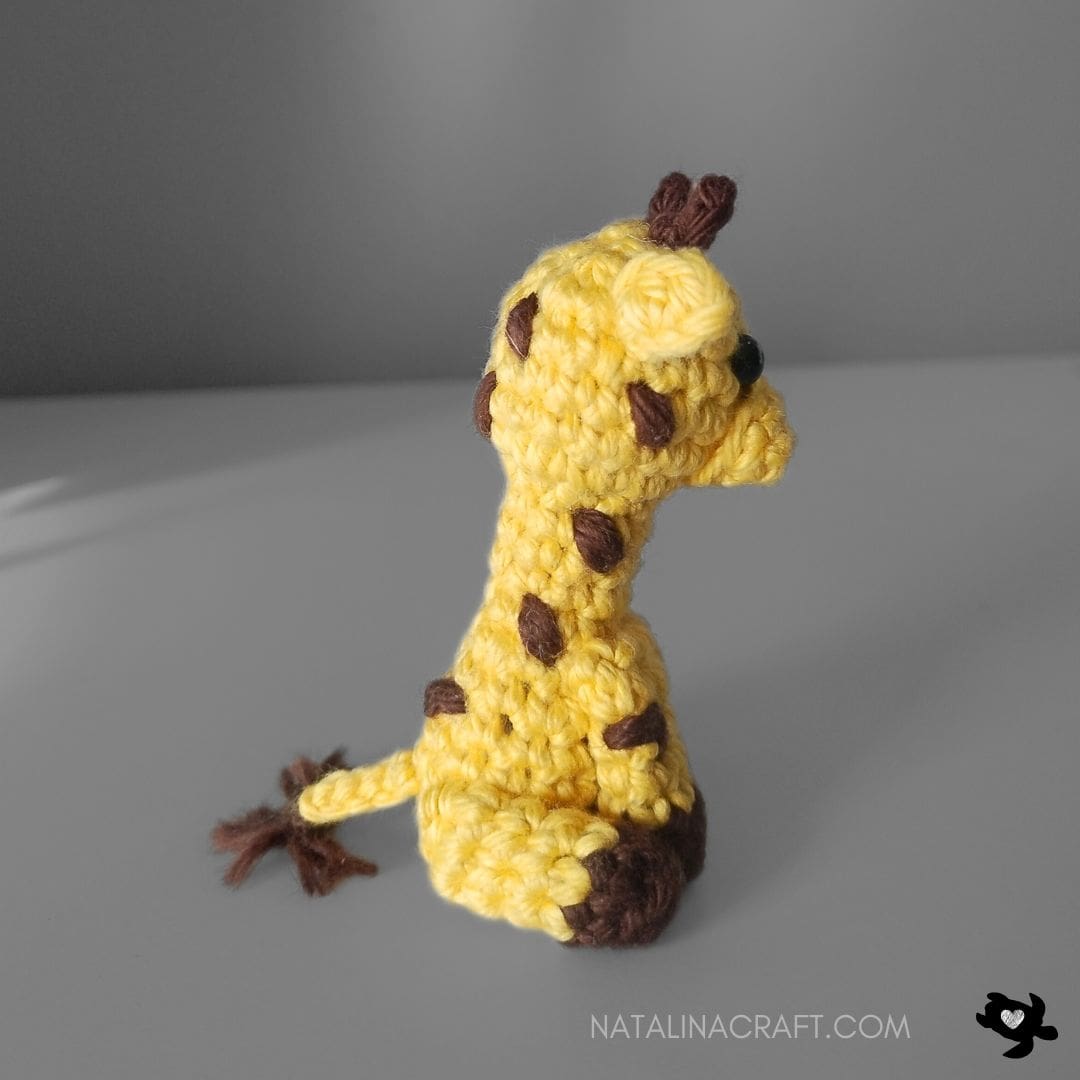
Congratulations on crafting the cutest crochet little Giraffe!
You may also love…


Copyright Notice:
All rights reserved. The pattern and photographs presented in this document are the sole property of Natalina Craft and are protected under copyright law. This pattern is provided for personal use only. Any unauthorized reproduction, in whole or in part, or distribution of this pattern or its contents is strictly prohibited.
You are permitted to sell finished items created from this pattern in limited quantities. If you choose to sell your finished products online, it would be greatly appreciated if you include a statement attributing the pattern to Natalina Craft and provide a link back to the original post. Thank you for your understanding and adherence to these guidelines.
Mini Giraffe – Crochet Pattern
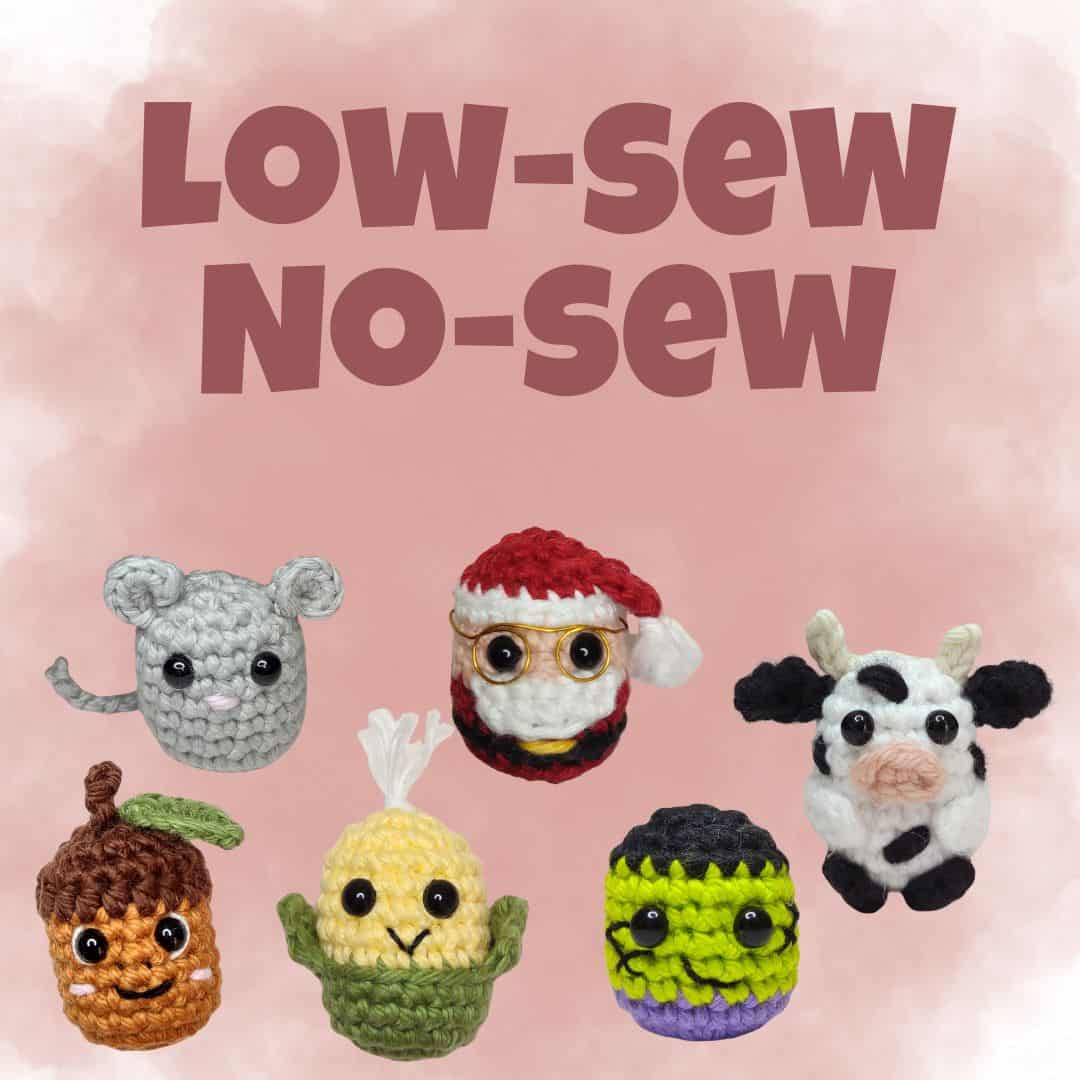
Looking for more Low-Sew/No-Sew crochet ideas?
Mini Giraffe Crochet Pattern
Instructions
Mini Giraffe - Crochet Pattern
Start Here:
- Please read the entire pattern properly before starting.
- The pattern is written using US terms.
Parts:
- 1 Body
- 2 ears
- 2 horns
- 1 nose
- 4 legs
- 1 tail
Size:
- 3 inches with light worsted yarn (I used I love this cotton from Hobby Lobby)
Material:
- Worsted yarn in yellow and brown
- Size US D / 2.75 mm crochet hook
- 2 black safety eyes (6 mm)
- Stitch markers (if needed)
- Tapestry needle
- Polyfill
Abbreviations:
- chain (ch)
- magic ring (mr)
- single crochet (sc)
- increase (inc)
- invisible decrease (dec)
- slip stitch (sl st)
- double crochet (DC)
- Half double crochet (HDC)
How to crochet a Mini Giraffe?
Nose
- Worked around a chain.
With a 2.75 mm crochet and yarn in yellow:
- Round 1: ch 5.
- Round 2: starting in the 2nd ch from the hook: [1 sc in the next 3 ch, 2 sc in the last ch; now working on the other side of the chain: 1 sc in the next 3 ch]. (8)
- Round 3: [1 sc in all st]. (8)
1 sl st in the next st.
Cut the yarn but leave a long tail for sewing. Keep it for later.
Ears (make 2)
- Worked in rows.
With a 2.75 mm crochet and yarn in yellow:
- Round 1: ch 4.
- Round 2: starting in the 2nd ch from the hook: [1 sc, 1 hdc, 1 dc]. (3)
Cut the yarn but leave a long tail for sewing.
Keep aside for later.
Horns (make 2)
- Worked in rows.
With a 2.75 mm crochet and yarn in brown:
- Round 1: ch 3.
- Round 2: starting in the 2nd ch from the hook: [2 sl st]. (2)
Cut the yarn but leave a long tail for sewing.
Keep aside for later.
Body and head
- Worked in continuous rounds (as a spiral). Use a stitch marker if needed.
- We start from the bottom of the body and finish with the head.
- Stuff as you go.
With a 2.75 mm crochet and yarn in yellow:
- Round 1:6 sc in a magic ring. (6)
- Round 2: [6 inc]. (12)
- Round 3: working in the back loops only (BLO): [1 sc in all st]. (12)
- Rounds 4-7: [1 sc in all st]. (12)
- Round 8: [2 sc, 1 dec] x3. (9)
- Rounds 9-13: [1 sc in all st]. (9)
- Round 14: [9 inc]. (18)
- Rounds 15-18: [1 sc in all st]. (18)
- Round 19: [1 sc, 1 dec] x6. (12)
Place the eyes between Rounds 17 and 18, spaced by 2 st.
Sew the nose to the head, centered below the eyes. The bottom of the mouth should be between Rounds 14 and 15. The top of the mouth should be between Rounds 16 and 17.
Remember to fill the body before closing it.
- Round 20: [6 dec]. (6)
Cut the yarn, close the body and fasten off.
Sew the ears to the head over Round 18, 3 stitches away from the eyes.
Sew the horns to the top of the head over Round 20. I used the yarn tails from the horns to create the brown spots on the head. To do this, thread the tail onto a tapestry needle and make small stitches in different areas of the head. I made each spot by stitching over one stitch three times.
Legs (make 4)
- Worked in continuous rounds (as a spiral). Use a stitch marker if needed.
- You can slightly stuff the bottom part of the leg.
With a 2.75 mm crochet and yarn in brown:
- Round 1: 6 sc in a magic ring. (6)
- Round 2: working in the back loops only (BLO): [1 sc in all st]. (6)
Change to the yellow yarn:
- Rounds 3-6: [1 sc in all st]. (6)
Cut the yarn but leave a long tail for sewing.
Sew the two front legs to the body with your tapestry needle. The top of the legs should be between Rounds 8 and 9.
Sew the two back legs to the body. They should be placed over Rounds 3 and 4. Look at the pictures below to help you.
Ensure the giraffe sits flat before sewing the legs in place.
Tail
With a 2.75 mm crochet and yarn in yellow:
- Row 1: ch 5.
- Row 2: starting in the 2nd ch from the hook: 1 sl st in the next 4 ch. (4)
Cut the yarn but leave a long tail for sewing.
Cut two strands of brown yarn (about 5.5"/14cm).
Insert the hair in the first sl st of the tail: grab the yarn by the middle with your crochet hook, insert both ends into the loop, and tighten it up. Separate each strand of the yarn as shown in the picture below and trim it to your desired length.
Sew the tail at the back of the body between rounds 3 and 4.
Add more brown spots all over the body, just as you did on the head. Thread the brown yarn onto a tapestry needle and make small stitches in different areas. I created each spot by stitching over a single stitch three times.
Congratulations on crafting the cutest crochet little Giraffe!
Copyright Notice:
All rights reserved. The pattern and photographs presented in this document are the sole property of Natalina Craft and are protected under copyright law. This pattern is provided for personal use only. Any unauthorized reproduction, in whole or in part, or distribution of this pattern or its contents is strictly prohibited.
You are permitted to sell finished items created from this pattern in limited quantities. If you choose to sell your finished products online, it would be greatly appreciated if you include a statement attributing the pattern to Natalina Craft and provide a link back to the original post. Thank you for your understanding and adherence to these guidelines.
Mini Giraffe - Crochet Pattern
I love your giraffe……Danuta
Thank you so much.