
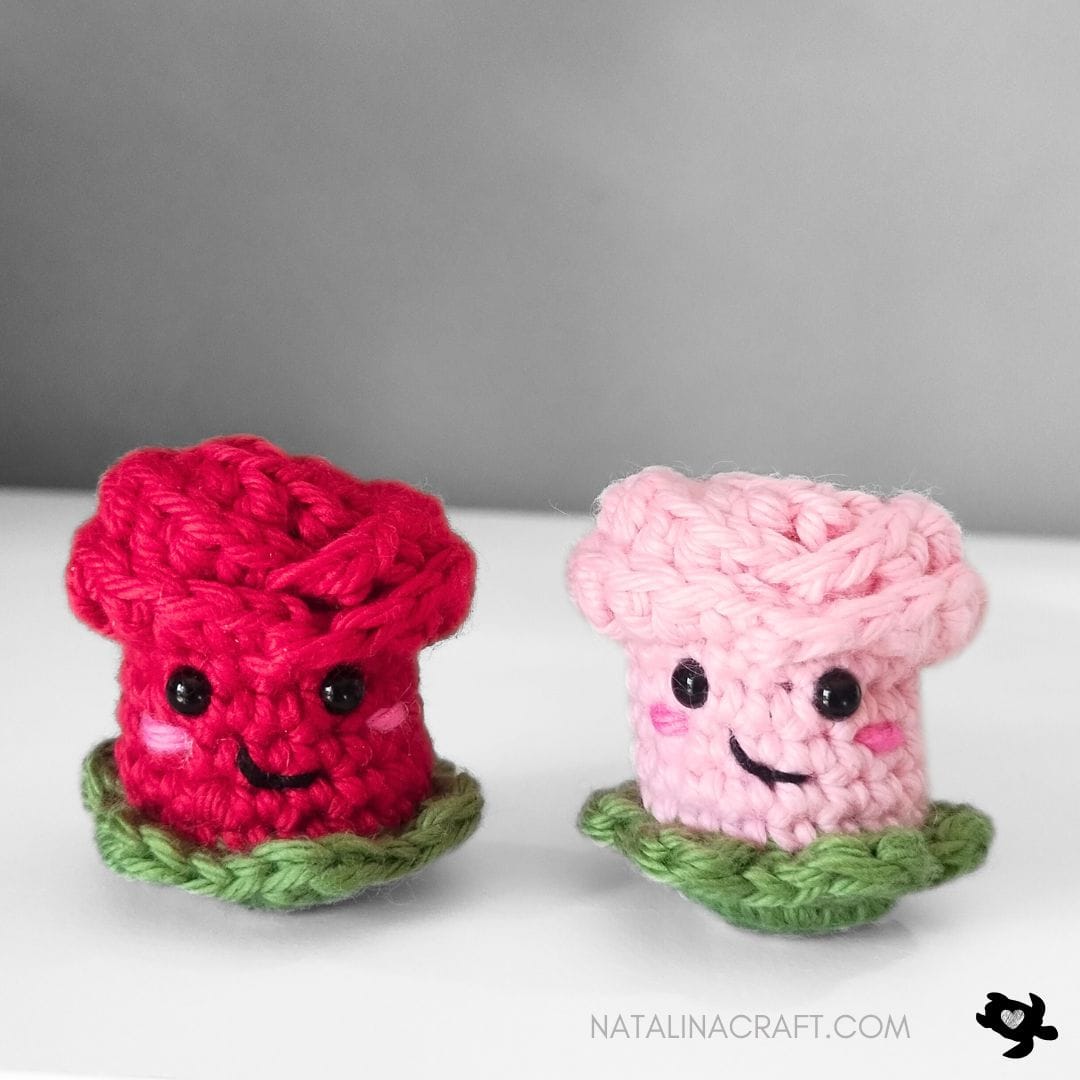
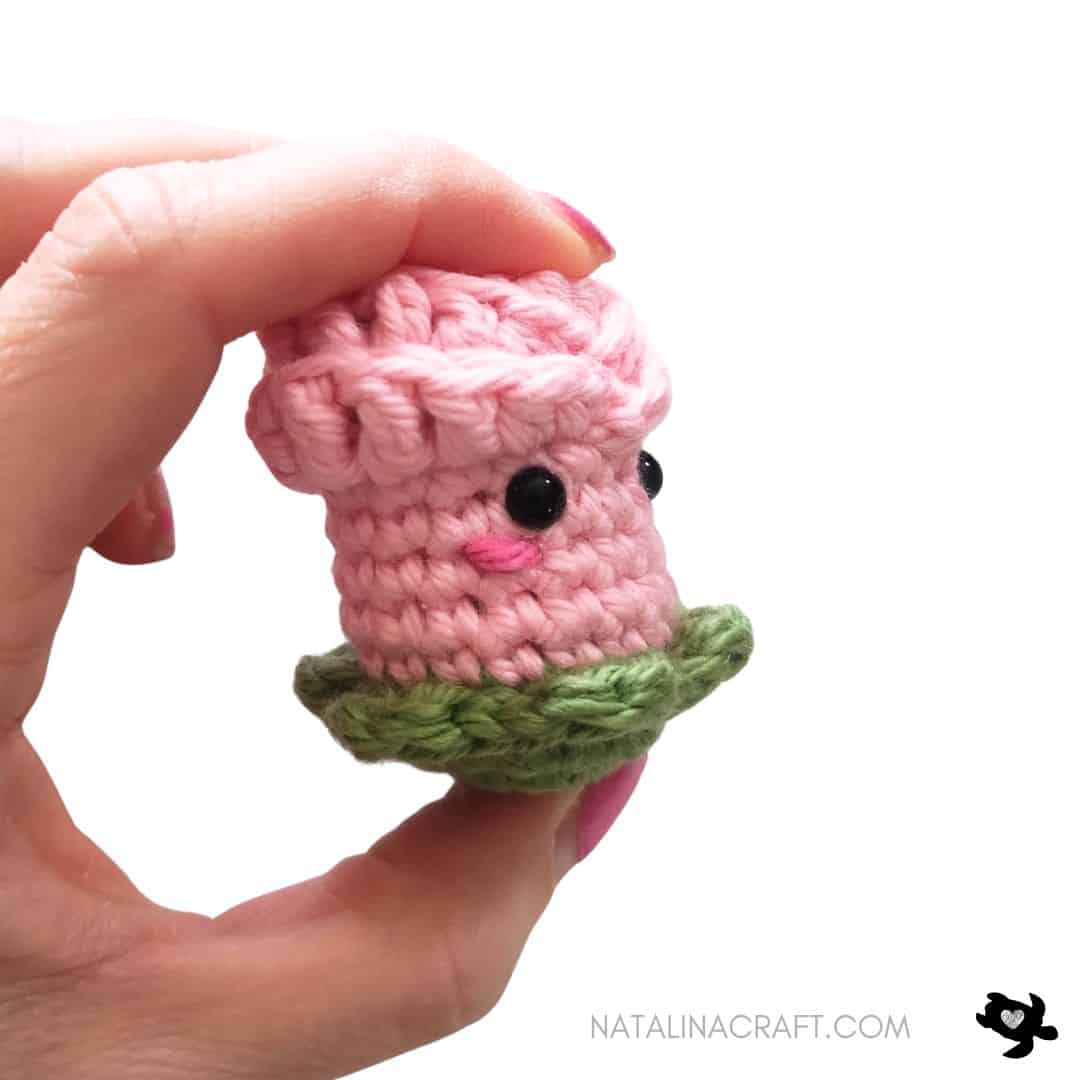
Hi everyone! Today I’m happy to share this sweet free crochet rose pattern with you. This tiny rose is quick to make, full of charm, and perfect for adding a handmade touch to your projects. Whether you use it as a small decoration, a gift topper, or a cute little keepsake, this crochet rose is sure to bring a smile.
Designed to work up fast with simple stitches, this pattern is beginner-friendly while still offering lovely texture and detail with layered petals and leaves. It’s a great way to use up small yarn scraps and makes a beautiful addition to Valentine’s projects, spring décor, or floral collections.
Don’t forget to join my Facebook group HERE, you can ask your questions, and share your finished projects. I will regularly ask you what pattern you would like to see next (or you can even suggest something even if I am not asking!).
I hope you will enjoy and understand the pattern. If you have any questions, please write to me, I will try my best to help you. And I would love to see your work! Don’t forget to share your finished projects using the hashtag #natalinacraft. I love seeing your beautiful work!
Rose – Free Crochet Pattern
Start Here:
- Please read the whole pattern properly before starting.
- The pattern is written using US terms.
Parts:
- 1 flower
- 6 leaves (crochet in 1 piece)
Finished Size:
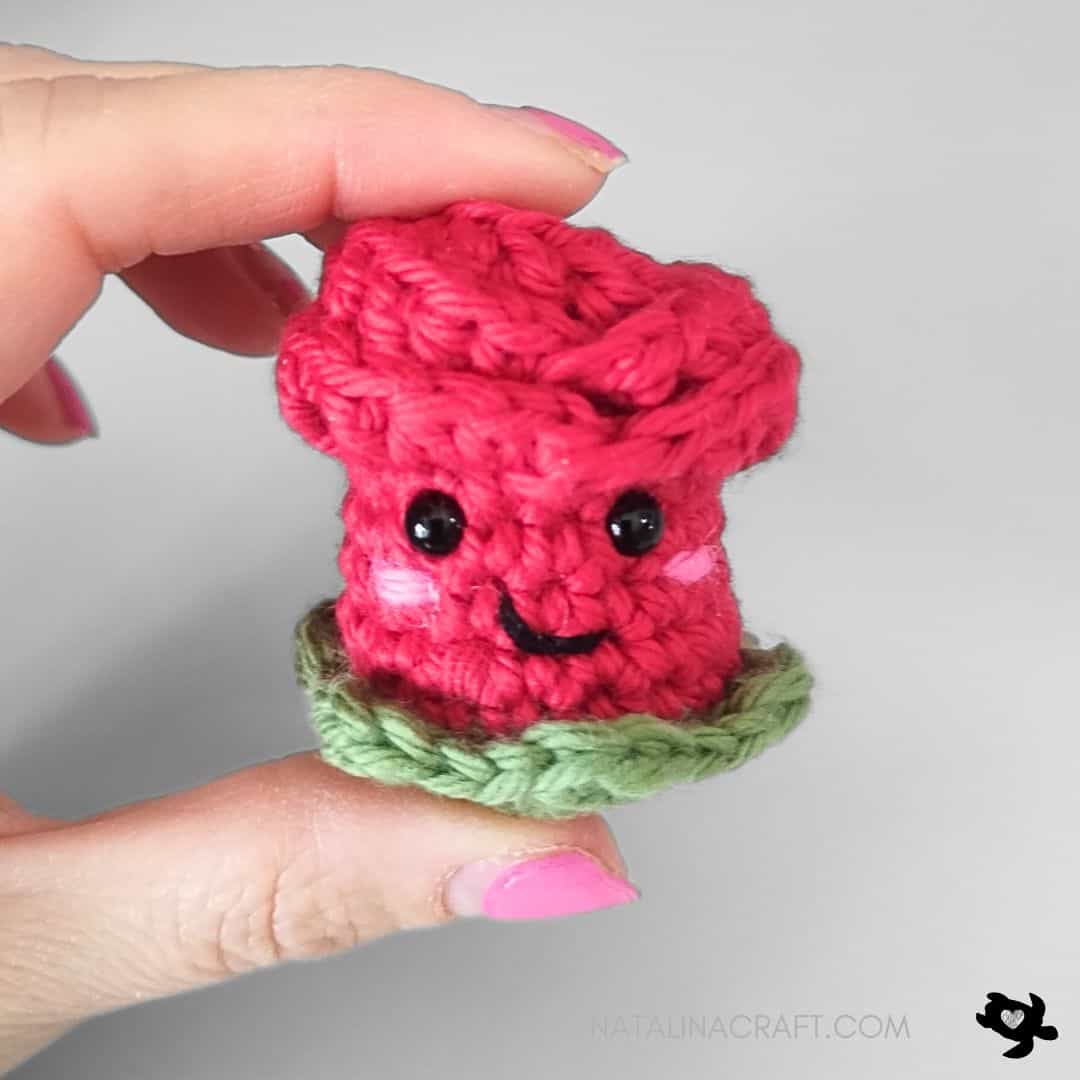
Approx. 1.5 inches (4 cm) using light worsted yarn
Material:
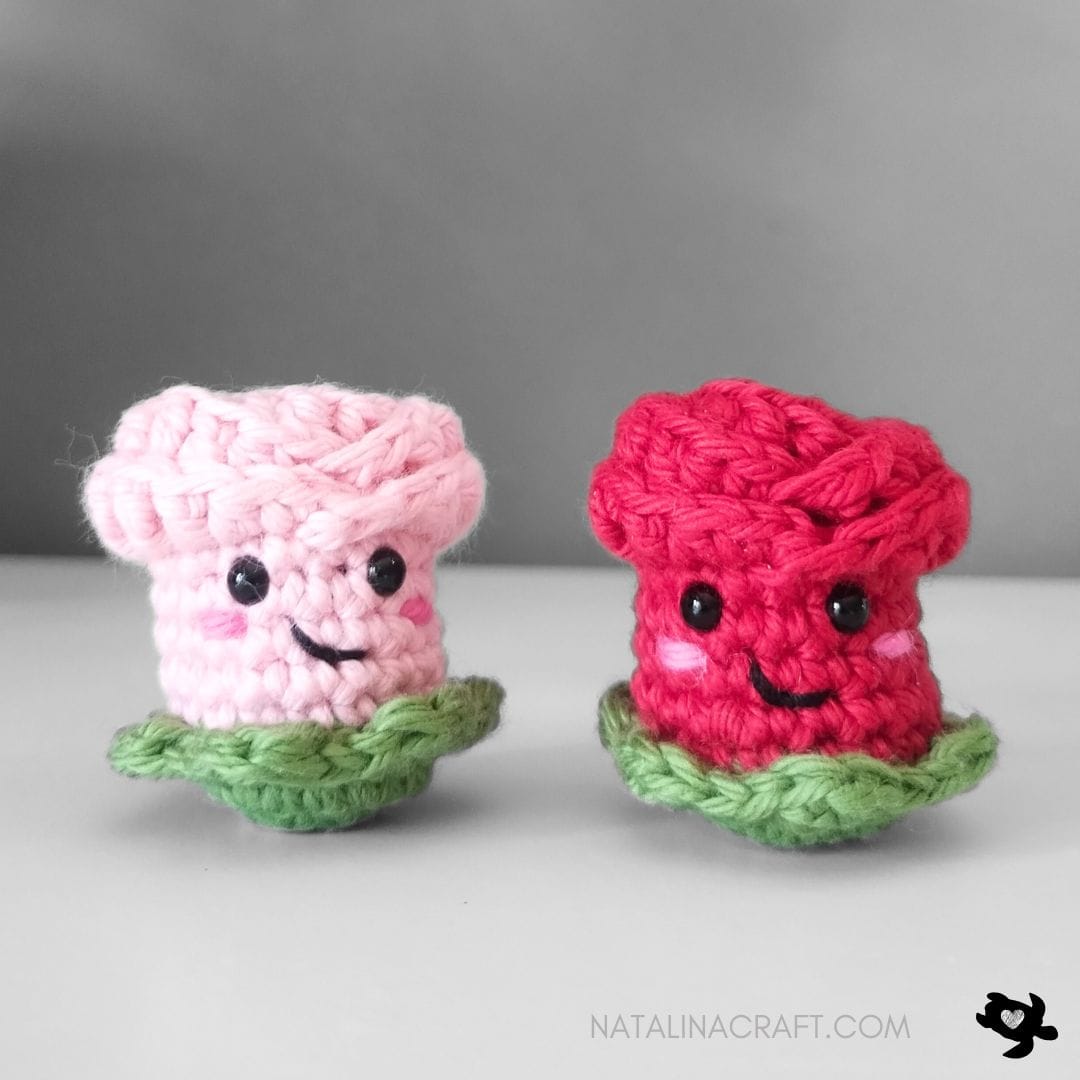
- Worsted yarn in light pink or red (flower), green (leaves), and a small amount of dark pink for the cheeks.
- 2.75 mm (US C-2) crochet hook
- Black cotton thread for the mouth
- 2 black safety eyes (5 mm)
- Stitch markers (if needed)
- Tapestry needle
- Polyfill stuffing
Abbreviations:
- chain (ch)
- magic ring (mr)
- single crochet (sc)
- increase (inc)
- invisible decrease (dec)
- slip stitch (sl st)
- Half double crochet (HDC)
- double crochet (DC)
- treble crochet (TR)
How to crochet a Rose?
Flower
- Worked in continuous rounds. Use a stitch marker if needed.
- Remember to stuff as you crochet.
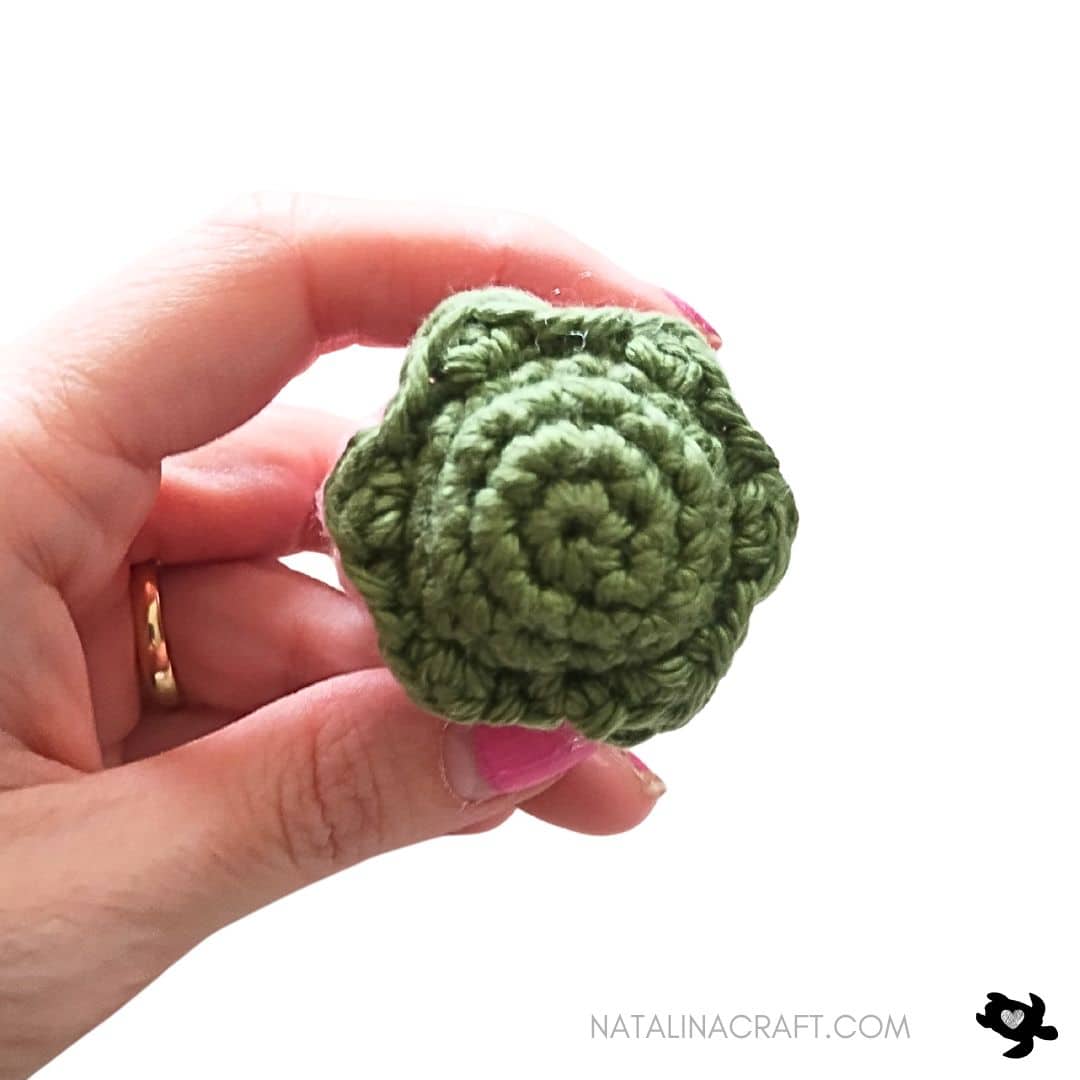
With a 2.75 mm crochet and yarn in green:
- Round 1: 6 sc in a magic ring. (6)
- Round 2: [6 inc]. (12)
- Round 3: [1 inc in the next st, 1 sc]x6. (18)
- Round 4: [1 sc in all st]. (18)
Place a stitch marker in the first stitch of Round 4 (this marker will be used later for the leaves).
Change to pink/red:
- Round 5: working in the back loops only (BLO): [1 sc in all st]. (18)
- Rounds 6 to 8: [1 sc in all st]. (18)
- Round 9: [1 sc in all st]. (18)
Place stitch markers in stitches 1, 8, 9, and 11 of this round. - Round 10: working in the back loops only (BLO): [1 sc in all st]. (18)
Place an additional stitch marker in stitch 9.
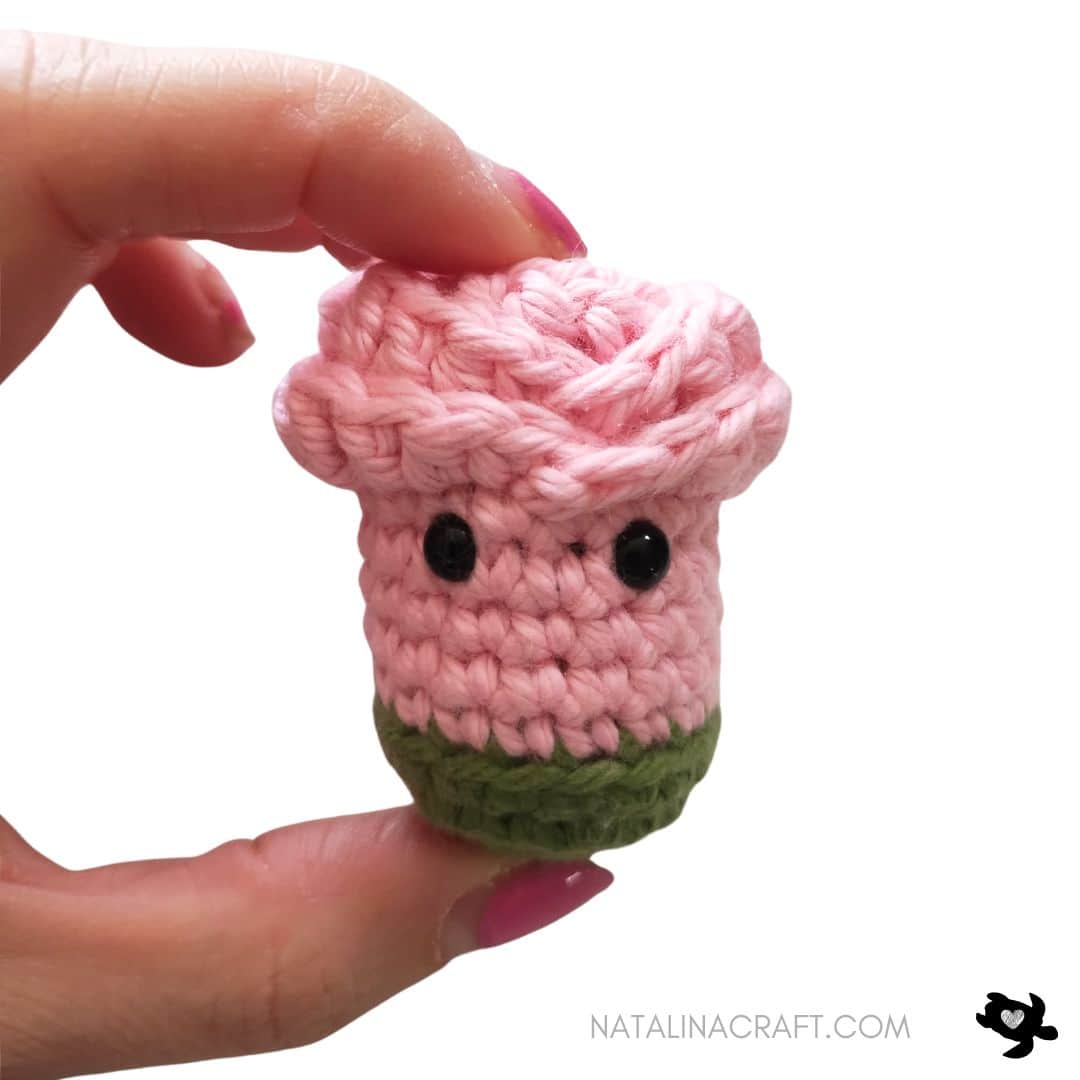
Eye Placement
Insert the safety eyes between Rounds 8 and 9, spaced by 2 stitches:
- First eye: below the stitch marked 8
- Second eye: below the stitch marked 11
⚠️ Do not remove the stitch markers in stitches 1 and 9—they are needed for the petals.
- Round 11: working in the back loops only (BLO): [1 dec, 1 sc] x6. (12).
Place a stitch marker in stitch 6. - Round 12: working in the back loops only (BLO): [1 dec, 1 sc] x4. (8)
Fasten off.
Using a tapestry needle, weave the yarn tail through the remaining stitches and pull tight to close. Secure and weave in ends.


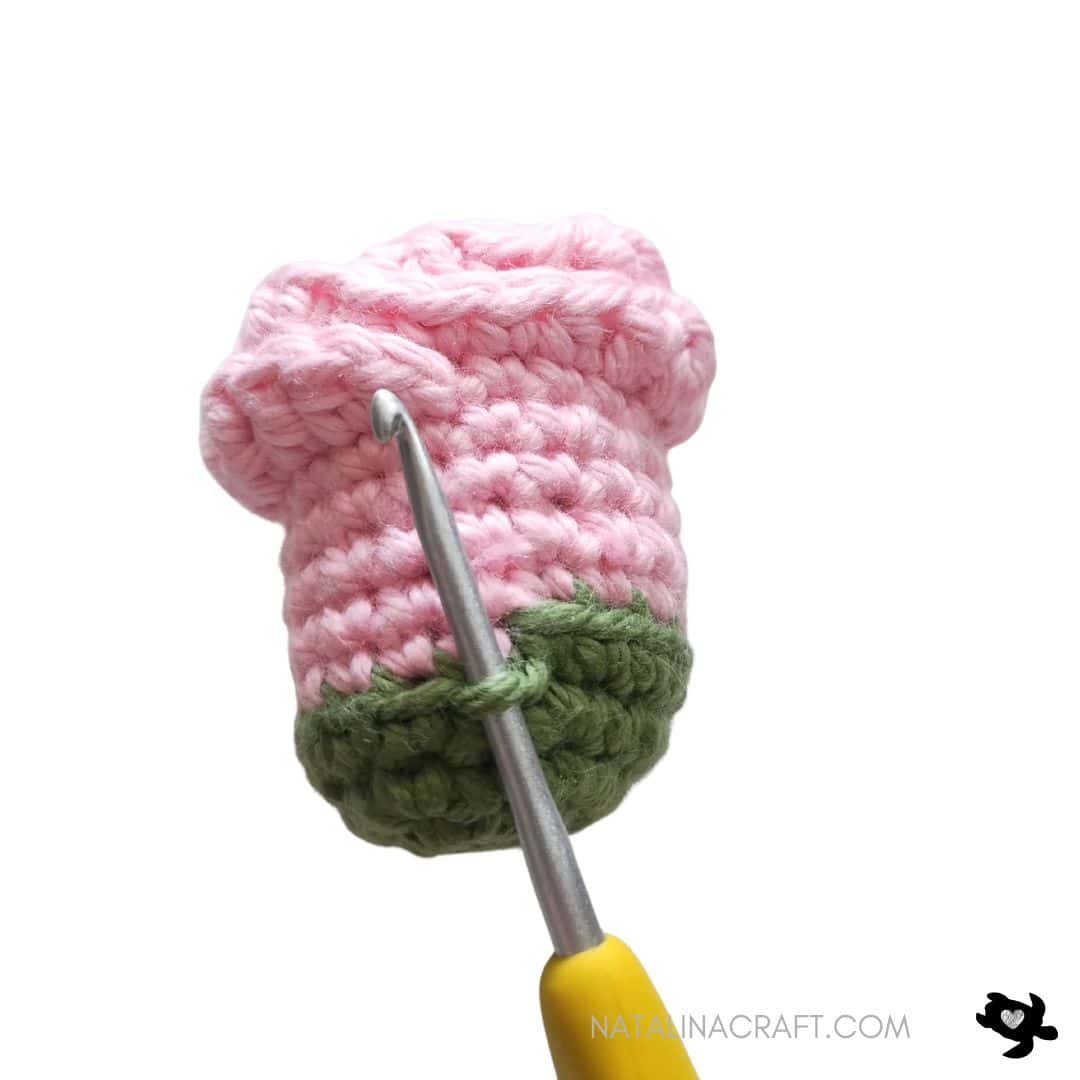
Petals
The petals are worked in the FLO of Rounds 9, 10, and 11.
Petal 1:
- Worked in the FLO of Rounds 9
Join pink/red yarn in the FLO of stitch 1 of Round 9 (with the stitch marker).
- 1 sc in the same stitch
- 1 HDC
- 1 DC
- 1 TR in the next 3 stitches
- 1 DC
- 1 HDC
- 1 sc in the stitch with the marker
- 1 sl st
Fasten off.
Petals 2 & 3
Turn Petal 1 forward so you can work behind it.
Petal 2
- Worked in the FLO of Rounds 9
Join pink/red yarn in the previous marked stitch (where you made 1 sc in petal 1).
- 1 sc in the next stitch (where the previous sl st was made)
- 1 HDC
- 1 DC
- 1 TR in the next 3 stitches
- 1 DC
- 1 HDC
- 1 sc
- 1 sl st
Petal 2 is finished. Do not fasten off. Keep working on petal 3.
Turn Petals 1 and 2 forward so you can work behind it.
Petal 3
- Worked in the FLO of Round 10
- 1 sc in the same stitch
- 1 HDC
- 1 DC
- 1 TR in the next 3 stitches
- 1 DC
- 1 HDC
- 1 sc in the stitch with the marker
- 1 sl st
Fasten off.
Petals 4 & 5
Turn the existing petals forward again, so you can work behind it.
Petal 4
- Worked in the FLO of Rounds 10
Join pink/red yarn in the previous marked stitch (where you made 1 sc in petal 3).
- 1 sc in the next stitch (where the previous sl st was made)
- 1 HDC
- 1 DC
- 1 TR in the next 3 stitches
- 1 DC
- 1 HDC
- 1 sc
- 1 sl st
Petal 4 is finished. Do not fasten off. Keep working on petal 5.
Turn the existing petals forward again, so you can work behind it.
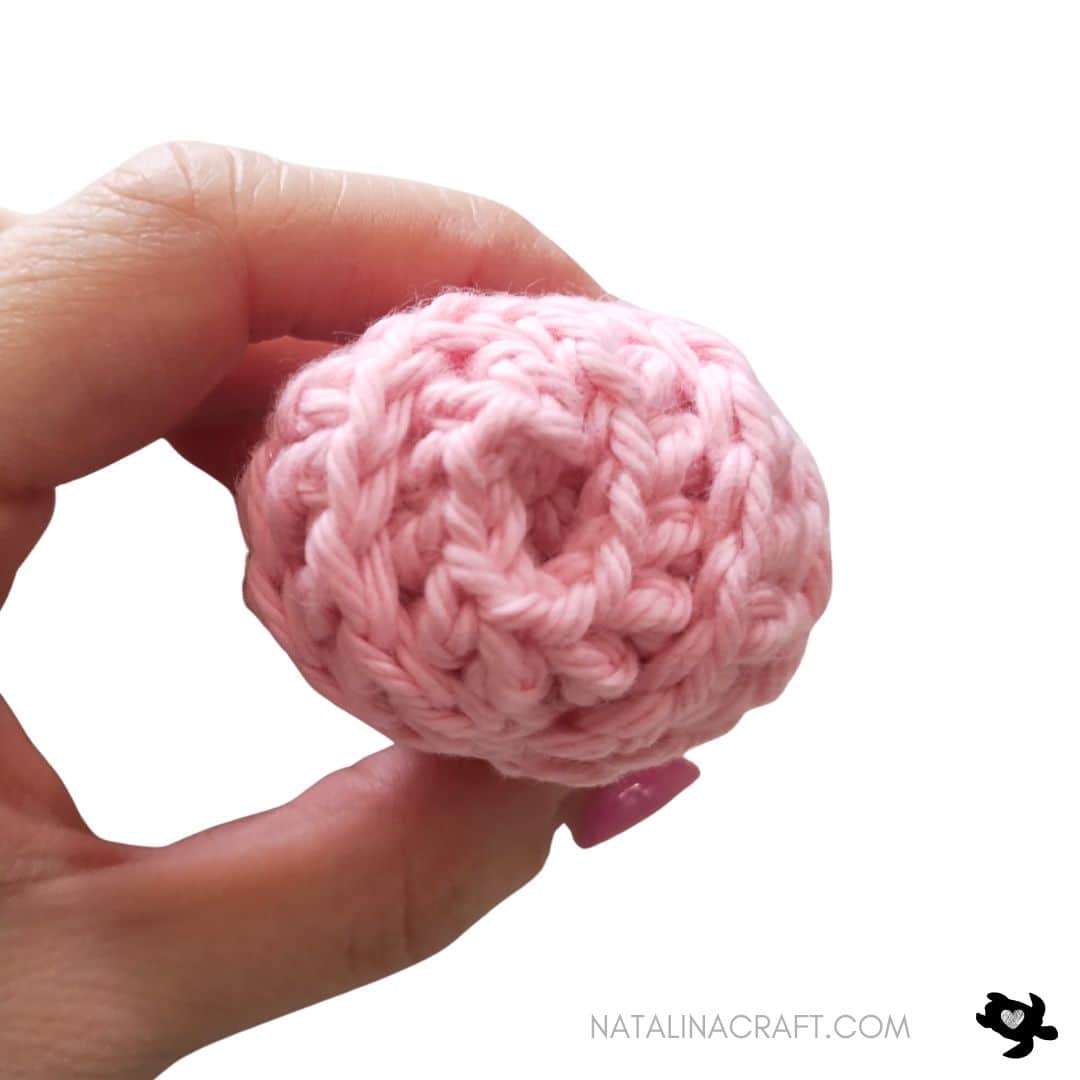
Petal 5 (Heart Petal)
- Worked in the FLO of round 11:
- 1 DC in each FLO stitch of Round 11 (12 dc total).
- ch 2
Fasten off.
Insert the yarn tail into the center of Round 12 and secure neatly.
Secure and hide all the ends of yarn inside the flower.


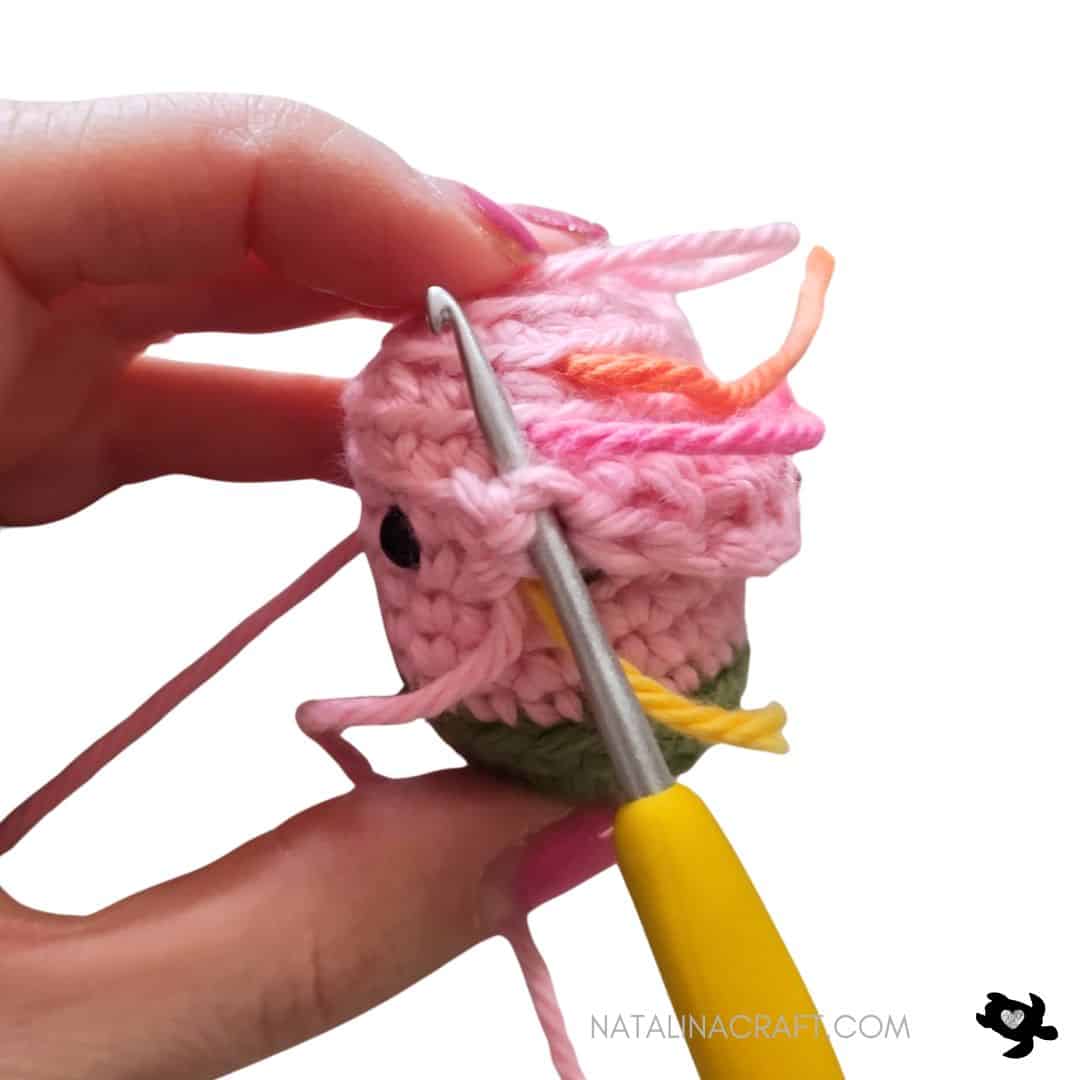
Leaves
- Worked in the FLO of Round 4
With a 2.75 mm crochet and yarn in green:
Join yarn in the FLO of the stitch marked in Round 4.
- Round 1: starting in the st where you joined: (1 sl st, 2 DC in the next st, 1 slst) x6.
Join with a sl st to the first sl st.
You should have 6 leaves total.
Turn the leaves outward and shape them gently with your fingers.
Fasten off and weave in all ends.
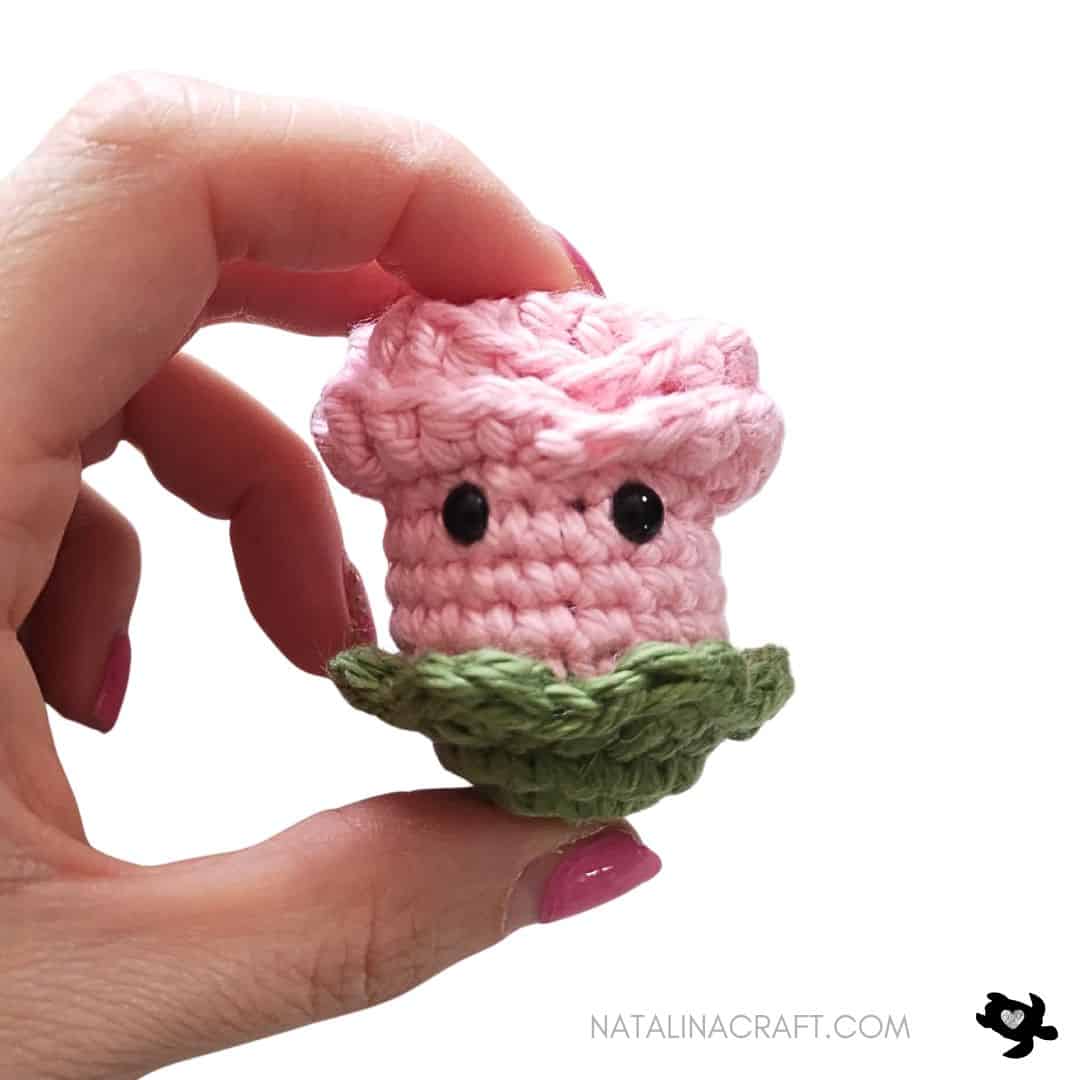
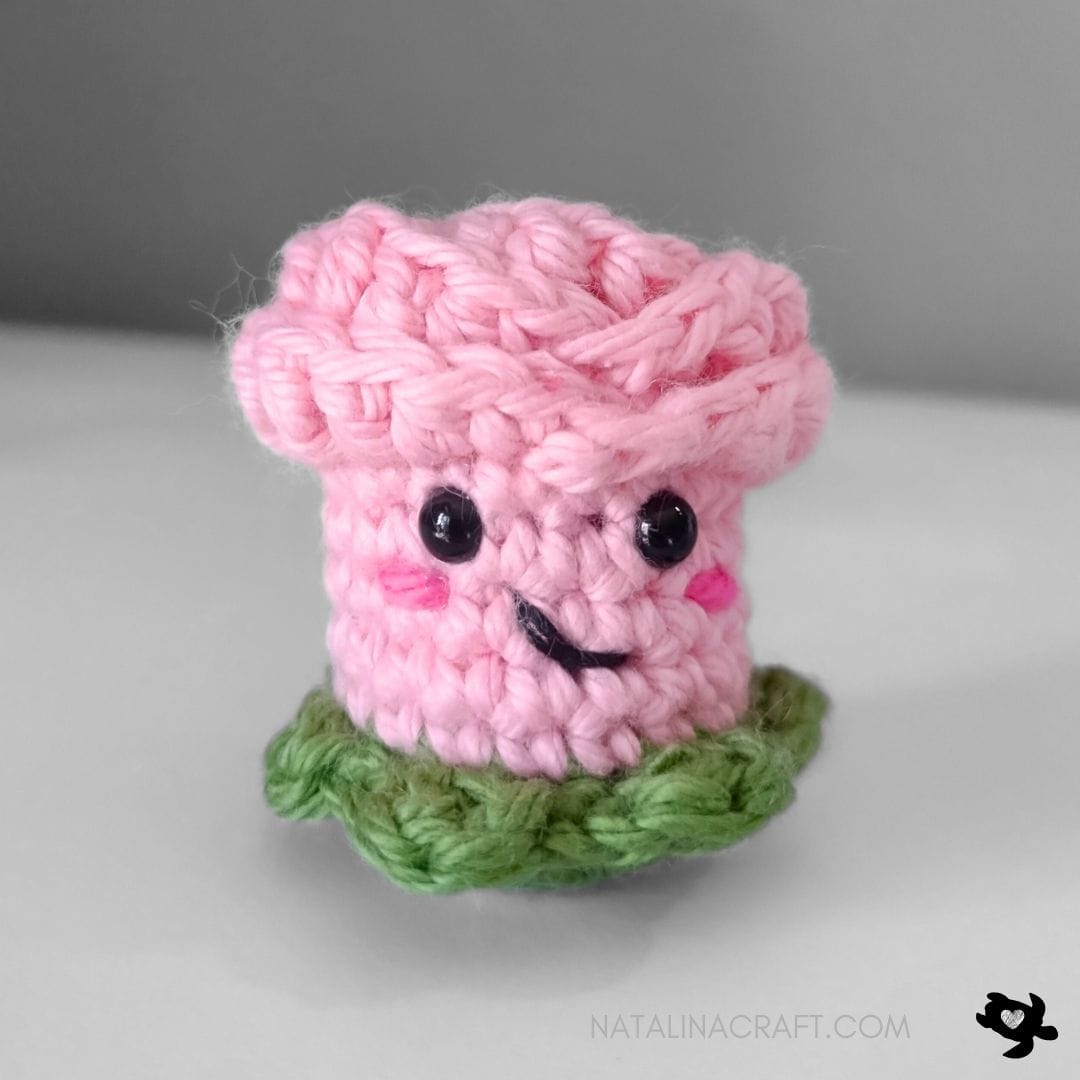
Face Details
- With pink yarn (double strand), embroider two small cheeks between Rounds 7 and 8, just below the eyes.
- With black cotton thread (double strand), embroider a small mouth over Round 7.
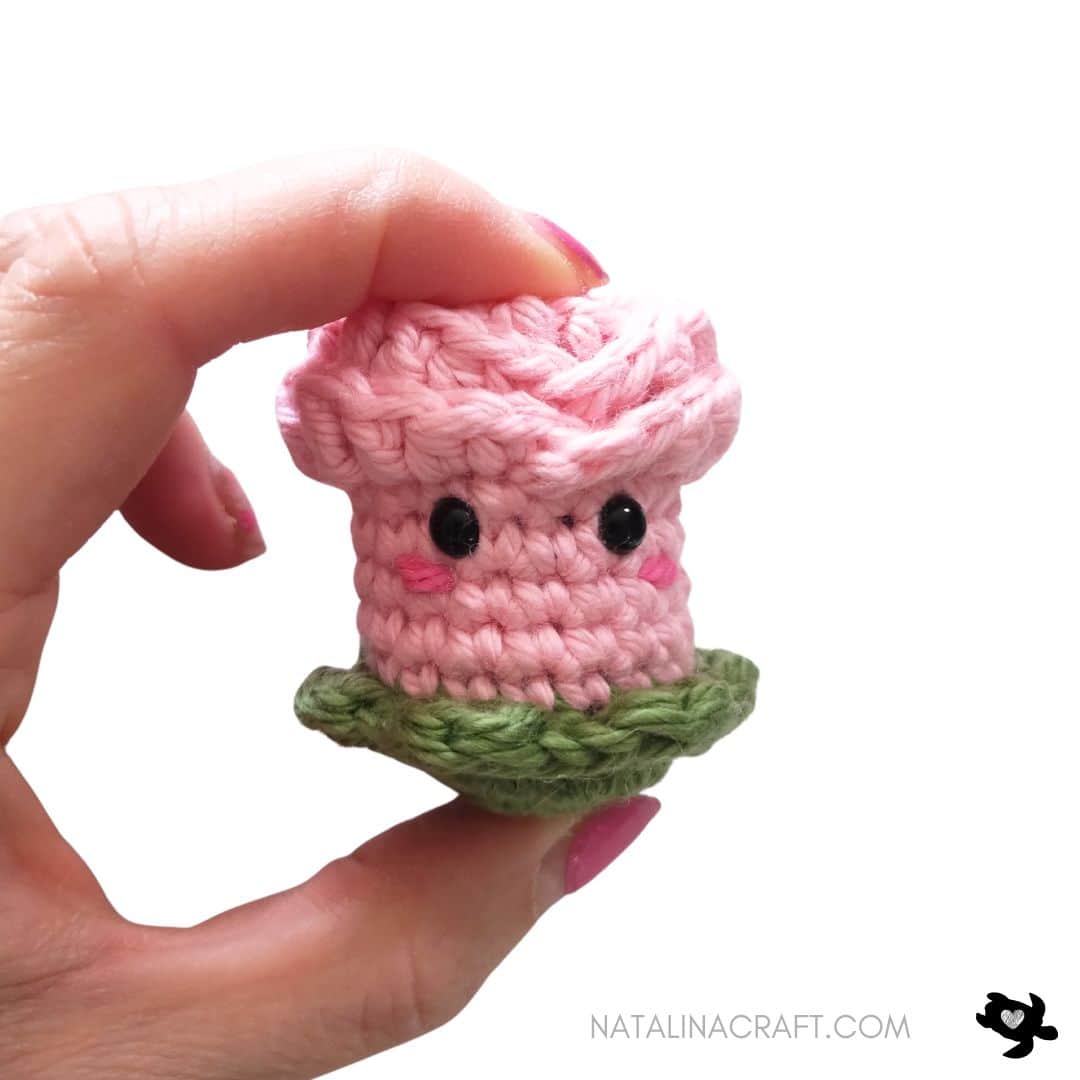
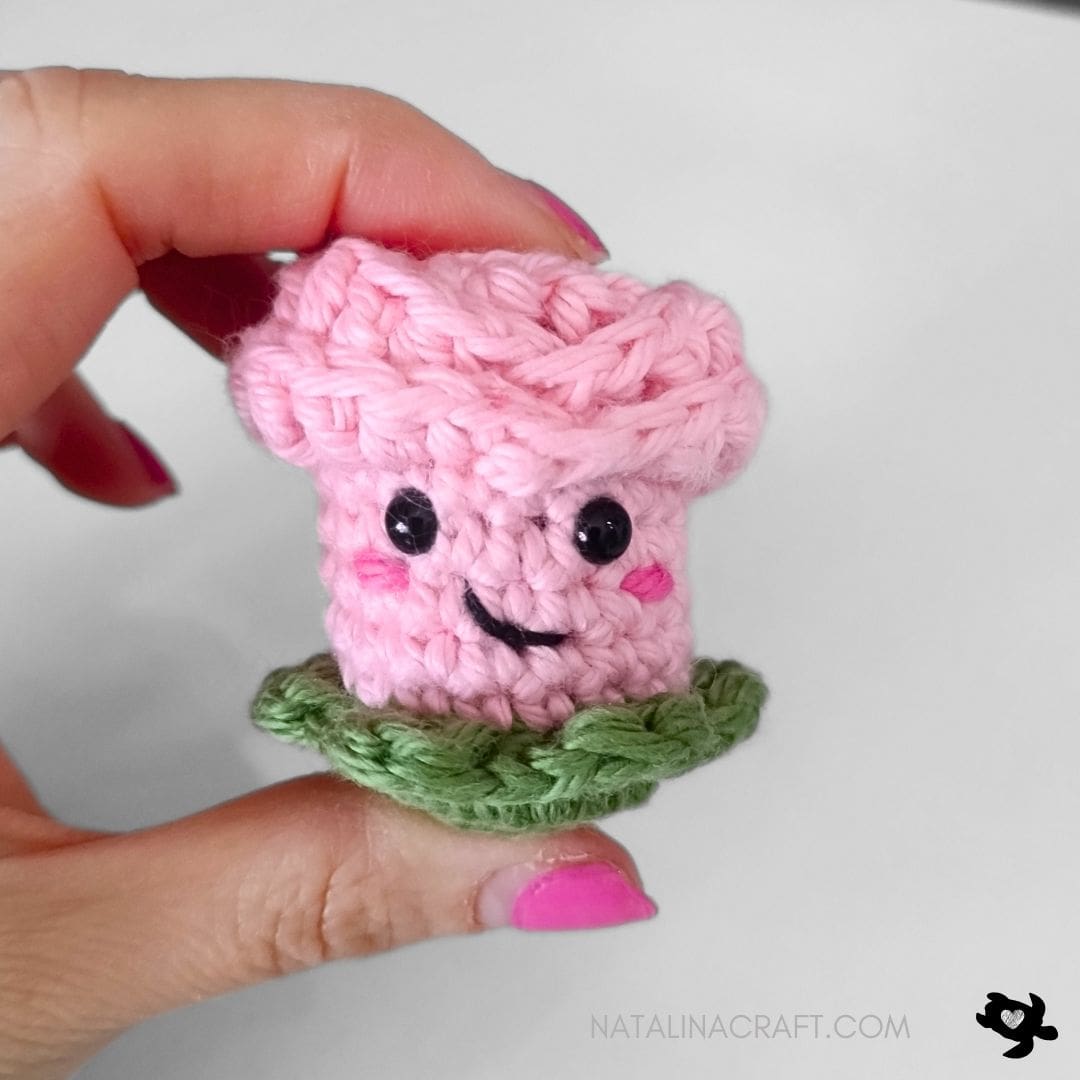
🎉 Congratulations!
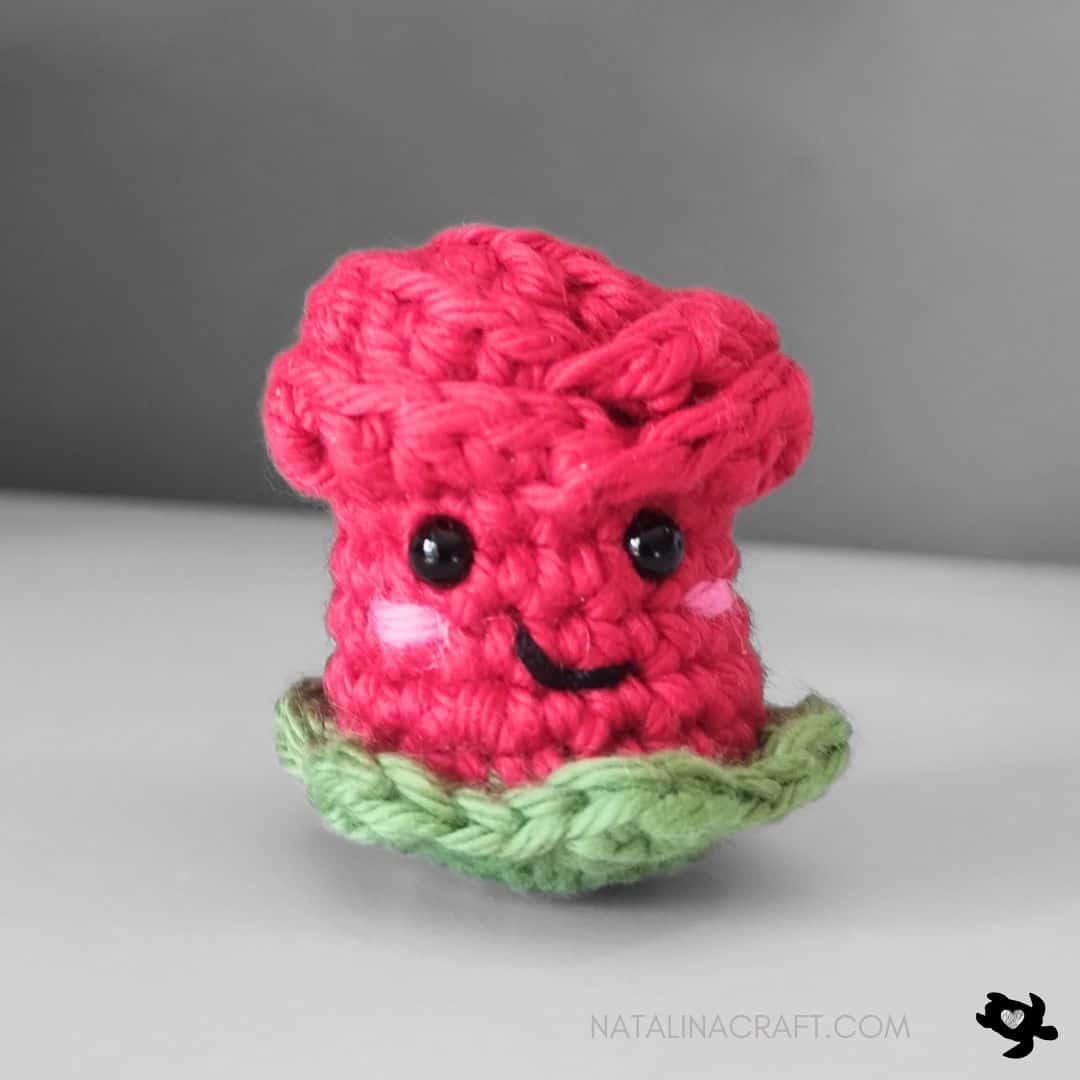
Your crochet rose is complete 🌹
I hope you enjoyed making this sweet little flower. If you share your project, don’t forget to tag @natalinacraft and use #natalinacraft—I absolutely love seeing your beautiful creations!
Copyright Notice
All rights reserved.
This pattern and all accompanying photographs are the property of Natalina Craft and are protected under copyright law.
This pattern is for personal use only. Any unauthorized reproduction, redistribution, or publication, in whole or in part, is strictly prohibited.
You may sell finished items made from this pattern in small quantities. While crediting Natalina Craft is not required, it is always greatly appreciated—especially when selling online—so others can find the original pattern.
Rose – Free Crochet Pattern
Rose - Free Crochet Pattern
Instructions
Rose - Free Crochet Pattern
Start Here:
- Please read the whole pattern properly before starting.
- The pattern is written using US terms.
Parts:
- 1 flower
- 6 leaves (crochet in 1 piece)
Finished Size:
Approx. 1.5 inches (4 cm) using light worsted yarn
Material:
- Worsted yarn in light pink or red (flower), green (leaves), and a small amount of dark pink for the cheeks.
- 2.75 mm (US C-2) crochet hook
- Black cotton thread for the mouth
- 2 black safety eyes (5 mm)
- Stitch markers (if needed)
- Tapestry needle
- Polyfill stuffing
Abbreviations:
- chain (ch)
- magic ring (mr)
- single crochet (sc)
- increase (inc)
- invisible decrease (dec)
- slip stitch (sl st)
- Half double crochet (HDC)
- double crochet (DC)
- treble crochet (TR)
How to crochet a Rose?
Flower
- Worked in continuous rounds. Use a stitch marker if needed.
- Remember to stuff as you crochet.
With a 2.75 mm crochet and yarn in green:
- Round 1: 6 sc in a magic ring. (6)
- Round 2: [6 inc]. (12)
- Round 3: [1 inc in the next st, 1 sc]x6. (18)
- Round 4: [1 sc in all st]. (18)Place a stitch marker in the first stitch of Round 4 (this marker will be used later for the leaves).
Change to pink/red:
- Round 5: working in the back loops only (BLO): [1 sc in all st]. (18)
- Rounds 6 to 8: [1 sc in all st]. (18)
- Round 9: [1 sc in all st]. (18)Place stitch markers in stitches 1, 8, 9, and 11 of this round.
- Round 10: working in the back loops only (BLO): [1 sc in all st]. (18)Place an additional stitch marker in stitch 9.
Eye Placement
Insert the safety eyes between Rounds 8 and 9, spaced by 2 stitches:
- First eye: below the stitch marked 8
- Second eye: below the stitch marked 11
⚠️ Do not remove the stitch markers in stitches 1 and 9—they are needed for the petals.
- Round 11: working in the back loops only (BLO): [1 dec, 1 sc] x6. (12).Place a stitch marker in stitch 6.
- Round 12: working in the back loops only (BLO): [1 dec, 1 sc] x4. (8)
Fasten off.Using a tapestry needle, weave the yarn tail through the remaining stitches and pull tight to close. Secure and weave in ends.
Petals
The petals are worked in the FLO of Rounds 9, 10, and 11.
Petal 1:
- Worked in the FLO of Rounds 9
Join pink/red yarn in the FLO of stitch 1 of Round 9 (with the stitch marker).
- 1 sc in the same stitch
- 1 HDC
- 1 DC
- 1 TR in the next 3 stitches
- 1 DC
- 1 HDC
- 1 sc in the stitch with the marker
- 1 sl st
Fasten off.
Petals 2 & 3
Turn Petal 1 forward so you can work behind it.
Petal 2
- Worked in the FLO of Rounds 9
Join pink/red yarn in the previous marked stitch (where you made 1 sc in petal 1).
- 1 sc in the next stitch (where the previous sl st was made)
- 1 HDC
- 1 DC
- 1 TR in the next 3 stitches
- 1 DC
- 1 HDC
- 1 sc
- 1 sl st
Petal 2 is finished. Do not fasten off. Keep working on petal 3.
Turn Petals 1 and 2 forward so you can work behind it.
Petal 3
- Worked in the FLO of Round 10
- 1 sc in the same stitch
- 1 HDC
- 1 DC
- 1 TR in the next 3 stitches
- 1 DC
- 1 HDC
- 1 sc in the stitch with the marker
- 1 sl st
Fasten off.
Petals 4 & 5
Turn the existing petals forward again, so you can work behind it.
Petal 4
- Worked in the FLO of Rounds 10
Join pink/red yarn in the previous marked stitch (where you made 1 sc in petal 3).
- 1 sc in the next stitch (where the previous sl st was made)
- 1 HDC
- 1 DC
- 1 TR in the next 3 stitches
- 1 DC
- 1 HDC
- 1 sc
- 1 sl st
Petal 4 is finished. Do not fasten off. Keep working on petal 5.
Turn the existing petals forward again, so you can work behind it.
Petal 5 (Heart Petal)
- Worked in the FLO of round 11:
- 1 DC in each FLO stitch of Round 11 (12 dc total).
- ch 2
Fasten off.Insert the yarn tail into the center of Round 12 and secure neatly.
Secure and hide all the ends of yarn inside the flower.
Leaves
- Worked in the FLO of Round 4
With a 2.75 mm crochet and yarn in green:
Join yarn in the FLO of the stitch marked in Round 4.
- Round 1: starting in the st where you joined: (1 sl st, 2 DC in the next st, 1 slst) x6.
Join with a sl st to the first sl st.
You should have 6 leaves total.
Turn the leaves outward and shape them gently with your fingers.
Fasten off and weave in all ends.
Face Details
- With pink yarn (double strand), embroider two small cheeks between Rounds 7 and 8, just below the eyes.
- With black cotton thread (double strand), embroider a small mouth over Round 7.
🎉 Congratulations!
Your crochet rose is complete 🌹I hope you enjoyed making this sweet little flower. If you share your project, don’t forget to tag @natalinacraft and use #natalinacraft—I absolutely love seeing your beautiful creations!
Copyright Notice
All rights reserved.This pattern and all accompanying photographs are the property of Natalina Craft and are protected under copyright law.
This pattern is for personal use only. Any unauthorized reproduction, redistribution, or publication, in whole or in part, is strictly prohibited.
You may sell finished items made from this pattern in small quantities. While crediting Natalina Craft is not required, it is always greatly appreciated—especially when selling online—so others can find the original pattern.