
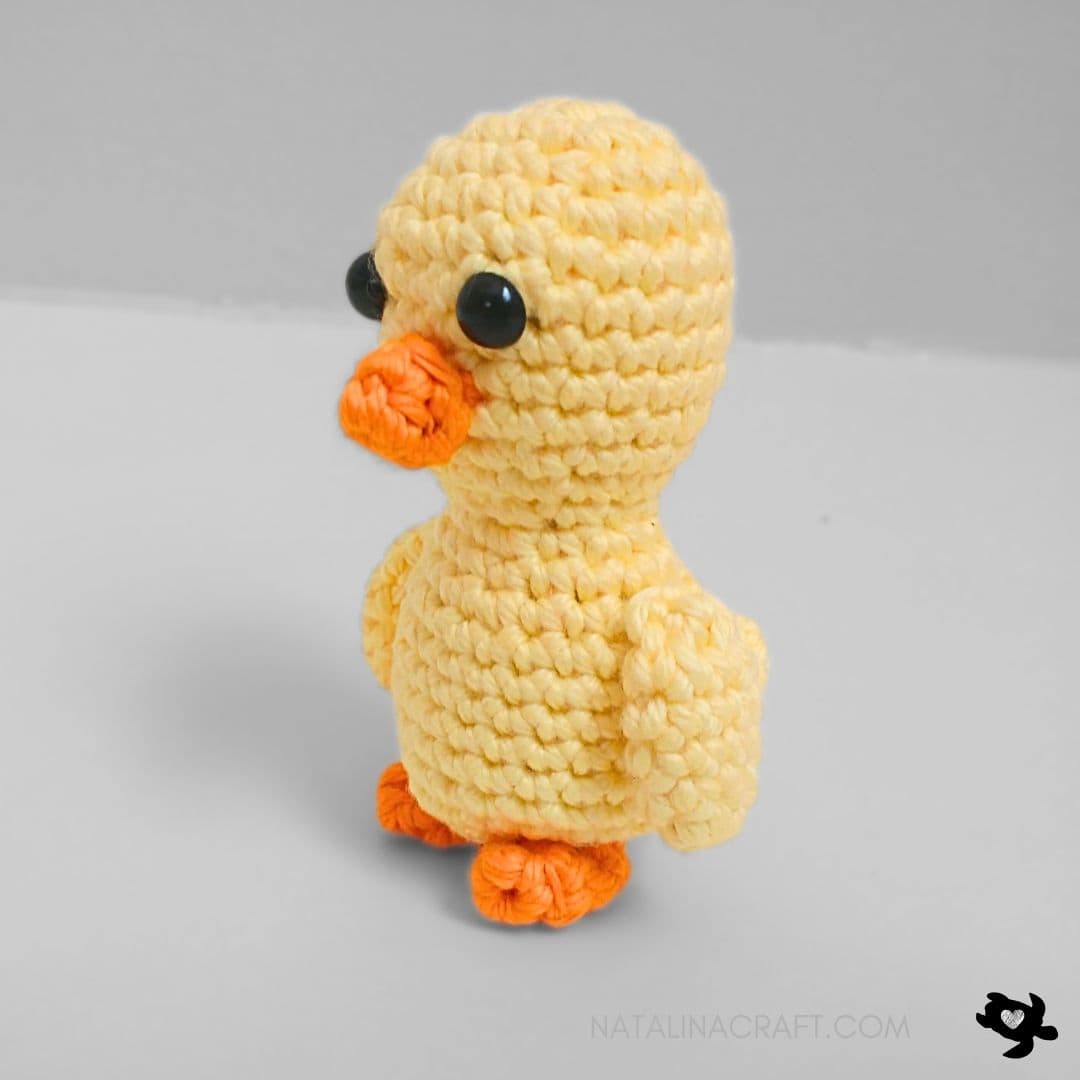
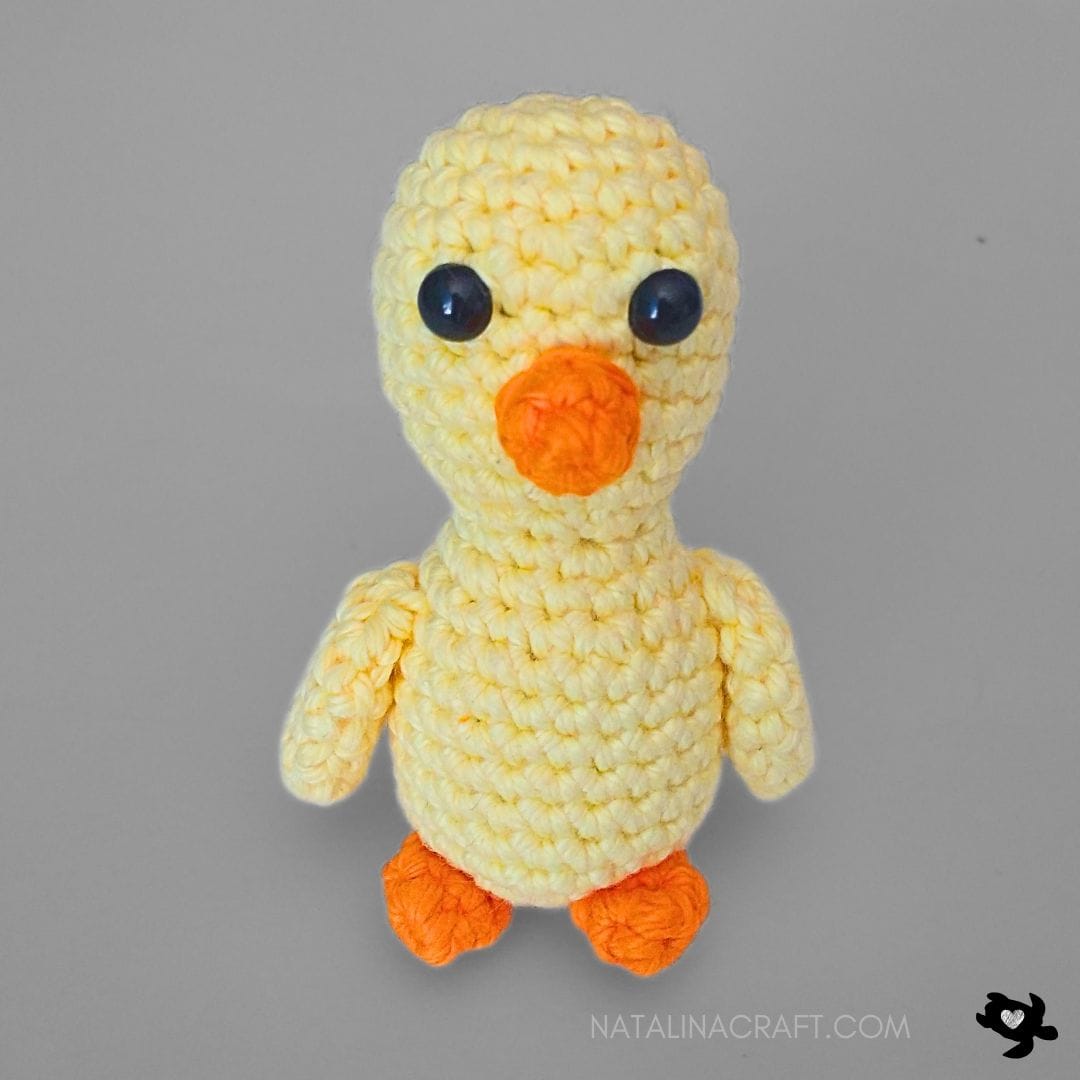
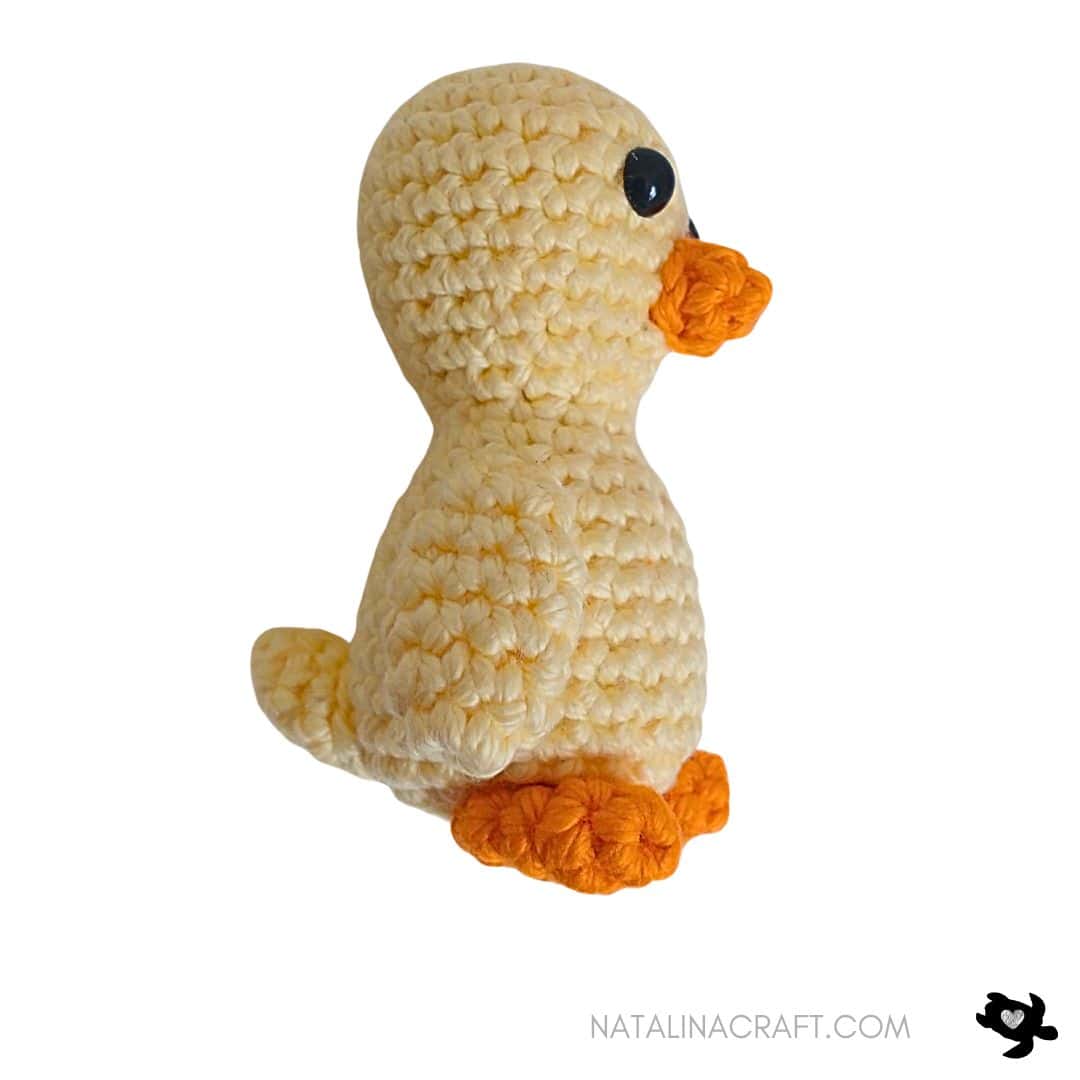
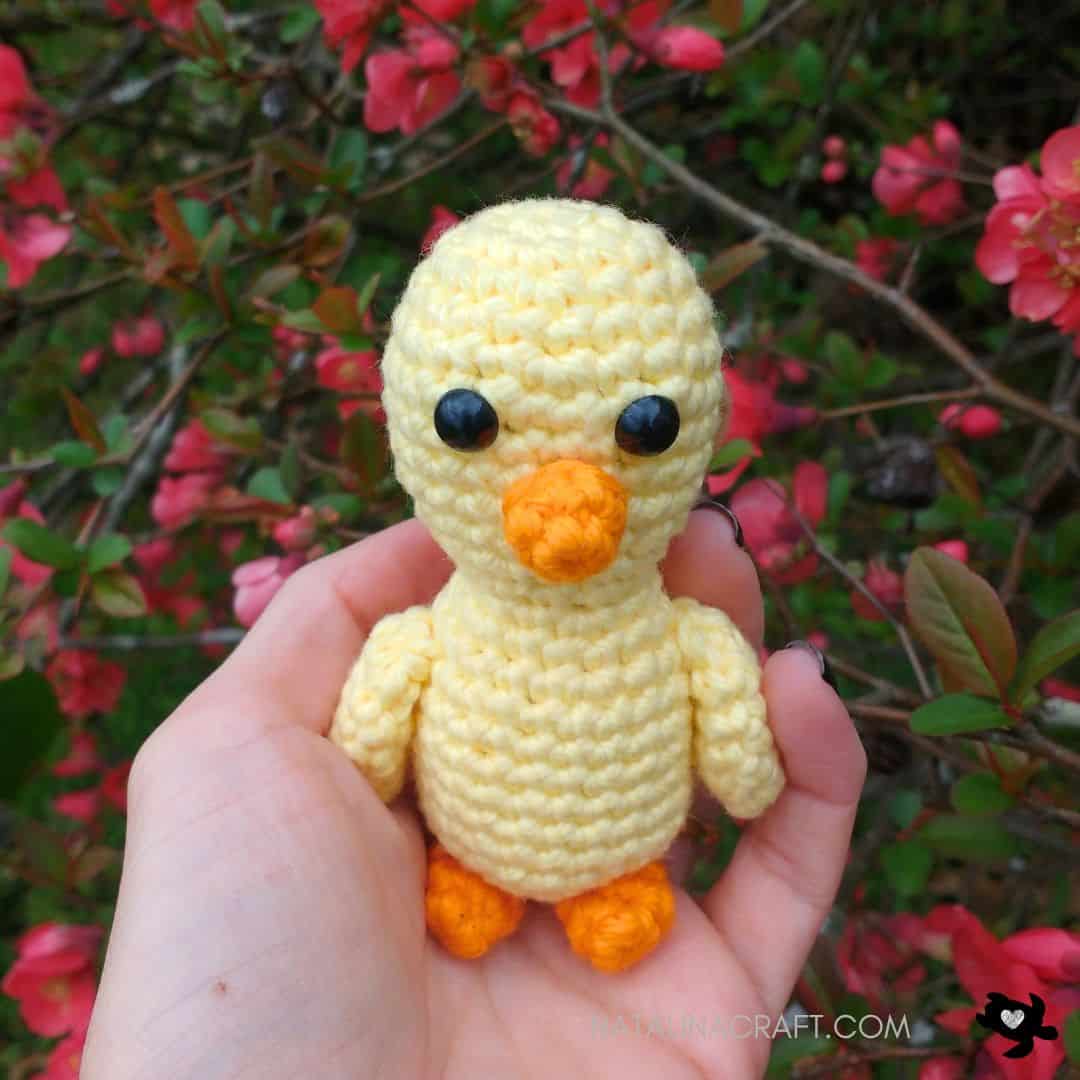
Create an adorable crochet chick amigurumi in no time with this quick and easy tutorial 🐥🧶
Perfect for beginners, this step-by-step pattern is designed to be simple, fast, and fun—so you can enjoy the process as much as the finished result. This sweet little chick makes a lovely addition to your Easter décor, a charming handmade gift, or a cheerful springtime project.
Grab your hook and yarn, and let’s start crocheting! 🐣✨
Join my Facebook group, where you can ask questions, share your finished projects, and help me choose future designs!
I hope you enjoy this pattern and find it easy to follow. If you have any questions, feel free to reach out—I’ll do my best to help. And I’d absolutely love to see your creations, so don’t forget to share your finished projects using #natalinacraft. Seeing your beautiful work always makes my day 💕
Free Crochet Pattern Chick
Start Here
- Please read the entire pattern before starting.
- This pattern is written using US crochet terms.
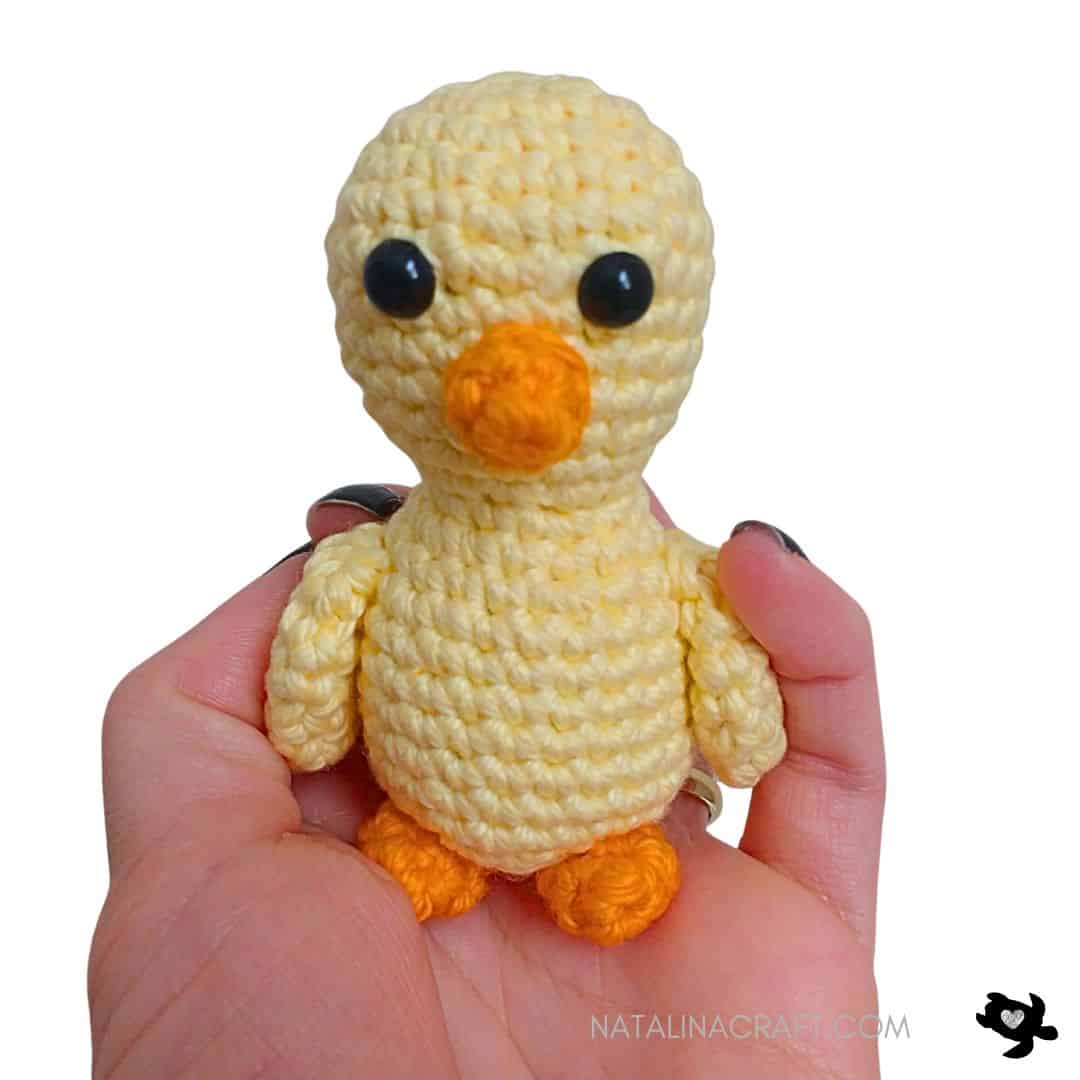
Finished Size:
Approx. 3.5 in (10 cm) tall using the indicated yarn.
Materials:
- Worsted yarn in yellow and orange
- 3.5 mm (size E) crochet hook
- 2 black safety eyes (6 mm/0.2 inches)
- Poly-Fil Fiberfill stuffing
- Stitch markers
- Tapestry needle
Abbreviations:
- chain (ch)
- magic ring (mr)
- single crochet (sc)
- increase (inc)
- invisible decrease (dec)
- back loop only (blo)
What did I use?
Light worsted yarn in yellow and orange
I used « I love this cotton ! » from Hobby Lobby in Buttercup (color 12) and Glowing (color 102)
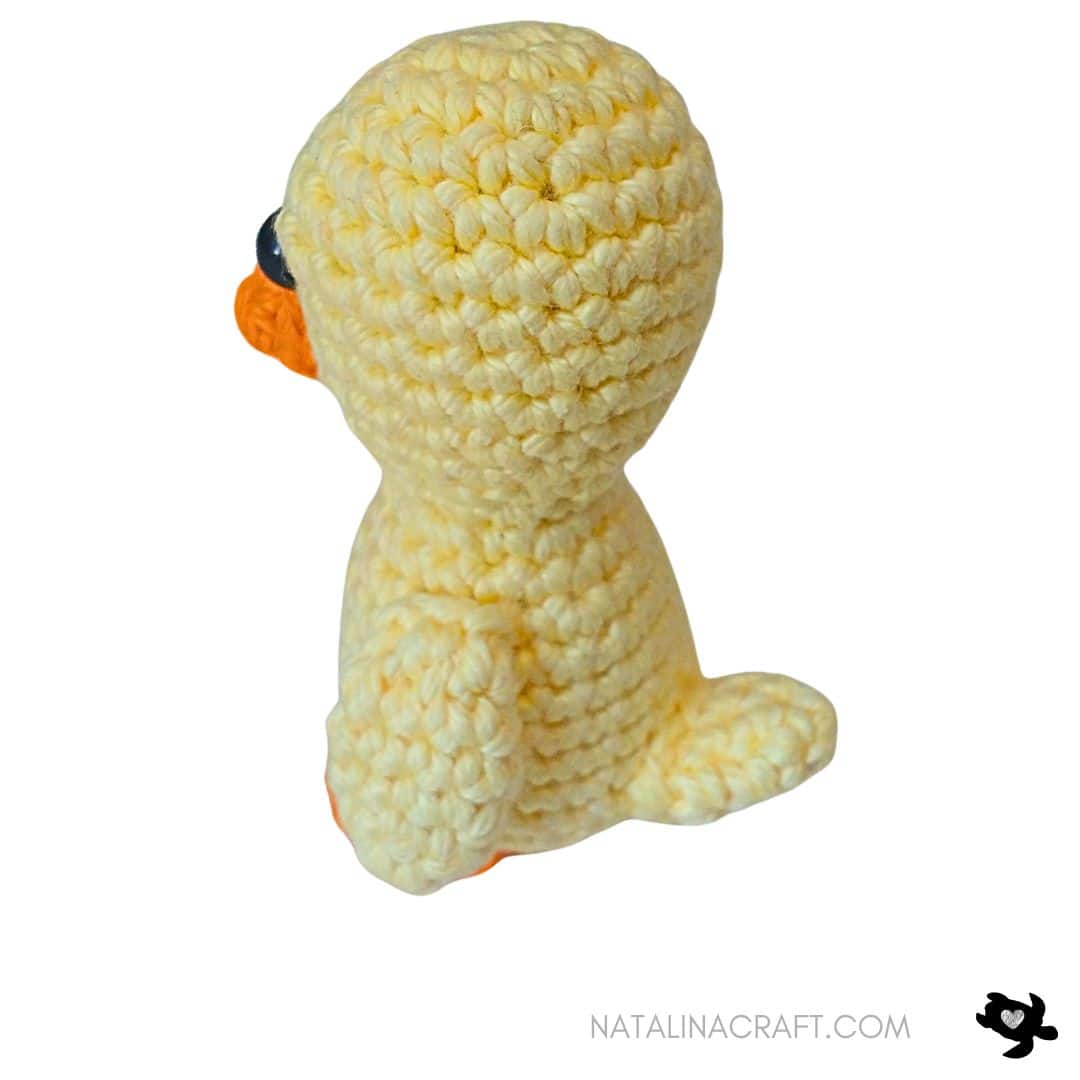
Head & Body
- Worked in continuous rounds. Use a stitch marker if needed.
With yellow yarn:
- Round 1: 6 sc in a magic ring. (6)
- Round 2: 6 inc. (12)
- Round 3: [1 sc in next st, 1 inc in next st] x6. (18)
- Round 4: 1 sc in all st. (18)
- Round 5: [1 sc in next 2 st, 1 inc in next st] x6. (24)
- Rounds 6 to 9: 1 sc in all st. (24)
Insert safety eyes between Rounds 6 and 7, spaced by 3 stitches and centered on the face.
Optional: embroider eyelashes using black thread.
- Round 10: [1 sc in next 2 st, 1 dec] x6. (18)
- Round 11: 1 sc in all st. (18)
- Round 12: [1 sc in next 1 st, 1 dec] x6. (12)
- Round 13: 1 sc in all st. (12)
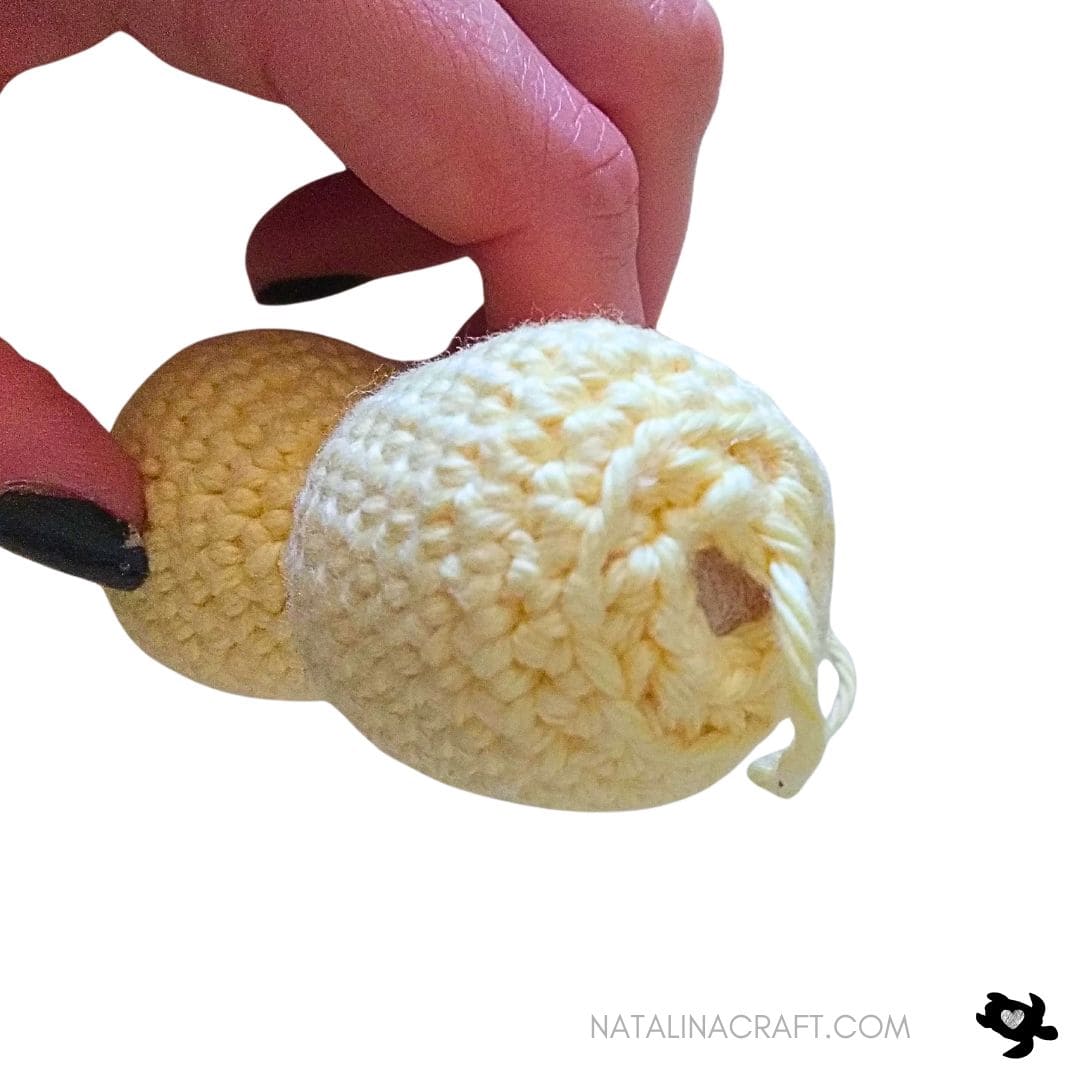
Stuff the head firmly, shaping as you go.
- Round 14: [1 sc in next st, 1 inc in next st] x6. (18)
- Round 15: [1 sc in next 2 st, 1 inc in next st] x6. (24)
- Rounds 16 to 22: 1 sc in all st. (24)
- Round 23 : [1 sc in next 2 st, 1 dec] x6. (18)
- Round 24 : work in back loops only: [1 sc in next st, 1 dec] x6 (12)
- Round 25 : [6 dec]. (6)
Stuff the body firmly.
Fasten off, leaving a long tail. Close the opening with a tapestry needle.

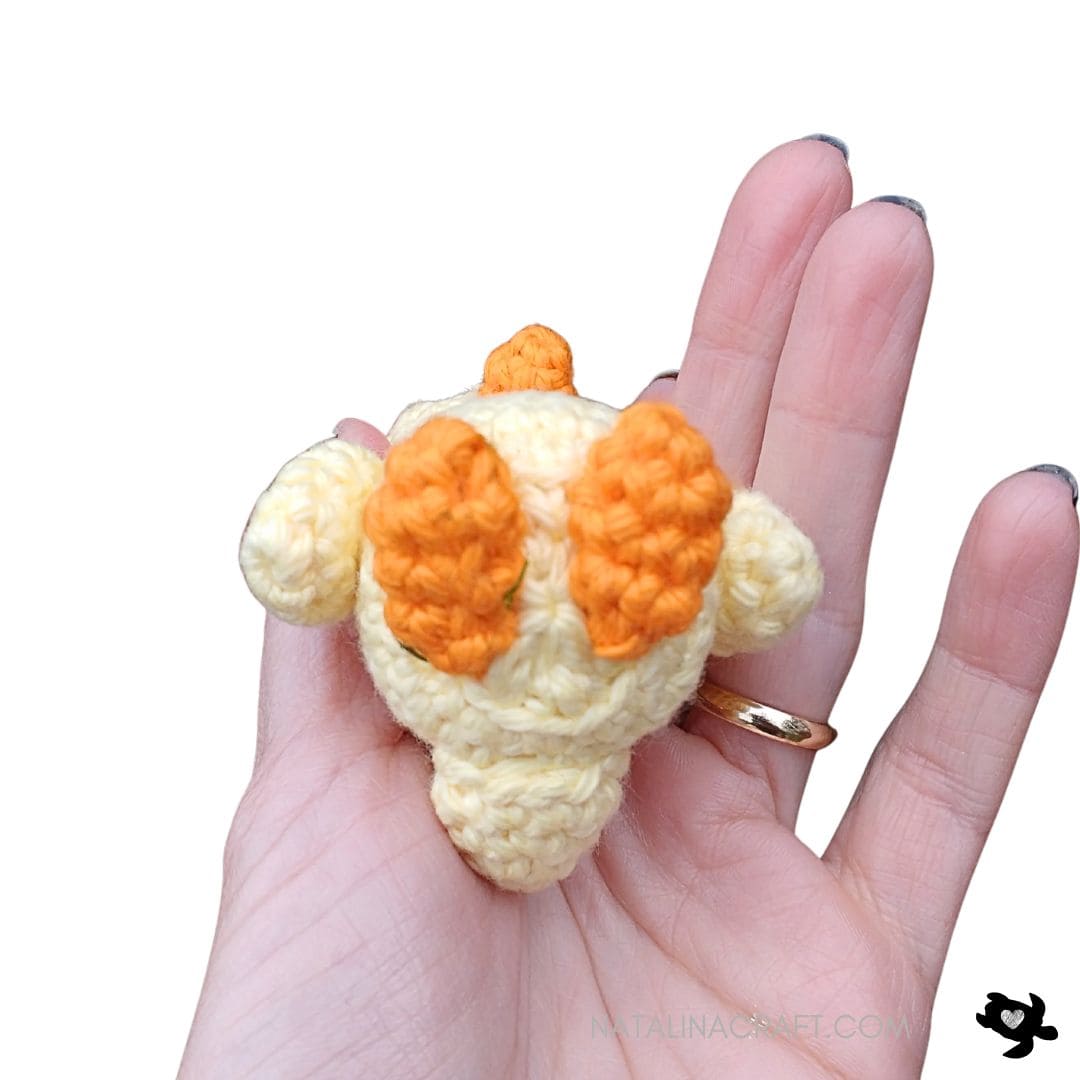
Beak
With orange yarn:
- Round 1: 4 sc in a magic ring. (4)
- Round 2 : [1 sc in next st, 1 inc in next st] x2. (6)
Fasten off, leaving a long tail.
Sew the beak to the head, centered around Round 9.
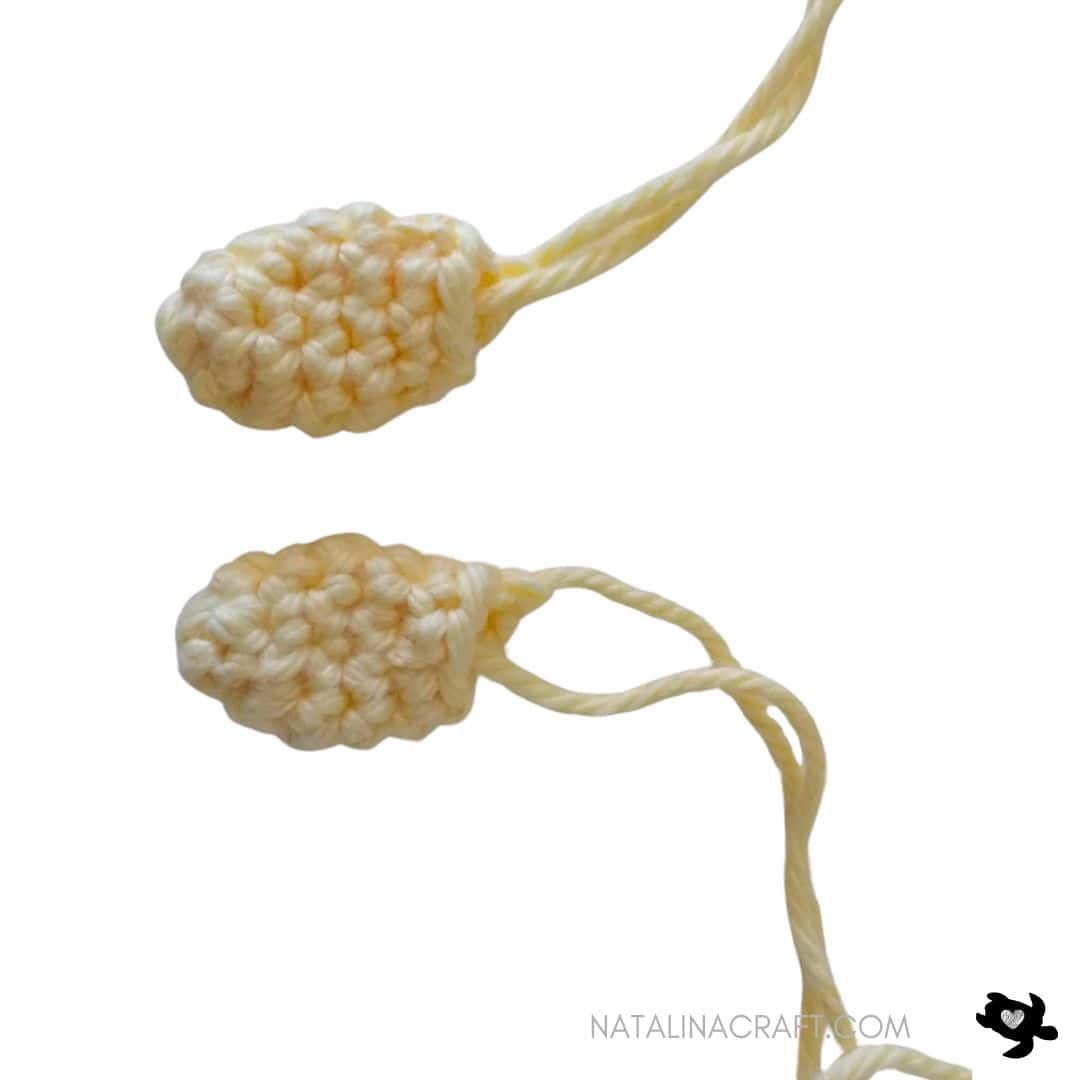
Wings (make 2)
With yellow yarn:
- Round 1: 6 sc in a magic ring. (6)
- Round 2 : [1 sc in next 2 st, 1 inc in next st] x2. (8)
- Rounds 3 to 5: 1 sc in all st. (8)
- Round 6: [1 sc in next 2 st, 1 dec] x2. (6)
Fasten off, leaving a long tail.
Sew to the sides of the body between Rounds 14 and 15.
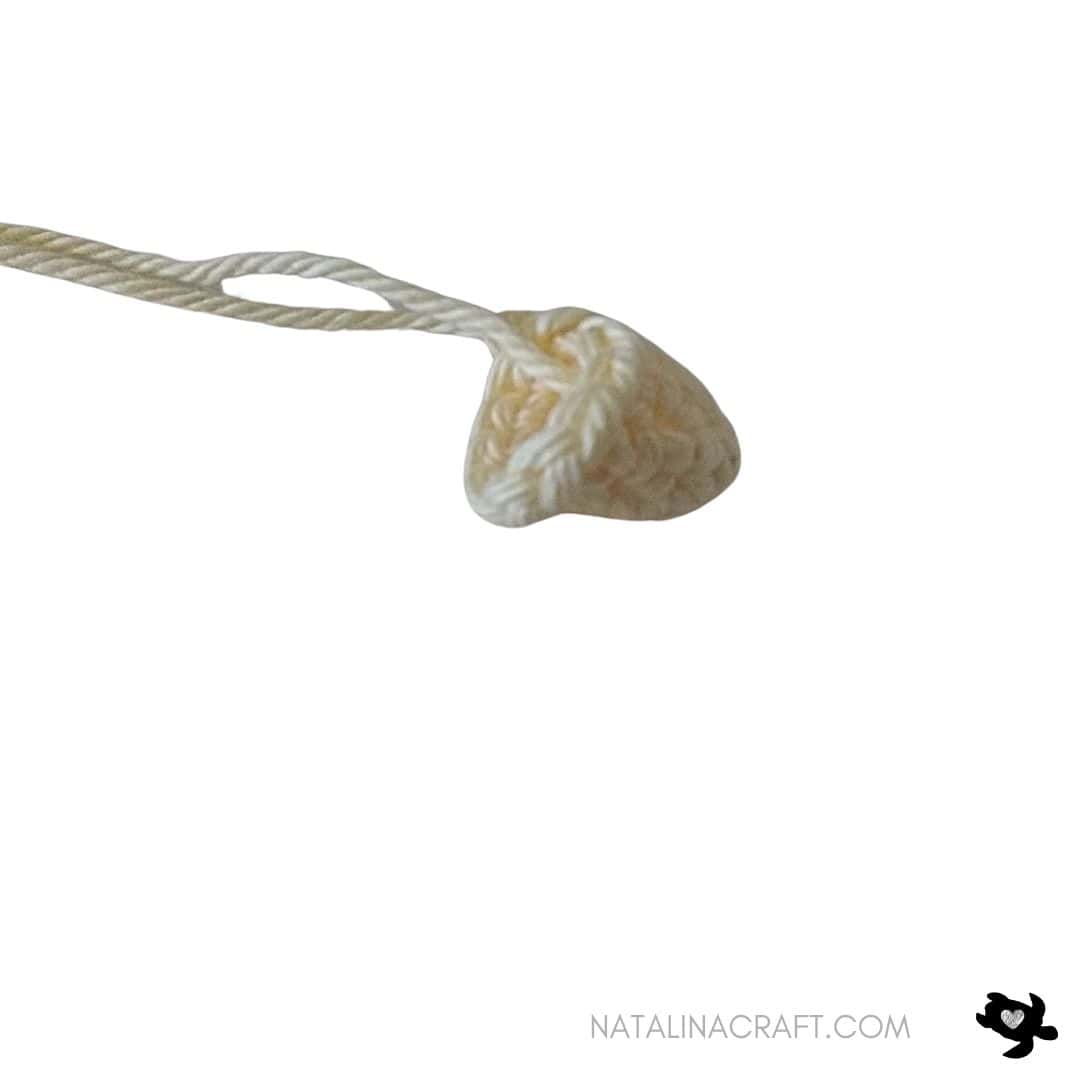
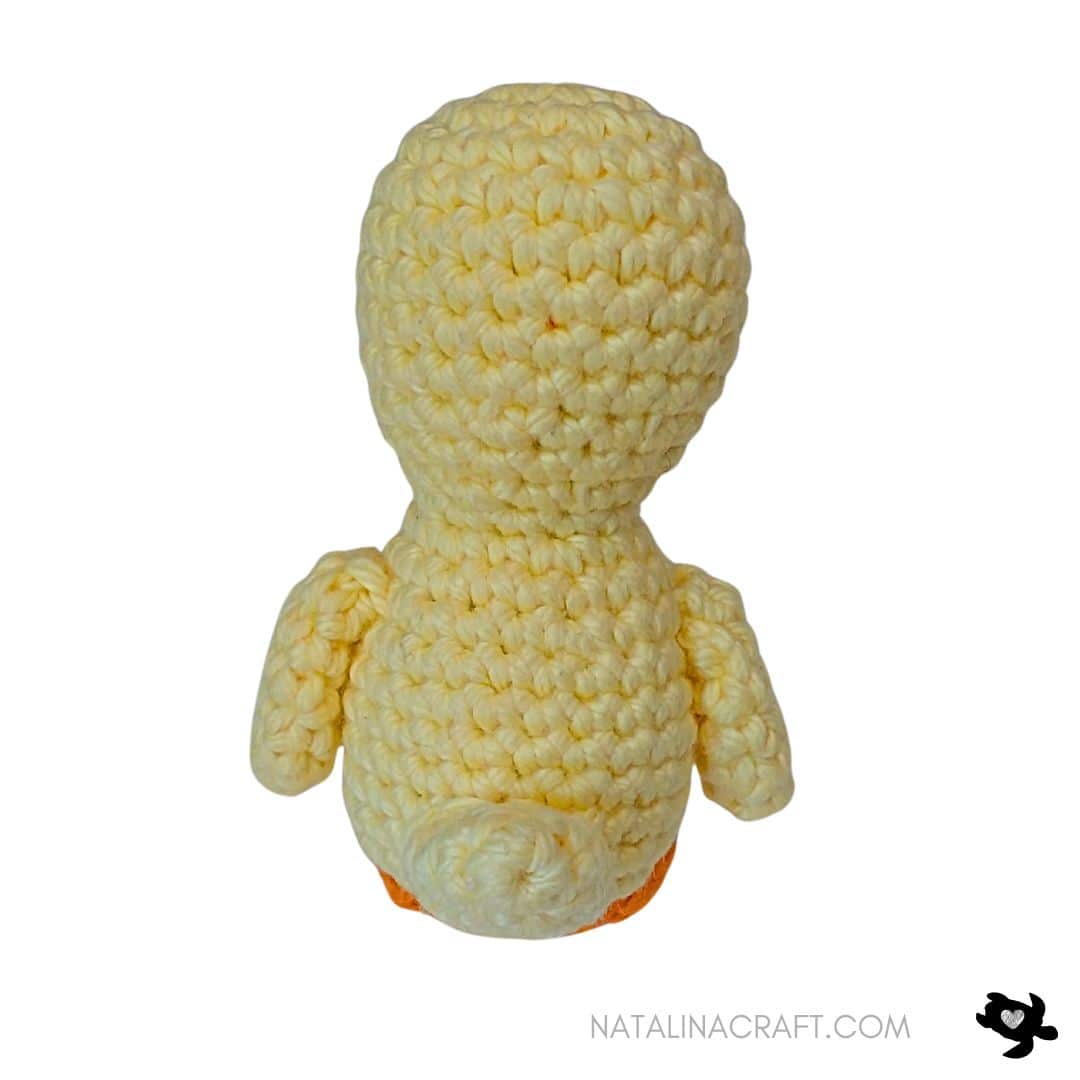
Tail
With yellow yarn:
- Round 1: 4 sc in a magic ring. (4)
- Round 2 : [1 sc in next st, 1 inc in next st] x2. (6)
- Round 3: [1 sc in next 2, 1 inc in next 2, 1 sc in next 2 st]. (8)
- Round 4 : [1 sc in next 3 st, 1 inc in next st] x2. (10)
Fasten off, leaving a long tail.
Sew to the back of the body between Rounds 19 and 21.
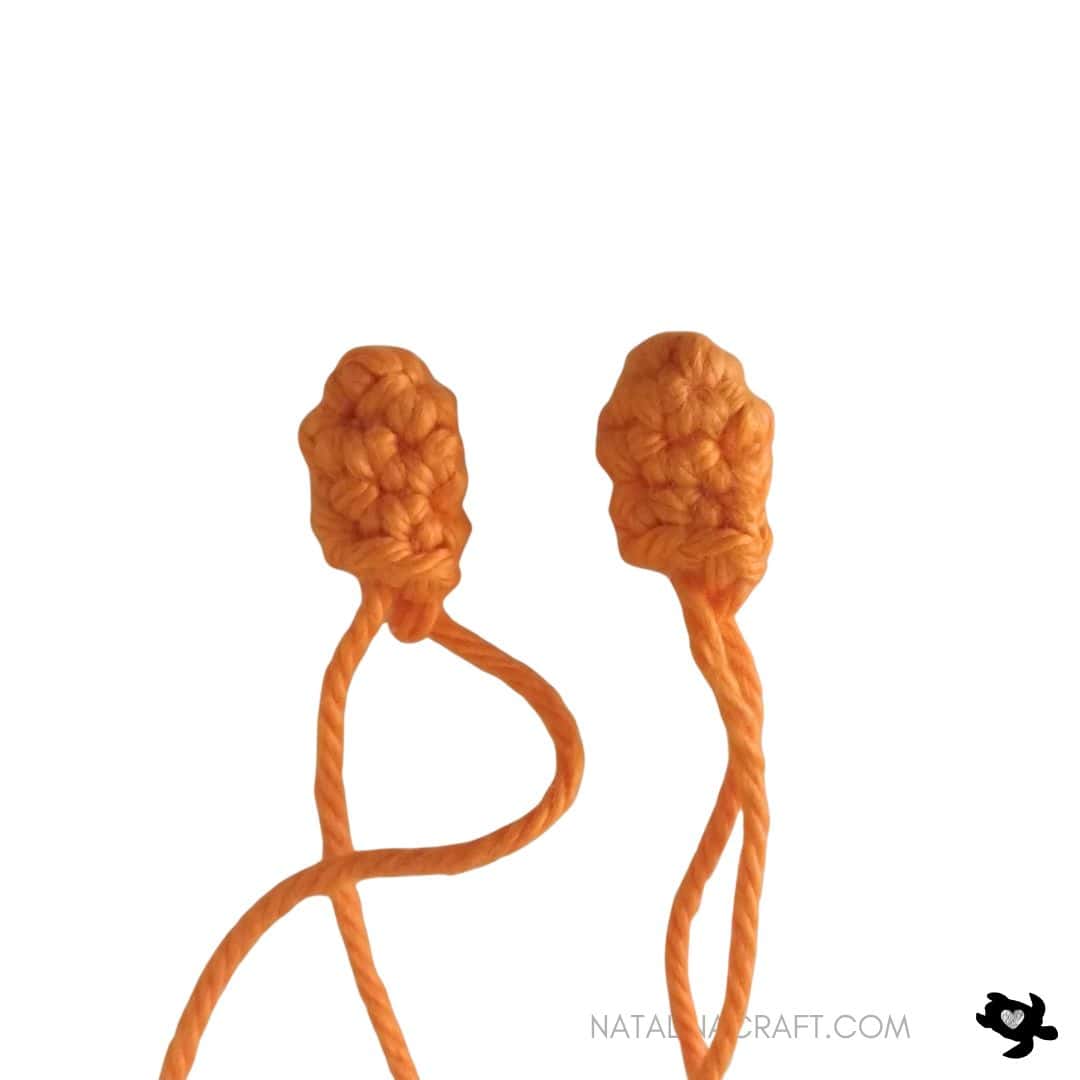
Feet (Make 2)
With orange yarn:
- Round 1: 4 sc in a magic ring. (4 sc)
- Round 2: [1 sc in next st, 1 inc in next st] x2. (6)
- Rounds 3 to 4: 1 sc in all st (6)
Fasten off, leaving a long tail.
Sew the feet to the bottom front of the body, spaced evenly.
🎉 Congratulations!
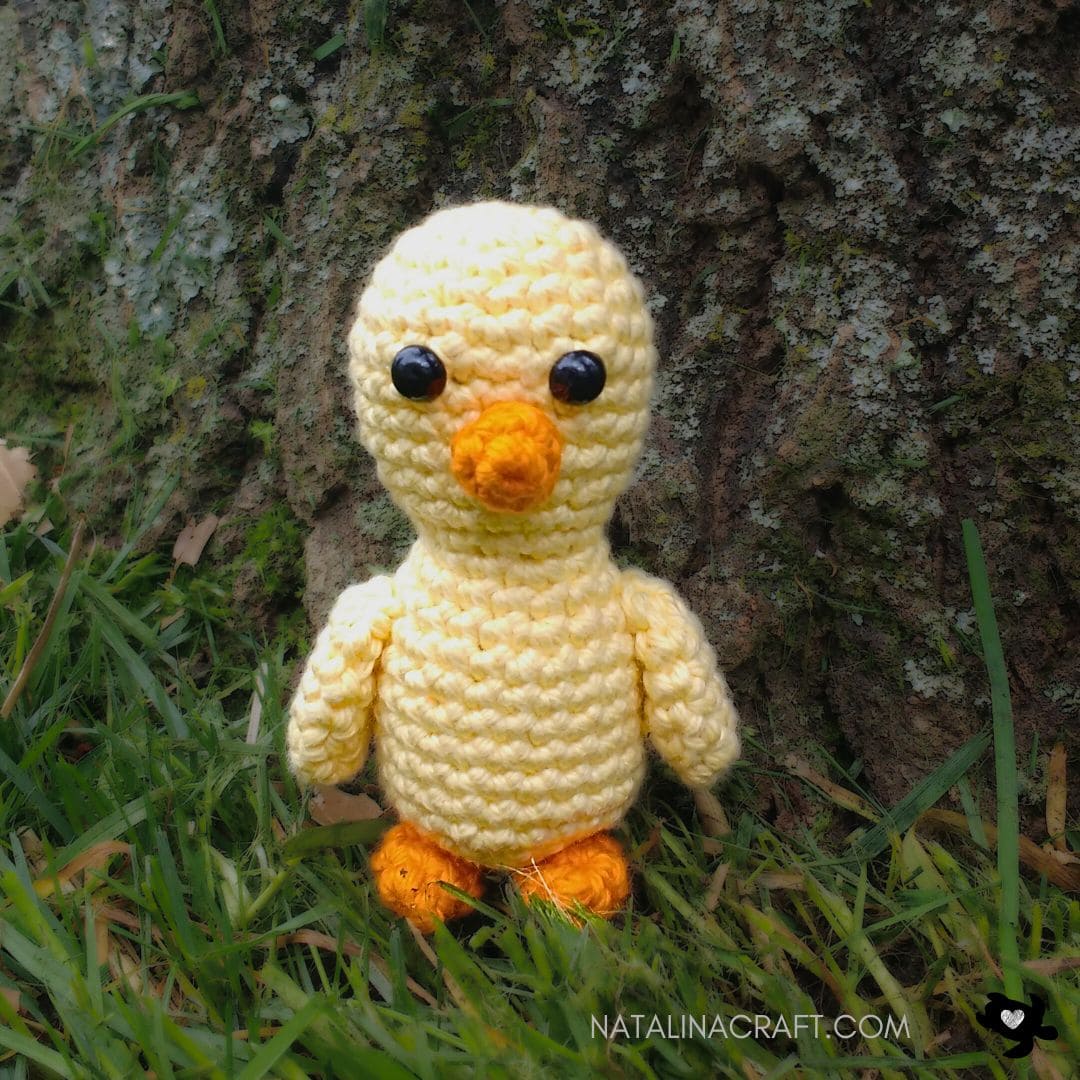
Congratulations on creating your adorable crochet chick amigurumi 🐥🧶
Your finished chick is sure to bring smiles wherever it goes. Keep crocheting, keep creating, and enjoy every stitch!
Copyright Notice
All rights reserved. This pattern and all accompanying photographs are the property of Natalina Craft and are protected by copyright law. This pattern is for personal use only. Any unauthorized reproduction, redistribution, or publication of this pattern, in whole or in part, is strictly prohibited.
You are welcome to sell finished items made from this pattern in small quantities. While crediting Natalina Craft as the designer is not required, it is always greatly appreciated—especially when selling online—so others can find the original pattern.
Thank you for respecting these guidelines.
Crochet Chick Amigurumi
Crochet Chick Amigurumi
Instructions
Free Crochet Pattern Chick
Start Here
- Please read the entire pattern before starting.
- This pattern is written using US crochet terms.
Finished Size:
Approx. 3.5 in (10 cm) tall using the indicated yarn.
Materials:
- Worsted yarn in yellow and orange
- 3.5 mm (size E) crochet hook
- 2 black safety eyes (6 mm/0.2 inches)
- Poly-Fil Fiberfill stuffing
- Stitch markers
- Tapestry needle
Abbreviations:
- chain (ch)
- magic ring (mr)
- single crochet (sc)
- increase (inc)
- invisible decrease (dec)
- back loop only (blo)
What did I use?
Light worsted yarn in yellow and orangeI used « I love this cotton ! » from Hobby Lobby in Buttercup (color 12) and Glowing (color 102)
Head & Body
- Worked in continuous rounds. Use a stitch marker if needed.
With yellow yarn:
- Round 1: 6 sc in a magic ring. (6)
- Round 2: 6 inc. (12)
- Round 3: [1 sc in next st, 1 inc in next st] x6. (18)
- Round 4: 1 sc in all st. (18)
- Round 5: [1 sc in next 2 st, 1 inc in next st] x6. (24)
- Rounds 6 to 9: 1 sc in all st. (24)
Insert safety eyes between Rounds 6 and 7, spaced by 3 stitches and centered on the face.
Optional: embroider eyelashes using black thread.
- Round 10: [1 sc in next 2 st, 1 dec] x6. (18)
- Round 11: 1 sc in all st. (18)
- Round 12: [1 sc in next 1 st, 1 dec] x6. (12)
- Round 13: 1 sc in all st. (12)
Stuff the head firmly, shaping as you go.
- Round 14: [1 sc in next st, 1 inc in next st] x6. (18)
- Round 15: [1 sc in next 2 st, 1 inc in next st] x6. (24)
- Rounds 16 to 22: 1 sc in all st. (24)
- Round 23 : [1 sc in next 2 st, 1 dec] x6. (18)
- Round 24 : work in back loops only: [1 sc in next st, 1 dec] x6 (12)
- Round 25 : [6 dec]. (6)
Stuff the body firmly.Fasten off, leaving a long tail. Close the opening with a tapestry needle.
Beak
With orange yarn:
- Round 1: 4 sc in a magic ring. (4)
- Round 2 : [1 sc in next st, 1 inc in next st] x2. (6)
Fasten off, leaving a long tail.Sew the beak to the head, centered around Round 9.
Wings (make 2)
With yellow yarn:
- Round 1: 6 sc in a magic ring. (6)
- Round 2 : [1 sc in next 2 st, 1 inc in next st] x2. (8)
- Rounds 3 to 5: 1 sc in all st. (8)
- Round 6: [1 sc in next 2 st, 1 dec] x2. (6)
Fasten off, leaving a long tail.Sew to the sides of the body between Rounds 14 and 15.
Tail
With yellow yarn:
- Round 1: 4 sc in a magic ring. (4)
- Round 2 : [1 sc in next st, 1 inc in next st] x2. (6)
- Round 3: [1 sc in next 2, 1 inc in next 2, 1 sc in next 2 st]. (8)
- Round 4 : [1 sc in next 3 st, 1 inc in next st] x2. (10)
Fasten off, leaving a long tail.Sew to the back of the body between Rounds 19 and 21.
Feet (Make 2)
With orange yarn:
- Round 1: 4 sc in a magic ring. (4 sc)
- Round 2: [1 sc in next st, 1 inc in next st] x2. (6)
- Rounds 3 to 4: 1 sc in all st (6)
Fasten off, leaving a long tail.Sew the feet to the bottom front of the body, spaced evenly.
🎉 Congratulations!
Congratulations on creating your adorable crochet chick amigurumi 🐥🧶Your finished chick is sure to bring smiles wherever it goes. Keep crocheting, keep creating, and enjoy every stitch!
Copyright Notice
All rights reserved. This pattern and all accompanying photographs are the property of Natalina Craft and are protected by copyright law. This pattern is for personal use only. Any unauthorized reproduction, redistribution, or publication of this pattern, in whole or in part, is strictly prohibited.
You are welcome to sell finished items made from this pattern in small quantities. While crediting Natalina Craft as the designer is not required, it is always greatly appreciated—especially when selling online—so others can find the original pattern.Thank you for respecting these guidelines.