
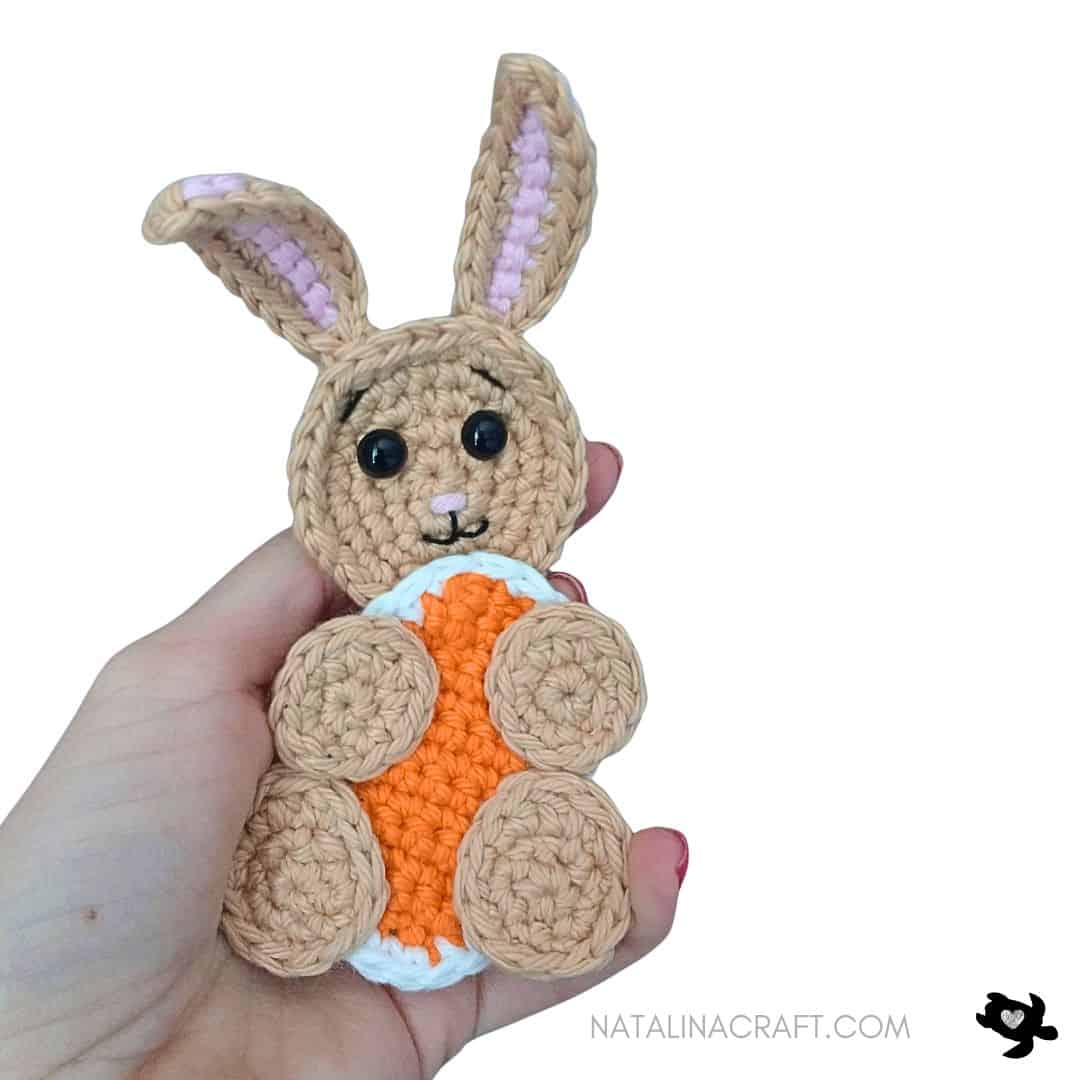
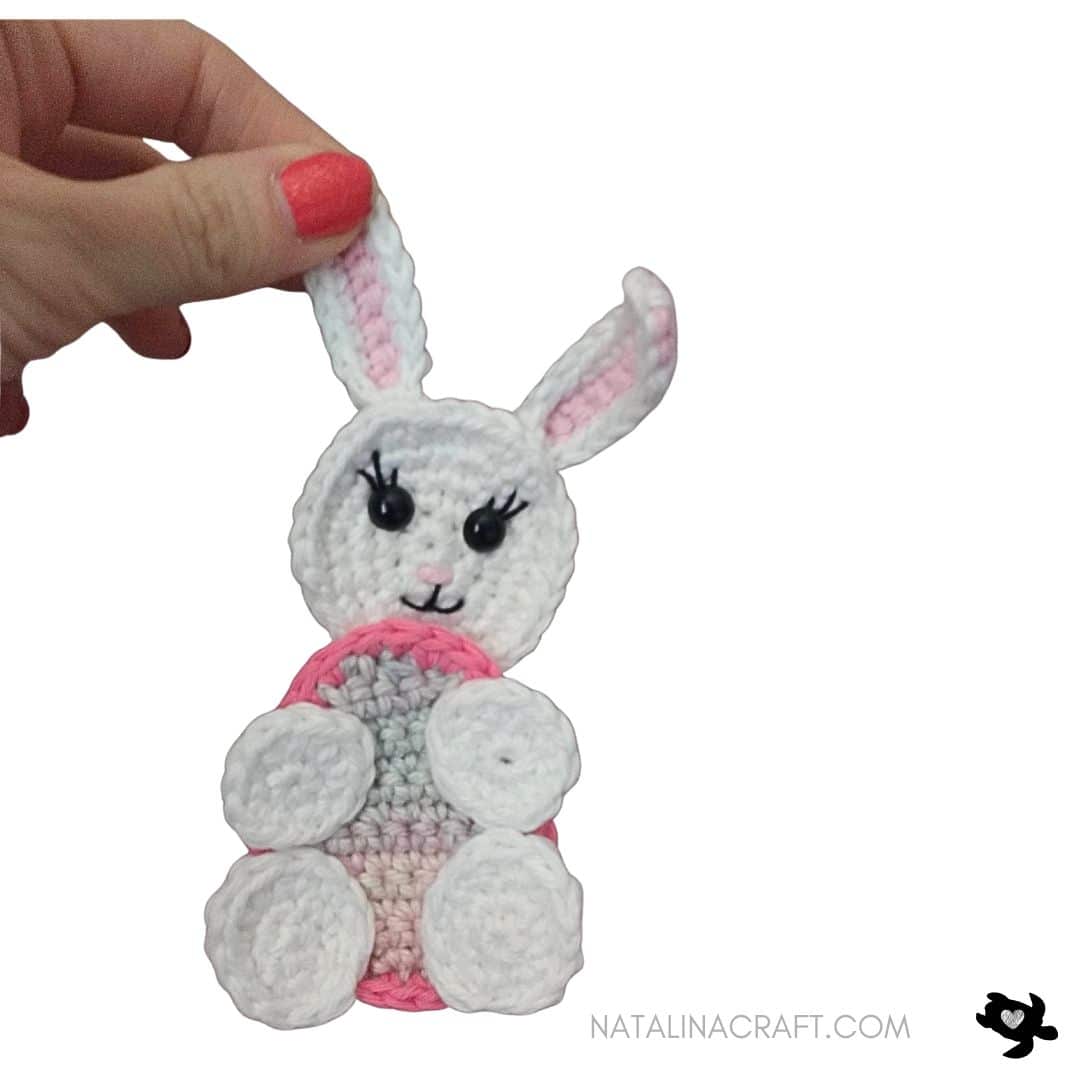
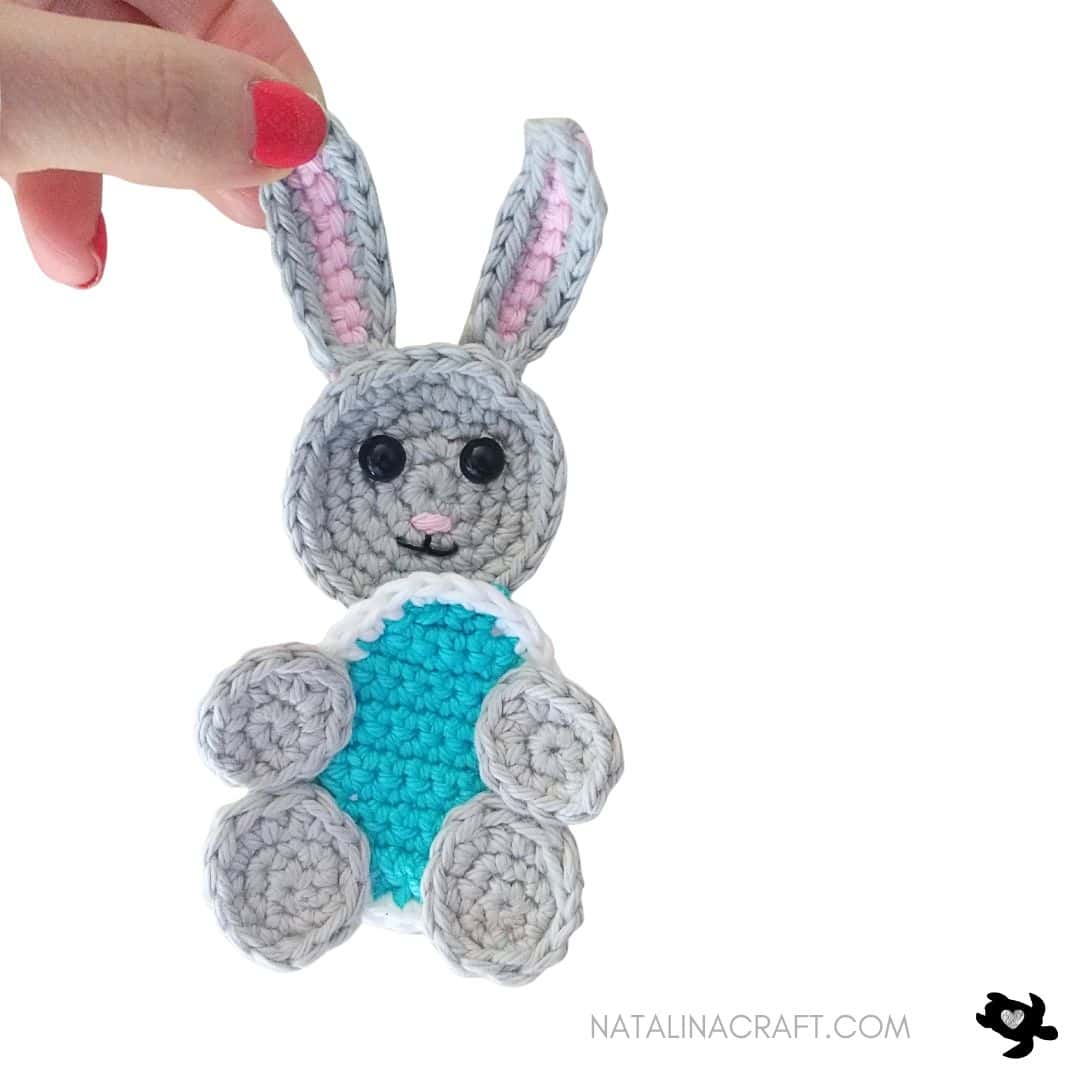
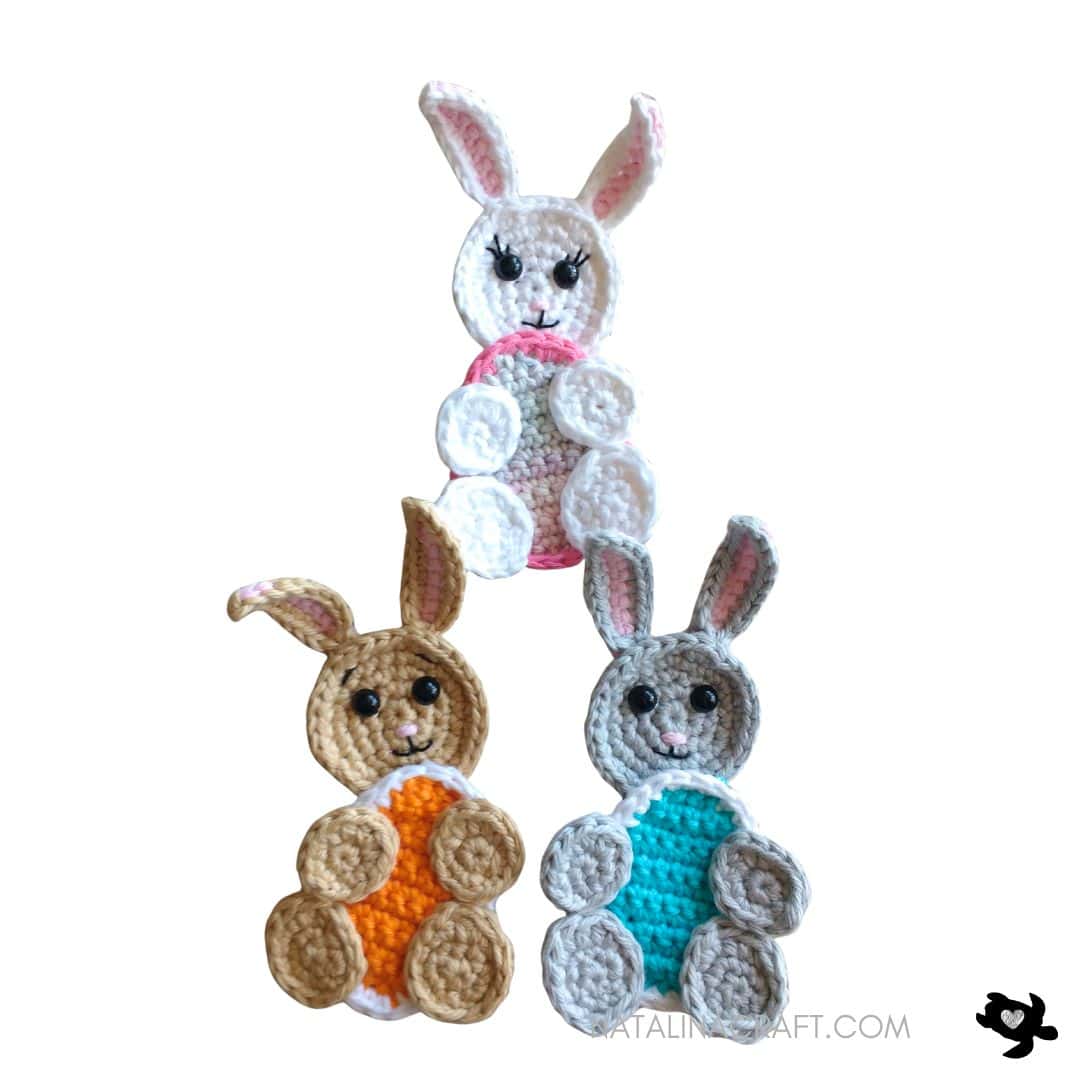
Find here a free crochet pattern to make adorable bunny appliques! 🐰🌸
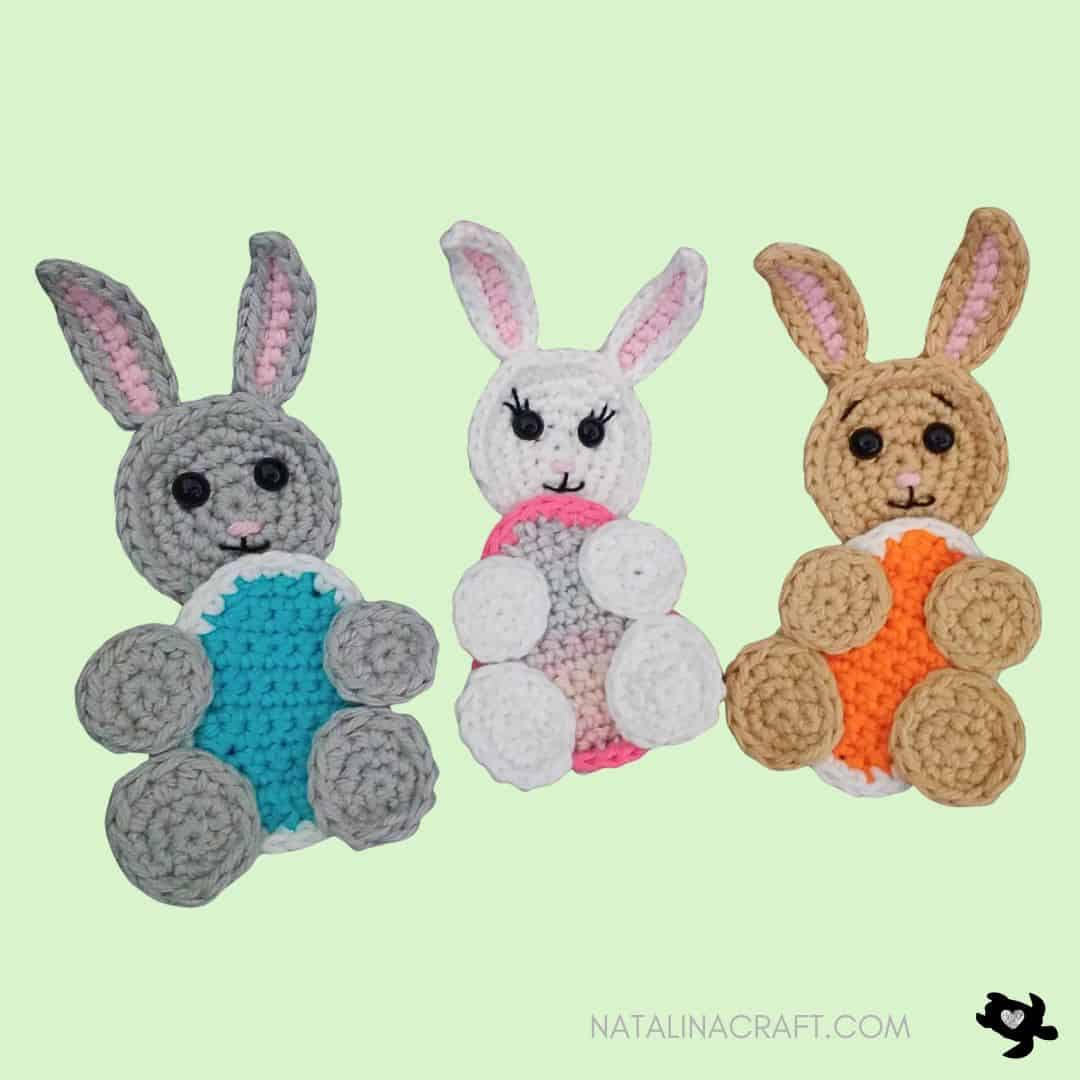
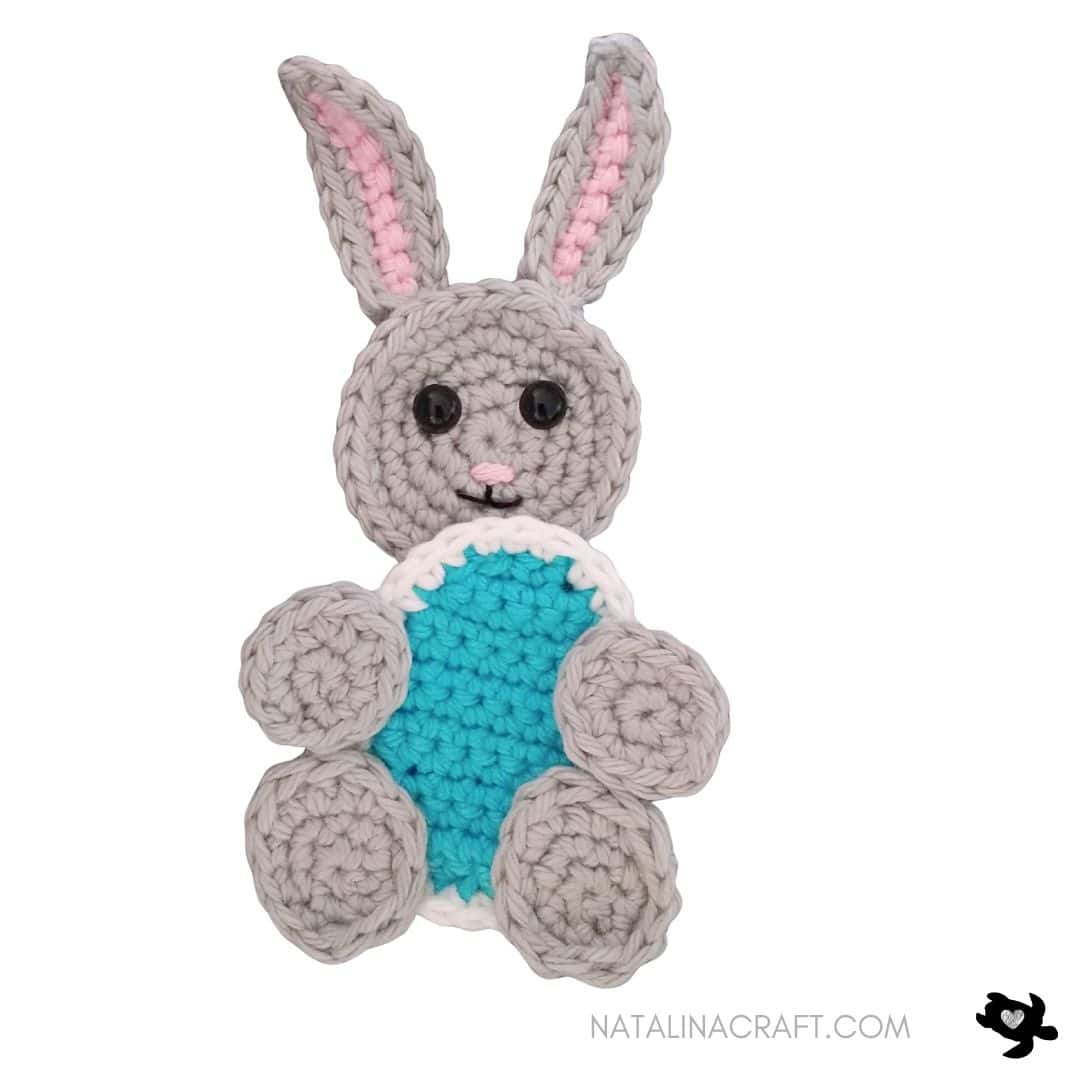
Hi everyone! Since you all seem to love crochet appliques, I decided to design a special Easter-themed pattern. How cute are these little crochet bunnies holding their Easter eggs? They are perfect to decorate blankets, bags, clothing, or any spring project.
Join my Facebook group, where you can ask questions, share your finished projects, and help me choose future designs!
If you have any questions or suggestions, please don’t hesitate to contact me. And feel free to share the link to this pattern on social media—your support truly helps me as a designer, and I’m so grateful for it 💛
Finished Size
Approximately 5.5 inches (14 cm) tall (including the ears) when made with the indicated yarn.
Materials
- Yarn calling for a 5.5 mm (US I-9) hook for the main bunny color
- A small amount of pink yarn (nose and ears)
- A small amount of black embroidery floss or yarn (mouth, eyelashes, or eyebrows)
- Yarn calling for a 5.5 mm (US I-9) hook for the egg
- A second color for the egg outline
- 3.5 mm crochet hook
- Tapestry needle
- 7.5 mm black safety eyes
What did I use?
Light worsted yarn in white and yellow.
I used “I Love This Cotton” from Hobby Lobby.
Abbreviations
- ch = chain
- mr = magic ring
- sc = single crochet
- inc = increase
- dec = invisible decrease
- sl st = slip stitch
- hdc = half double crochet
- dc = double crochet
PART 1: Arms (make 2)
Work in continuous rounds. Do not turn.
Use a stitch marker if needed.
With a 3.5 mm hook and the main bunny color:
- Round 1: 6 sc in a magic ring. (6)
- Round 2: [1 inc in the next 2 st, 2 hdc in the next 2 st, 1 inc in the next 2 st, ]. (12)
1 sl st in the next stitch.
Fasten off, leaving a long tail for sewing.
PART 2: Legs (make 2)
Work in continuous rounds. Do not turn.
With a 3.5 mm hook and the main bunny color:
- Round 1: 6 sc in a magic ring. (6)
- Round 2: (1 sc, 1 inc) × 3. (9)
- Round 3:
3 sc,
(1 sc + 1 hdc) in next st,
2 dc in next st,
(1 hdc + 1 sc) in next st,
3 sc. (12)
Sl st in the next stitch.
Fasten off, leaving a long tail for sewing.
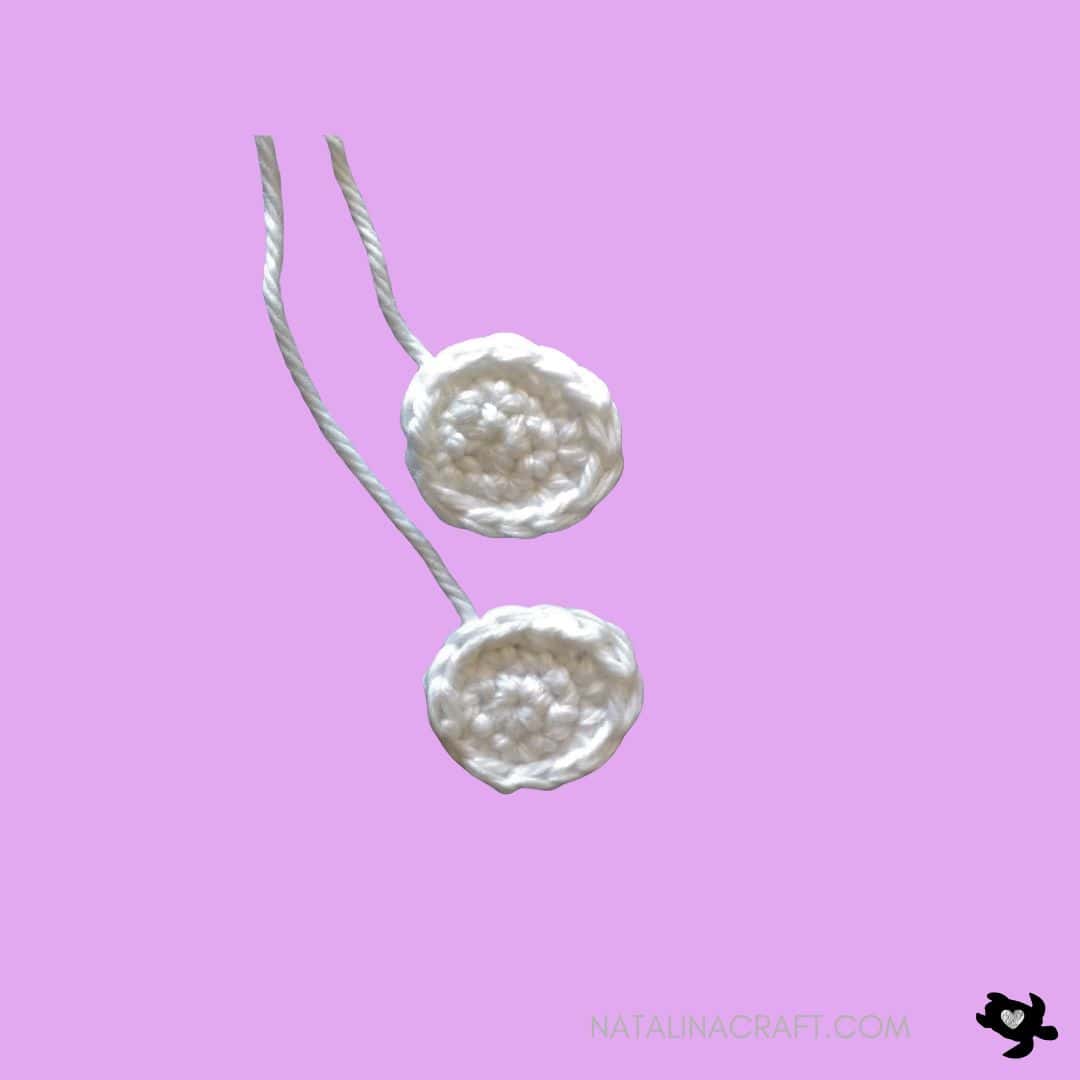
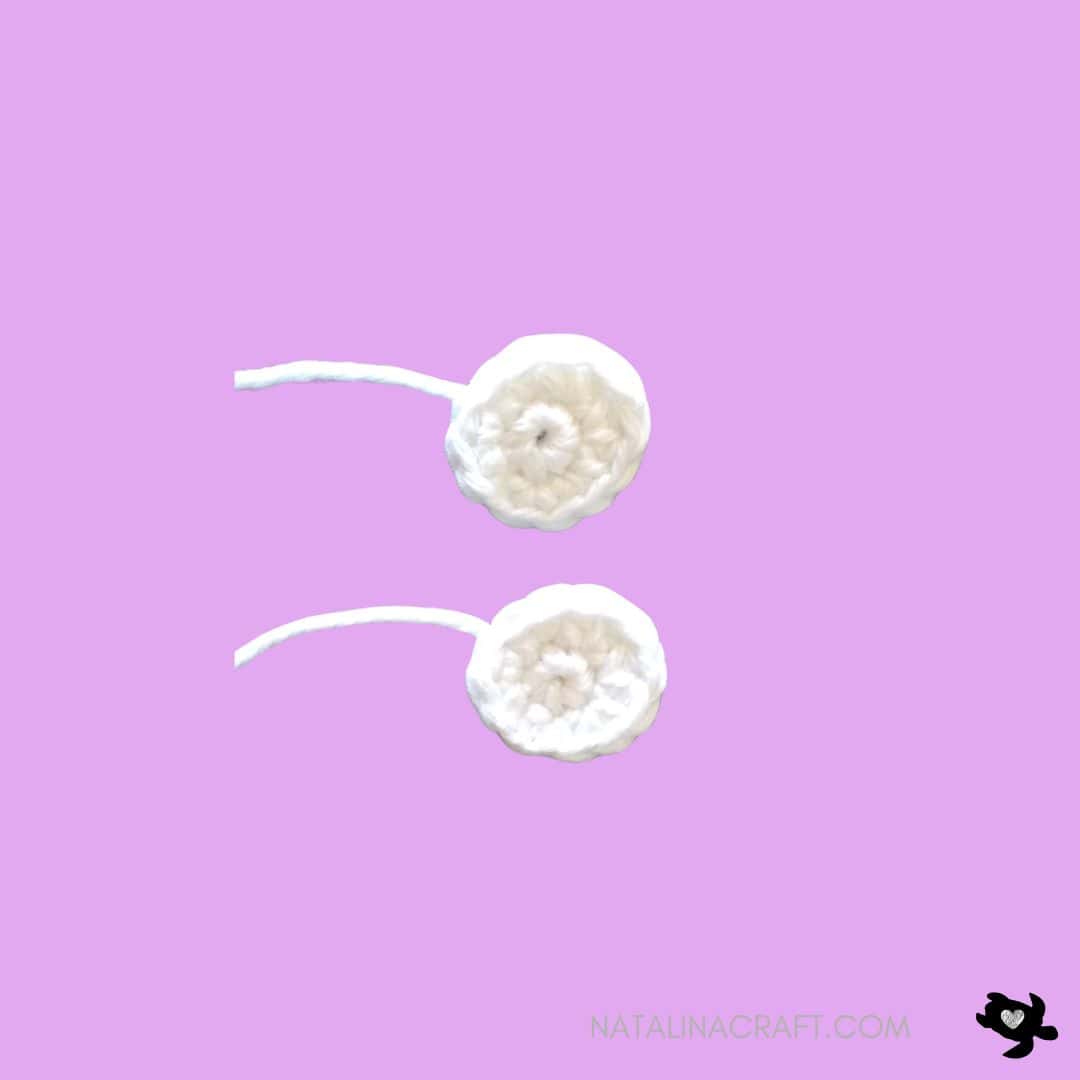
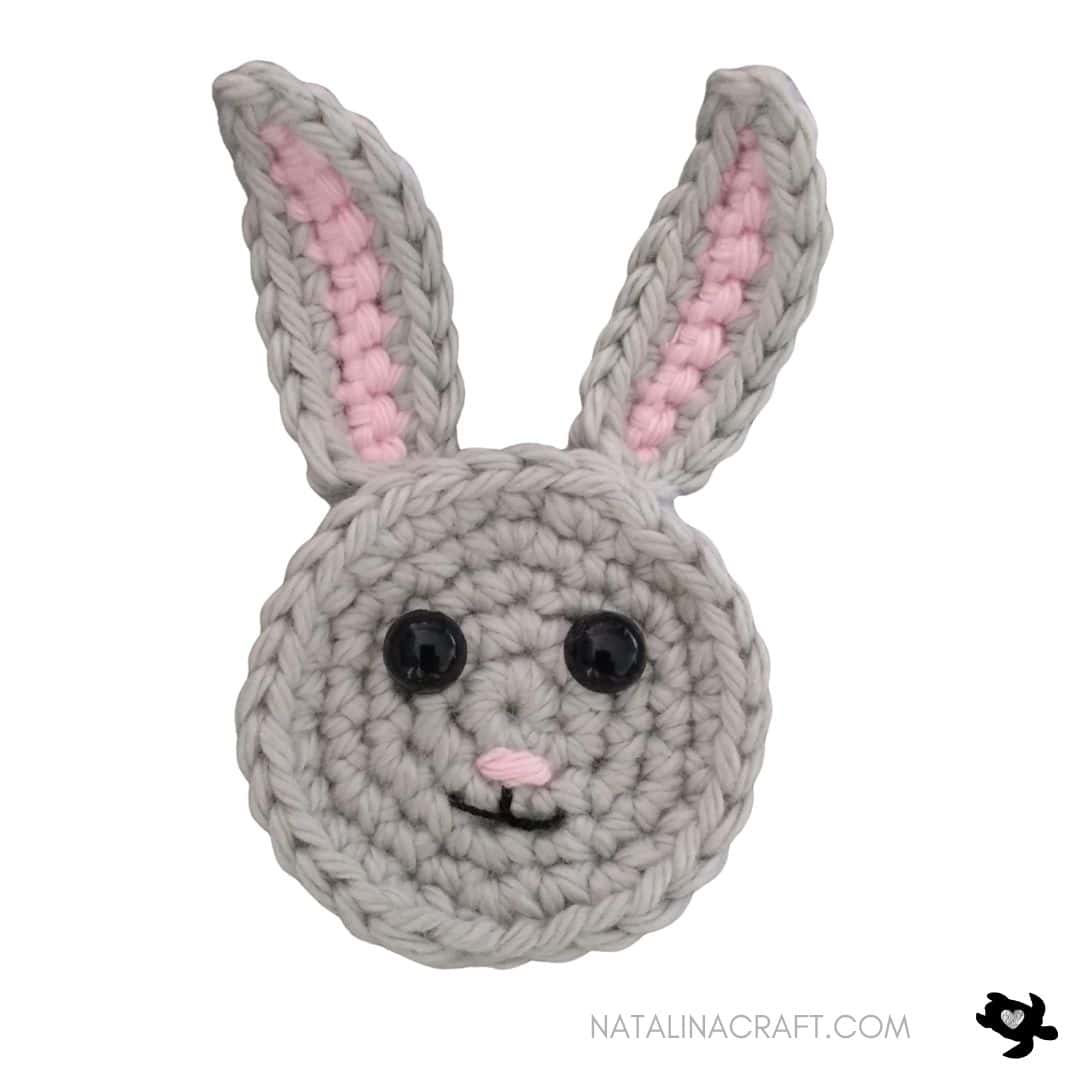
PART 3: Head
Work in continuous rounds. Do not turn.
With a 3.5 mm hook and the main bunny color:
- Round 1: 6 sc in a magic ring. (6)
- Round 2: 1 inc in all sts. (12)
- Round 3: (1 sc, 1 inc) × 6. (18)
- Round 4: (2 sc, 1 inc) × 6. (24)
- Round 5: (3 sc, 1 inc) × 6. (30)
Sl st in the next stitch.
Fasten off, leaving a long tail for sewing.
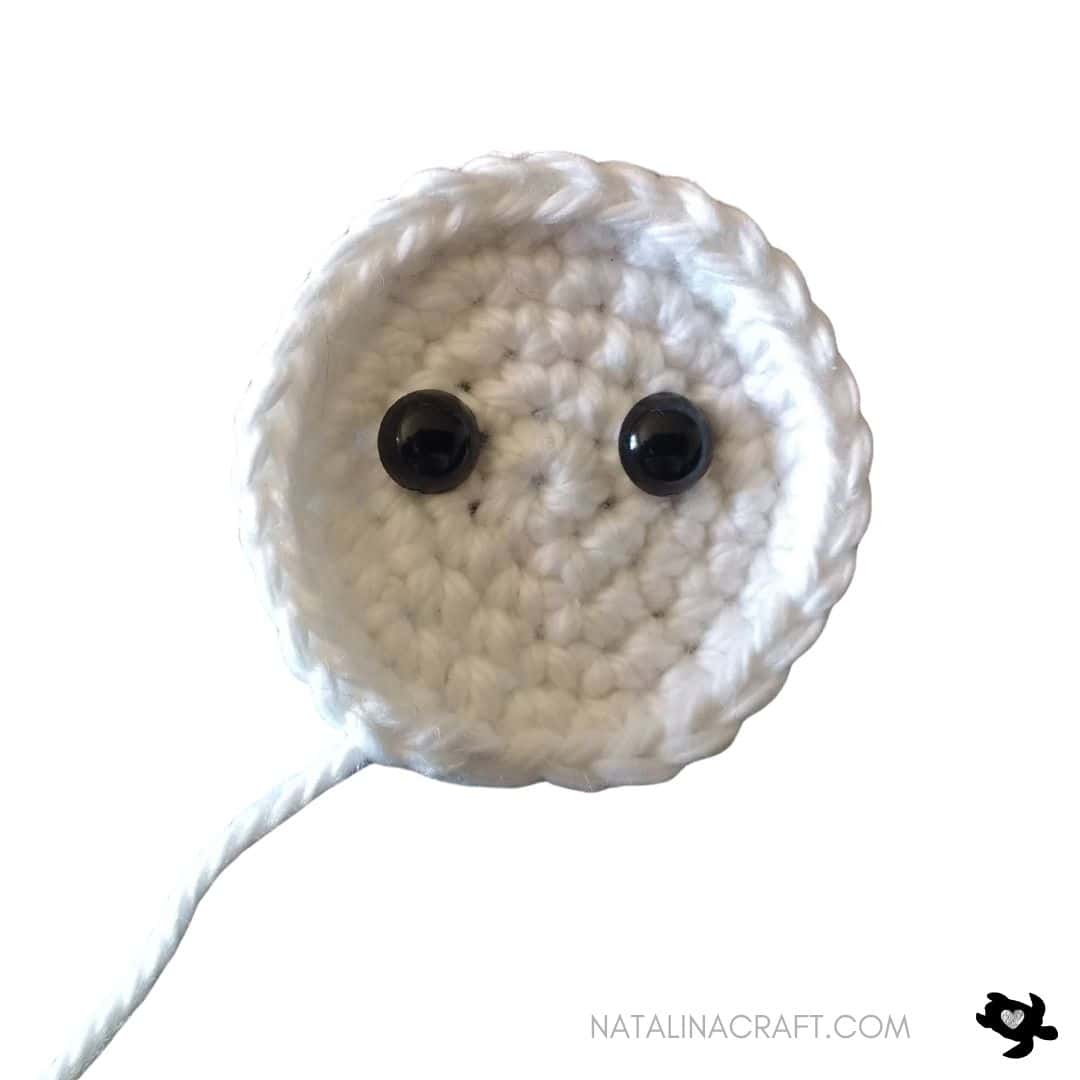
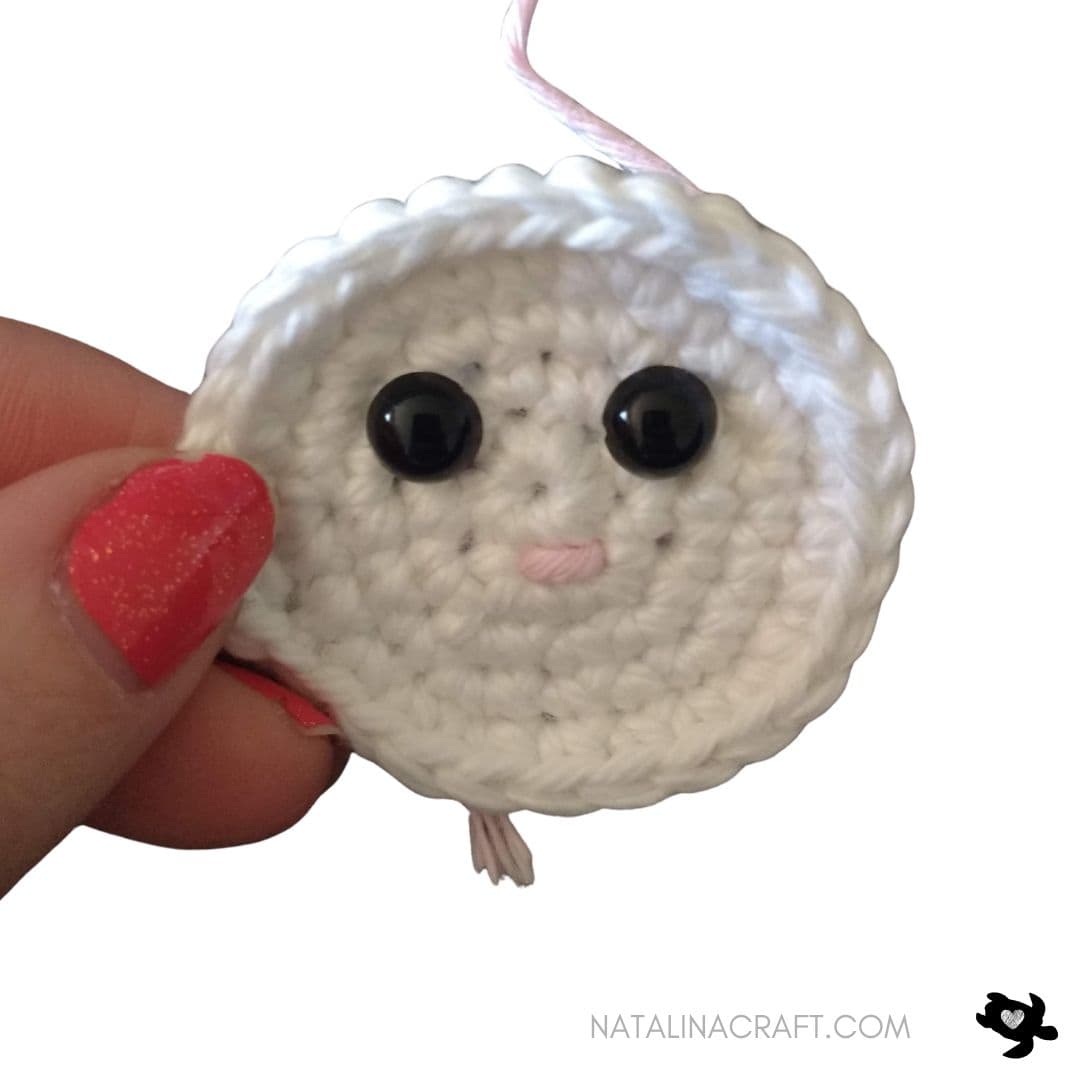
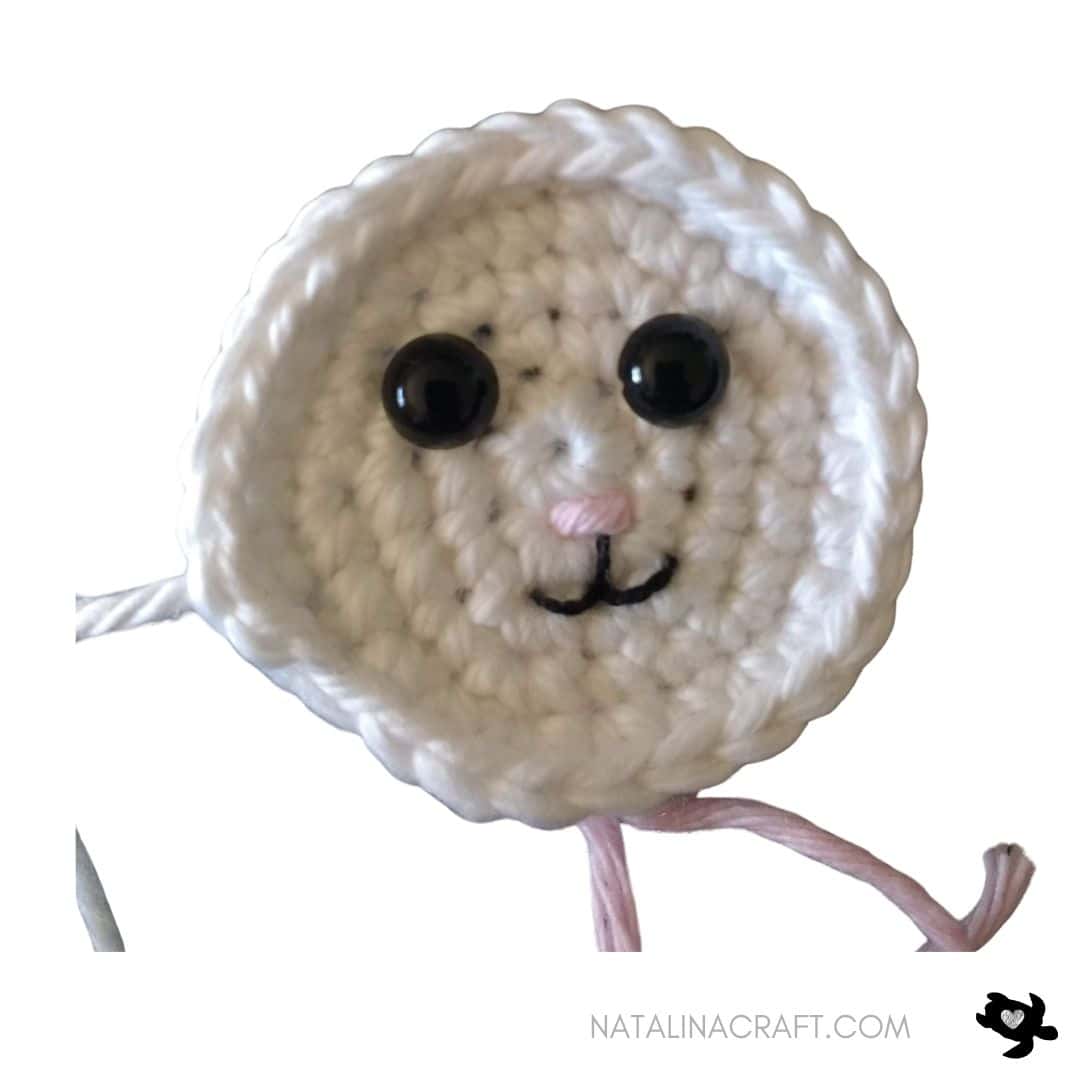
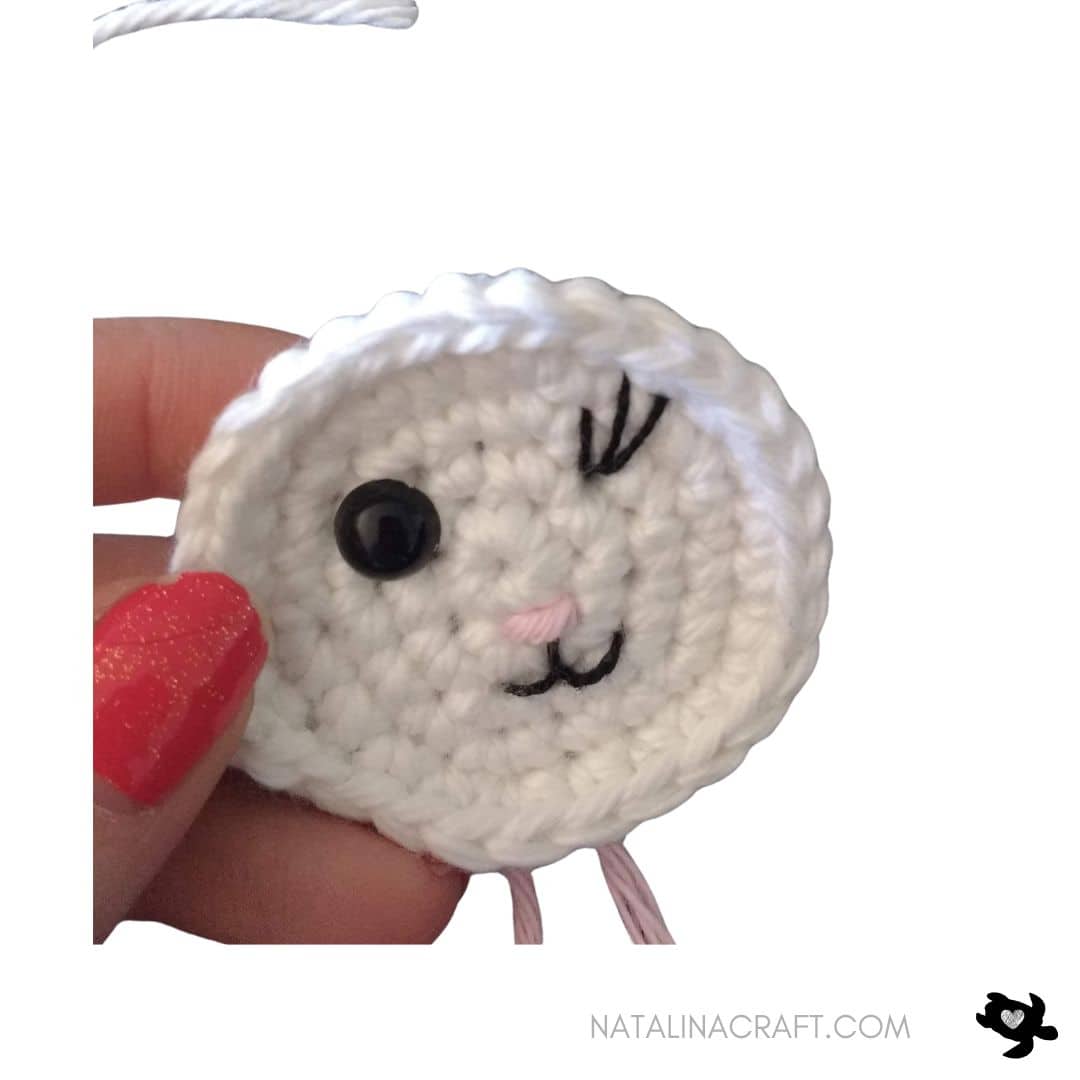
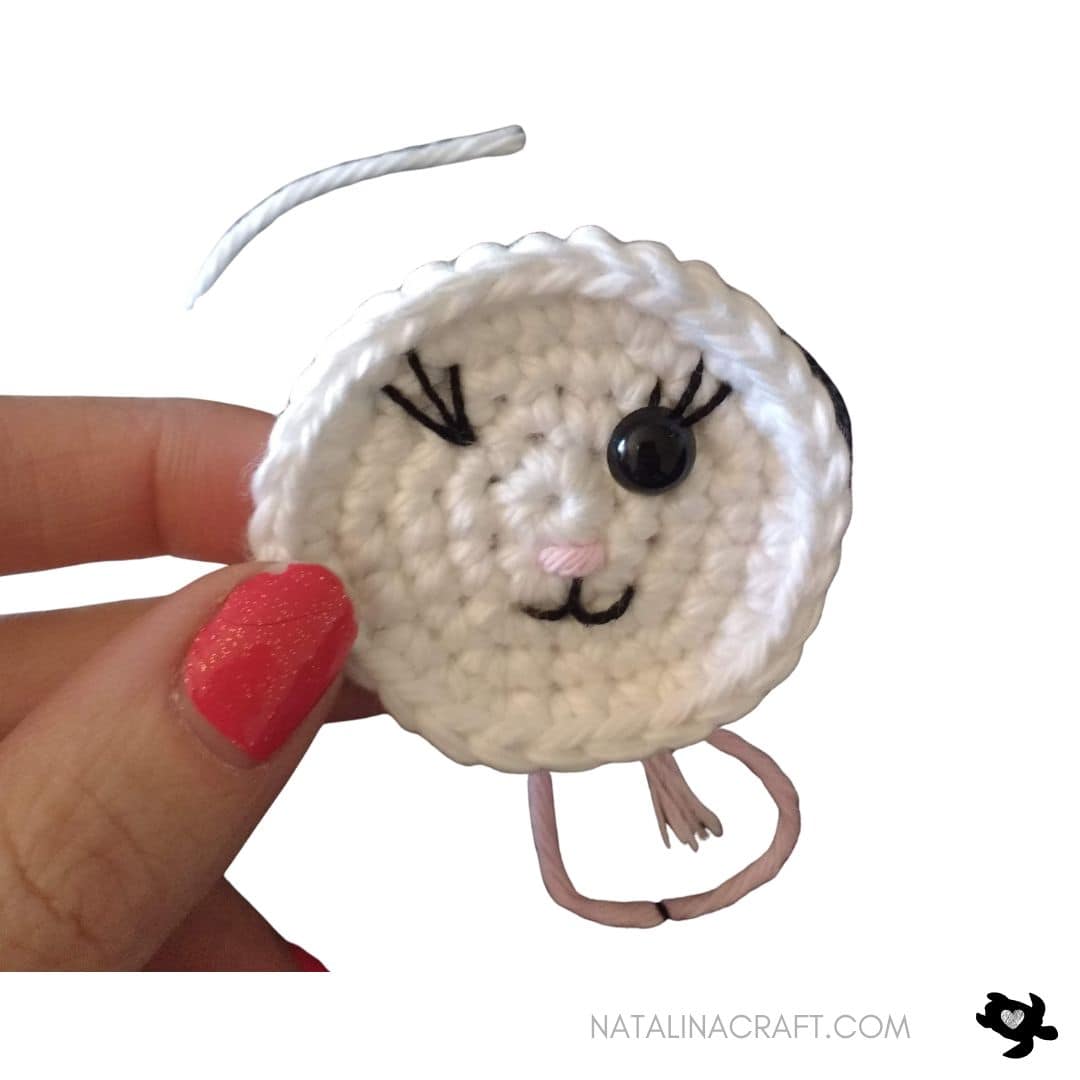
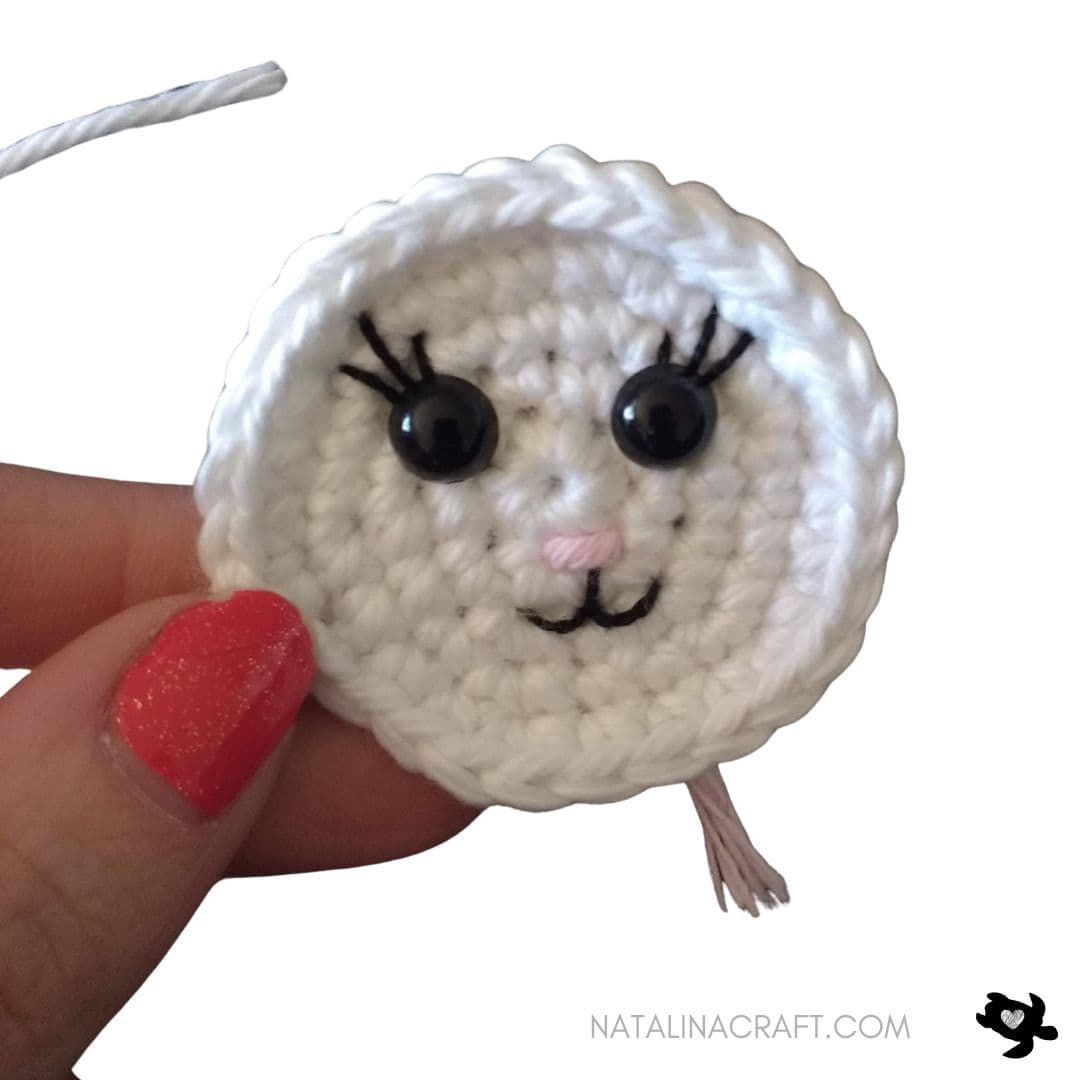
Face Details
- Place safety eyes between Rounds 2 and 3, spaced by 3 stitches (do not attach yet).
- With black yarn, embroider eyelashes or eyebrows and a mouth under the nose.
- Attach the safety eyes once you are happy with the placement.
- With pink yarn, embroider a small nose between Rounds 1 and 2, over 1 stitch.
- With black yarn, embroider a mouth under the nose.
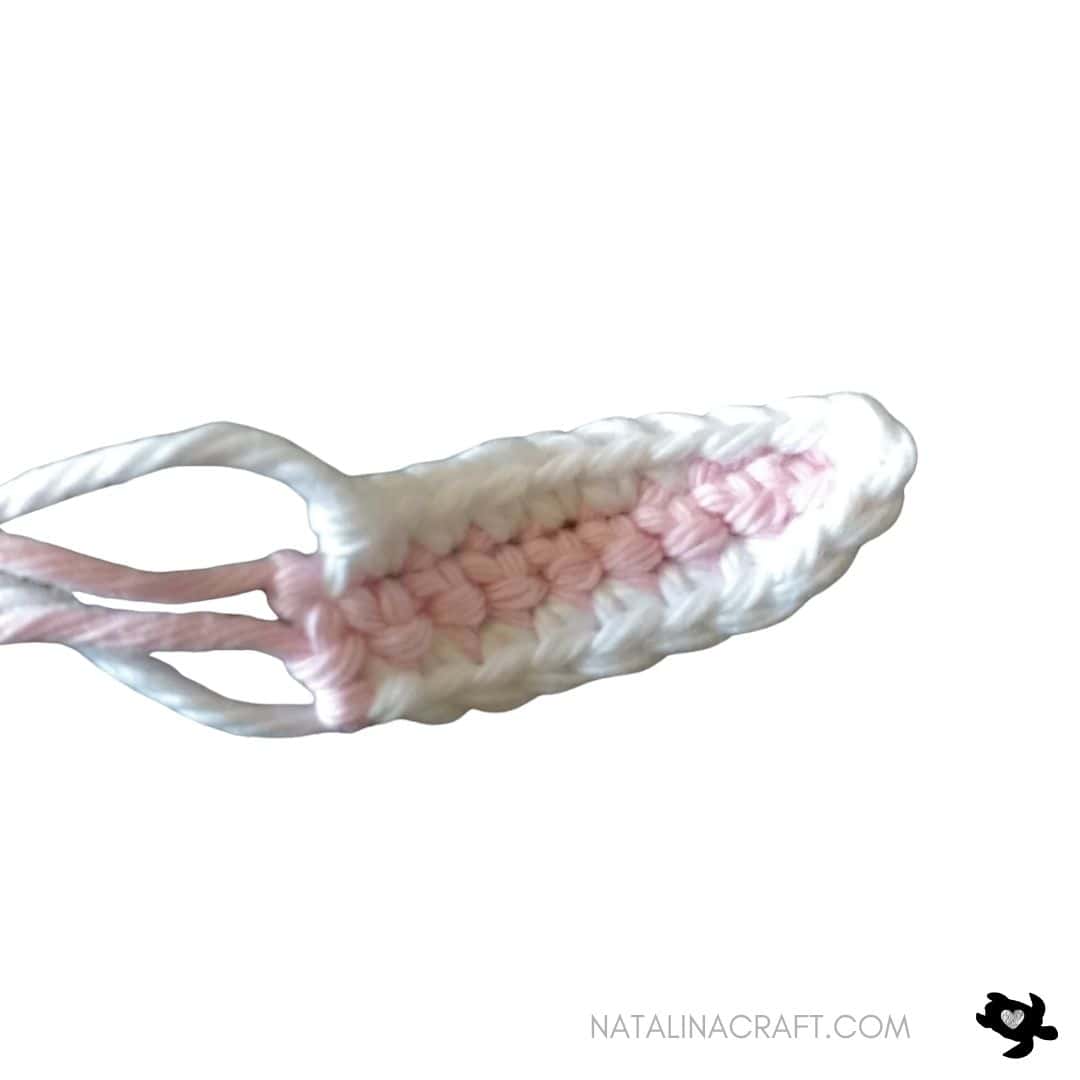
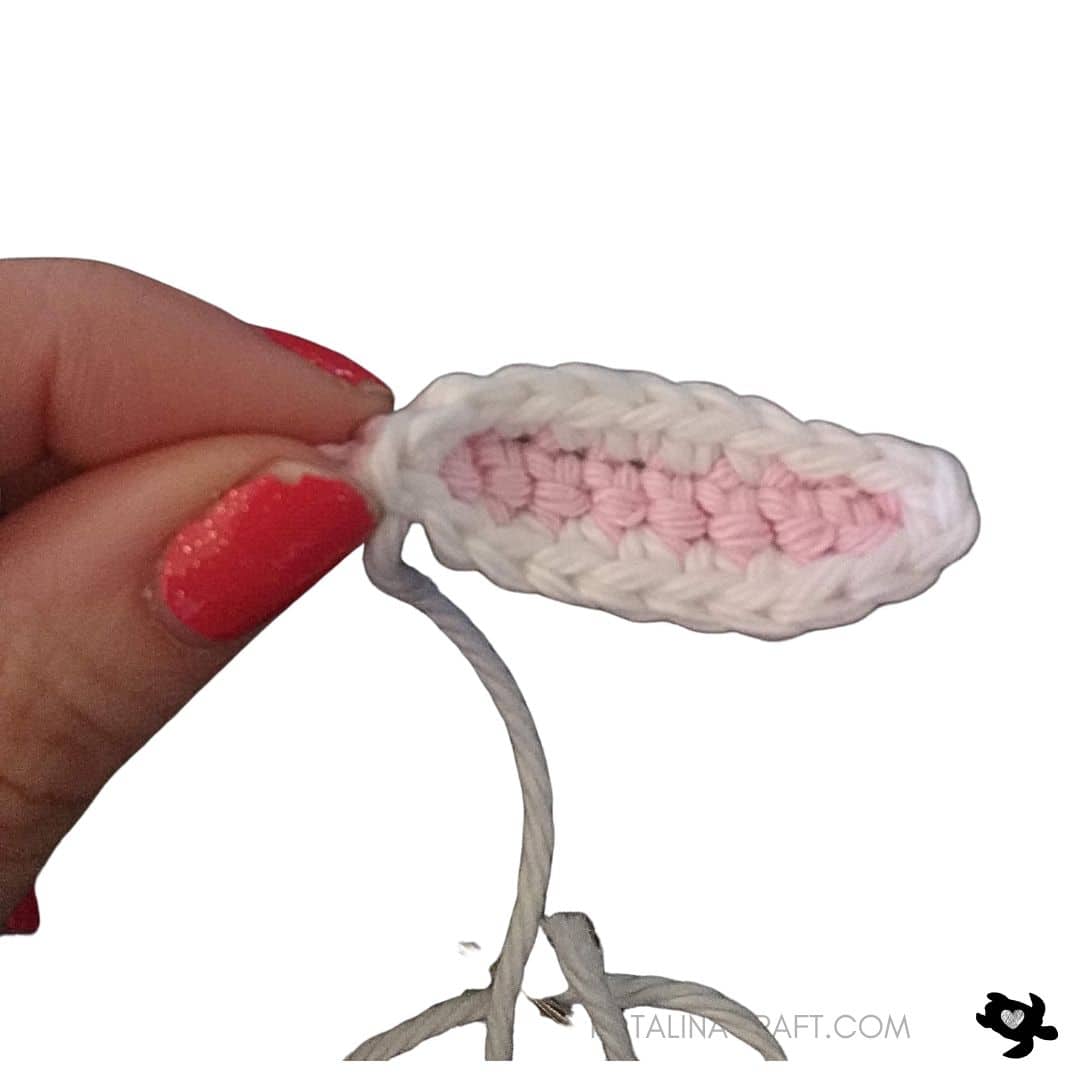
PART 4: Ears (make 2)
With a 3.5 mm hook and pink yarn:
- Row 1: ch 10.
- Row 2: ch 1, turn; 1 sc in 2nd ch from hook and in next 8 sts. (9)
Join the main bunny color.
Row 3: ch 1, turn;
starting in the 2nd ch from hook:
1 sl st, 6 sc, 2 sl st, ch 2;
working on the opposite side of the chain:
2 sl st, 6 sc, 1 sl st. (20)
Fasten off, leaving a long tail for sewing.
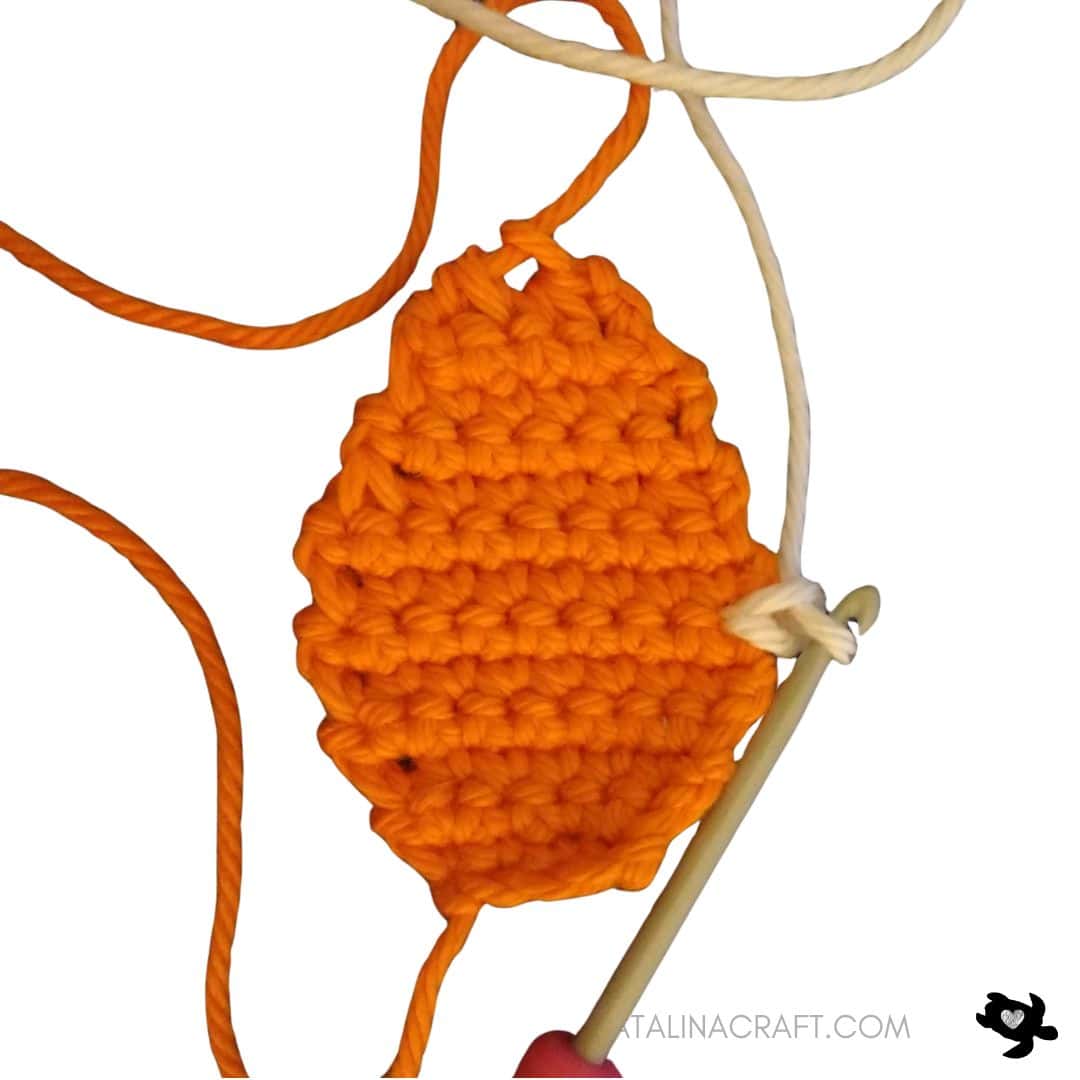
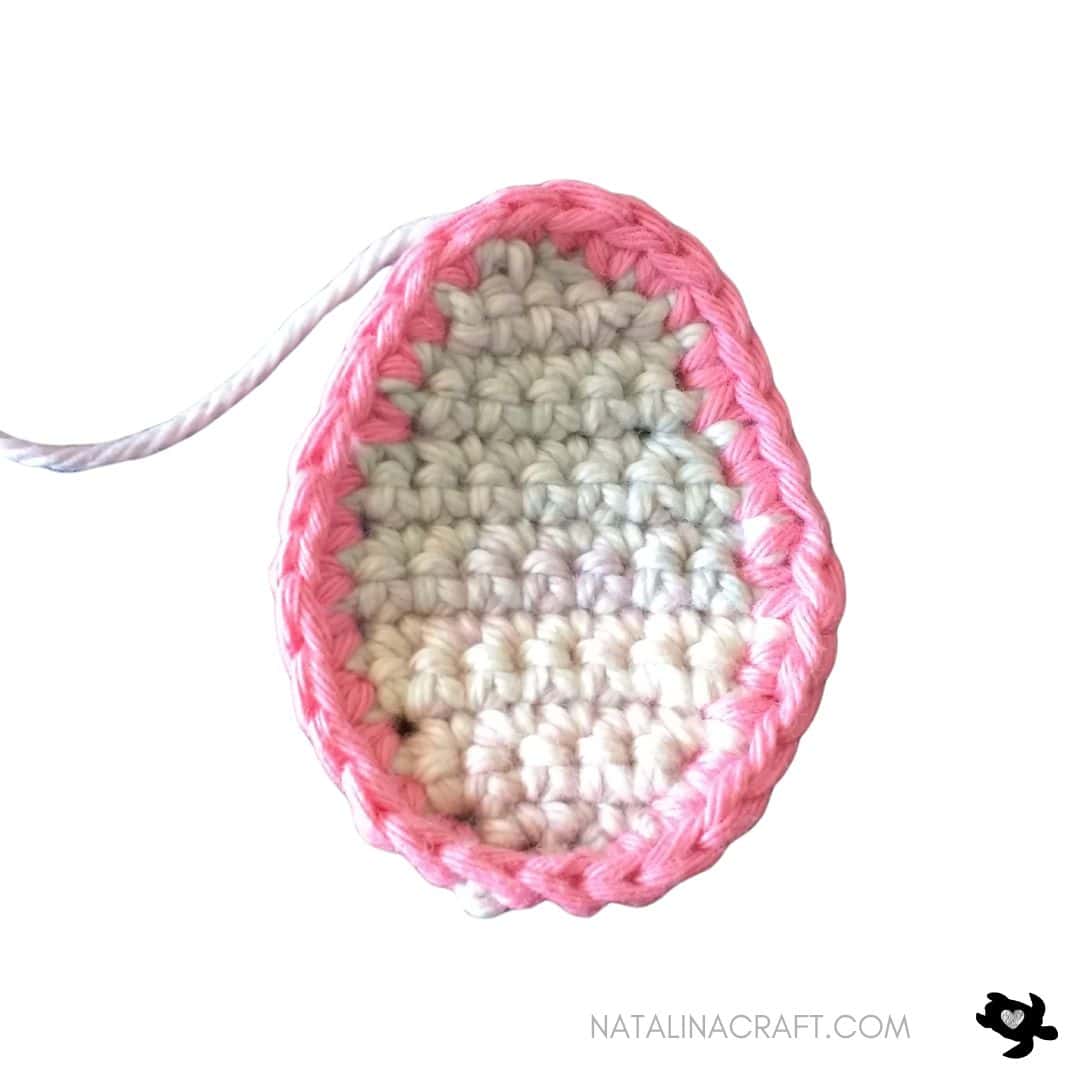
PART 5: Egg
Work in rows.
With a 3.5 mm hook and the main egg color:
- Row 1: ch 5. (5)
- Row 2: ch1, turn; sc 4. (4)
- Row 3: ch1, turn; [1 inc, 2 sc, 1 inc]. (6)
- Row 4: ch1, turn; [1 sc in all st]. (6)
- Row 5: ch1, turn; [1 inc, 4 sc, 1 inc]. (8)
- Rows 6 to 9: ch1, turn; [1 sc in all st]. (8)
- Row 10: ch1, turn; [1 dec, 4 sc, 1 dec]. (6)
- Rows 11 to 12: ch1, turn; [1 sc in all st]. (6)
- Row 13: ch1, turn; [1 dec, 2 sc, 1 dec]. (4)
- Row 14: ch1, turn; [2 dec]. (2)
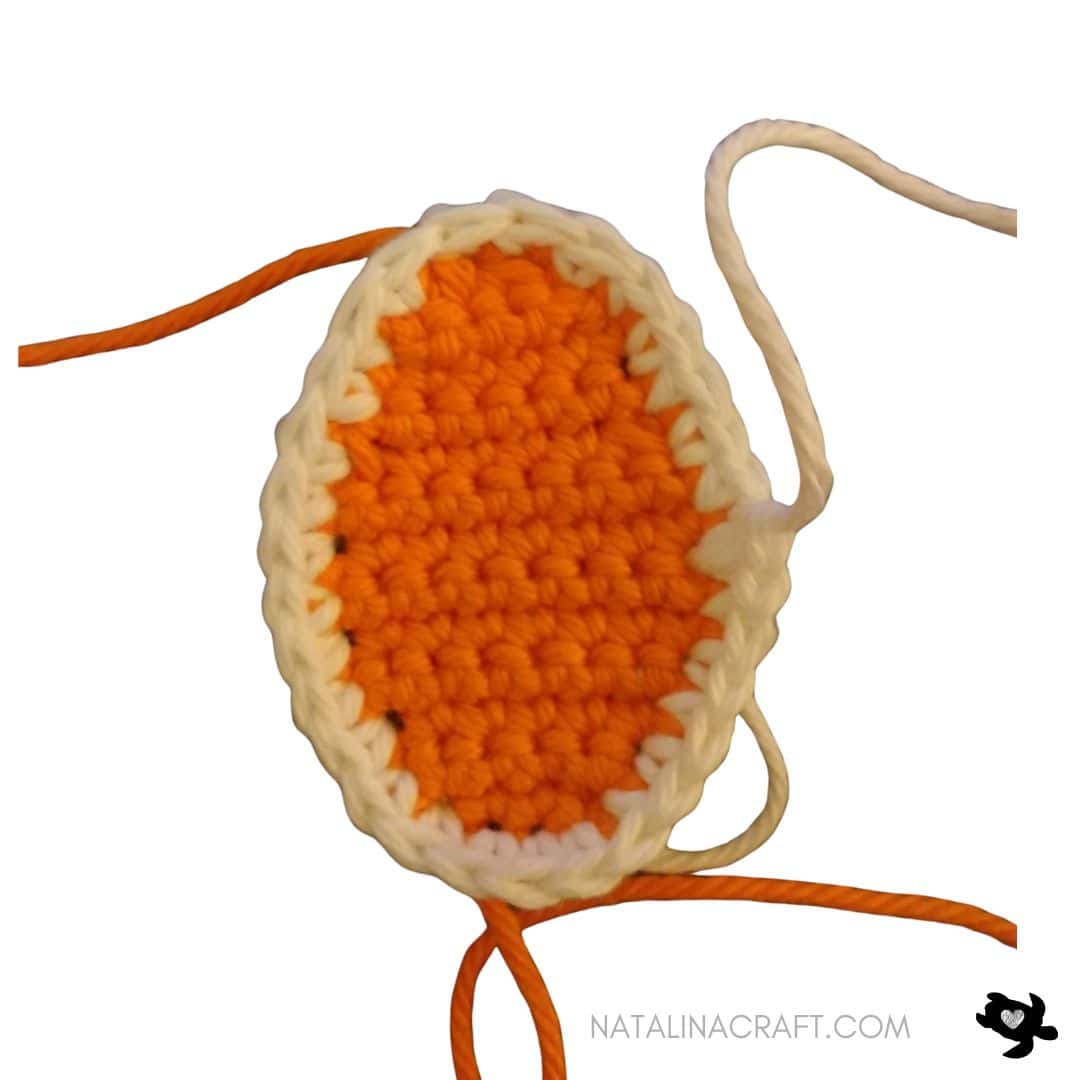
Change to the egg outline color and crochet sc evenly around the egg
(about 30 sts). Do not crochet too tightly.
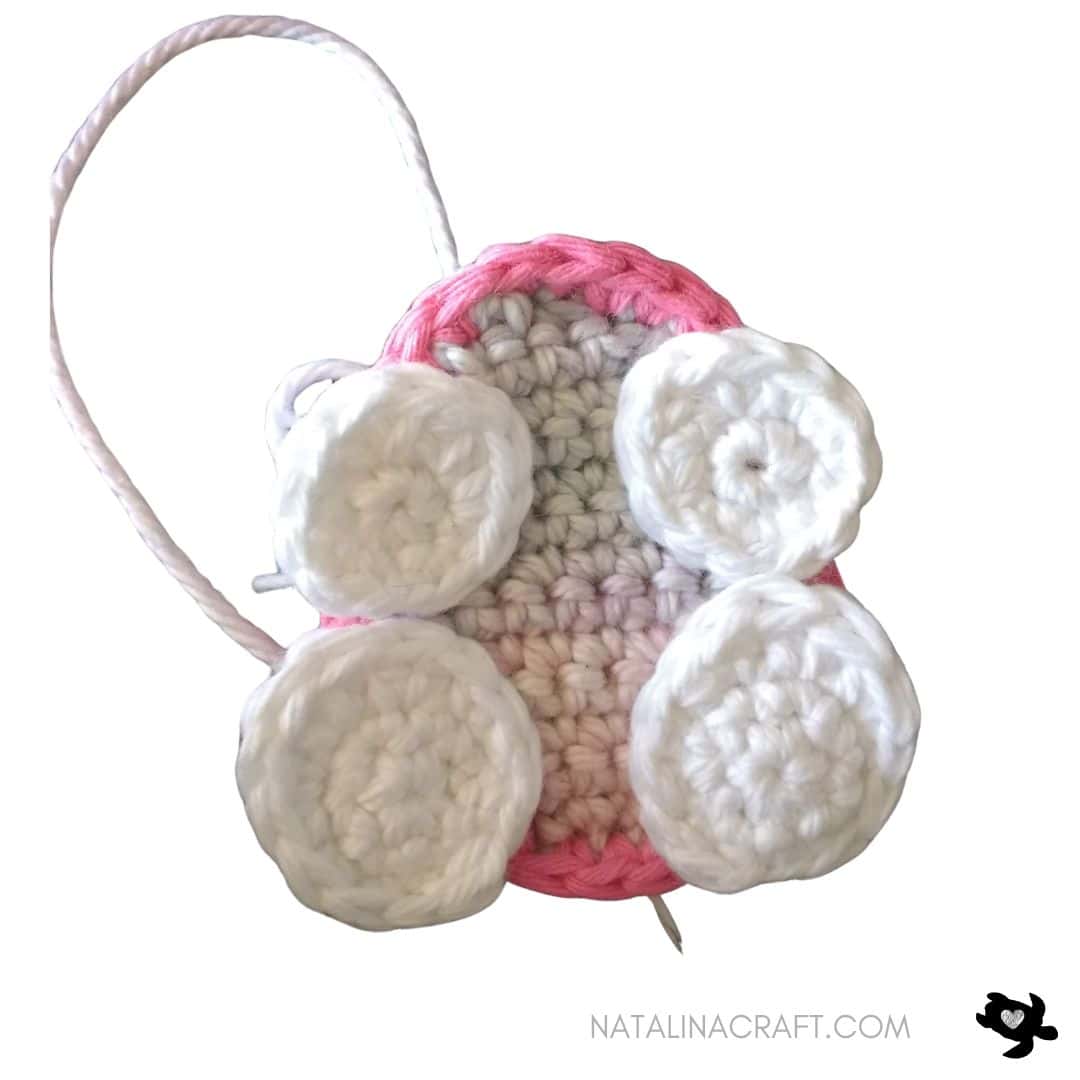
PART 6: Assembly
-
Sew the arms and legs onto the egg.
-
Sew the ears to the top of the head.
-
Sew the egg onto the front of the head.
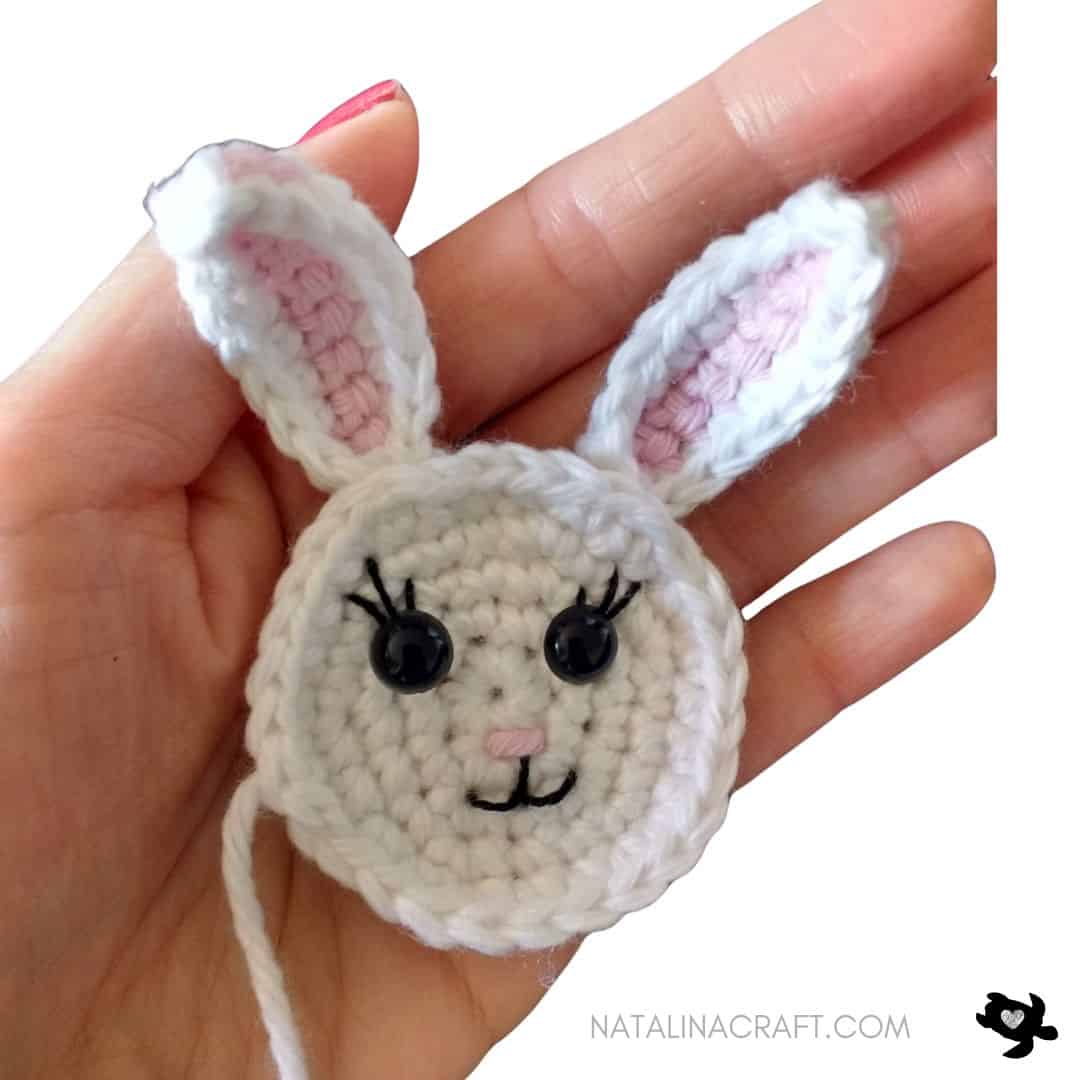
🎉 Congratulations!
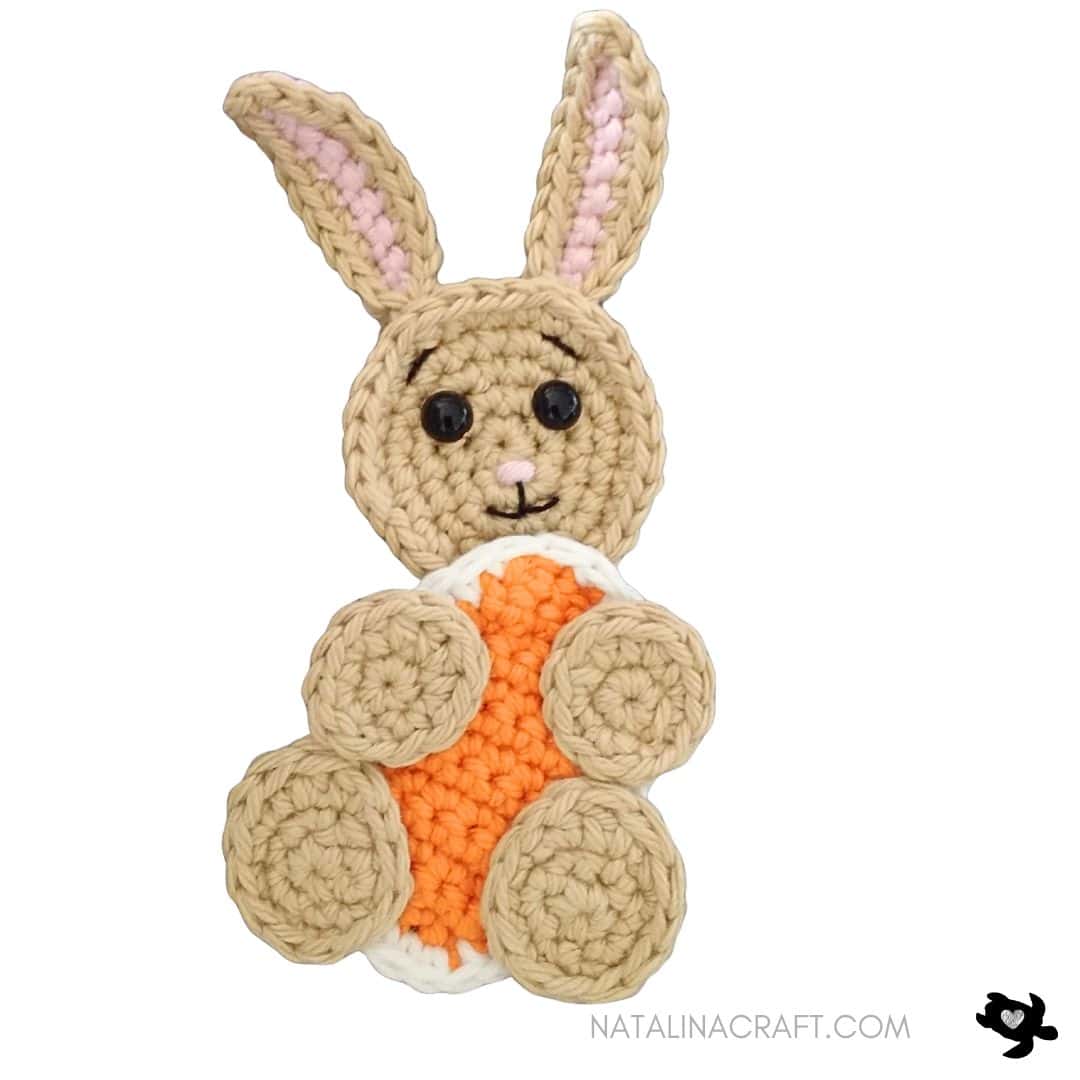
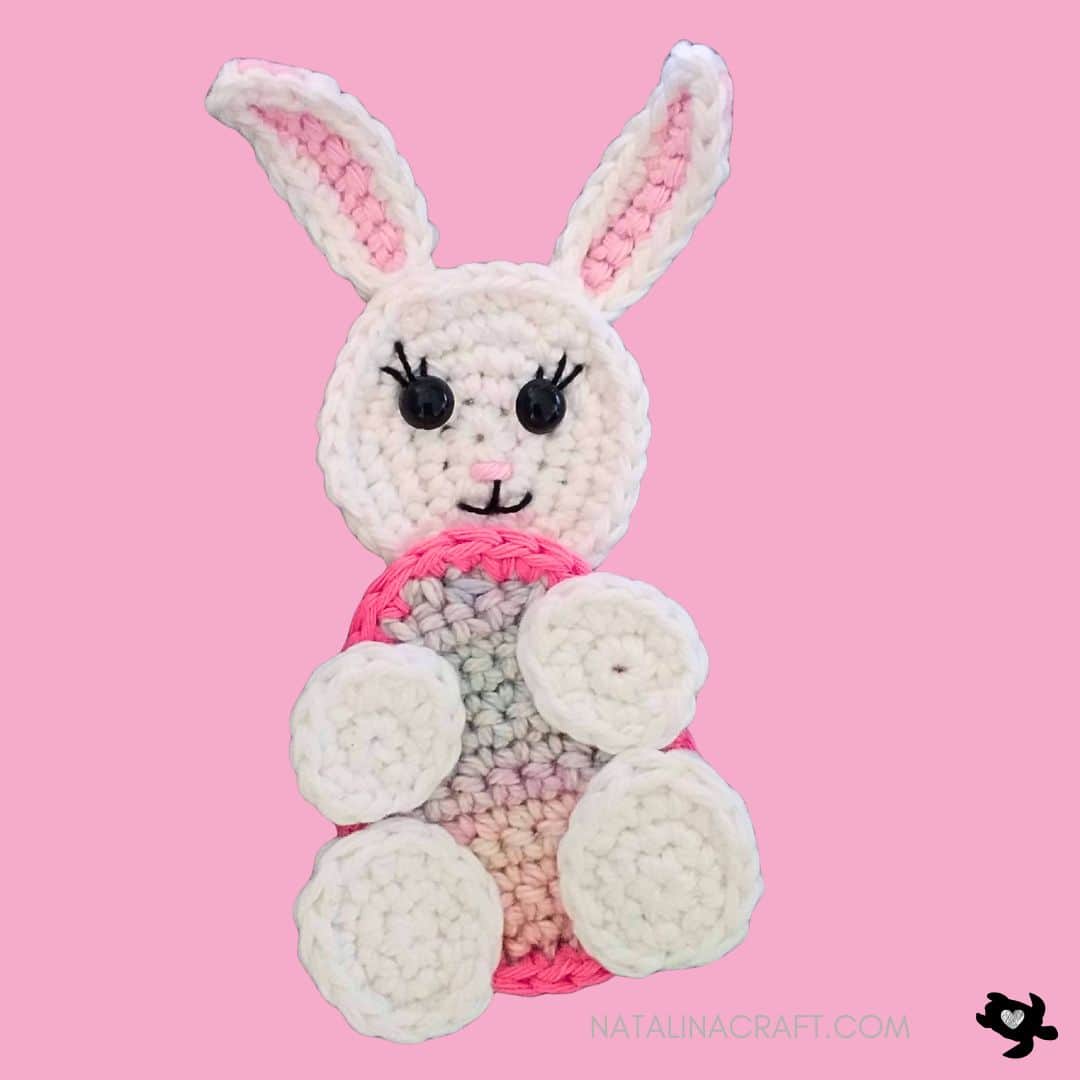
Your Easter Bunny applique is finished! I hope you enjoyed making this sweet spring project.
Copyright Notice
All rights reserved. This pattern and all accompanying photographs are the property of Natalina Craft and are protected by copyright law. This pattern is for personal use only. Any unauthorized reproduction, redistribution, or publication of this pattern, in whole or in part, is strictly prohibited.
You are welcome to sell finished items made from this pattern in small quantities. While crediting Natalina Craft as the designer is not required, it is always greatly appreciated—especially when selling online—so others can find the original pattern.
Thank you for respecting these guidelines.
Free Crochet Pattern Bunny Applique
Crochet Bunny Appliques - Free pattern
Instructions
Finished Size
Approximately 5.5 inches (14 cm) tall (including the ears) when made with the indicated yarn.
Materials
- Yarn calling for a 5.5 mm (US I-9) hook for the main bunny color
- A small amount of pink yarn (nose and ears)
- A small amount of black embroidery floss or yarn (mouth, eyelashes, or eyebrows)
- Yarn calling for a 5.5 mm (US I-9) hook for the egg
- A second color for the egg outline
- 3.5 mm crochet hook
- Tapestry needle
- 7.5 mm black safety eyes
What did I use?
Light worsted yarn in white and yellow.I used “I Love This Cotton” from Hobby Lobby.
Abbreviations
- ch = chain
- mr = magic ring
- sc = single crochet
- inc = increase
- dec = invisible decrease
- sl st = slip stitch
- hdc = half double crochet
- dc = double crochet
PART 1: Arms (make 2)
Work in continuous rounds. Do not turn.Use a stitch marker if needed.
With a 3.5 mm hook and the main bunny color:
- Round 1: 6 sc in a magic ring. (6)
- Round 2: [1 inc in the next 2 st, 2 hdc in the next 2 st, 1 inc in the next 2 st, ]. (12)
1 sl st in the next stitch.Fasten off, leaving a long tail for sewing.
PART 2: Legs (make 2)
Work in continuous rounds. Do not turn.
With a 3.5 mm hook and the main bunny color:
- Round 1: 6 sc in a magic ring. (6)
- Round 2: (1 sc, 1 inc) × 3. (9)
- Round 3:3 sc,(1 sc + 1 hdc) in next st,2 dc in next st,(1 hdc + 1 sc) in next st,3 sc. (12)
Sl st in the next stitch.Fasten off, leaving a long tail for sewing.
PART 3: Head
Work in continuous rounds. Do not turn.
With a 3.5 mm hook and the main bunny color:
- Round 1: 6 sc in a magic ring. (6)
- Round 2: 1 inc in all sts. (12)
- Round 3: (1 sc, 1 inc) × 6. (18)
- Round 4: (2 sc, 1 inc) × 6. (24)
- Round 5: (3 sc, 1 inc) × 6. (30)
Sl st in the next stitch.Fasten off, leaving a long tail for sewing.
Face Details
- Place safety eyes between Rounds 2 and 3, spaced by 3 stitches (do not attach yet).
- With black yarn, embroider eyelashes or eyebrows and a mouth under the nose.
- Attach the safety eyes once you are happy with the placement.
- With pink yarn, embroider a small nose between Rounds 1 and 2, over 1 stitch.
- With black yarn, embroider a mouth under the nose.
PART 4: Ears (make 2)
With a 3.5 mm hook and pink yarn:
- Row 1: ch 10.
- Row 2: ch 1, turn; 1 sc in 2nd ch from hook and in next 8 sts. (9)
Join the main bunny color.
Row 3: ch 1, turn;starting in the 2nd ch from hook:1 sl st, 6 sc, 2 sl st, ch 2;working on the opposite side of the chain:2 sl st, 6 sc, 1 sl st. (20)
Fasten off, leaving a long tail for sewing.
PART 5: Egg
Work in rows.
With a 3.5 mm hook and the main egg color:
- Row 1: ch 5. (5)
- Row 2: ch1, turn; sc 4. (4)
- Row 3: ch1, turn; [1 inc, 2 sc, 1 inc]. (6)
- Row 4: ch1, turn; [1 sc in all st]. (6)
- Row 5: ch1, turn; [1 inc, 4 sc, 1 inc]. (8)
- Rows 6 to 9: ch1, turn; [1 sc in all st]. (8)
- Row 10: ch1, turn; [1 dec, 4 sc, 1 dec]. (6)
- Rows 11 to 12: ch1, turn; [1 sc in all st]. (6)
- Row 13: ch1, turn; [1 dec, 2 sc, 1 dec]. (4)
- Row 14: ch1, turn; [2 dec]. (2)
Change to the egg outline color and crochet sc evenly around the egg(about 30 sts). Do not crochet too tightly.
PART 6: Assembly
- Sew the arms and legs onto the egg.
- Sew the ears to the top of the head.
- Sew the egg onto the front of the head.
🎉 Congratulations!Your Easter Bunny applique is finished! I hope you enjoyed making this sweet spring project.
Copyright Notice
All rights reserved. This pattern and all accompanying photographs are the property of Natalina Craft and are protected by copyright law. This pattern is for personal use only. Any unauthorized reproduction, redistribution, or publication of this pattern, in whole or in part, is strictly prohibited.
You are welcome to sell finished items made from this pattern in small quantities. While crediting Natalina Craft as the designer is not required, it is always greatly appreciated—especially when selling online—so others can find the original pattern.Thank you for respecting these guidelines.