
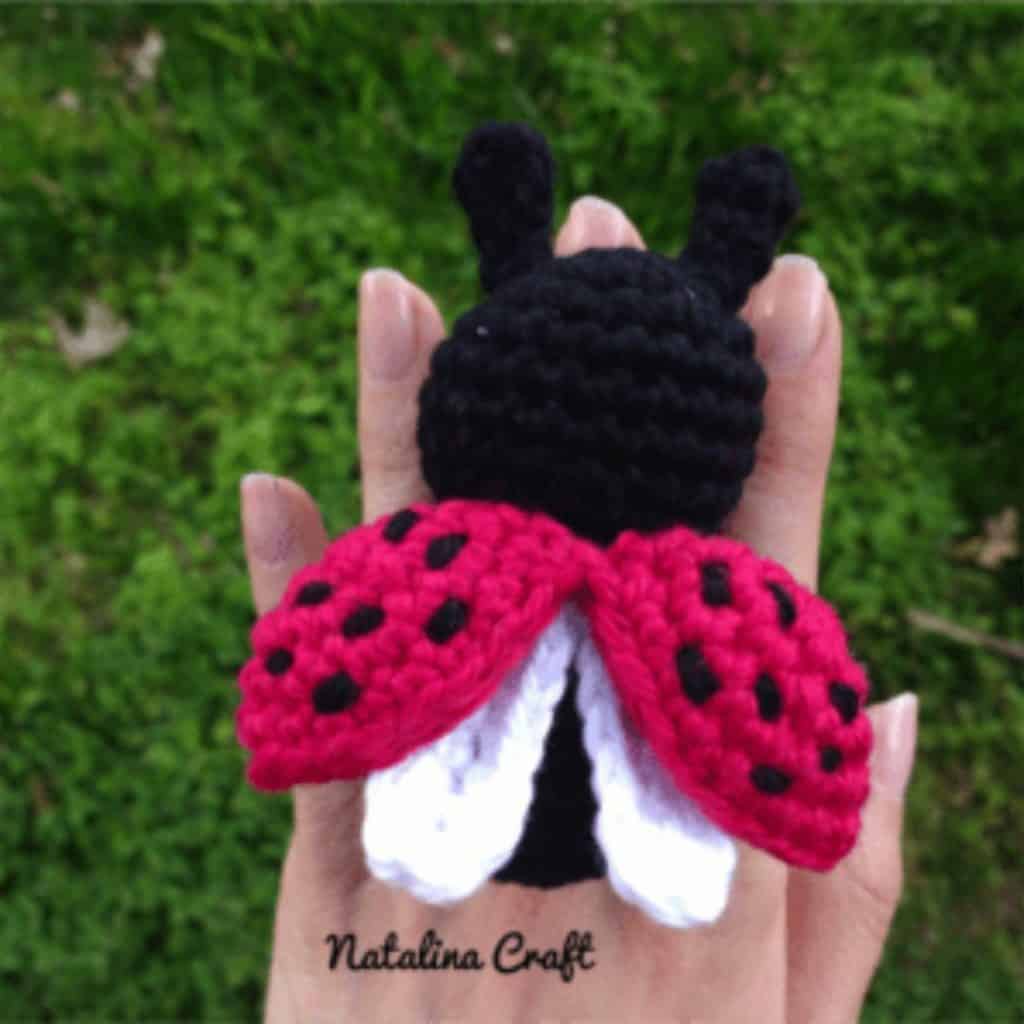
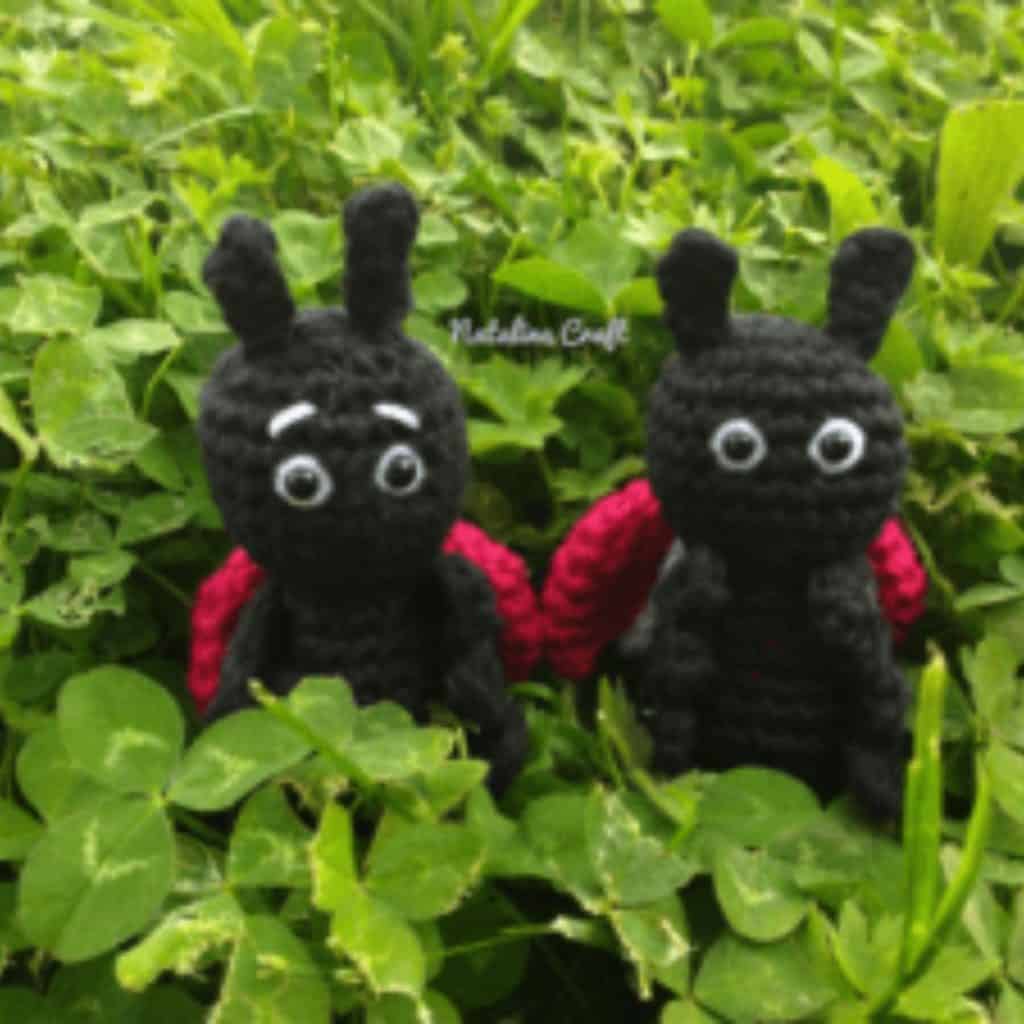
This adorable ladybug amigurumi crochet pattern is a fun and beginner-friendly project that’s perfect for crocheters of all skill levels. This free crochet ladybug pattern works up quickly and creates a cute 3D ladybug amigurumi that’s ideal for kids’ toys, small handmade gifts, or cheerful spring crochet projects.
Designed to use small amounts of yarn, this easy amigurumi crochet pattern is a great scrap yarn project and perfect for quick makes. With its bright red color, black spots, and sweet round shape, this crochet ladybug amigurumi fits beautifully into animal amigurumi collections, garden-themed crochet projects, and handmade toys for children.
Whether you’re looking for a fast crochet toy, a cute amigurumi animal, or a thoughtful handmade gift, this free ladybug amigurumi pattern is sure to bring smiles.
Join my Facebook group, where you can ask questions, share your finished projects, and help me choose future designs!
If you make this crochet ladybug, I’d love to see it!
Snap a photo and share it on Instagram or Facebook using the hashtag #natalinacraft.
I hope you enjoy this pattern and find it easy to follow. If you have any questions, feel free to write to me—I’ll do my best to help.

Free Crochet Ladybug Pattern
Size
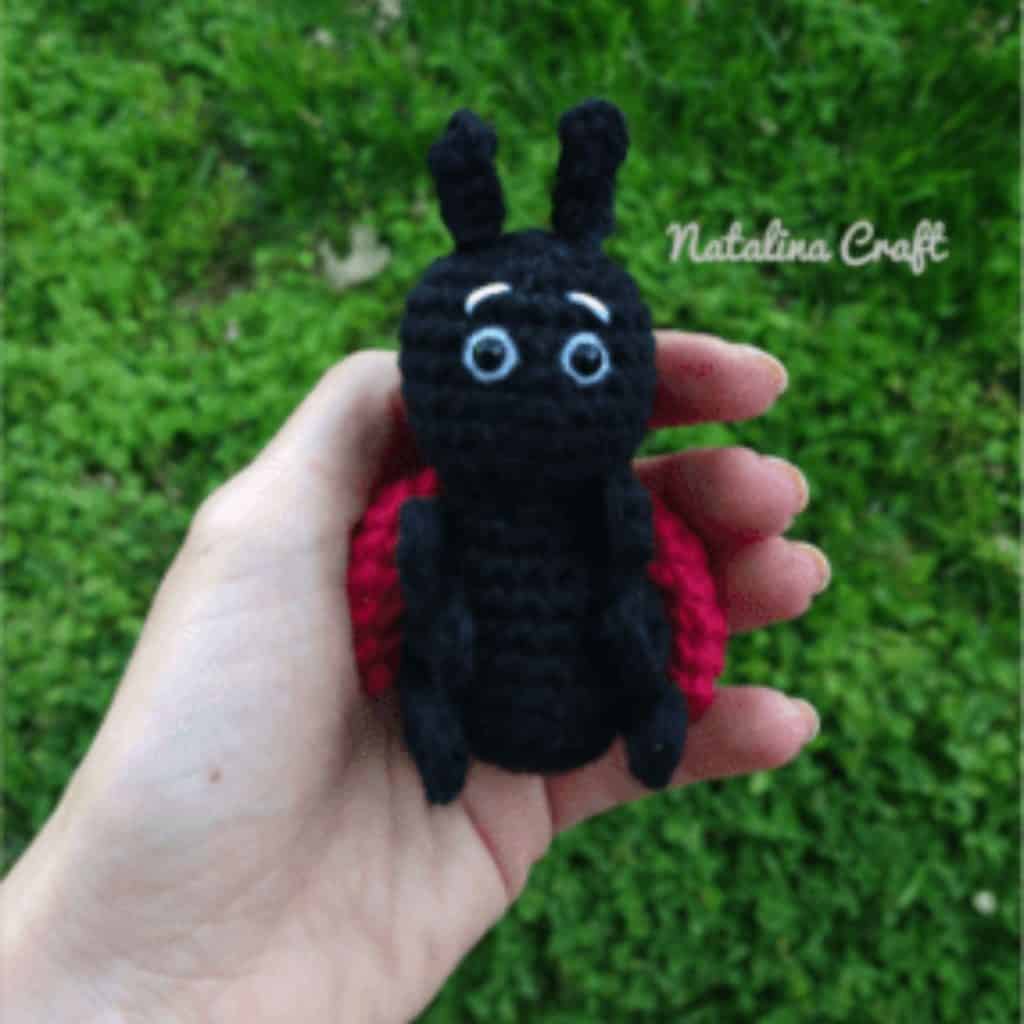
Approximately 3” / 8 cm tall when made with the indicated yarn.
Materials
- 3 colors of yarn calling for a 5.5 mm (US I-9) hook
- 3.5 mm crochet hook
- 3 mm crochet hook
- 2 black safety eyes (4.5 mm) and a small amount of white felt
or 2 bicolor safety eyes (6–7 mm / 0.2 in) - Poly-Fil Fiberfill stuffing
- Stitch markers
- Yarn needle
Abbreviations
- ch = chain
- mr = magic ring
- sc = single crochet
- inc = increase
- dec = invisible decrease
- sl st = slip stitch
- hdc = half double crochet
- dc = double crochet
What Did I Use?
Light worsted-weight yarn in black, red, and white.
I used “I Love This Cotton!” from Hobby Lobby:
- Black (Color 2)
- White (Color 6)
- Red (Color 60)
How to Crochet a Ladybug Amigurumi
Head & Body
With black yarn and a 3.5 mm hook.
Work in continuous rounds. Do not turn.
Use a stitch marker if needed.
- Round 1: 6 sc in a magic circle. (6)
- Round 2: inc 6 times. (12)
- Round 3: [1 sc in next st, 1 inc in next st] x6 (18)
- Round 4: [1 sc in next 2 st, 1 inc in next st] x6 (24)
- Rounds 5 to 8: 1 sc in all st (24)
- Round 9: [1 sc in next 2 st, 1 dec in next st] x6 (18)
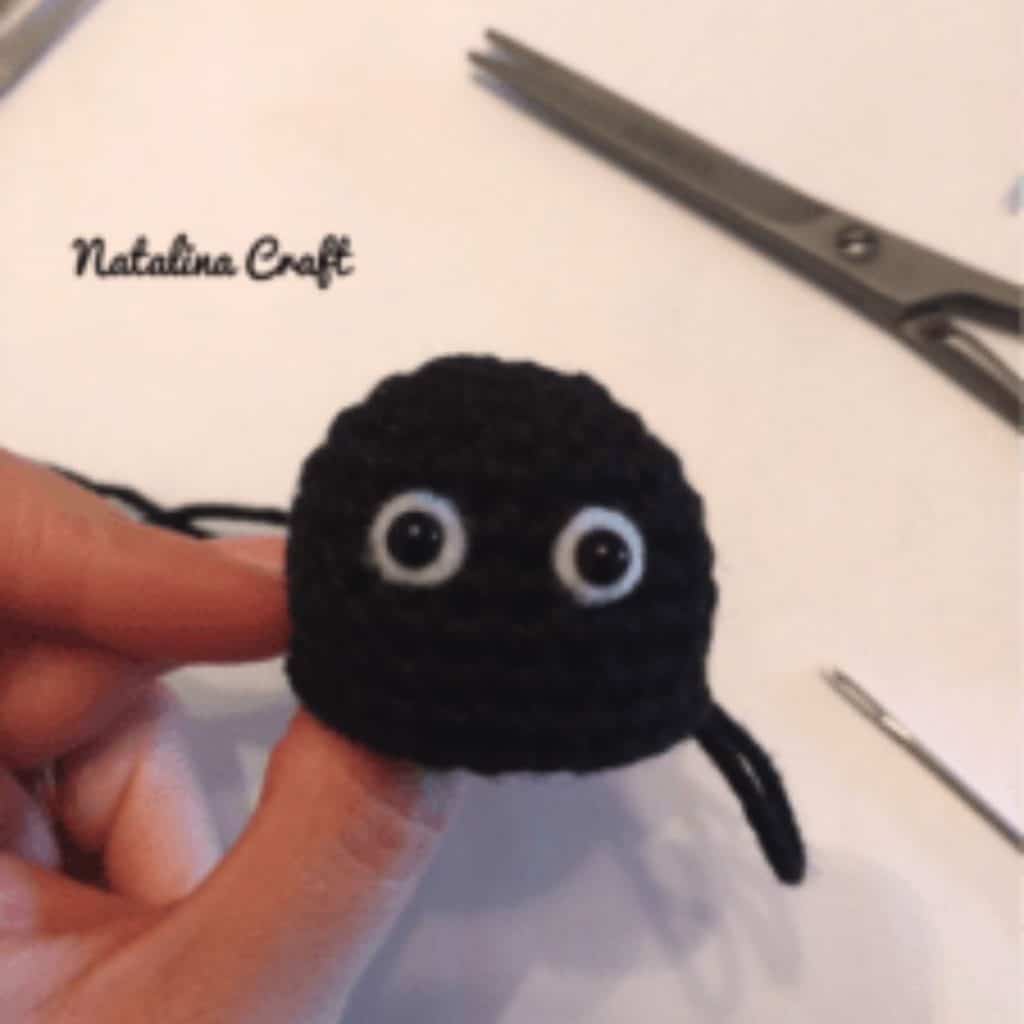
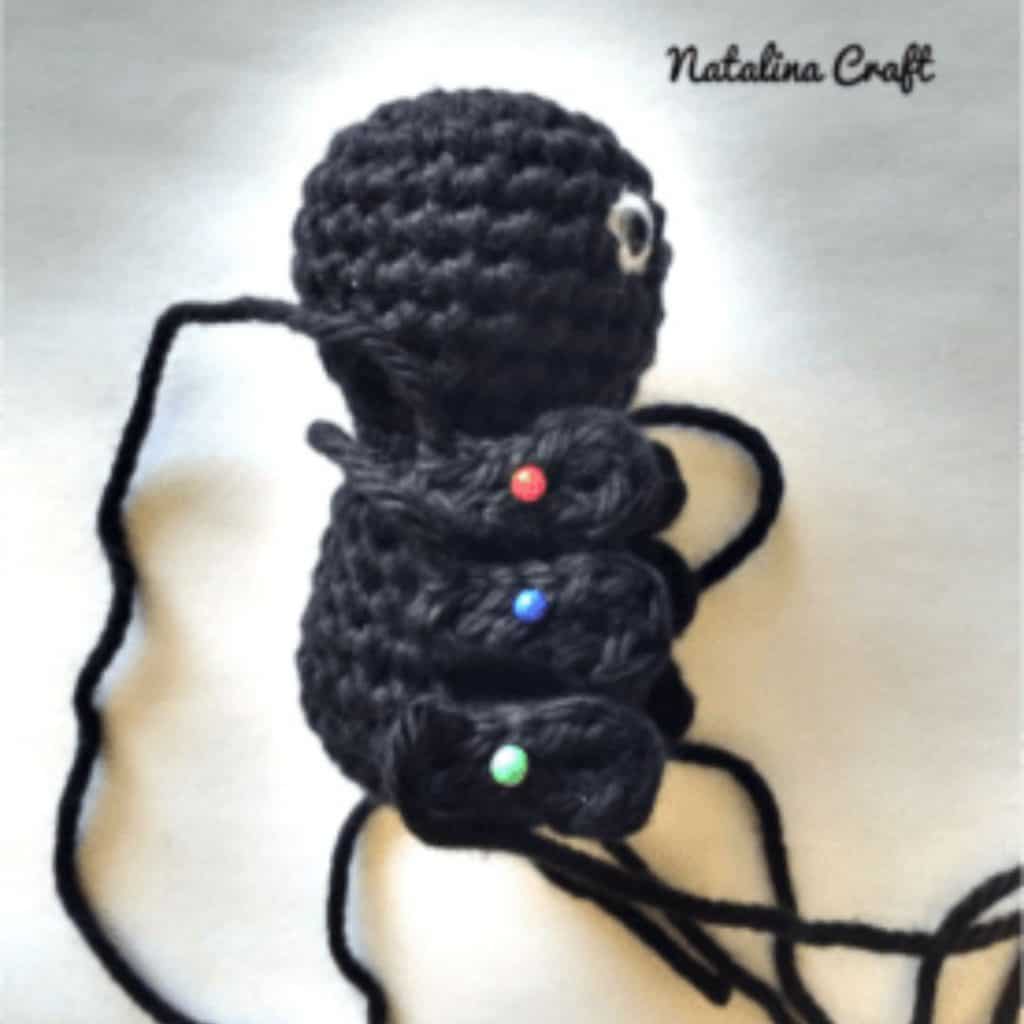
Insert safety eyes between Rounds 5 and 6, spaced by 2 stitches.
Eye options:
-
Use 6–7 mm bicolor safety eyes, or
-
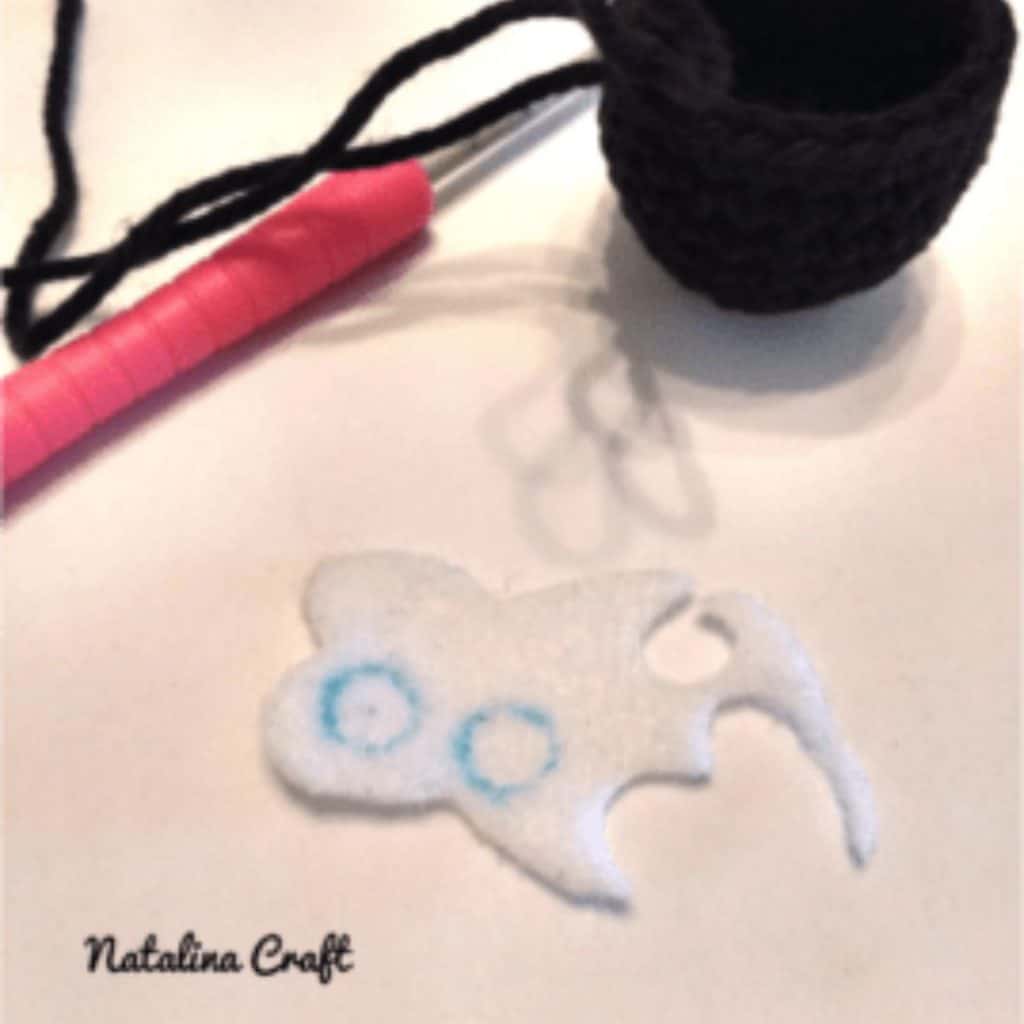
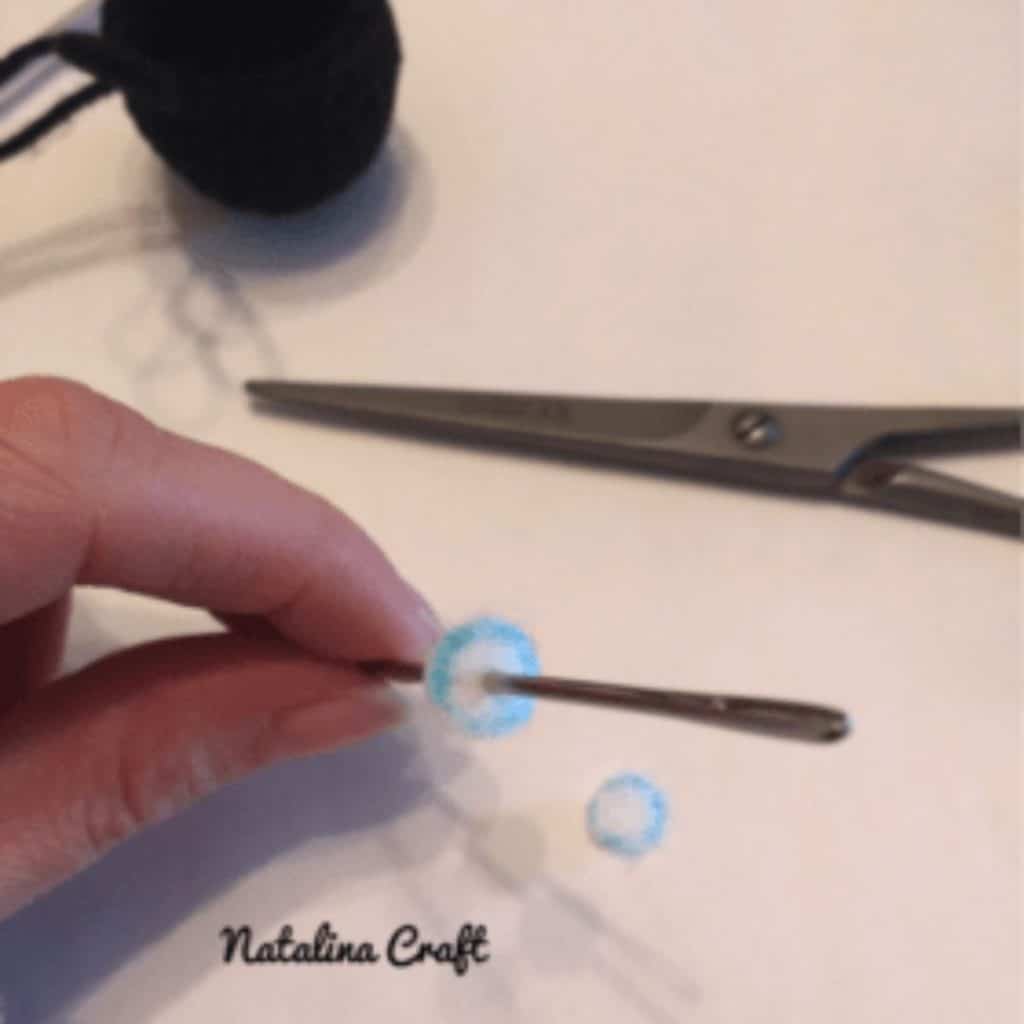
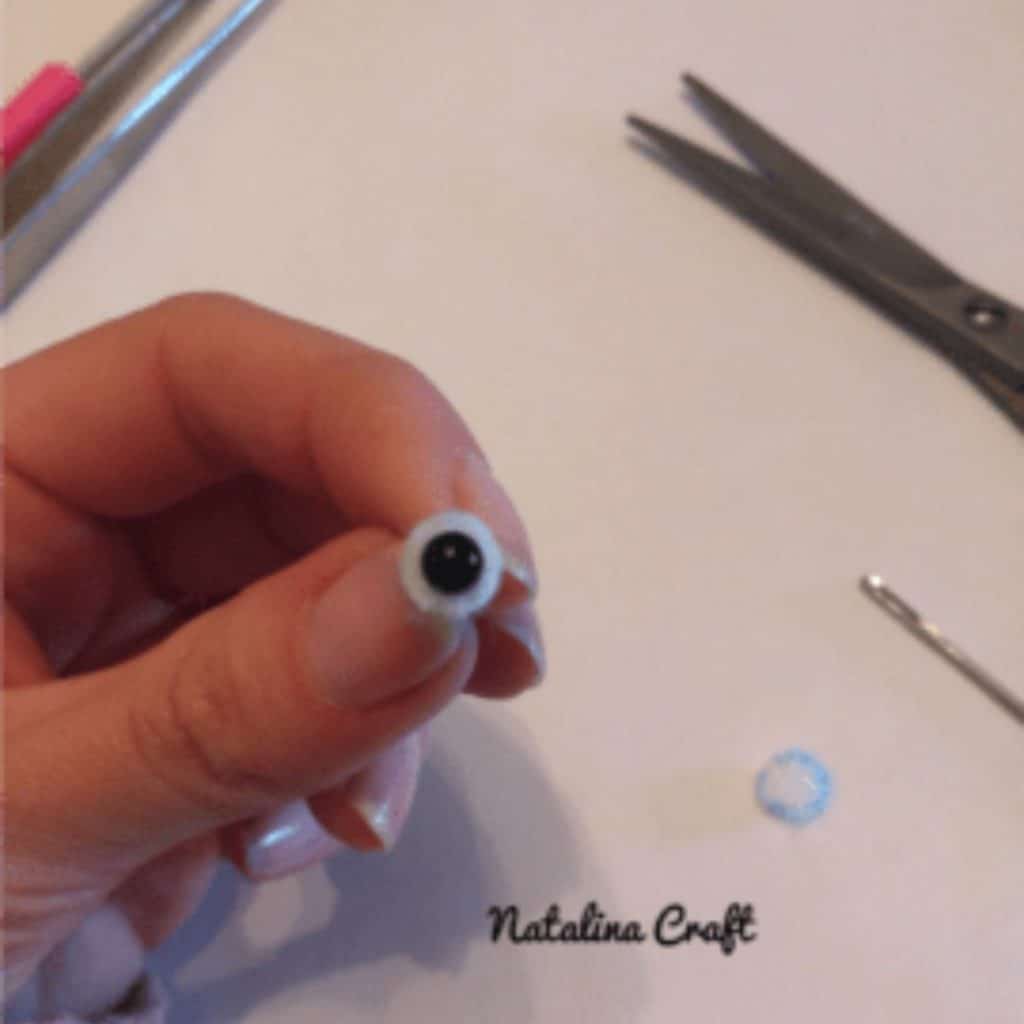
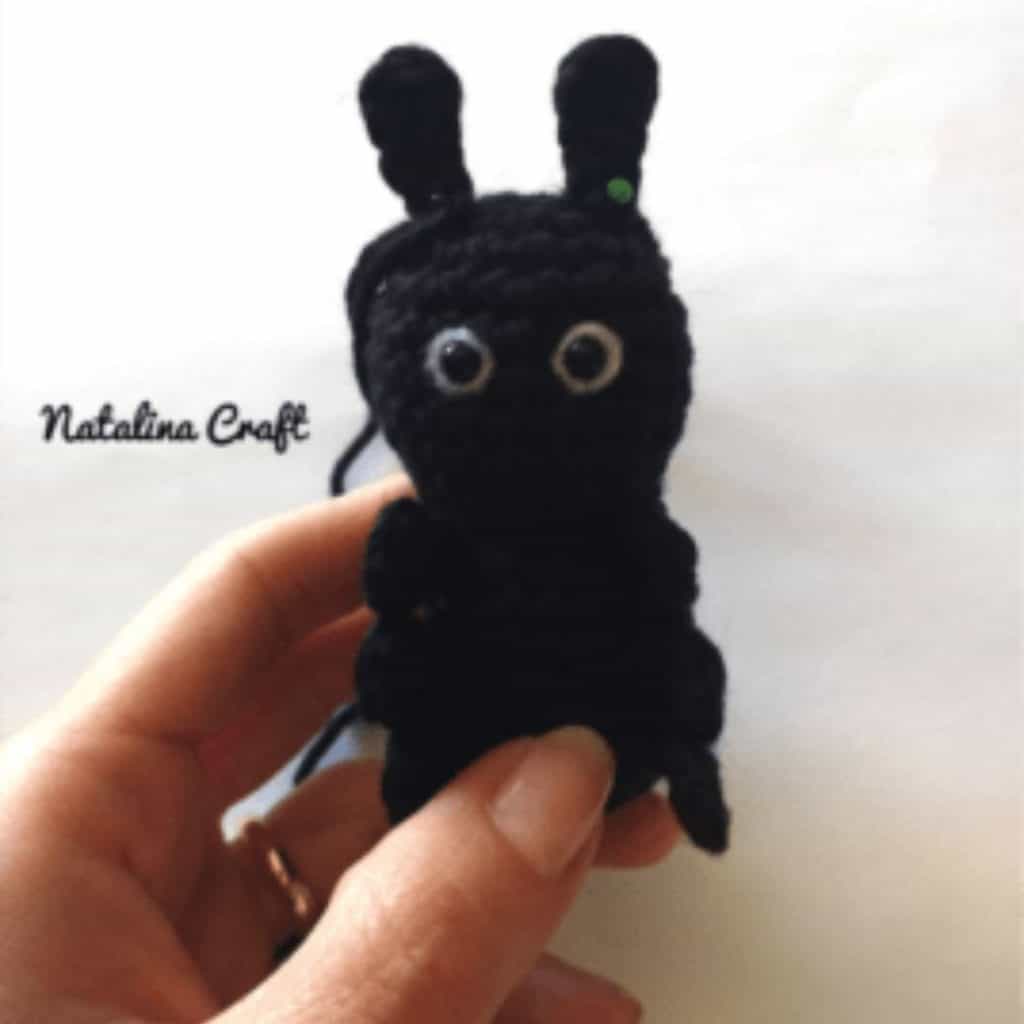
Use 4.5 mm black safety eyes placed over a 6–7 mm white felt circle. Draw and cut a small circle from white felt, make a hole in the center, insert the safety eye, then attach to the head.
- Round 10: [1 sc in next st, 1 dec in next st] x6. (12)
- Round 11: 1 sc in all st. (12)
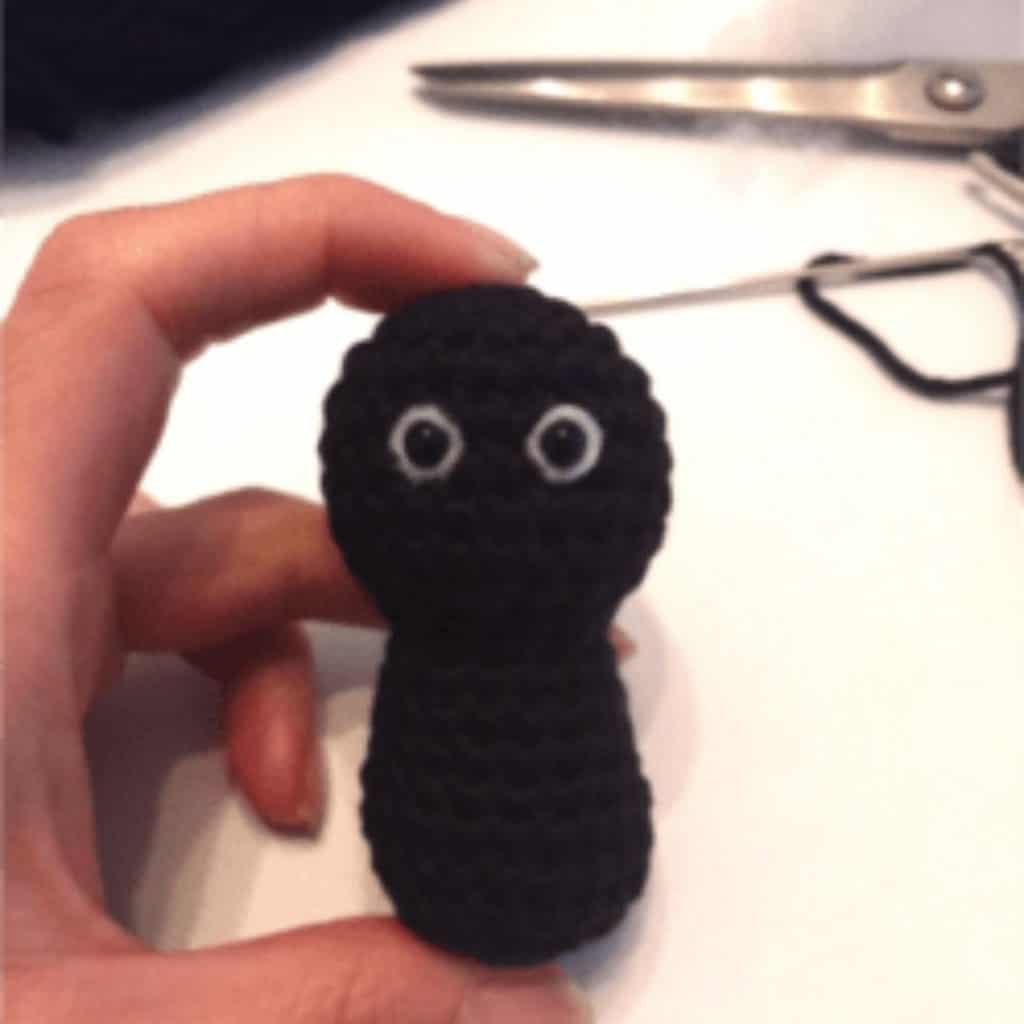
Stuff the head firmly.
- Round 12: [1 sc in next st, 1 inc in next st] x6. (18)
- Rounds 13 to 15: 1 sc in all st. (18)
- Round 16: [1 sc in next 2 st, 1 inc in next st] x6. (24)
- Rounds 17 to 18: 1 sc in all st. (24)
- Round 19: [1 sc in next 2 st, 1 dec in next st] x6. (18)
- Round 20: [1 sc in next st, 1 dec in next st] x6. (12)
- Round 21: [1 dec in all] x6. (6)
Stuff the body, fasten off, and close.
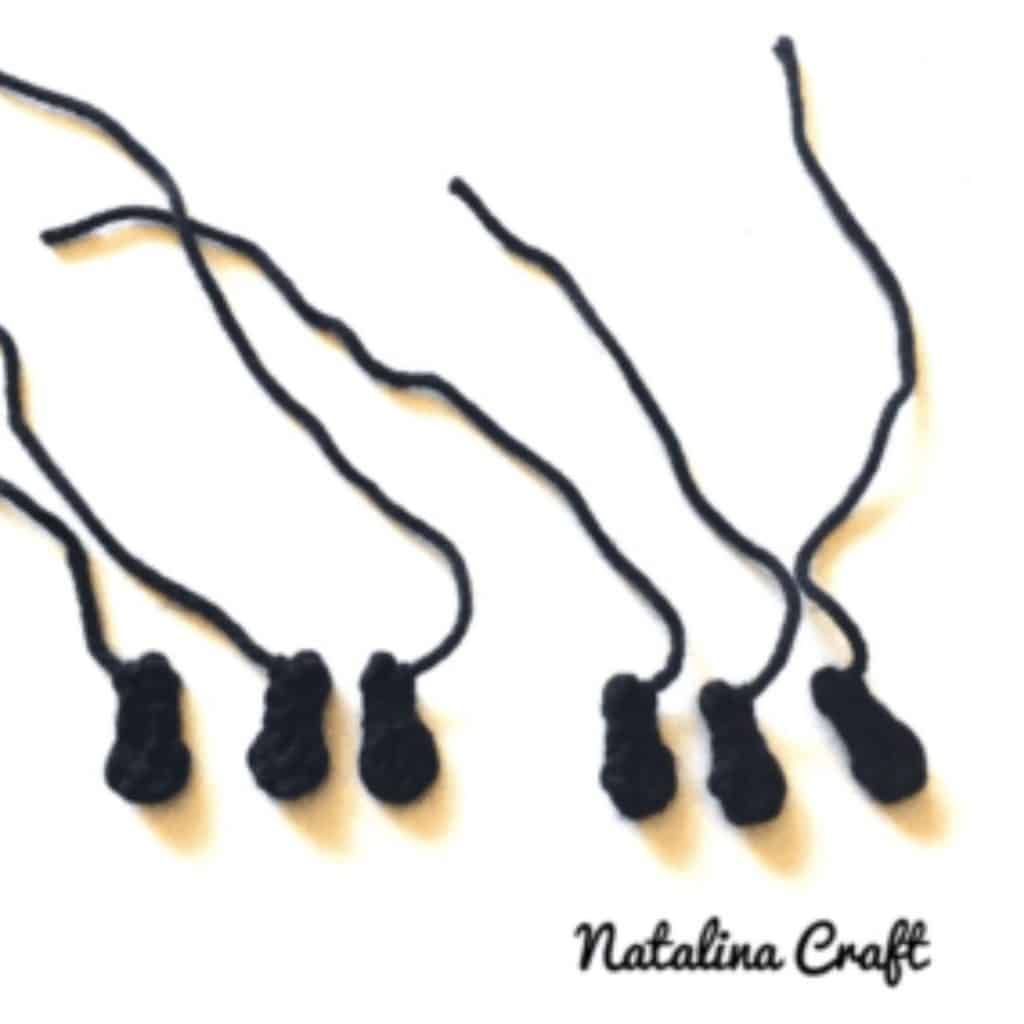
Legs (make 6)
With black yarn and a 3 mm hook.
Work in rows.
- Row 1: ch 6. (6)
- Row 2: 1 sl st in 2nd ch from hook, 1 sl st in next 3 st, 4 sc in the next st. Now working on the other side of the ch: 1 sl st in next 4 st. (12)
Leave a long tail.
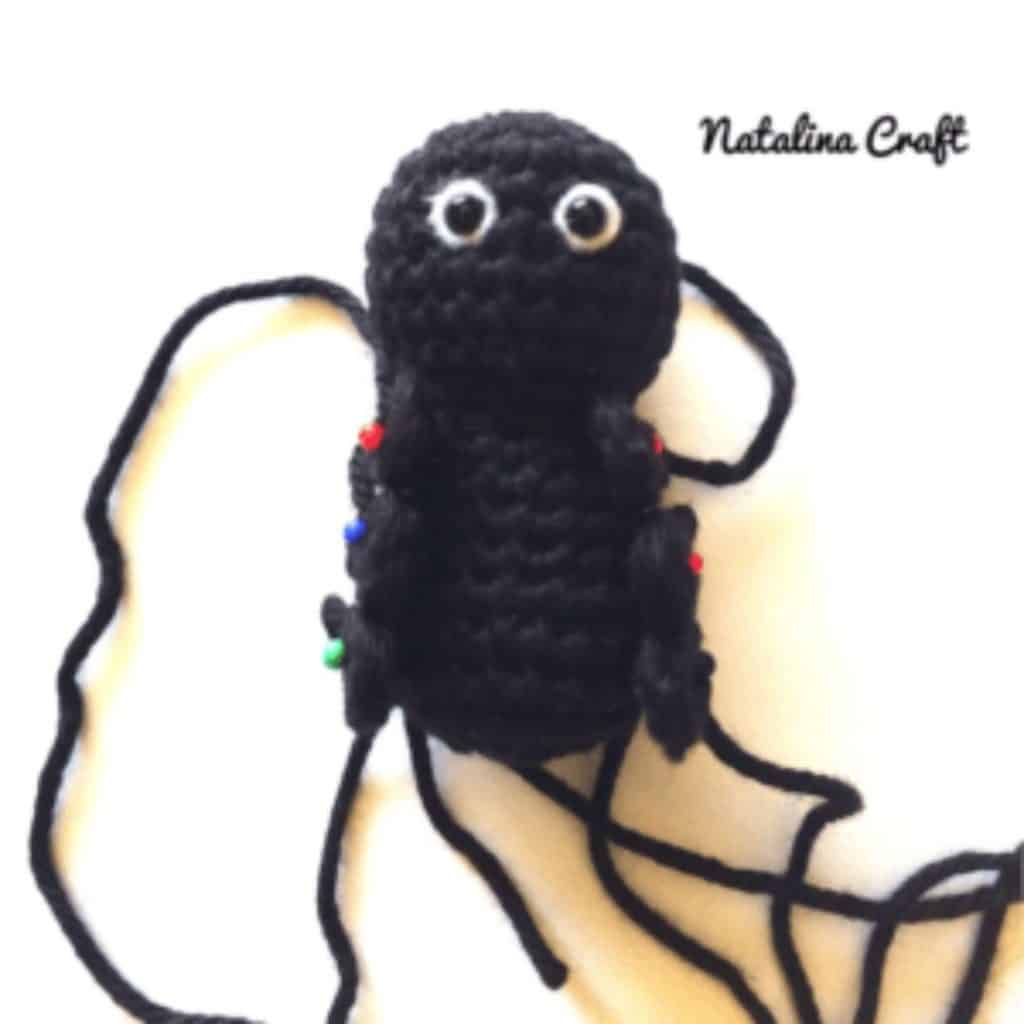
Sew 3 legs on each side of the body.
Antennae (make 2)
With black yarn and a 3 mm hook.
Work in rows.
- Row 1: ch 5. (5)
- Row 2: 1 sl st in 2nd ch from hook, 1 sl st in next 2 st, 3 sc in the next st. Now working on the other side of the chain: 1 sl st in next 3 st. (9)
Leave a long tail.
Sew between Rounds 2 and 3 on the head.
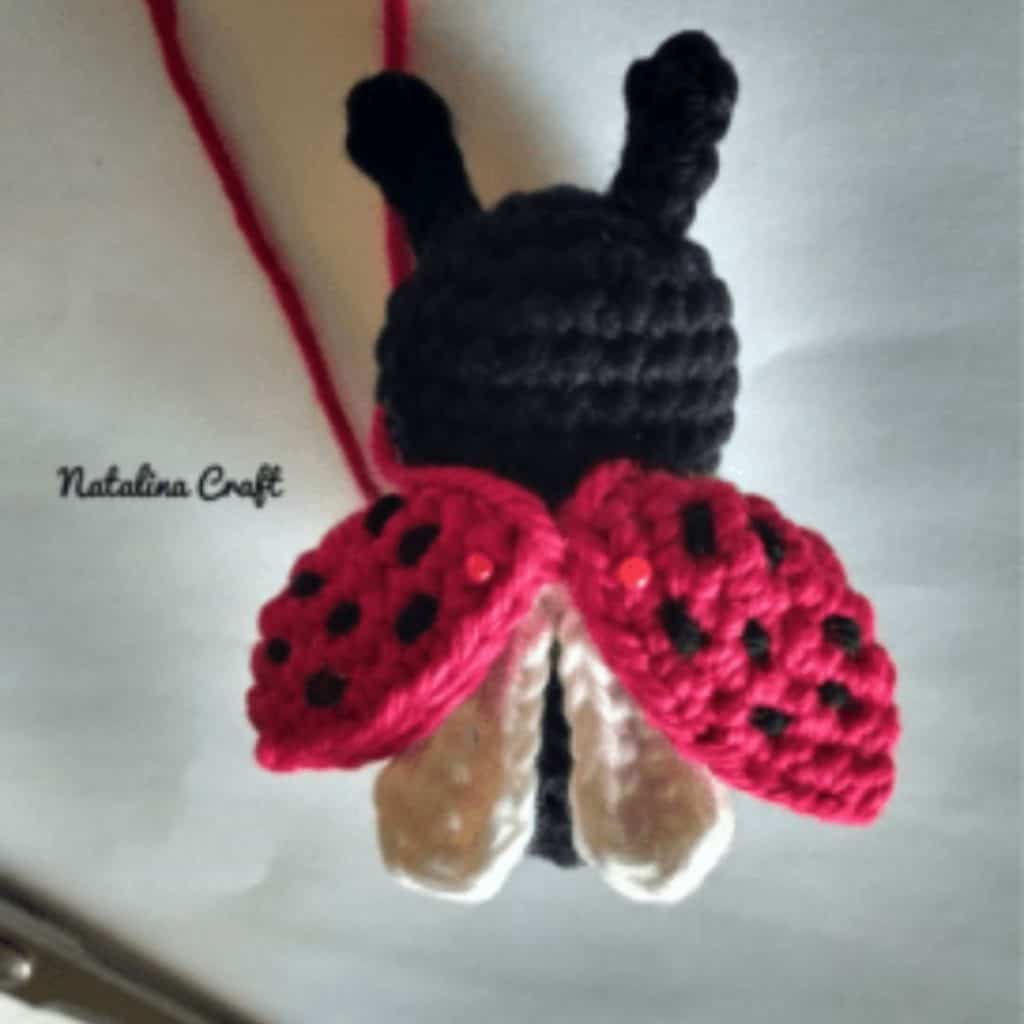
Wings (make 2)
With white yarn and a 3 mm hook.
Work in rows.
- Row 1: ch 8. (8)
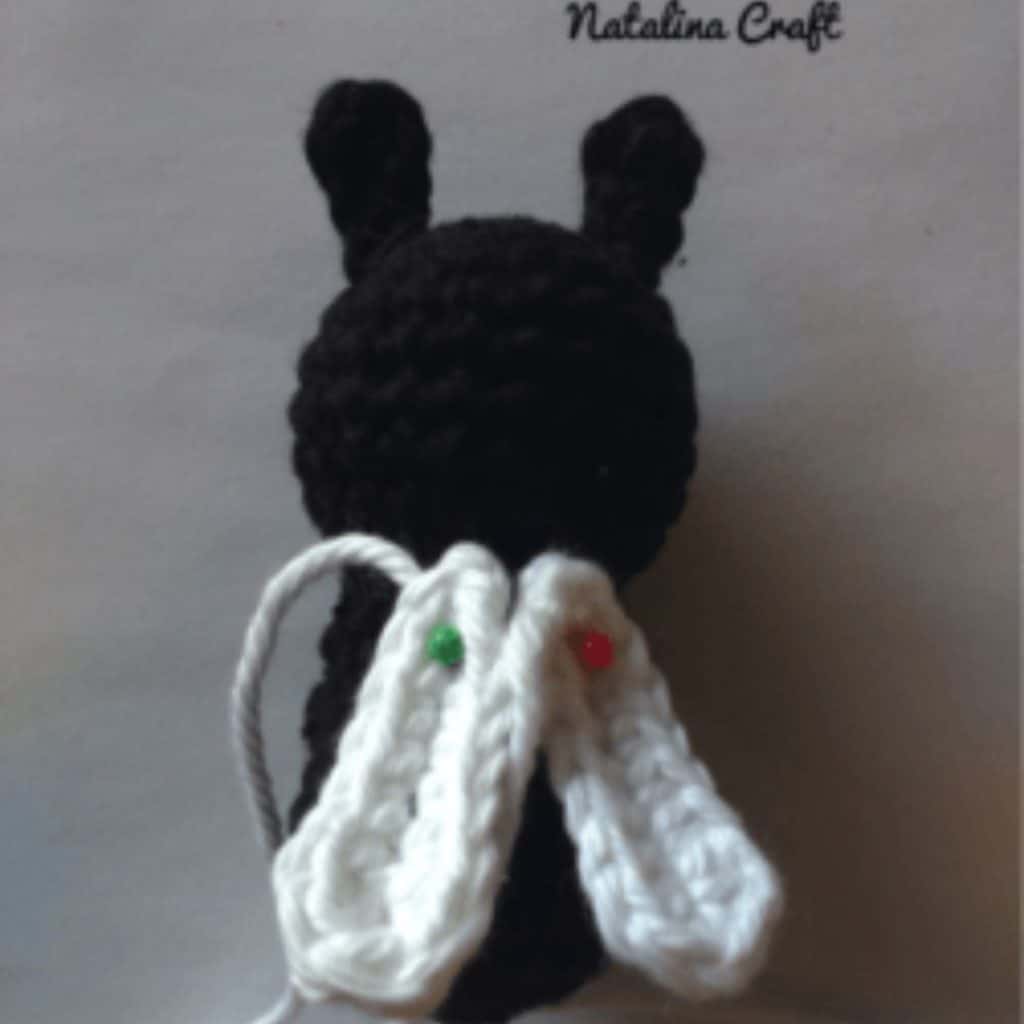
- Row 2: 1 sc in 2nd ch from hook (place stitch marker), 1 sc in next 5, 4 hdc in the next st. Now working on the other side of the chain: 1 sc in next 6, 1 sl st in the marked stitch. (17)
Leave a long tail.
Sew only the top edge of the wings to the back, just under the head.

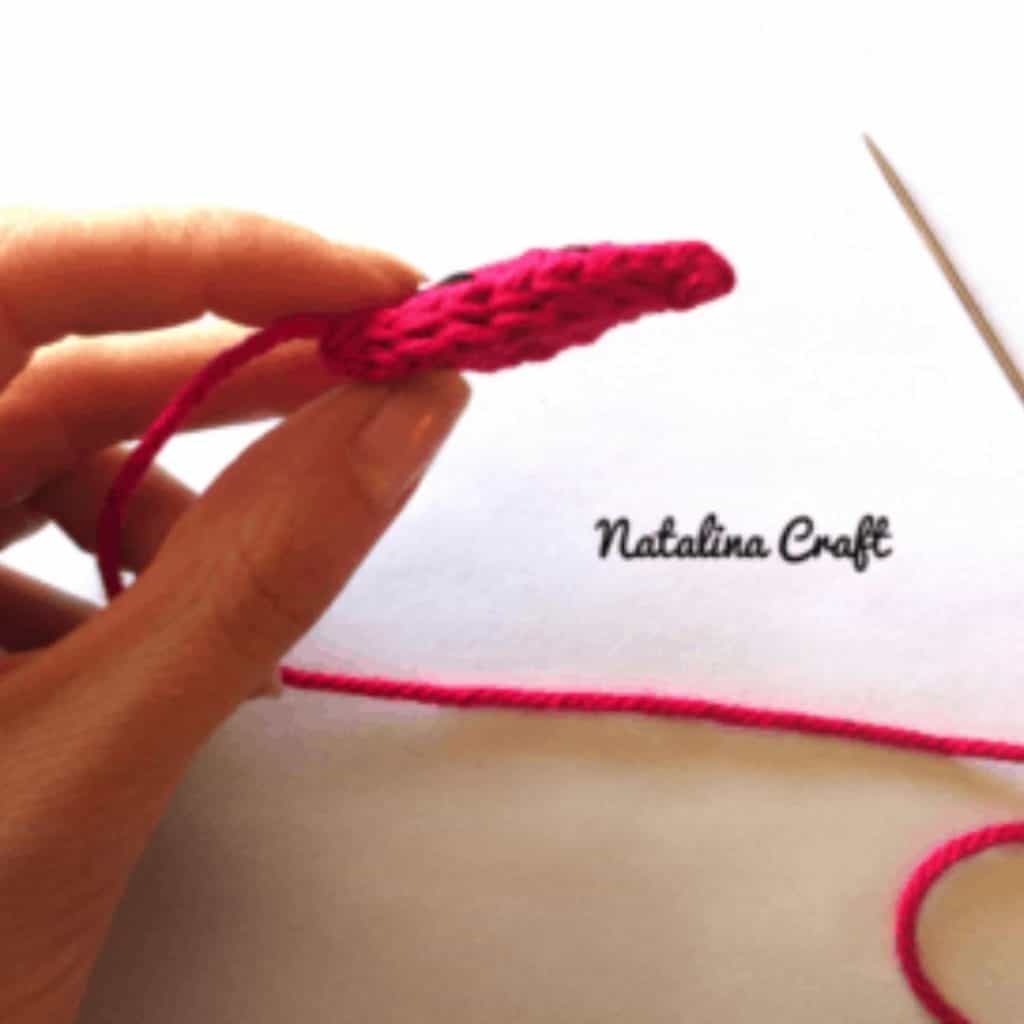
Elytra (make 2)
With red yarn and a 3.5 mm hook.
Work in rounds.
- Round 1: 6 sc in a magic ring. (6)
- Round 2: inc 6 times. (12)
- Round 3: [1 sc in next st, 1 inc in next st] x6. (18)
- Round 4 to 5: 1 sc in all st (18)
Leave a long tail, cut the yarn.
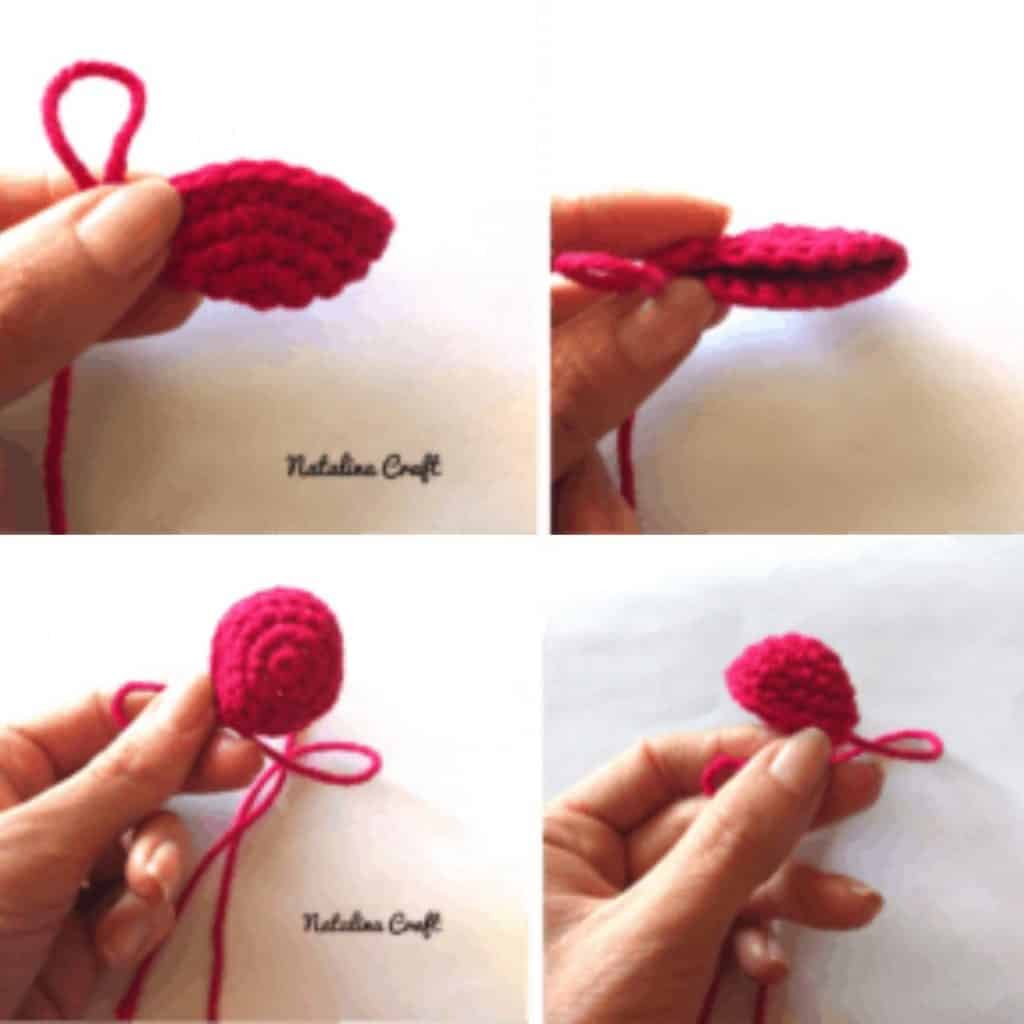
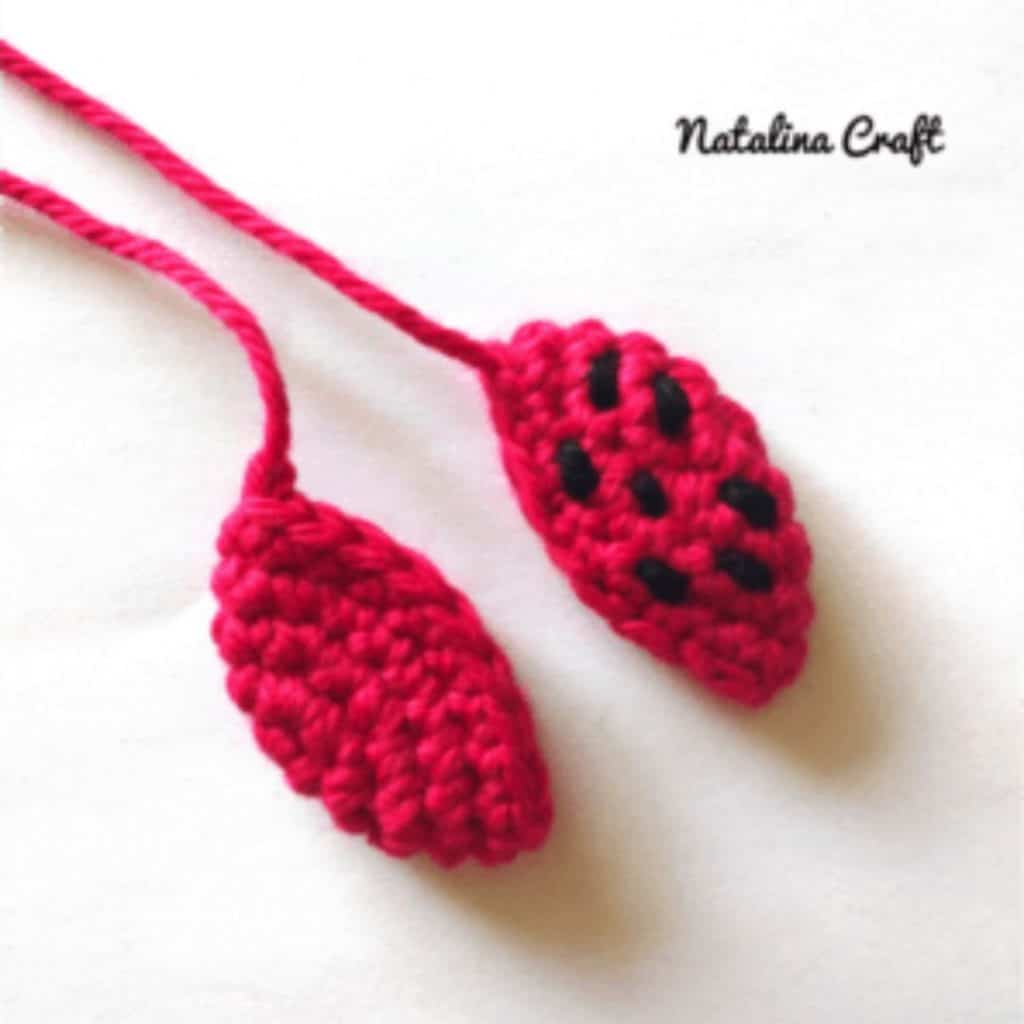
Flatten the elytra (see photos for reference). Using two strands of black yarn and a tapestry needle, embroider the black spots on one side only.
- Make 2 spots between Rounds 2 and 3
- Make 3 spots between Rounds 3 and 4
- Make 2 spots between Rounds 4 and 5
Once the spots are finished, use your tapestry needle to close the elytra.
Repeat the same process for the second elytra.
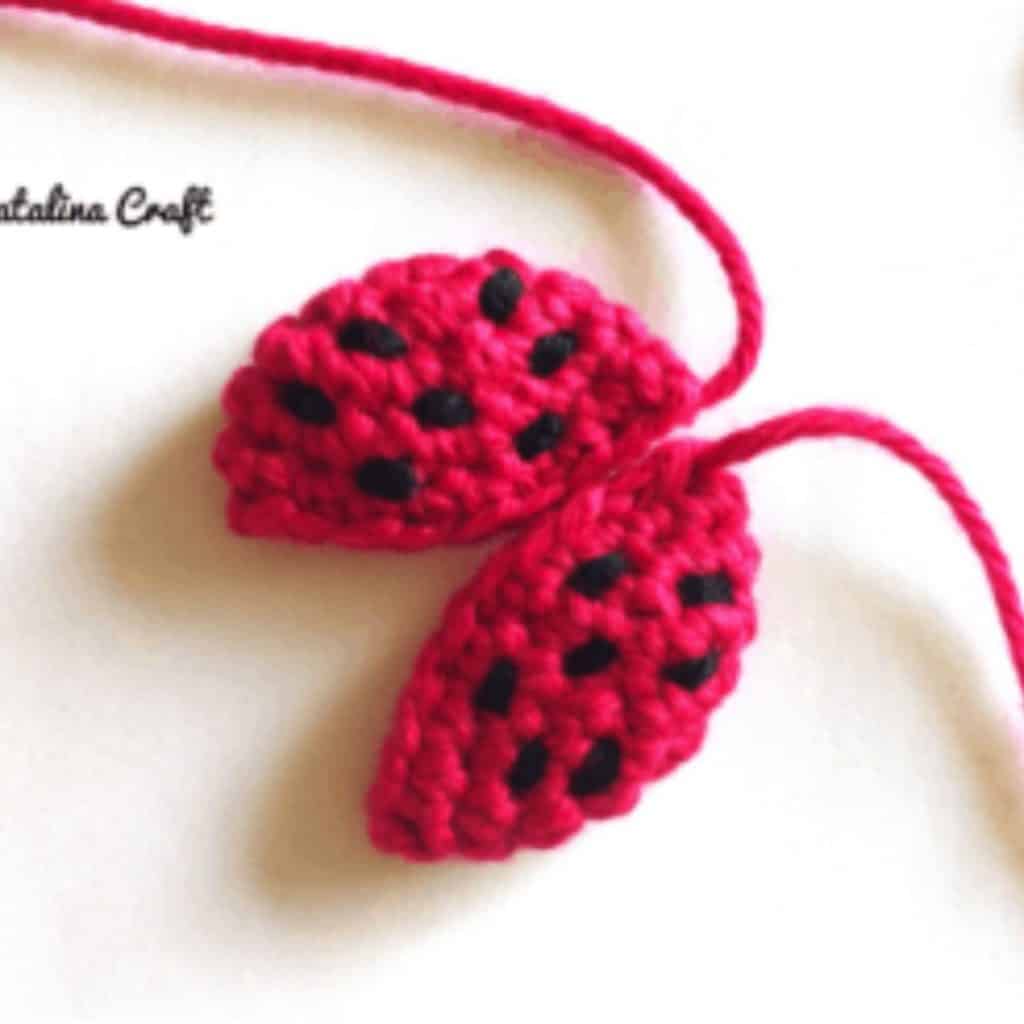
⚠️ Be sure to place the spots on the correct (outer) side. Before sewing, place both elytra on the body to check the orientation—the first round of each elytron should face outward (see photos).
Sew above the wings.
For movable elytra, attach only at the top and add a small stitch to connect both pieces.

Optional: Eyebrows
With white yarn, embroider two small eyebrows above the eyes for extra expression.
🎉 Congratulations!
You’ve made your own adorable crochet ladybug 🐞
If you share it, don’t forget to tag @natalinacraft and use #natalinacraft—I love seeing your creations!
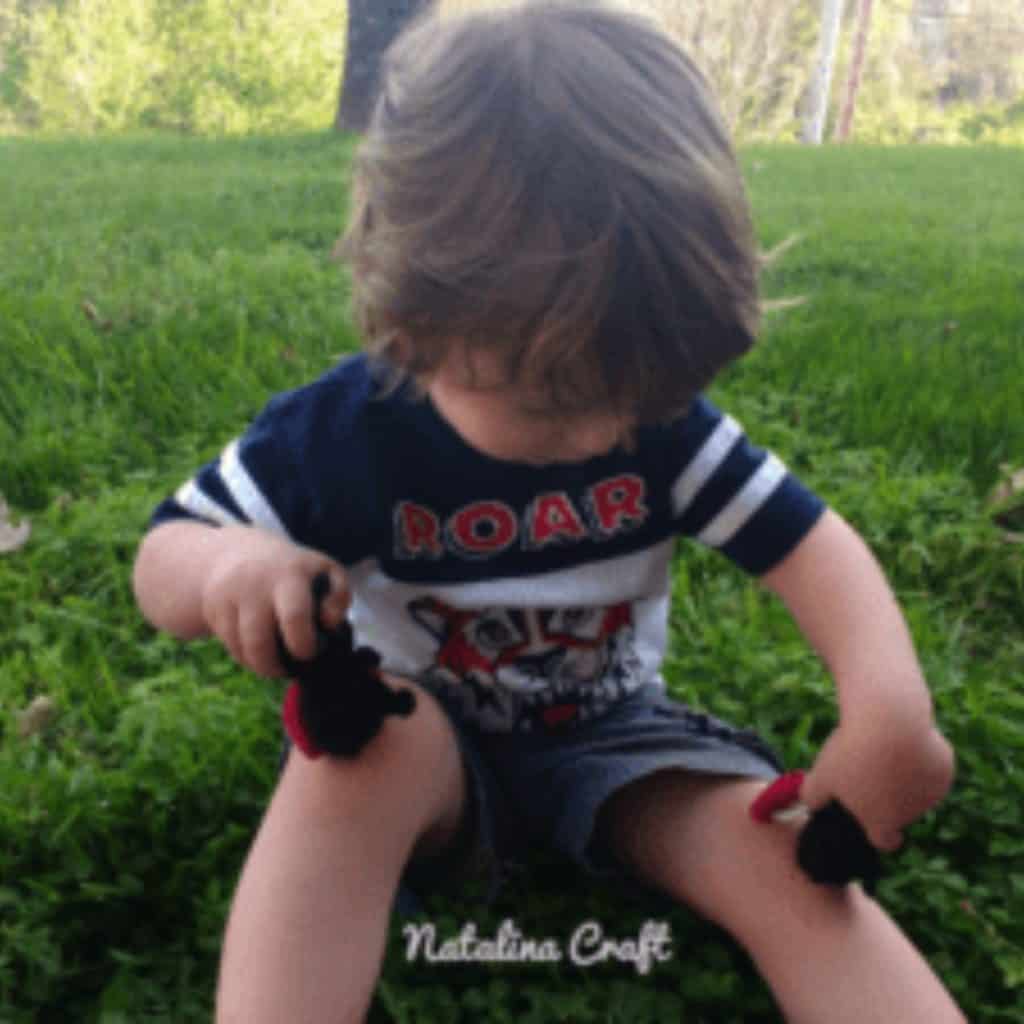
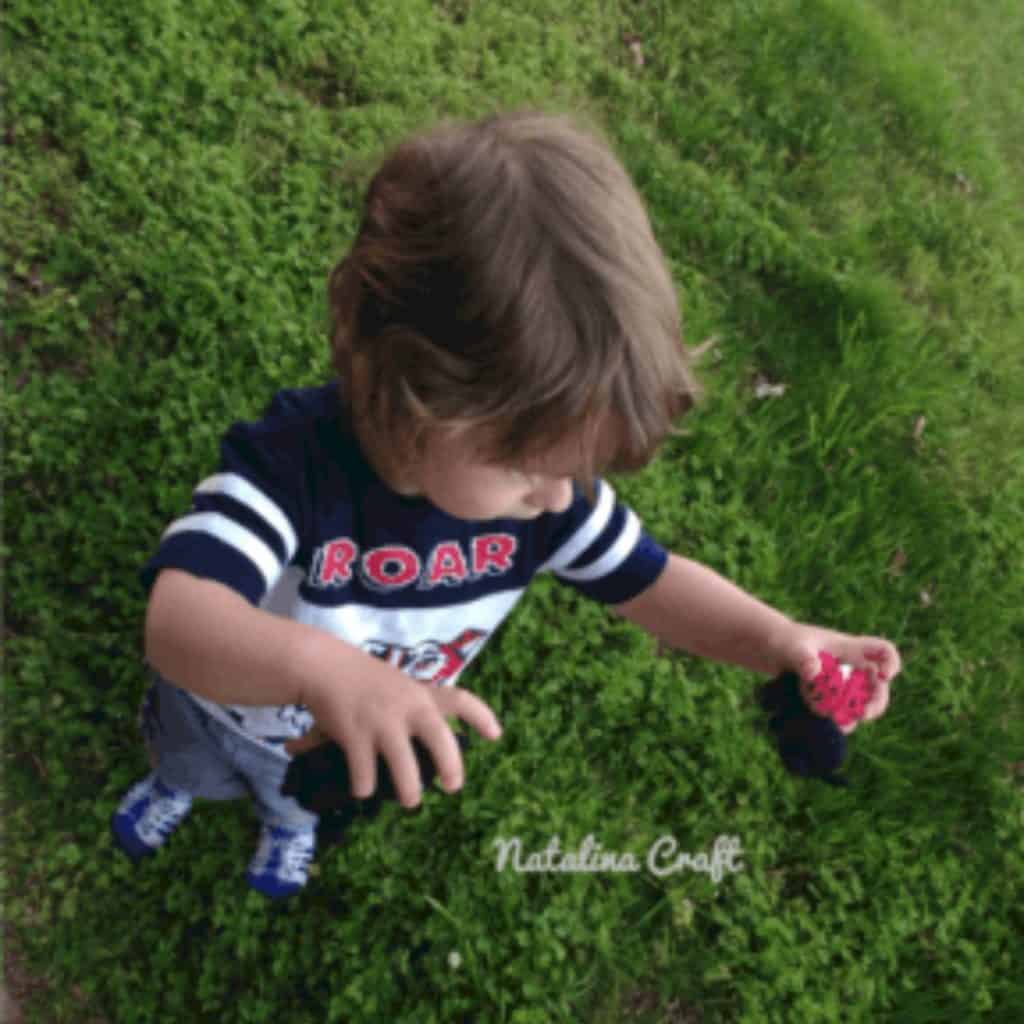
Fun fact: My son (and official tester!) loved them immediately and wouldn’t let me finish the photoshoot.
Copyright Notice
All rights reserved. This pattern and all accompanying photographs are the property of Natalina Craft and are protected by copyright law. This pattern is for personal use only. Any unauthorized reproduction, redistribution, or publication of this pattern, in whole or in part, is strictly prohibited.
You are welcome to sell finished items made from this pattern in small quantities. While crediting Natalina Craft as the designer is not required, it is always greatly appreciated—especially when selling online—so others can find the original pattern.
Thank you for respecting these guidelines.
Crochet Ladybug – Free pattern
Crochet Ladybug - Free pattern
Instructions
Free Crochet Ladybug Pattern
Size
Approximately 3” / 8 cm tall when made with the indicated yarn.
Materials
- 3 colors of yarn calling for a 5.5 mm (US I-9) hook
- 3.5 mm crochet hook
- 3 mm crochet hook
- 2 black safety eyes (4.5 mm) and a small amount of white felt, or 2 bicolor safety eyes (6–7 mm / 0.2 in)
- Poly-Fil Fiberfill stuffing
- Stitch markers
- Yarn needle
Abbreviations
- ch = chain
- mr = magic ring
- sc = single crochet
- inc = increase
- dec = invisible decrease
- sl st = slip stitch
- hdc = half double crochet
- dc = double crochet
What Did I Use?
Light worsted-weight yarn in black, red, and white.I used “I Love This Cotton!” from Hobby Lobby:
- Black (Color 2)
- White (Color 6)
- Red (Color 60)
How to Crochet a Ladybug Amigurumi
Head & Body
With black yarn and a 3.5 mm hook.
Work in continuous rounds. Do not turn. Use a stitch marker if needed.
- Round 1: 6 sc in a magic circle. (6)
- Round 2: inc 6 times. (12)
- Round 3: [1 sc in next st, 1 inc in next st] x6 (18)
- Round 4: [1 sc in next 2 st, 1 inc in next st] x6 (24)
- Rounds 5 to 8: 1 sc in all st (24)
- Round 9: [1 sc in next 2 st, 1 dec in next st] x6 (18)
Insert safety eyes between Rounds 5 and 6, spaced by 2 stitches.
Eye options:
- Use 6–7 mm bicolor safety eyes, or
- Use 4.5 mm black safety eyes placed over a 6–7 mm white felt circle. Draw and cut a small circle from white felt, make a hole in the center, insert the safety eye, then attach to the head.
- Round 10: [1 sc in next st, 1 dec in next st] x6. (12)
- Round 11: 1 sc in all st. (12)
Stuff the head firmly.
- Round 12: [1 sc in next st, 1 inc in next st] x6. (18)
- Rounds 13 to 15: 1 sc in all st. (18)
- Round 16: [1 sc in next 2 st, 1 inc in next st] x6. (24)
- Rounds 17 to 18: 1 sc in all st. (24)
- Round 19: [1 sc in next 2 st, 1 dec in next st] x6. (18)
- Round 20: [1 sc in next st, 1 dec in next st] x6. (12)
- Round 21: [1 dec in all] x6. (6)
Stuff the body, fasten off, and close.
Legs (make 6)
With black yarn and a 3 mm hook.
Work in rows.
- Row 1: ch 6. (6)
- Row 2: 1 sl st in 2nd ch from hook, 1 sl st in next 3 st, 4 sc in the next st. Now working on the other side of the ch: 1 sl st in next 4 st. (12)
Leave a long tail. Sew 3 legs on each side of the body.
Antennae (make 2)
With black yarn and a 3 mm hook.
Work in rows.
- Row 1: ch 5. (5)
- Row 2: 1 sl st in 2nd ch from hook, 1 sl st in next 2 st, 3 sc in the next st. Now working on the other side of the chain: 1 sl st in next 3 st. (9)
Leave a long tail. Sew between Rounds 2 and 3 on the head.
Wings (make 2)
With white yarn and a 3 mm hook.
Work in rows.
- Row 1: ch 8. (8)
- Row 2: 1 sc in 2nd ch from hook (place stitch marker), 1 sc in next 5, 4 hdc in the next st. Now working on the other side of the chain: 1 sc in next 6, 1 sl st in the marked stitch. (17)
Leave a long tail. Sew only the top edge of the wings to the back, just under the head.
Elytra (make 2)
With red yarn and a 3.5 mm hook.
Work in rounds.
- Round 1: 6 sc in a magic ring. (6)
- Round 2: inc 6 times. (12)
- Round 3: [1 sc in next st, 1 inc in next st] x6. (18)
- Round 4 to 5: 1 sc in all st (18)
Leave a long tail, cut the yarn.
Flatten the elytra (see photos for reference). Using two strands of black yarn and a tapestry needle, embroider the black spots on one side only.
- Make 2 spots between Rounds 2 and 3
- Make 3 spots between Rounds 3 and 4
- Make 2 spots between Rounds 4 and 5
Once the spots are finished, use your tapestry needle to close the elytra.
Repeat the same process for the second elytra.⚠️ Be sure to place the spots on the correct (outer) side. Before sewing, place both elytra on the body to check the orientation—the first round of each elytron should face outward (see photos).
Sew above the wings. For movable elytra, attach only at the top and add a small stitch to connect both pieces.
Optional: Eyebrows
With white yarn, embroider two small eyebrows above the eyes for extra expression.
🎉 Congratulations!
You’ve made your own adorable crochet ladybug 🐞If you share it, don’t forget to tag @natalinacraft and use #natalinacraft—I love seeing your creations!
Fun fact: My son (and official tester!) loved them immediately and wouldn’t let me finish the photoshoot.
Copyright Notice
All rights reserved. This pattern and all accompanying photographs are the property of Natalina Craft and are protected by copyright law. This pattern is for personal use only. Any unauthorized reproduction, redistribution, or publication of this pattern, in whole or in part, is strictly prohibited.
You are welcome to sell finished items made from this pattern in small quantities. While crediting Natalina Craft as the designer is not required, it is always greatly appreciated—especially when selling online—so others can find the original pattern. Thank you for respecting these guidelines.
Thank you for the lady bug pattern. I would love to have all of your patterns. Easy to follow.
Thank you so much Elizabeth
I love the ladybug . Love it… love it…
Thank you
Thank you for your well written pattern. It was so easy to follow. Stupidly, I forgot to take pictures before I gave my two ladybirds to my neighbours’ children so I couldn’t post to social media, but felt you deserved a big thank you!
Thank you very much!
Adorable! Thank you for sharing.
Thank you
ממש יפה וברור כל הכבוד לך
Thank you very much.