
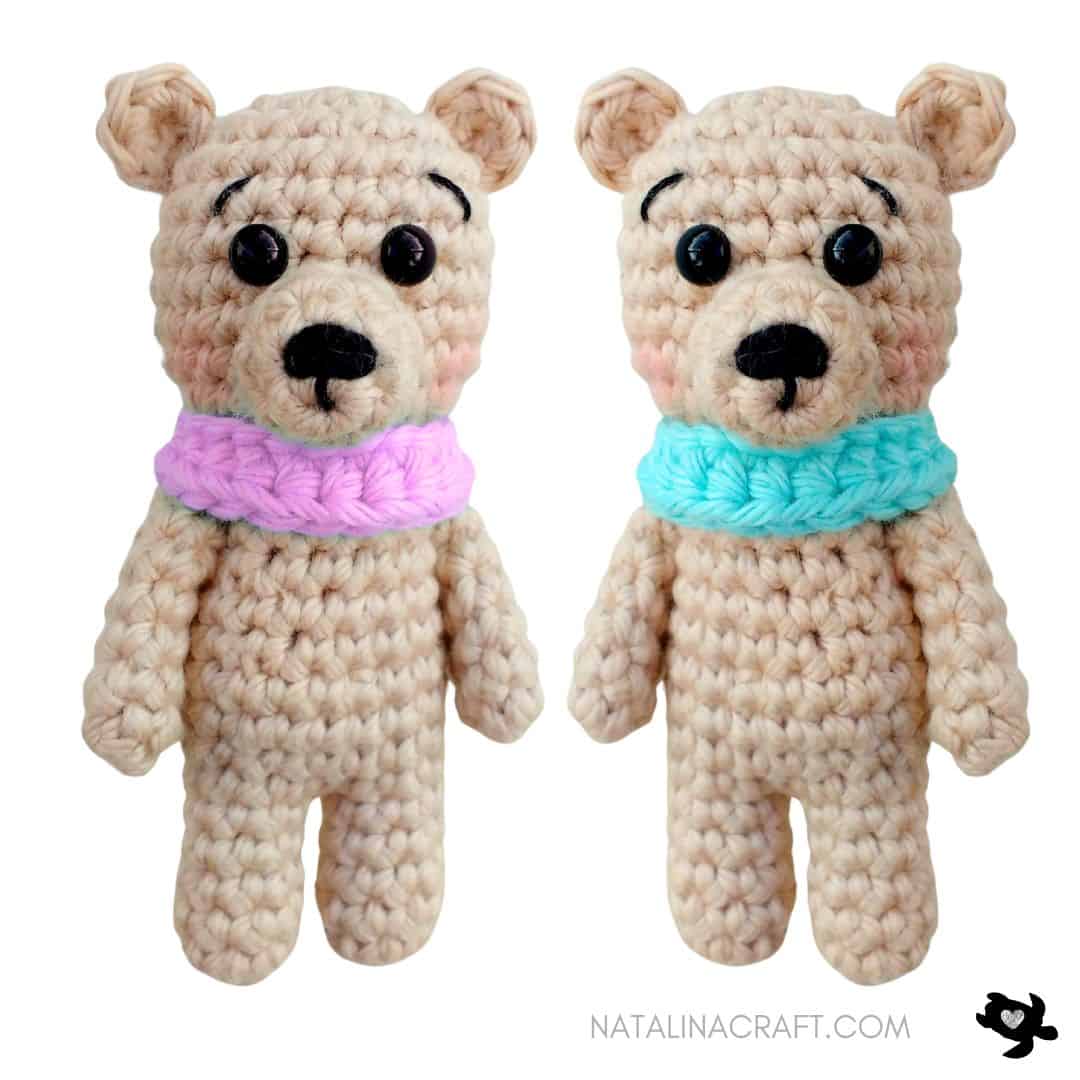
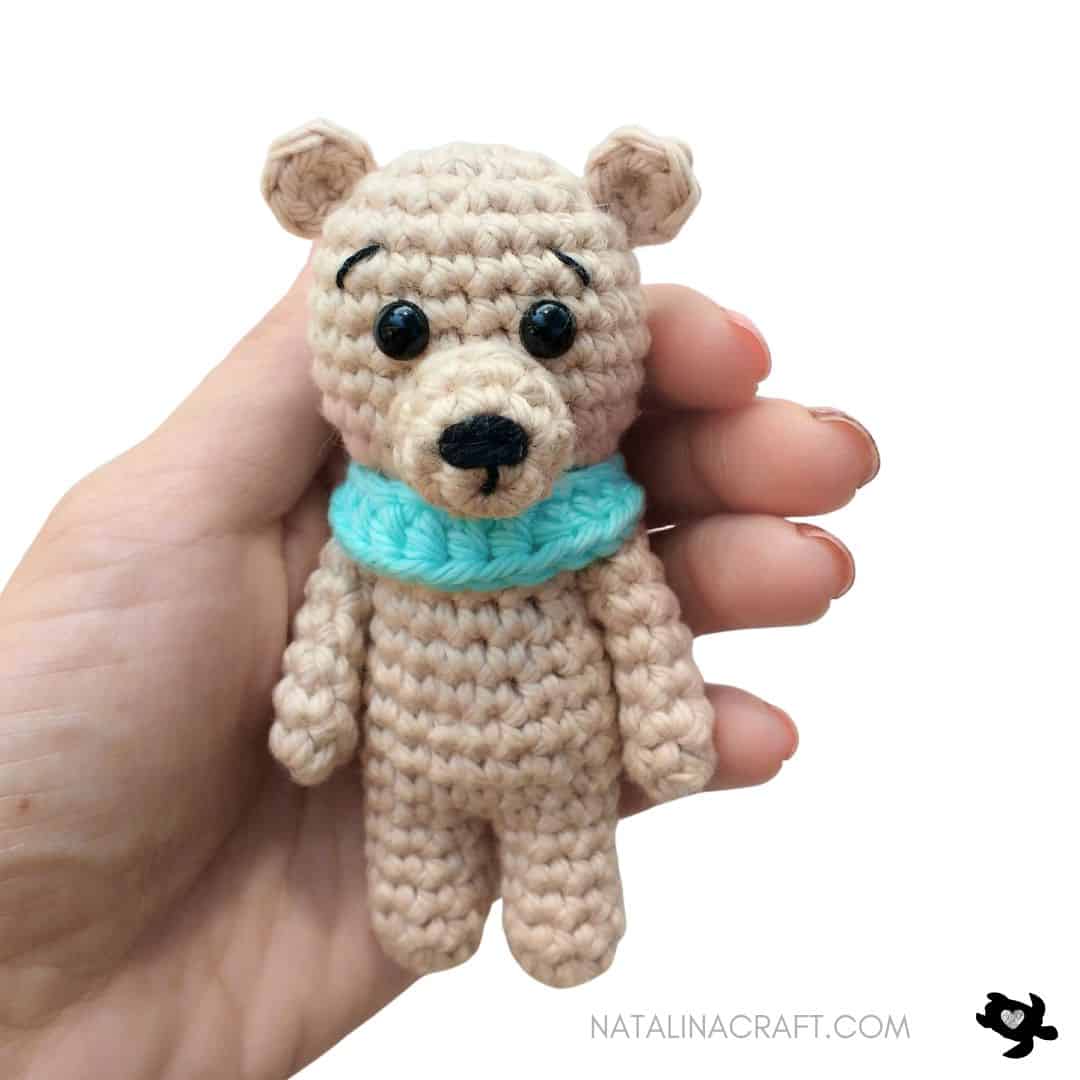
This adorable tiny crochet bear is perfect as a small toy, gift, or keychain companion. Quick to make and full of charm, it’s a great project for using up small amounts of yarn. My son absolutely loves this little bear — so I hope you’ll enjoy making it just as much!
Don’t forget to join my Facebook group HERE, you can ask your questions, and share your finished projects. I will regularly ask you what pattern you would like to see next (or you can even suggest something even if I am not asking!).
Tiny Bear – Free Crochet Pattern
Start Here:
- Please read the whole pattern properly before starting.
- The pattern is written using US terms.
Finished Size
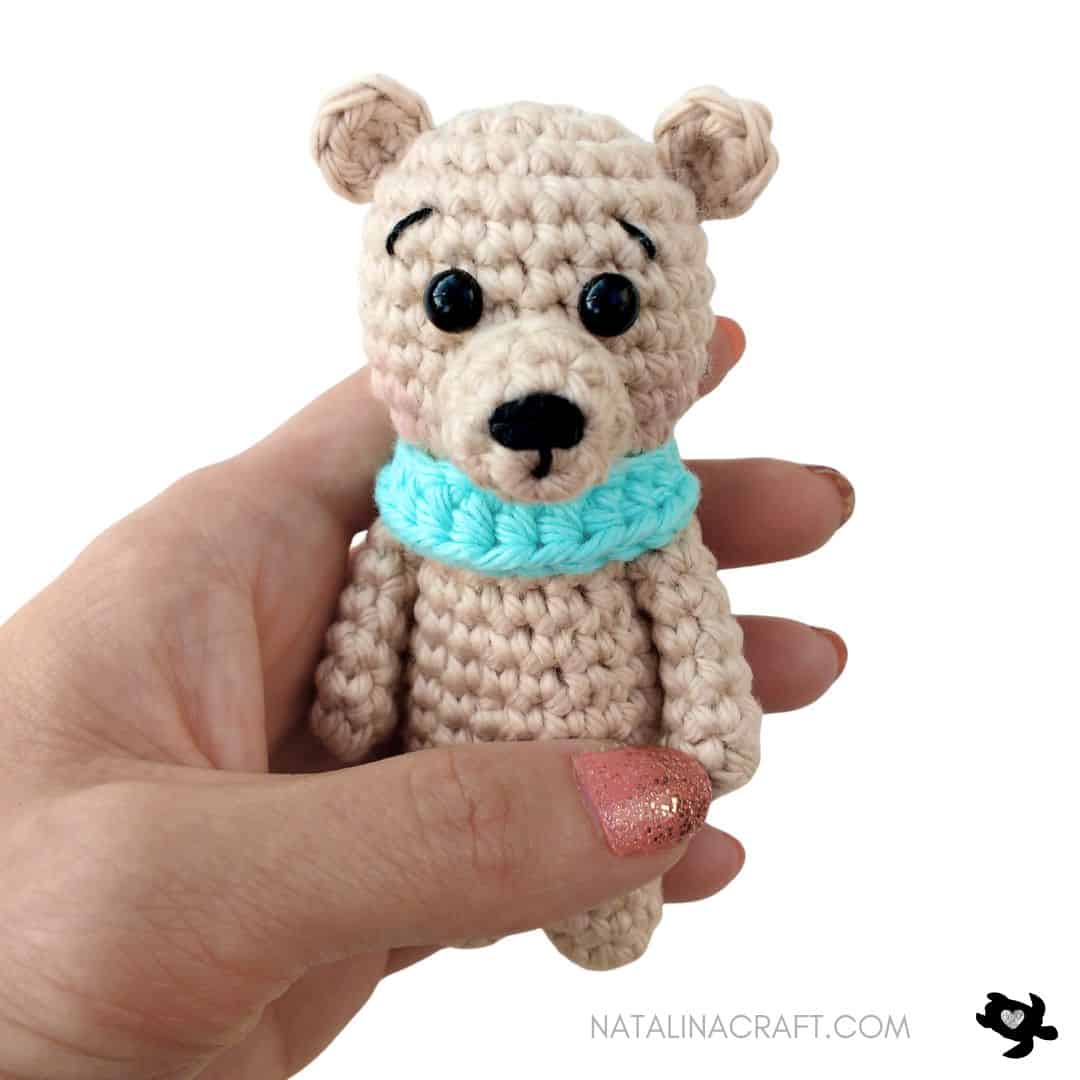
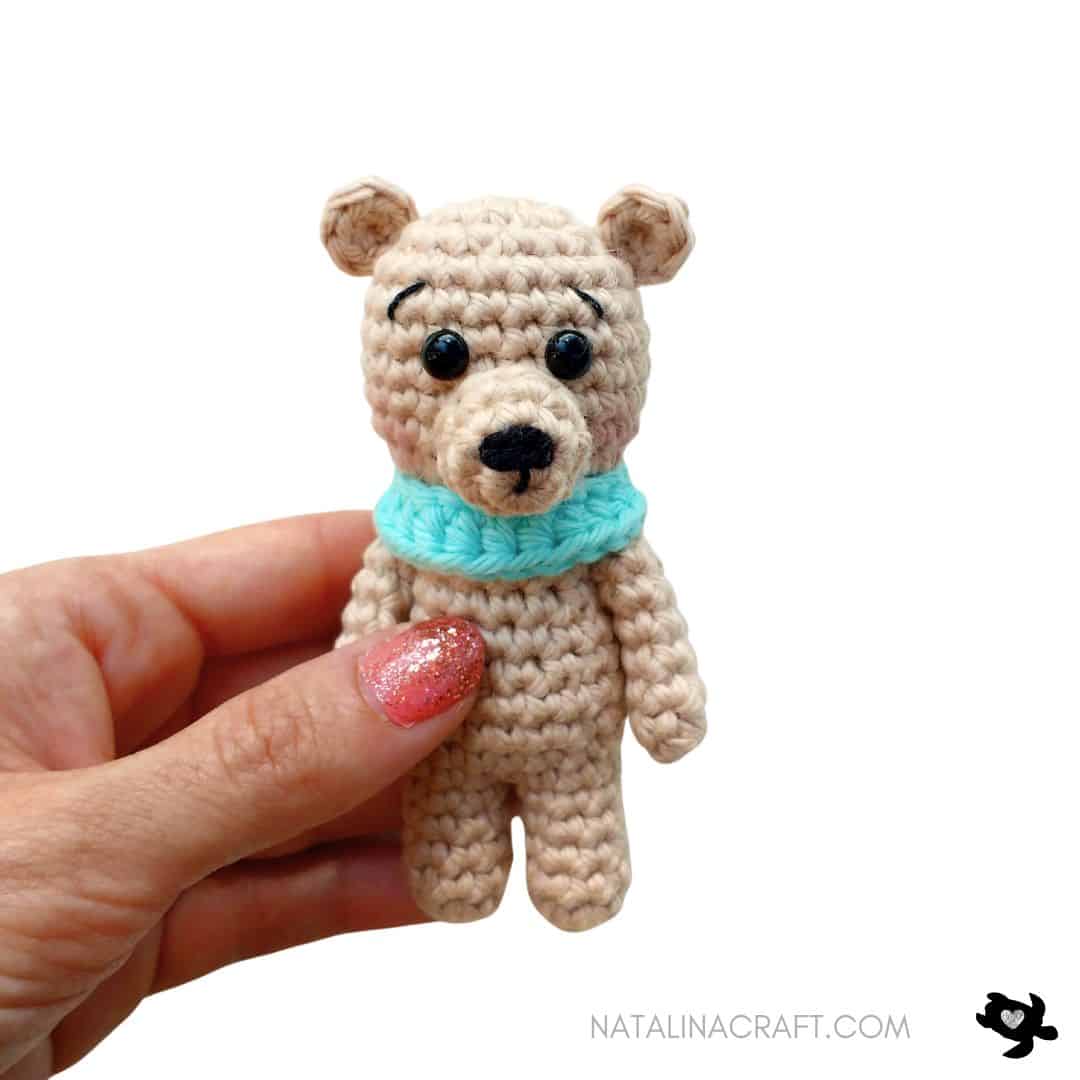
Approx. 3–4 inches (8–10 cm) tall, depending on yarn and tension.
Material:
- Worsted yarn in light brown and blue
- 3.25 mm (US D) crochet hook
- Small amount of black thread (nose & eyebrows)
- 2 black safety eyes (6 mm)
- Poly-Fil Fiberfill stuffing
- Stitch markers
- Tapestry needle
Abbreviations:
- chain (ch)
- magic ring (mr)
- single crochet (sc)
- increase (inc)
- invisible decrease (dec)
- slip stitch (sl st)
- half double crochet (hdc)
- double crochet (dc)
How to crochet a tiny bear?
Legs & Body (worked in one piece)
- Work in continuous rounds. Do not turn unless stated. Use a stitch marker if needed.
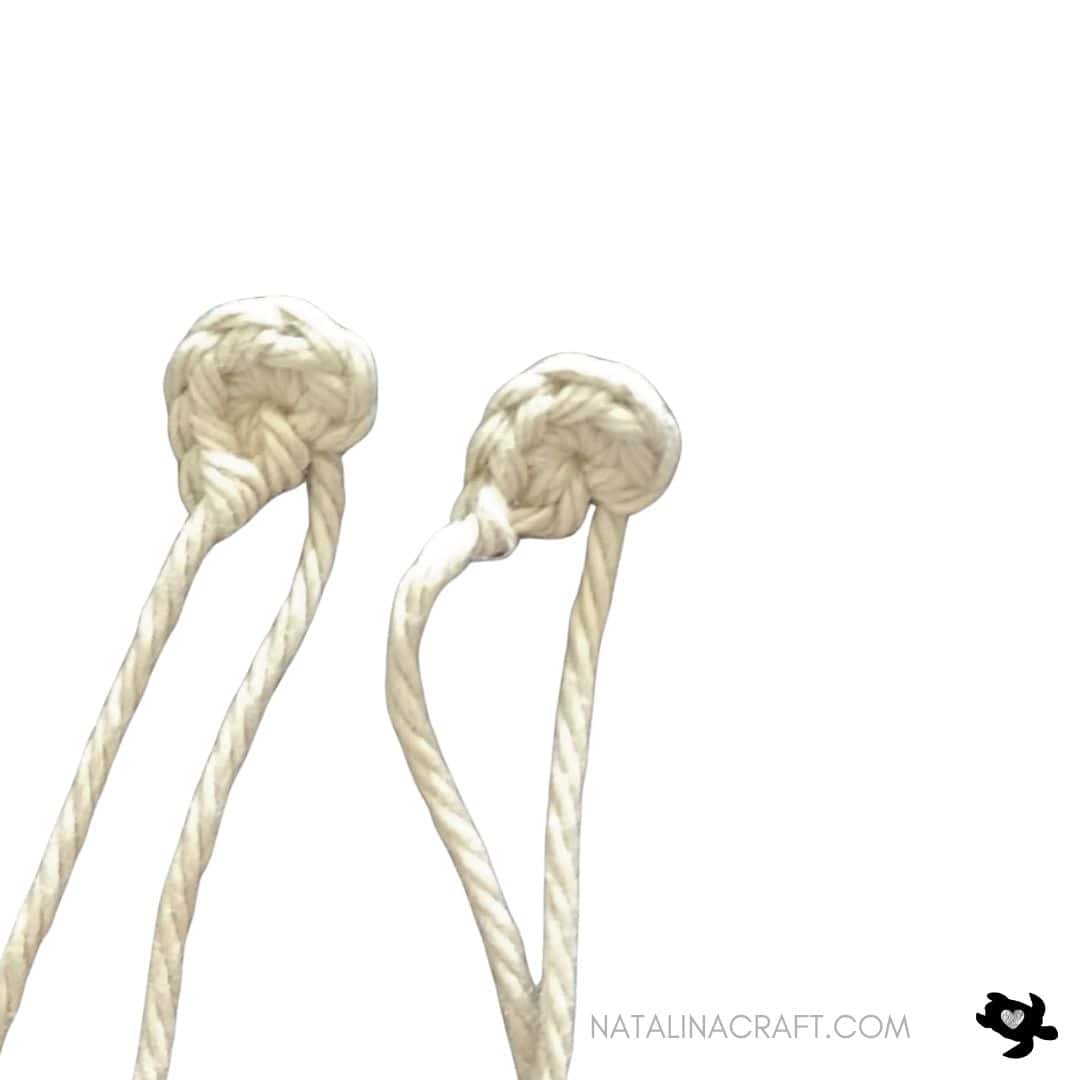
Leg 1
With brown yarn:
- Round 1: 6 sc in a magic ring. (6)
- Round 2: [2 sc in next st, 1 inc] x2. (8)
- Rounds 3 to 6: [1 sc in all st]. (8)
Fasten off.
Leg 2
Make as for Leg 1, but do not fasten off after Round 6.
Join the Legs
Place both legs side by side, facing the same direction.
- Round 7:
Continue from Leg 2: - 1 sc in next 3 sts of Leg 2,
- 1 sc in all 8 sts of Leg 1,
- 1 sc in remaining 5 sts of Leg 2. (16)
- Round 8: [1 sc in the next 7 st, 1 inc] x2. (18)
- Round 9: [1 sc in the next 8 st, 1 inc] x2. (20)
👉 Stuff the legs firmly before continuing.
Body
- Round 10: [1 sc in all st]. (20)
- Round 11: [1 sc in the next 8 st, 1 dec] x2. (18)
- Round 12: [1 sc in all st]. (18)
- Round 13: [1 sc in the next 7 st, 1 dec] x2. (16)
- Rounds 14 to 15: [1 sc in all st]. (16)
Stuff the body.
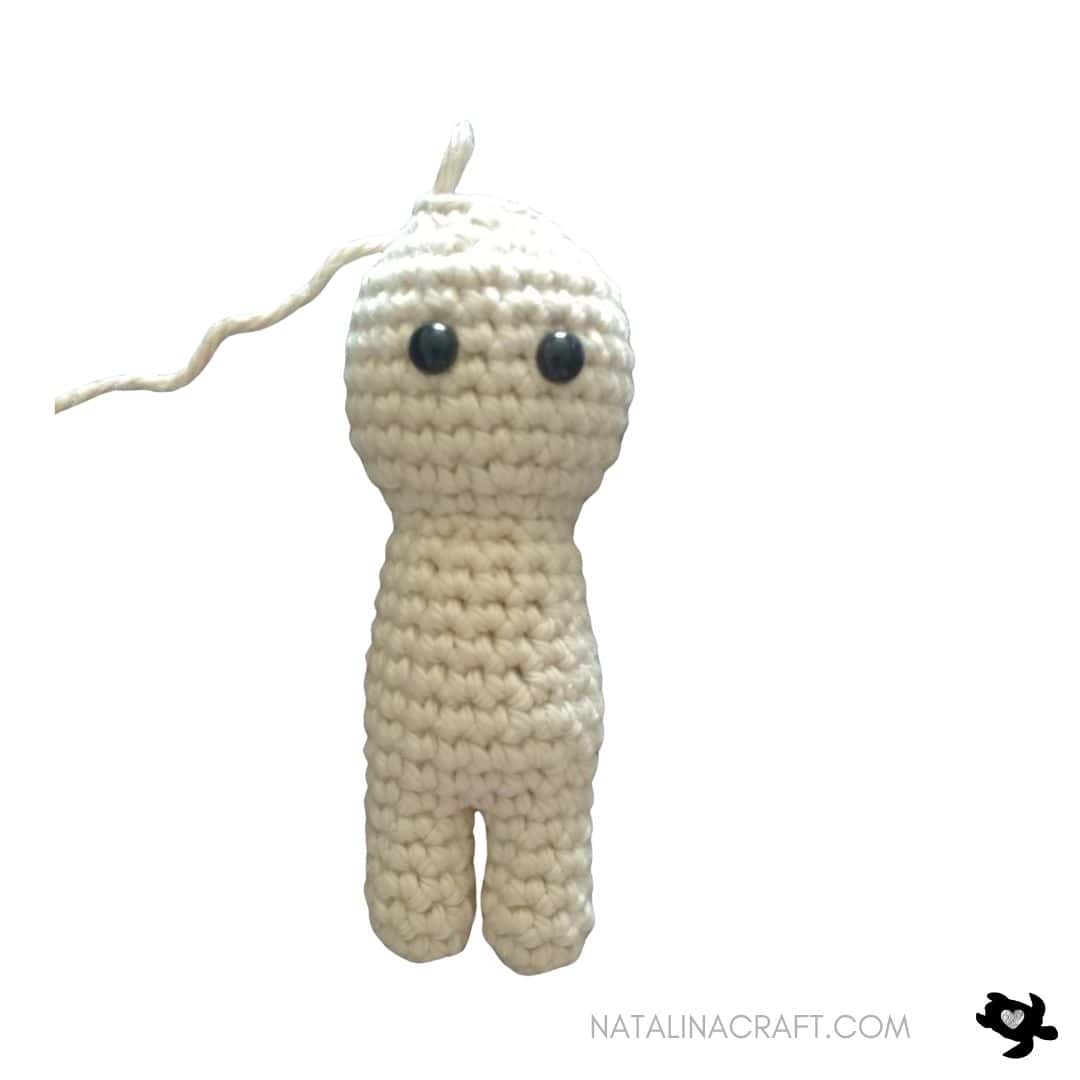
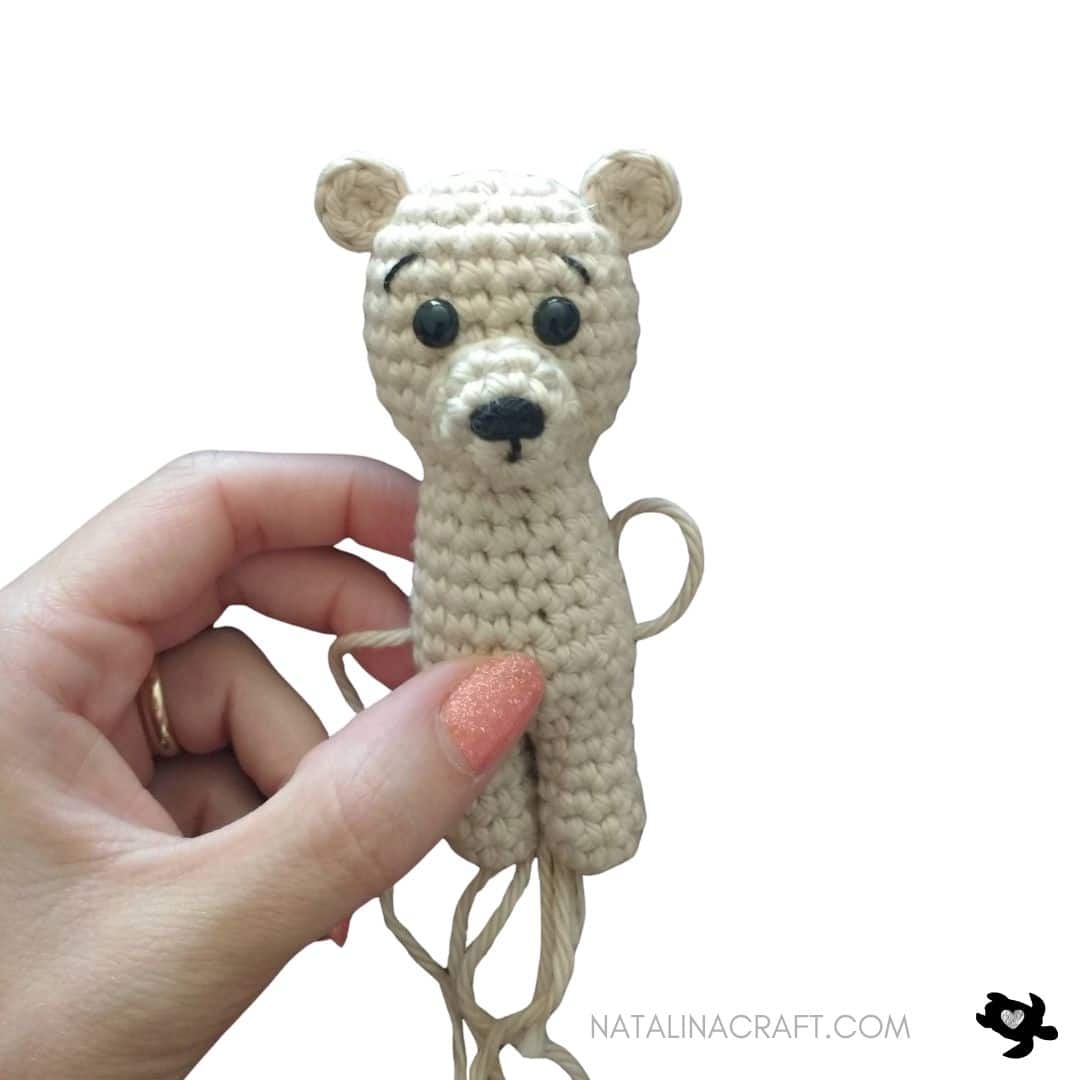
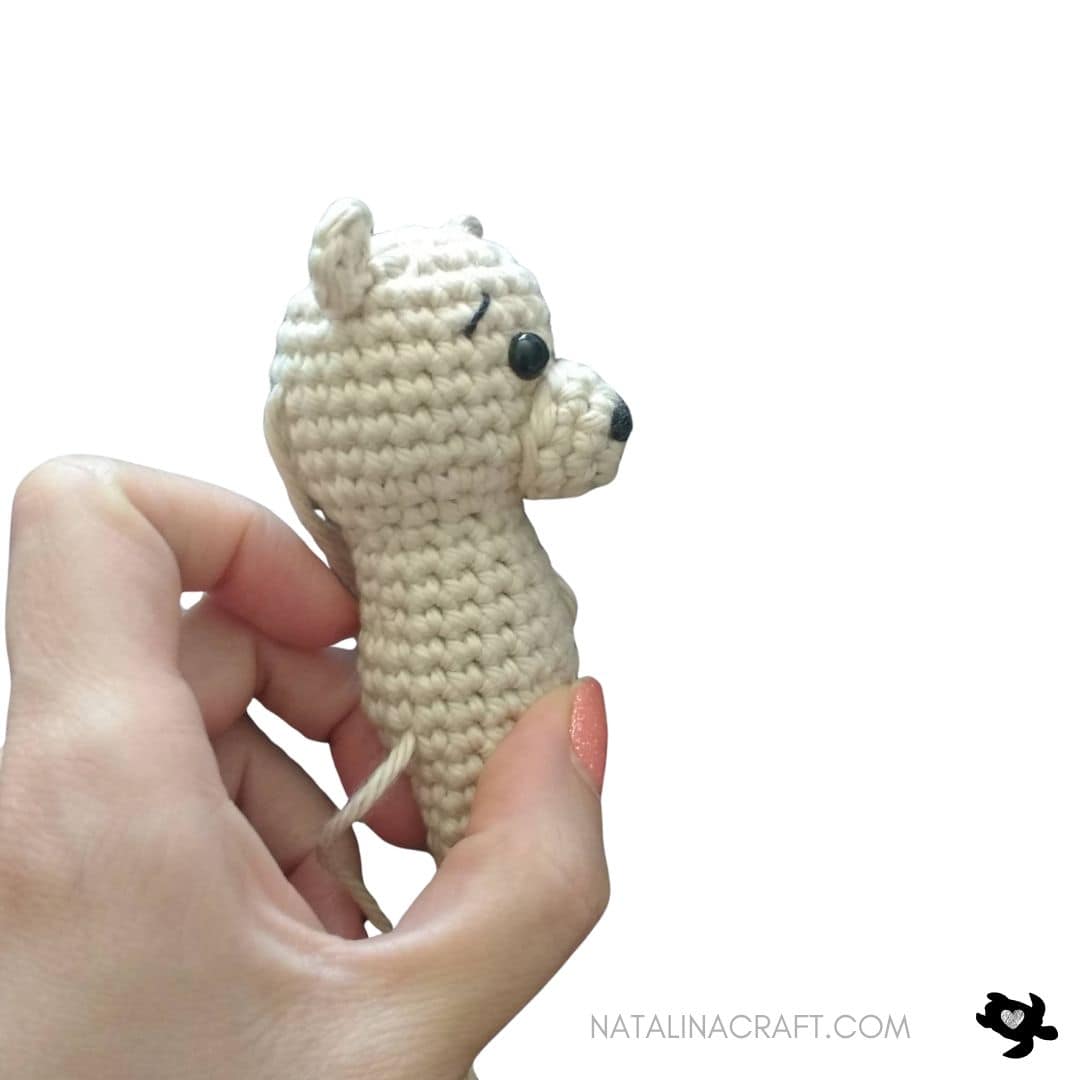
Head
- Round 16: [1 sc in the next 2 st, 1 dec] x4. (12)
- Round 17: [1 sc in the next st, 1 inc] x6. (18)
- Round 18: [1 sc in the next 2 st, 1 inc] x6. (24)
- Rounds 19 to 24: [1 sc in all st]. (24)
Place safety eyes between Rounds 20–21, spaced by 2 sts.
- Round 25: [1 sc in the next 2 st, 1 dec] x6. (18)
- Round 26: [1 sc in the next st, 1 dec] x6. (12)
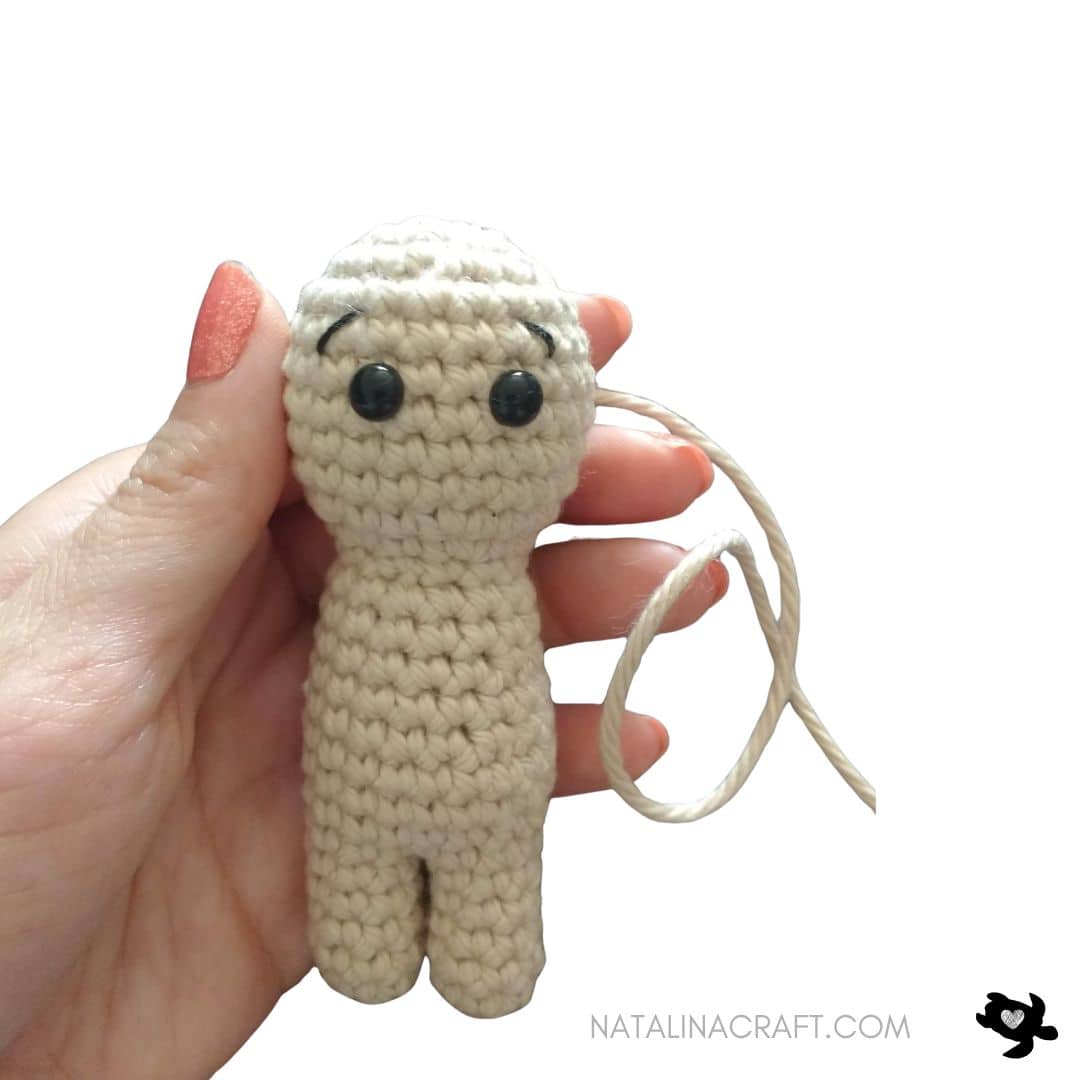
Stuff the head firmly.
👉 Embroider eyebrows now, above the eyes, over Round 22.
- Round 27: [6 dec]. (6)
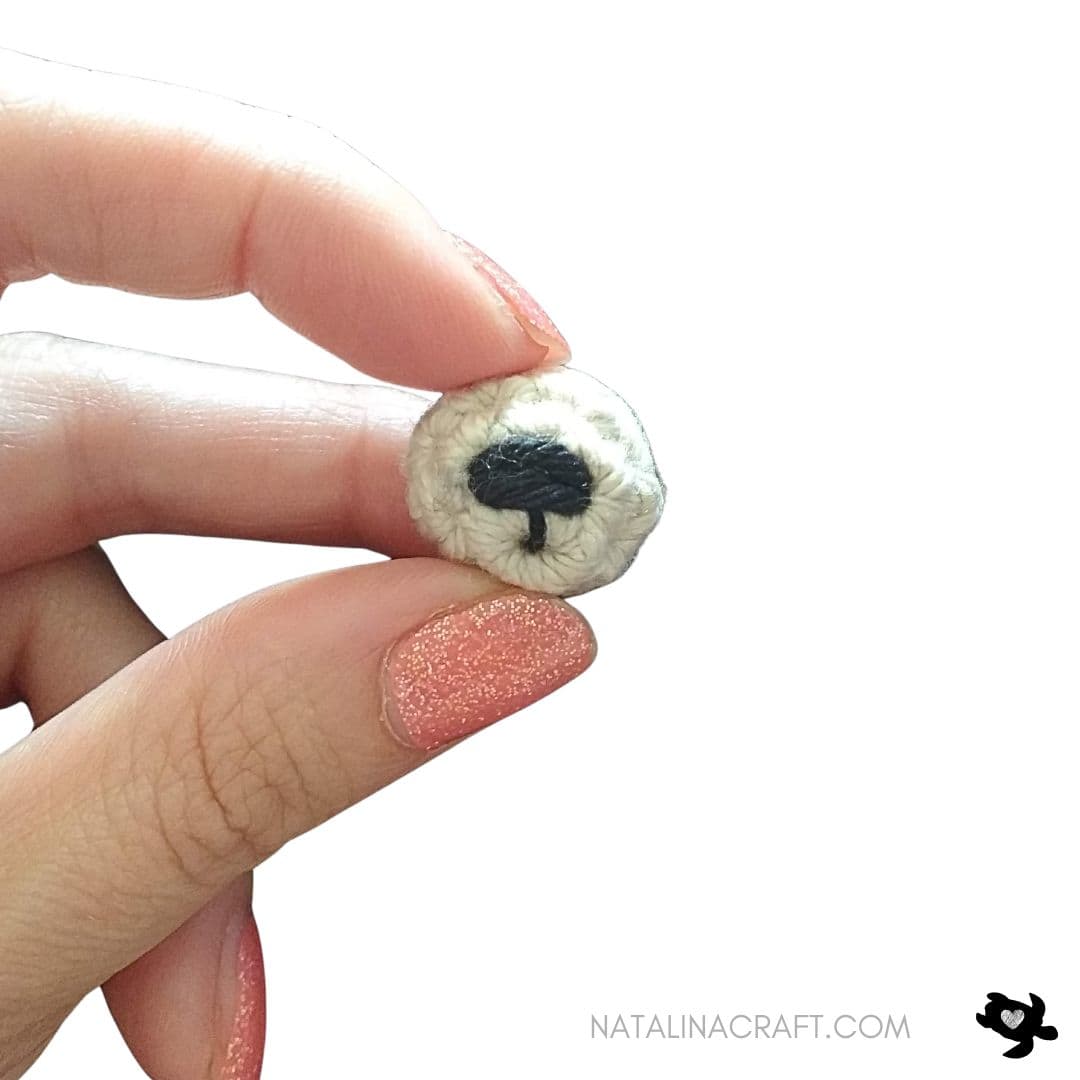
Muzzle
- Worked in rounds, do not turn unless specified.
With brown yarn:
- Round 1: 4 sc in a magic ring. (4)
- Round 2: [4 inc]. (8)
- Round 3: [1 sc in all st]. (8)
- sl st in the next st
Sl st in next st. Fasten off, leaving a long tail.
Embroider the nose and mouth with black yarn.
Sew the muzzle just below the eyes.
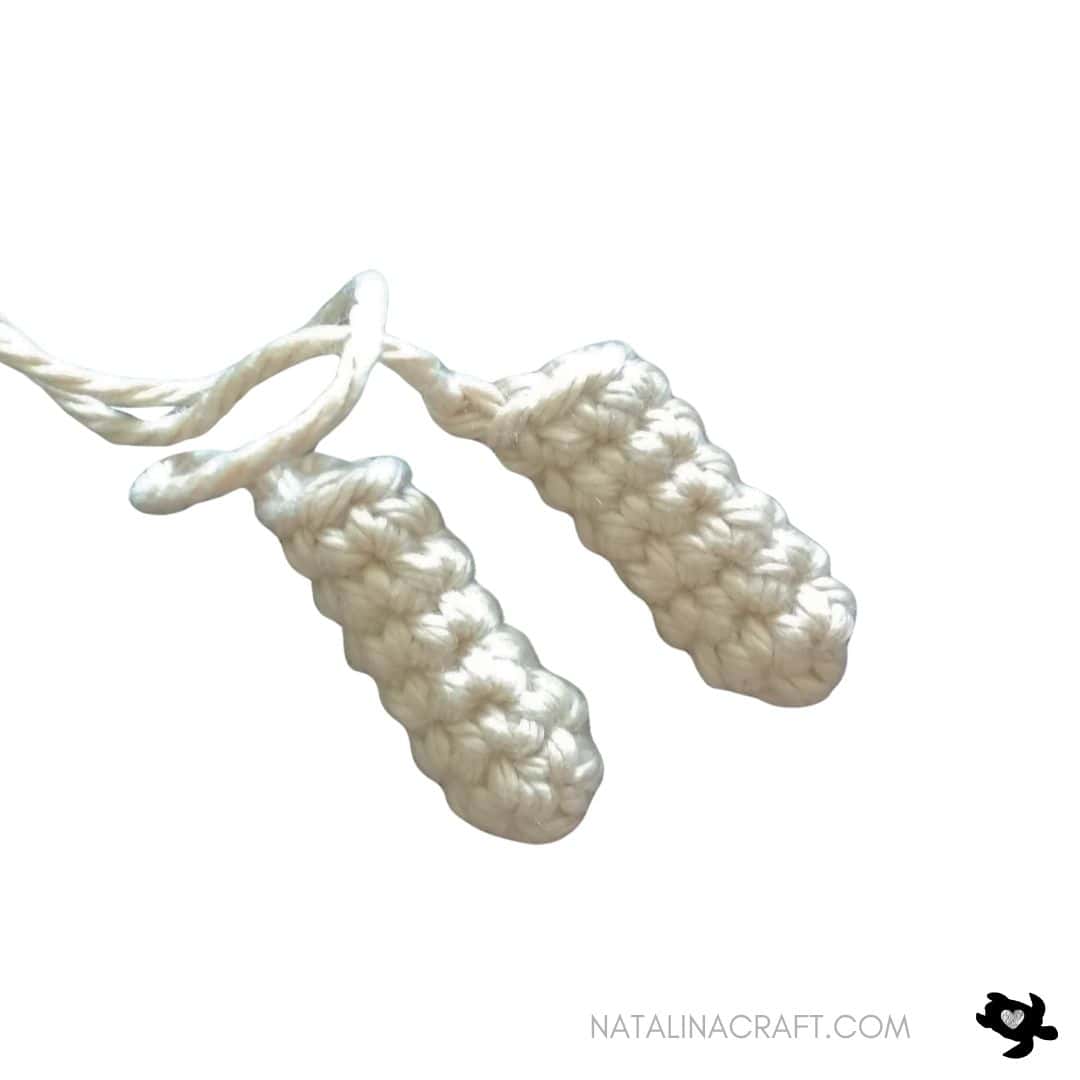
Arms (make 2)
- Worked in rounds, do not turn unless specified.
With brown yarn:
- Round 1: 6 sc in a magic ring. (6)
- Rounds 2 to 7: [1 sc in all st]. (6)
Flatten the opening, sew it closed, and fasten off.
Sew arms to the body, with the top of the arms aligned around Round 15.
Tail
- Worked in rounds.
With brown yarn:
- Round 1: 6 sc in a magic ring. (6)
Fasten off, leaving a tail for sewing.
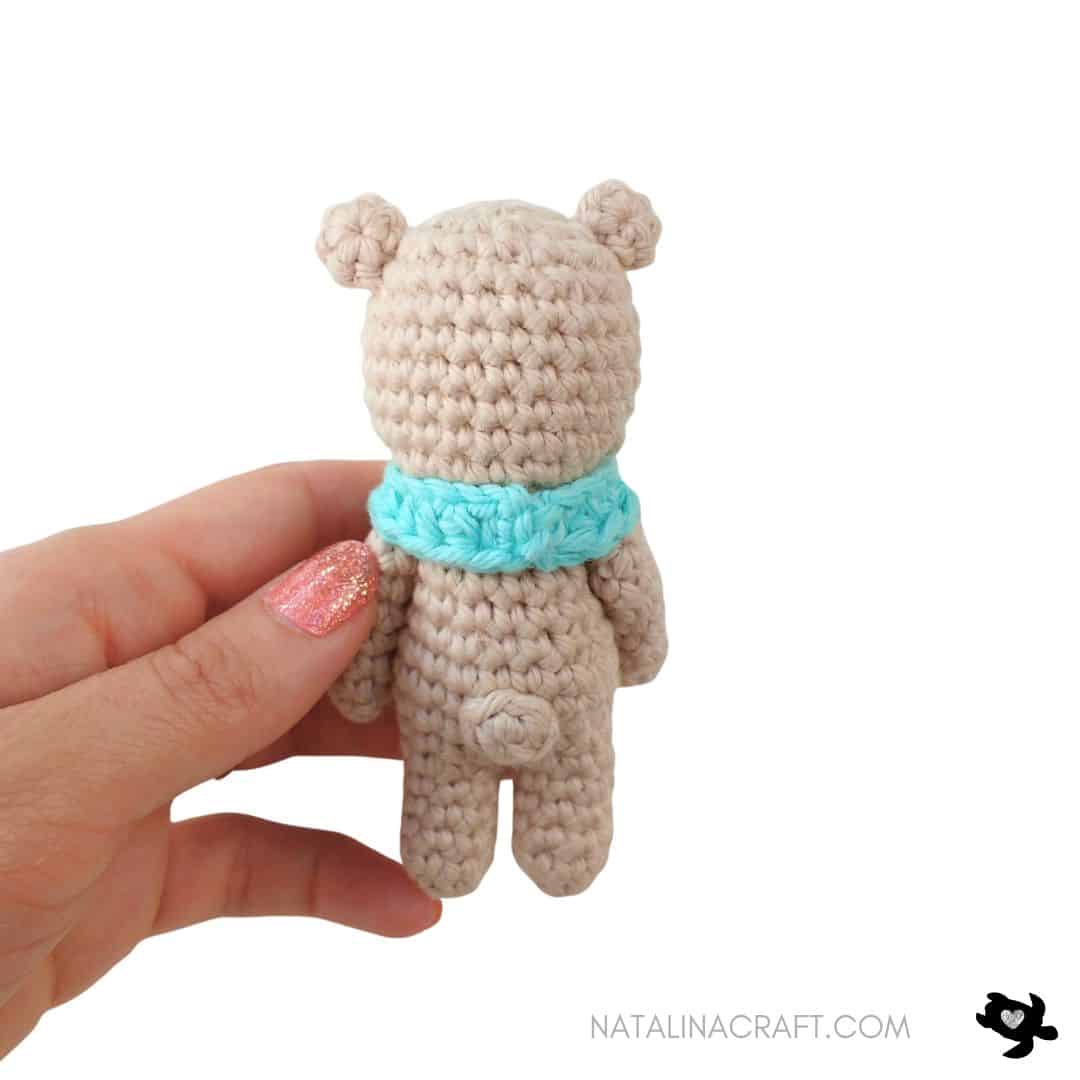
Sew the tail to the back of the body between Rounds 9–10.
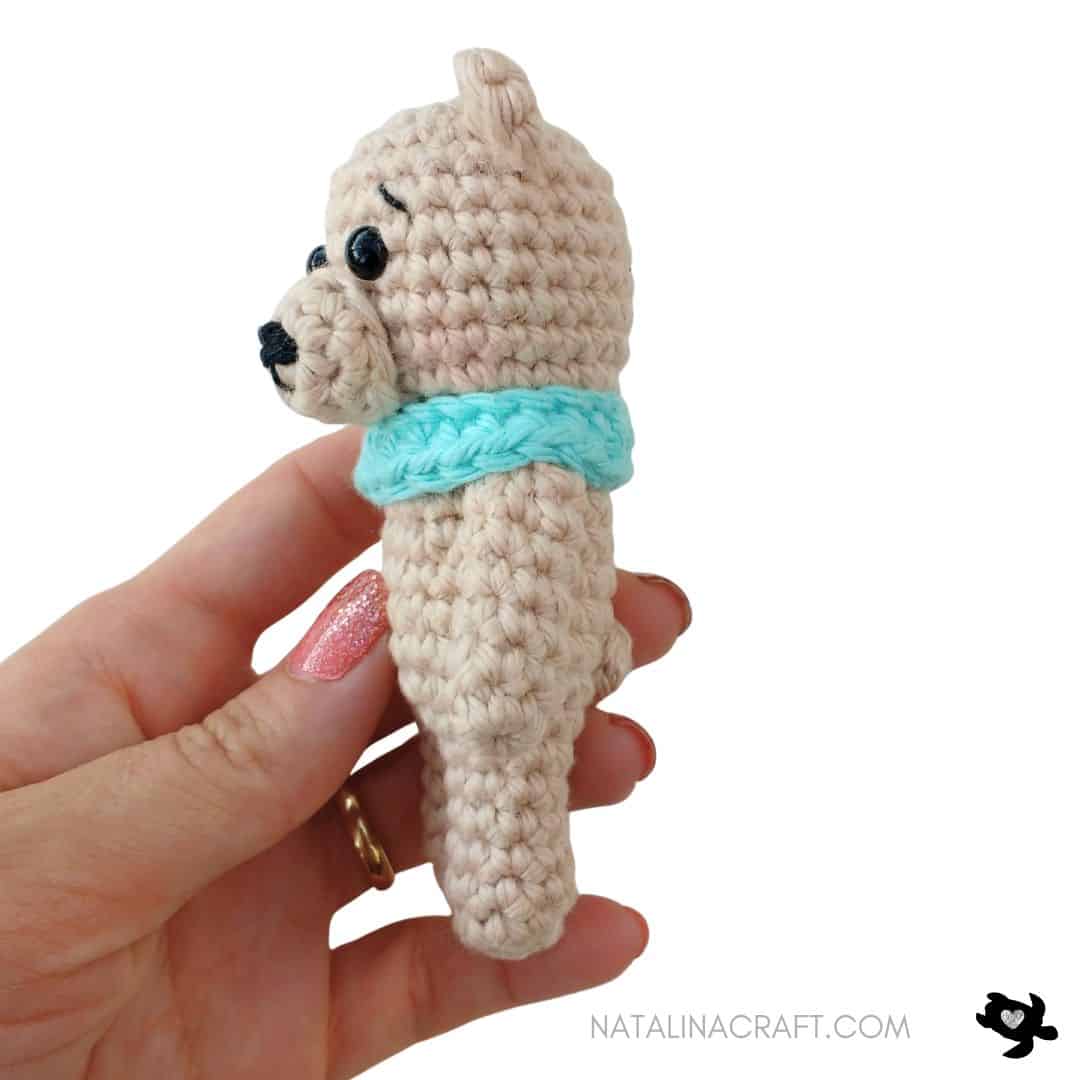
Scarf
With blue yarn:
- Row 1: ch 22.
- Row 2: starting in the 3rd ch from the hook: 1 hdc in the next 20 ch. (20)
Fasten off, leaving a long tail.
Wrap the scarf around the bear’s neck and sew the ends together.
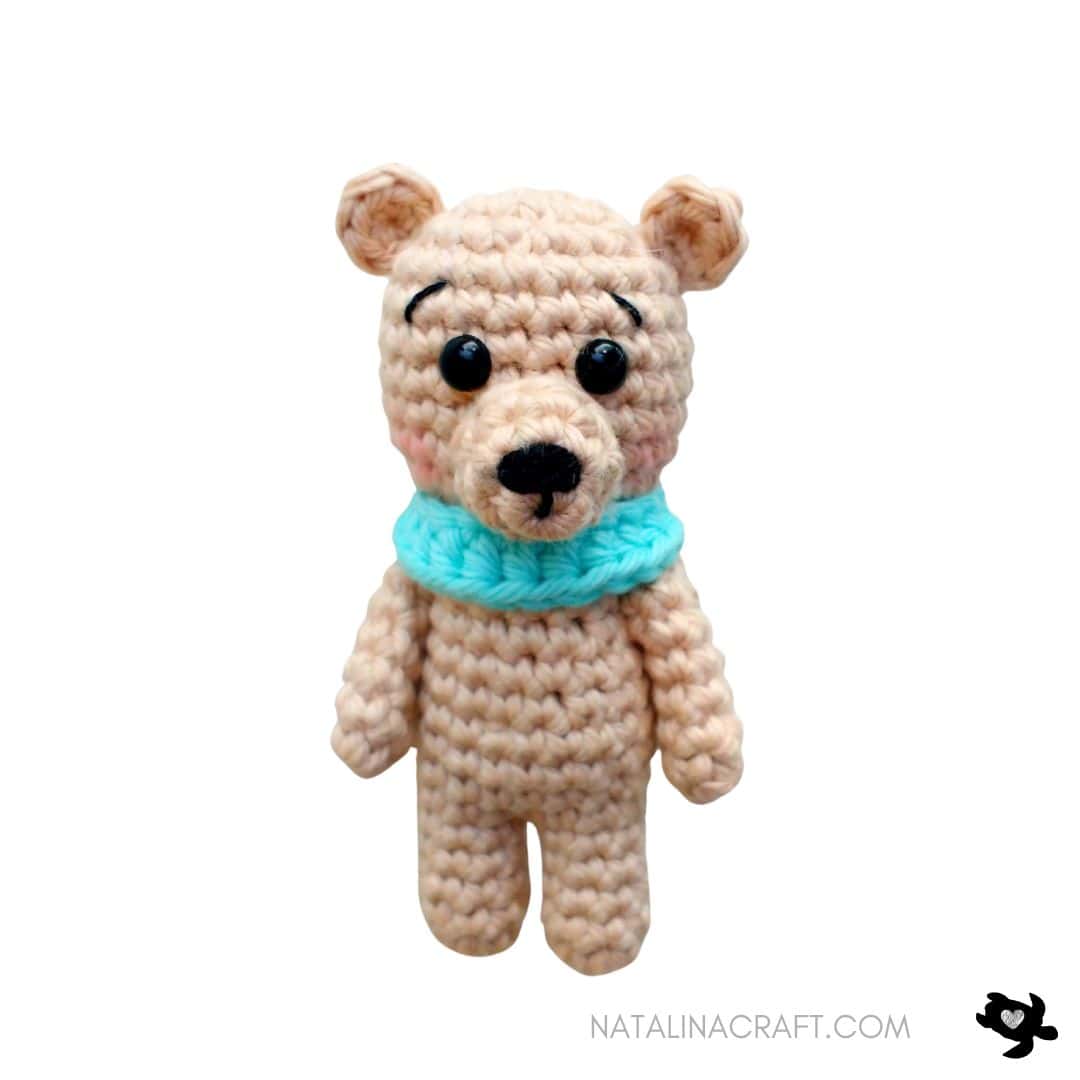
🎉 Finished!
Your Tiny Crochet Bear is now complete!
You can add a little blush to the cheeks if you like.
If you share your creation, don’t forget to tag @natalinacraft and use #natalinacraft — I absolutely love seeing your work 💛
Copyright Notice:
All rights reserved. The pattern and photographs presented in this document are the sole property of Natalina Craft and are protected under copyright law. This pattern is provided for personal use only. Any unauthorized reproduction, in whole or in part, or distribution of this pattern or its contents is strictly prohibited.
You are permitted to sell finished items created from this pattern in limited quantities. If you choose to sell your finished products online, it would be greatly appreciated if you include a statement attributing the pattern to Natalina Craft and provide a link back to the original post. Thank you for your understanding and adherence to these guidelines.
Tiny Bear – Free Crochet Pattern
Crochet Tiny Bear - Amigurumi
Instructions
Tiny Bear - Free Crochet Pattern
Start Here:
- Please read the whole pattern properly before starting.
- The pattern is written using US terms.
Finished Size
Approx. 3–4 inches (8–10 cm) tall, depending on yarn and tension.
Material:
- Worsted yarn in light brown and blue
- 3.25 mm (US D) crochet hook
- Small amount of black thread (nose & eyebrows)
- 2 black safety eyes (6 mm)
- Poly-Fil Fiberfill stuffing
- Stitch markers
- Tapestry needle
Abbreviations:
- chain (ch)
- magic ring (mr)
- single crochet (sc)
- increase (inc)
- invisible decrease (dec)
- slip stitch (sl st)
- half double crochet (hdc)
- double crochet (dc)
How to crochet a tiny bear?
Legs & Body (worked in one piece)
- Work in continuous rounds. Do not turn unless stated. Use a stitch marker if needed.
Leg 1
With brown yarn:
- Round 1: 6 sc in a magic ring. (6)
- Round 2: [2 sc in next st, 1 inc] x2. (8)
- Rounds 3 to 6: [1 sc in all st]. (8)
Fasten off.
Leg 2
Make as for Leg 1, but do not fasten off after Round 6.
Join the Legs
Place both legs side by side, facing the same direction.
- Round 7:Continue from Leg 2:
- 1 sc in next 3 sts of Leg 2,
- 1 sc in all 8 sts of Leg 1,
- 1 sc in remaining 5 sts of Leg 2. (16)
- Round 8: [1 sc in the next 7 st, 1 inc] x2. (18)
- Round 9: [1 sc in the next 8 st, 1 inc] x2. (20)
👉 Stuff the legs firmly before continuing.
Body
- Round 10: [1 sc in all st]. (20)
- Round 11: [1 sc in the next 8 st, 1 dec] x2. (18)
- Round 12: [1 sc in all st]. (18)
- Round 13: [1 sc in the next 7 st, 1 dec] x2. (16)
- Rounds 14 to 15: [1 sc in all st]. (16)
Stuff the body.
Head
- Round 16: [1 sc in the next 2 st, 1 dec] x4. (12)
- Round 17: [1 sc in the next st, 1 inc] x6. (18)
- Round 18: [1 sc in the next 2 st, 1 inc] x6. (24)
- Rounds 19 to 24: [1 sc in all st]. (24)
Place safety eyes between Rounds 20–21, spaced by 2 sts.
- Round 25: [1 sc in the next 2 st, 1 dec] x6. (18)
- Round 26: [1 sc in the next st, 1 dec] x6. (12)
Stuff the head firmly.
👉 Embroider eyebrows now, above the eyes, over Round 22.
- Round 27: [6 dec]. (6)
Fasten off and close the opening.
Ears (make 2)
- Work in rounds; do not turn unless specified. If needed, use a stitch marker.
With brown yarn:
- Round 1: 6 sc in a magic ring. (6)
Fasten off, leaving a long tail.
Sew ears to the top of the head.
Muzzle
- Worked in rounds, do not turn unless specified.
With brown yarn:
- Round 1: 4 sc in a magic ring. (4)
- Round 2: [4 inc]. (8)
- Round 3: [1 sc in all st]. (8)
- sl st in the next st
Sl st in next st. Fasten off, leaving a long tail.
Embroider the nose and mouth with black yarn.Sew the muzzle just below the eyes.
Arms (make 2)
- Worked in rounds, do not turn unless specified.
With brown yarn:
- Round 1: 6 sc in a magic ring. (6)
- Rounds 2 to 7: [1 sc in all st]. (6)
Flatten the opening, sew closed, and fasten off.
Sew arms to the body, with the top of the arms aligned around Round 15.
Tail
- Worked in rounds.
With brown yarn:
- Round 1: 6 sc in a magic ring. (6)
Fasten off, leaving a tail for sewing.
Sew tail to the back of the body between Rounds 9–10.
Scarf
With blue yarn:
- Row 1: ch 22.
- Row 2: starting in the 3rd ch from the hook: 1 hdc in the next 20 ch. (20)
Fasten off, leaving a long tail.
Wrap the scarf around the bear’s neck and sew the ends together.
🎉 Finished!
Your Tiny Crochet Bear is now complete!You can add a little blush to the cheeks if you like.
If you share your creation, don’t forget to tag @natalinacraft and use #natalinacraft — I absolutely love seeing your work 💛
Copyright Notice:
All rights reserved. The pattern and photographs presented in this document are the sole property of Natalina Craft and are protected under copyright law. This pattern is provided for personal use only. Any unauthorized reproduction, in whole or in part, or distribution of this pattern or its contents is strictly prohibited.
You are permitted to sell finished items created from this pattern in limited quantities. If you choose to sell your finished products online, it would be greatly appreciated if you include a statement attributing the pattern to Natalina Craft and provide a link back to the original post. Thank you for your understanding and adherence to these guidelines.
Muy lindo y fácil.
Muchas gracias!
This is exactly the pattern I needed. Six y.o. granddaughter asked for a bear for her AG doll. Now I can surprise her! Thanks for sharing!!
You are very welcome!
Merci beaucoup de vos partages, j’ai aussi pris la coccinelle pour une amie, je vais lui monter sur porte-clefs.
Encore merci
Merci à vous!