
Looking for a quick and easy pig crochet pattern? This mini pig amigurumi is the perfect beginner-friendly project: small, adorable, and fast to make!
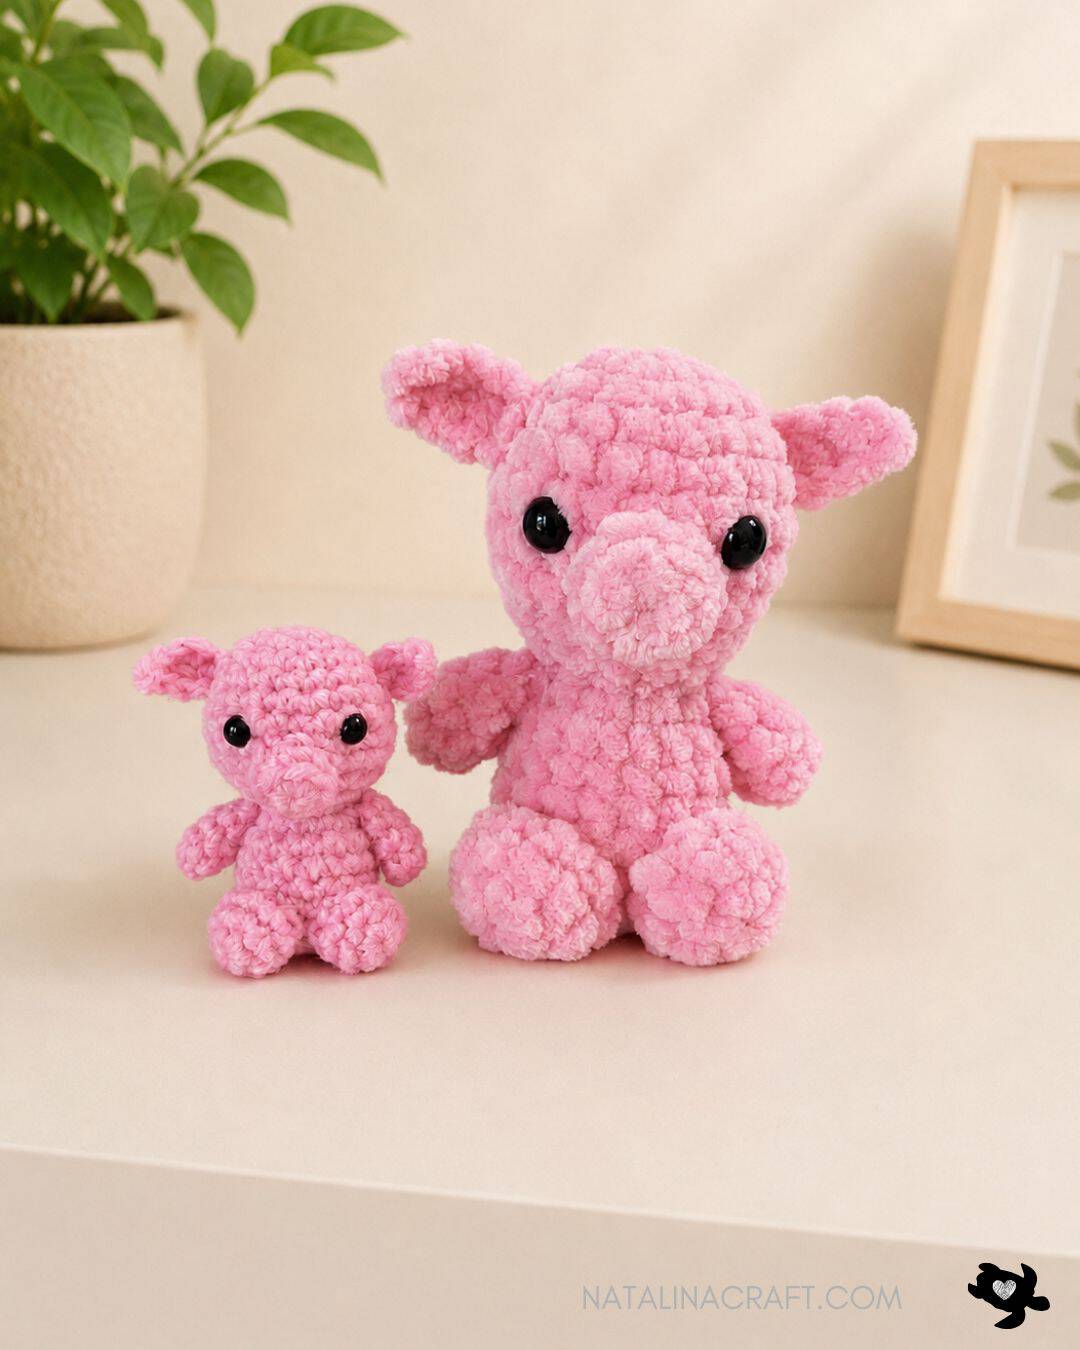
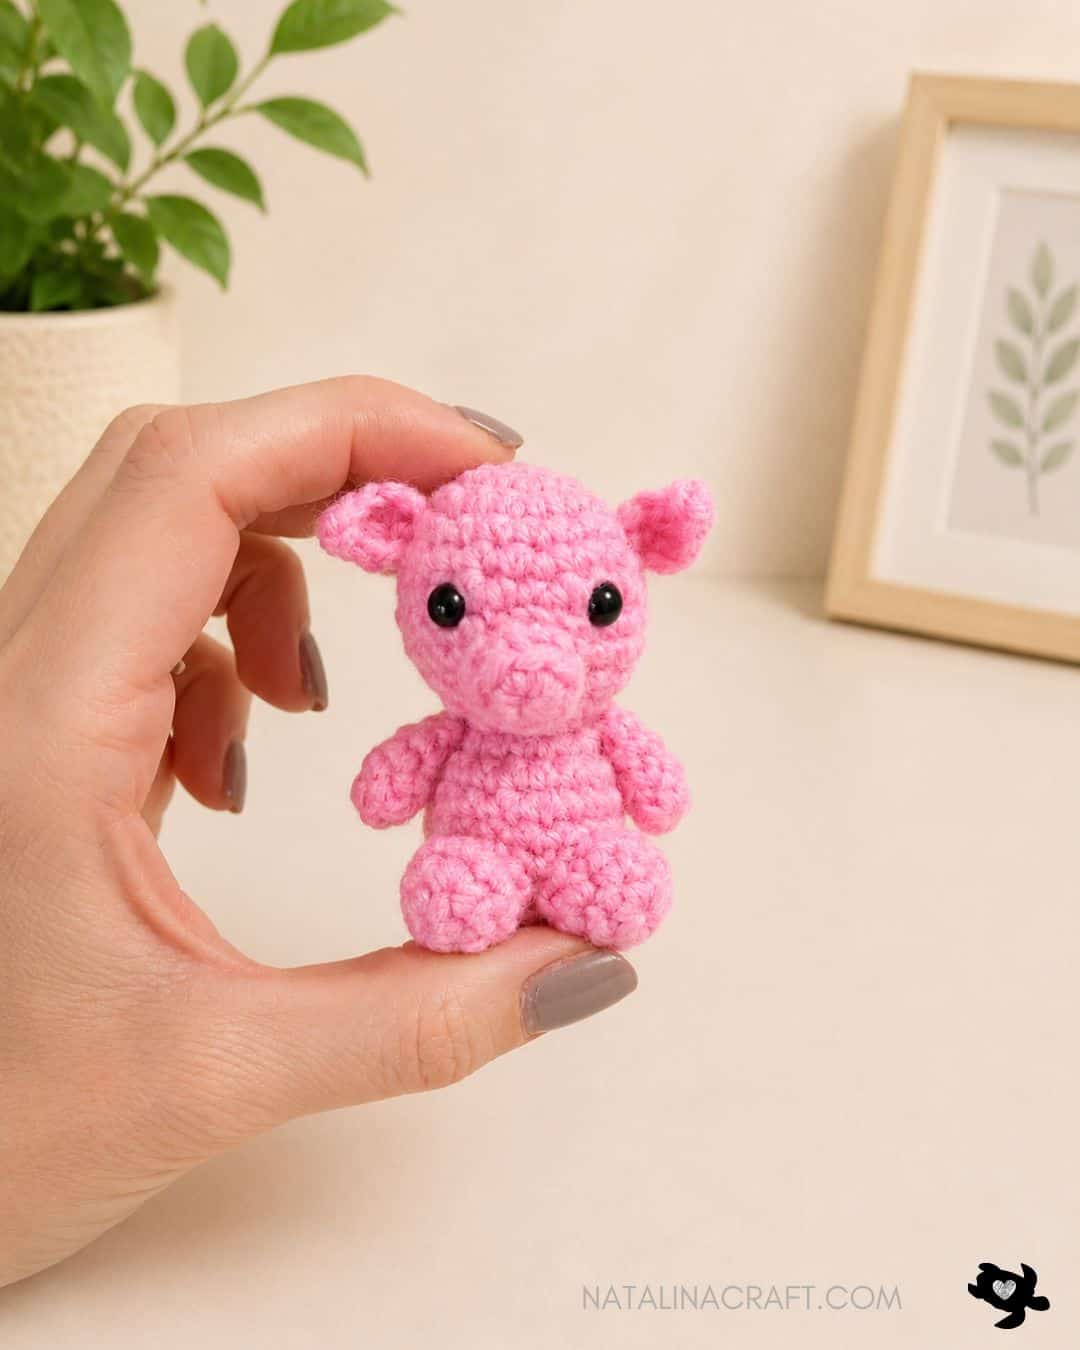
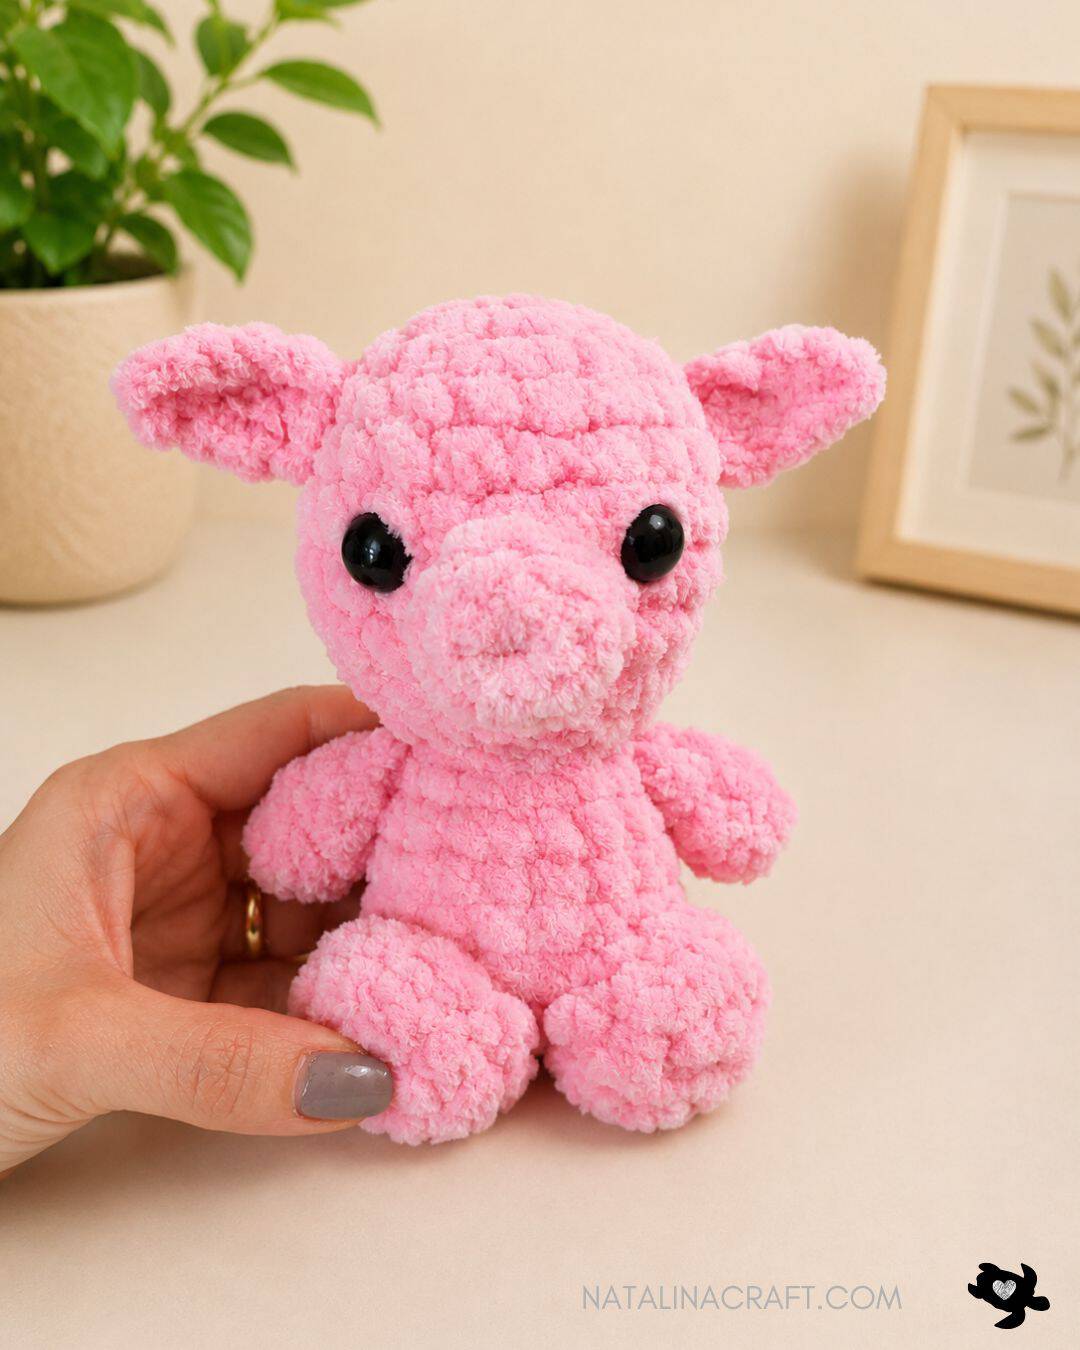
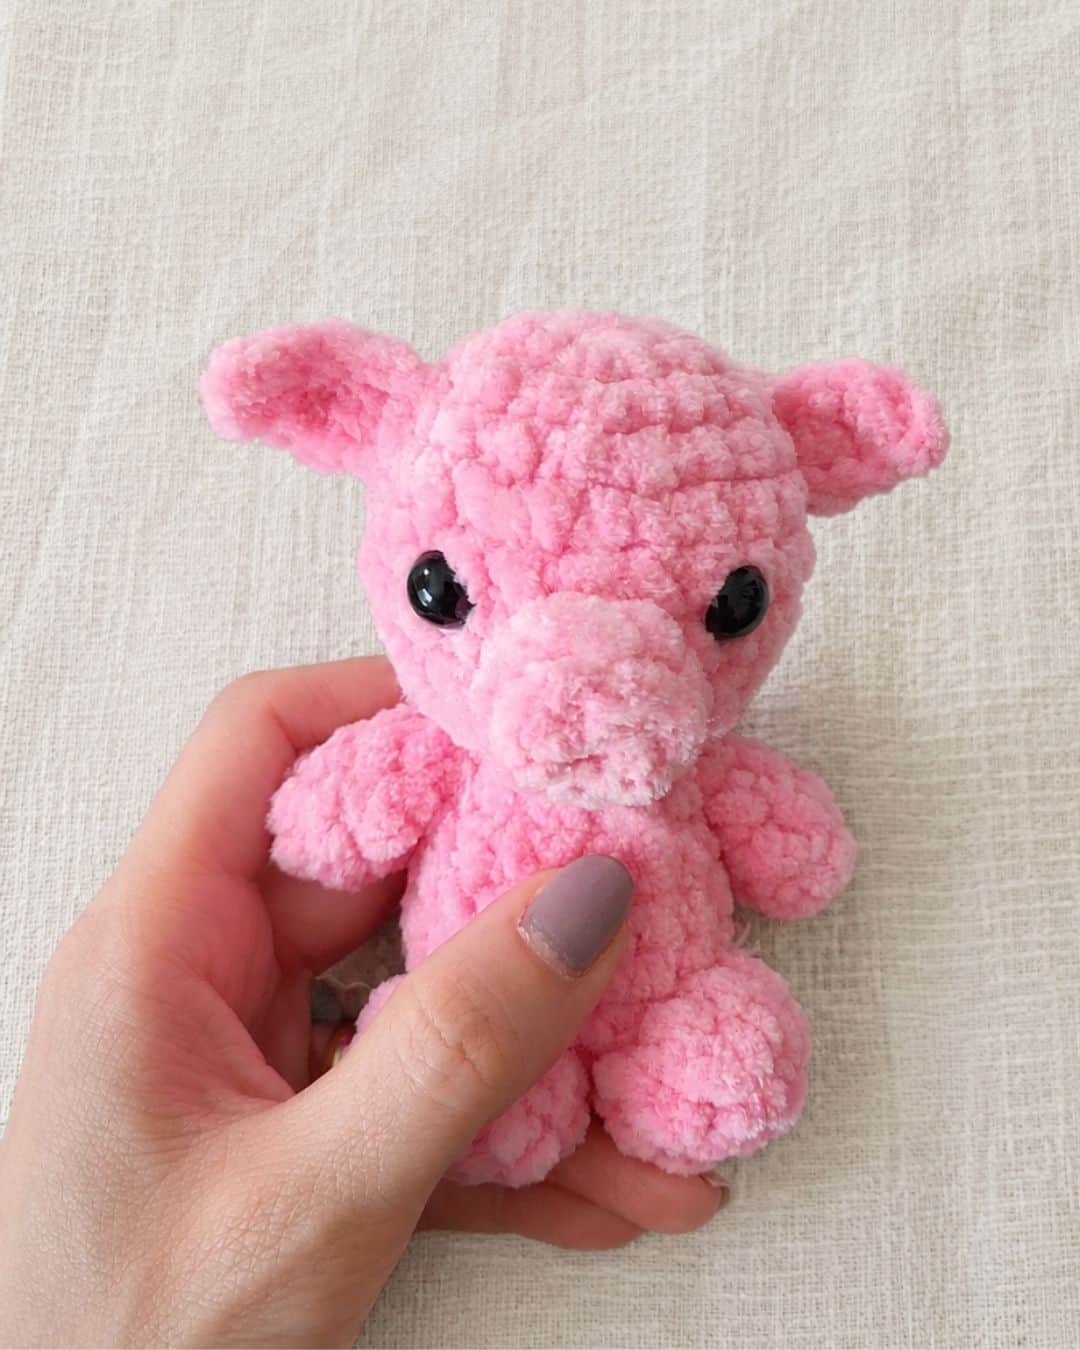
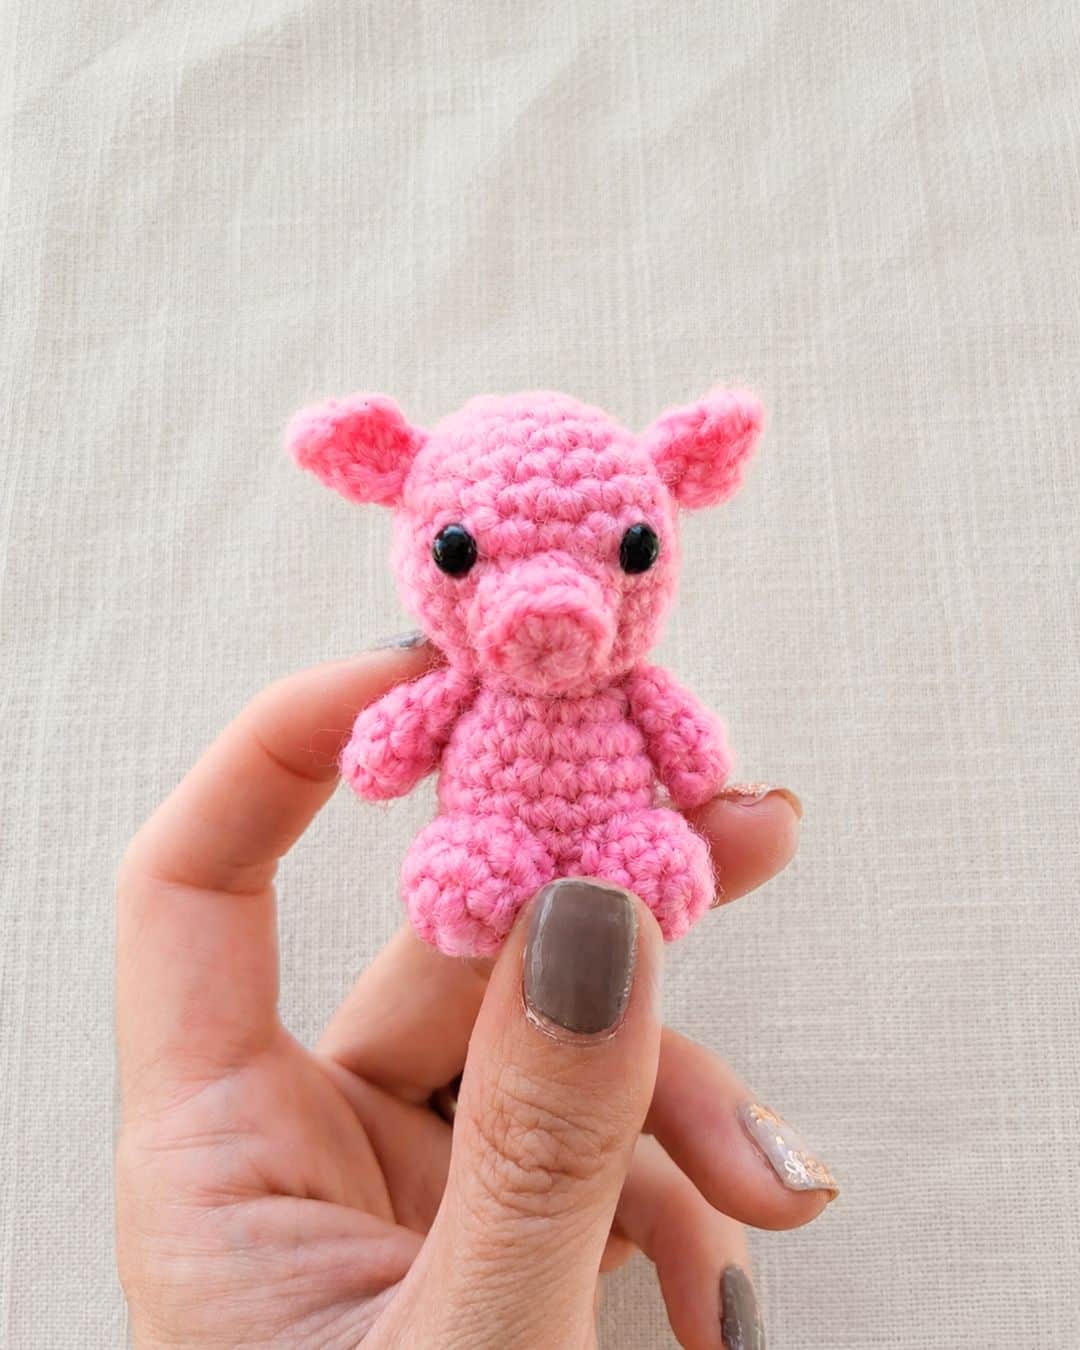
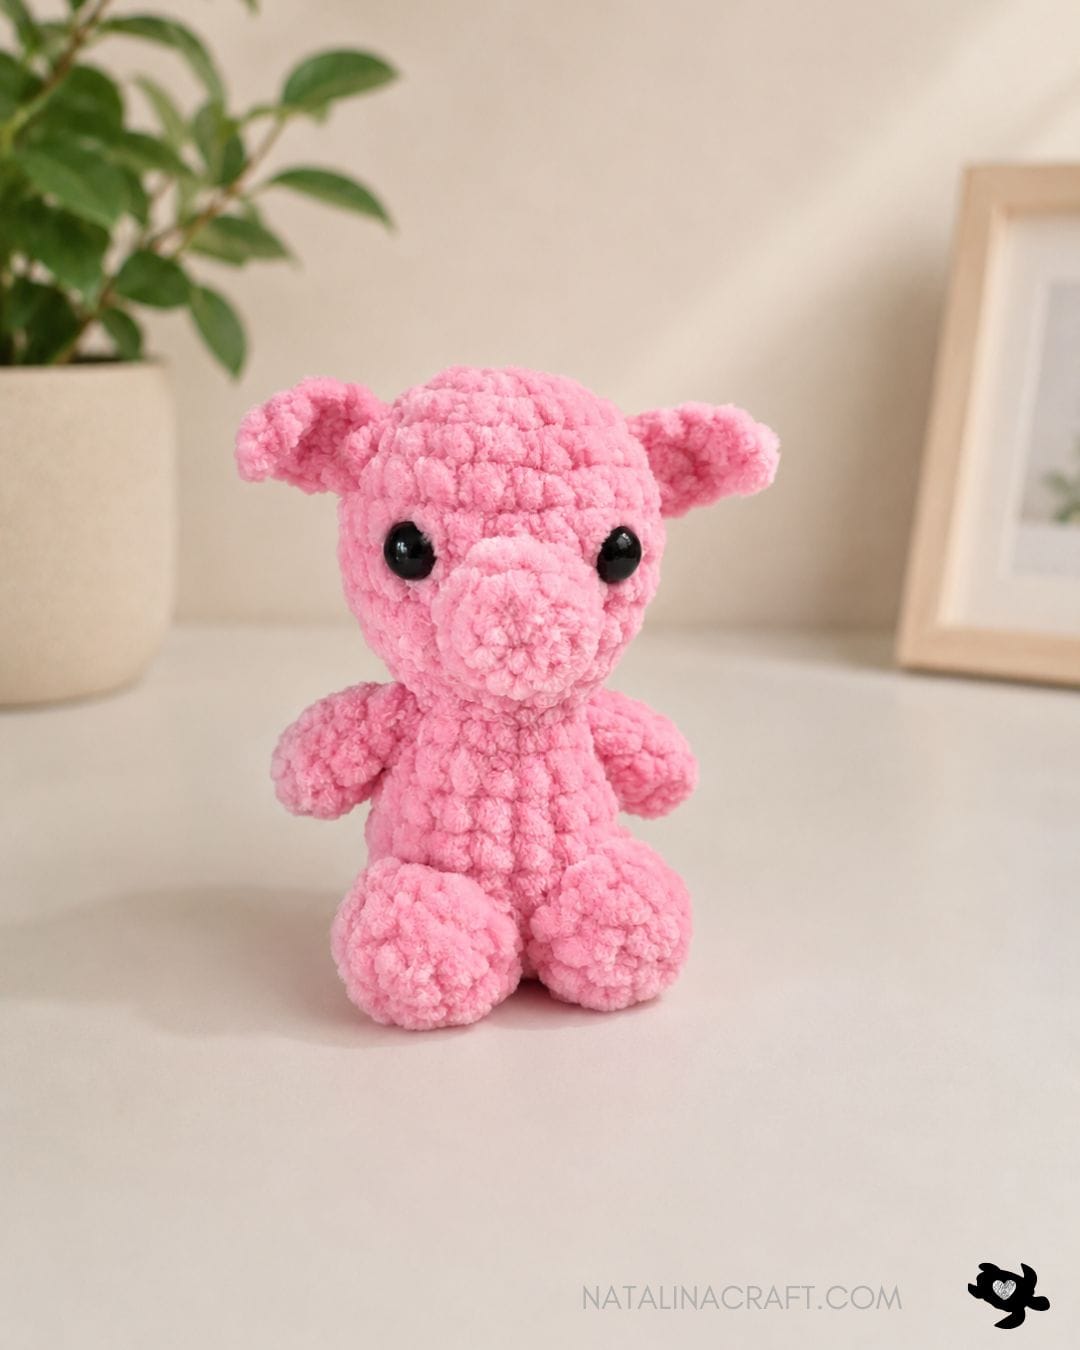
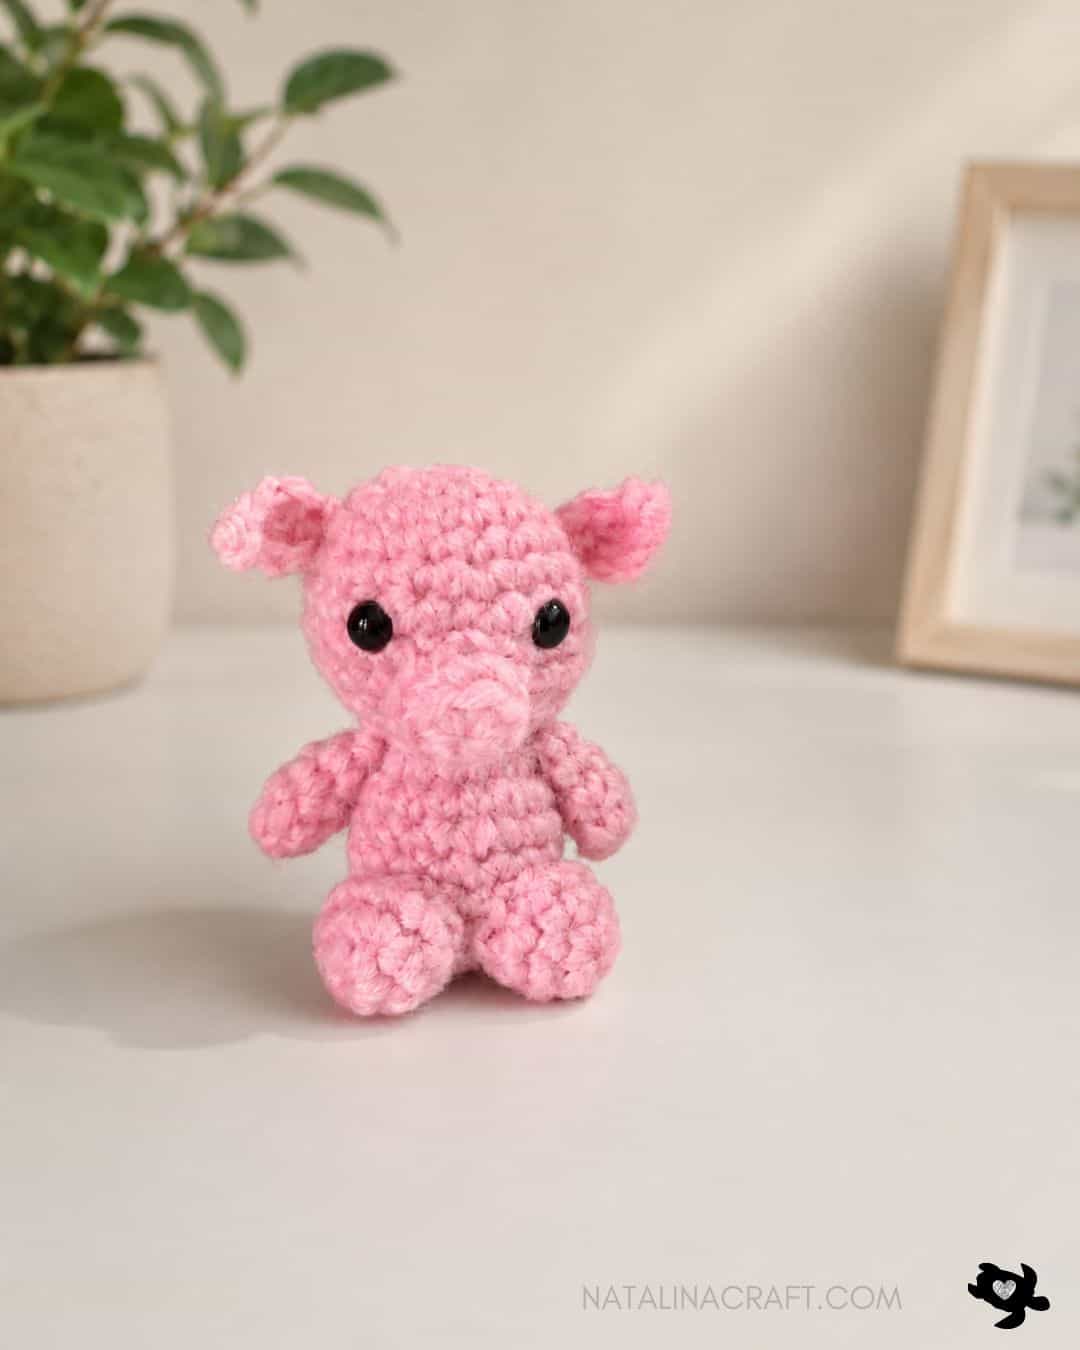
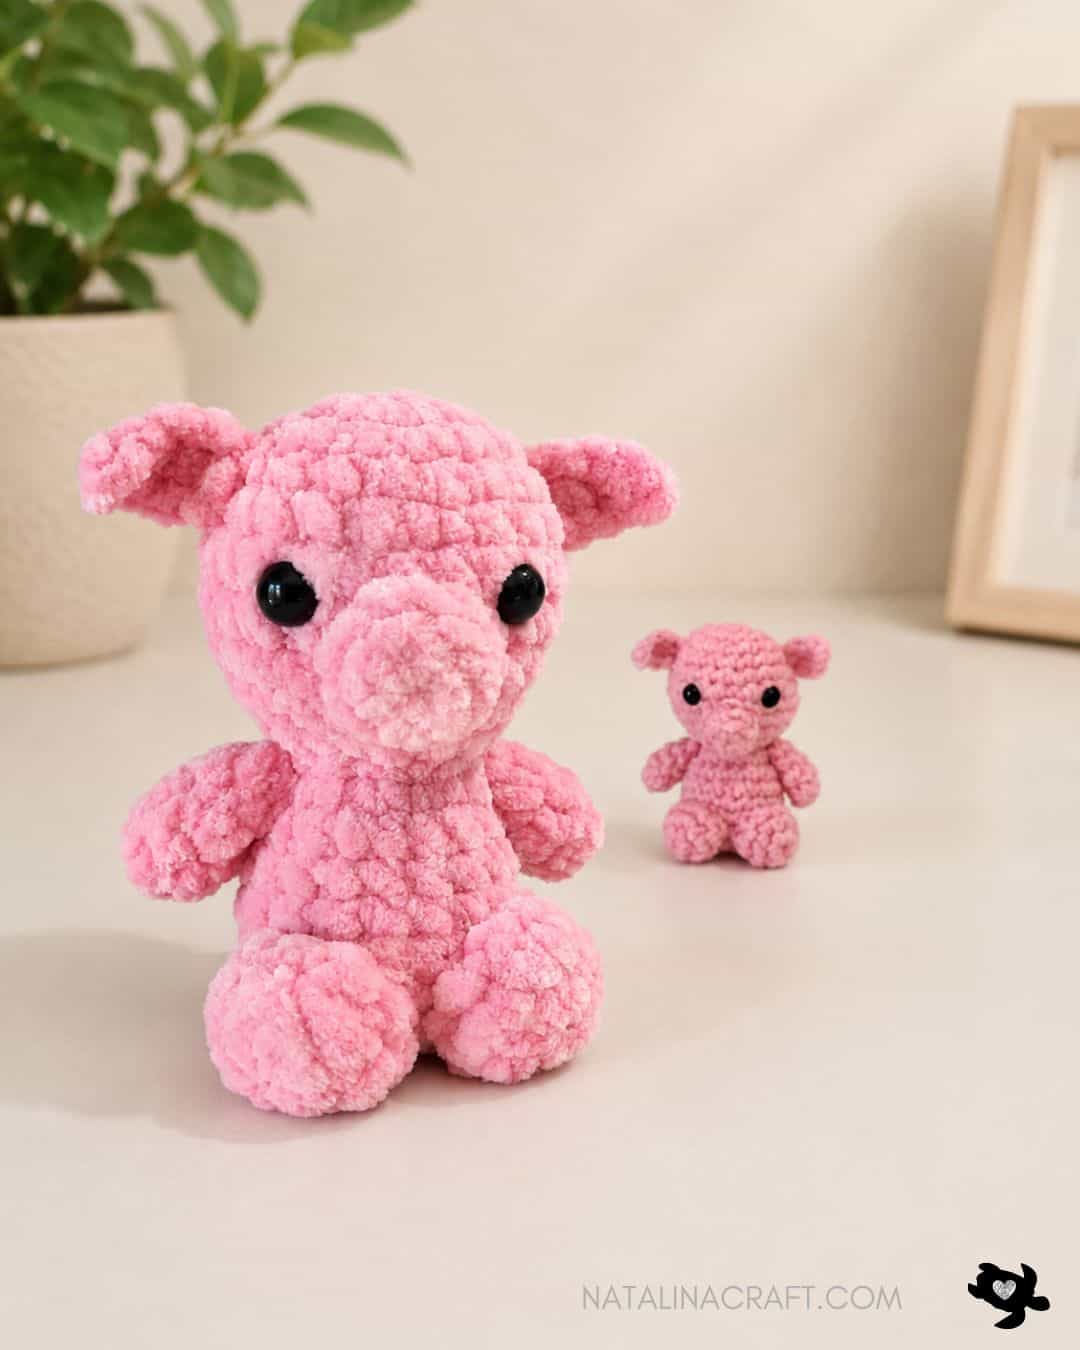
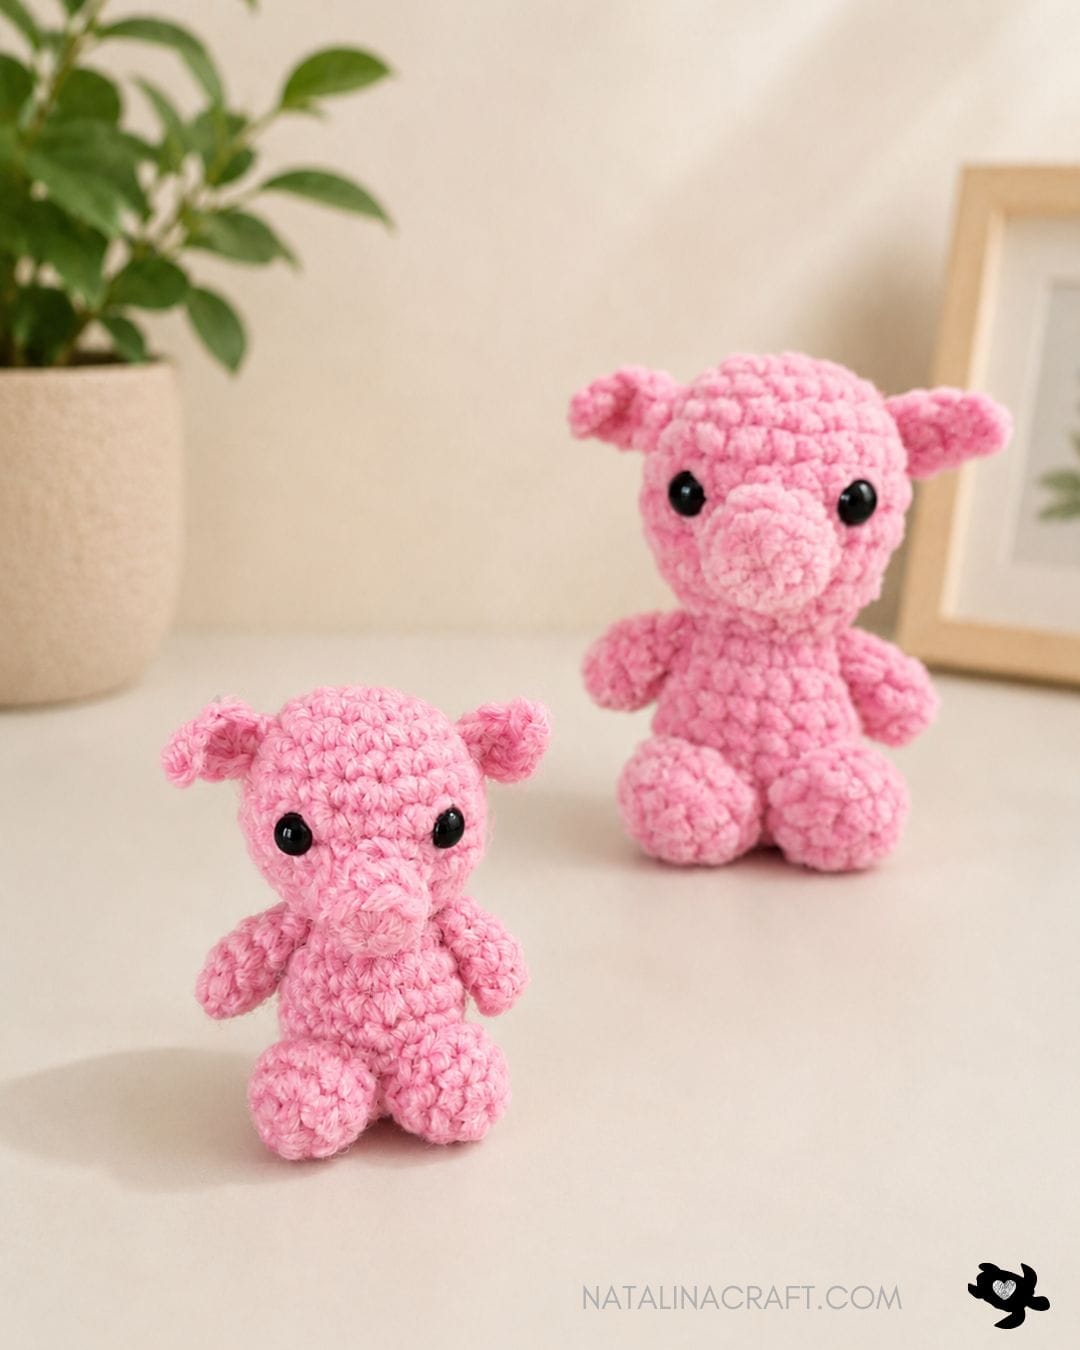
Whether you want to make a tiny 2-inch piggy (using light worsted yarn) or a soft 4.5 inch plush version (using fluffy yarn), this pattern adapts beautifully. It’s designed to be simple, quick, and fun; perfect for beginners, markets, or anyone who loves making small crochet animals.
Designed with continuous rounds and minimal sewing, this easy pig pattern requires only basic stitches and takes approximately 45 minutes to complete. It is the perfect choice for a cute handmade gift, a market-ready plushie, or a relaxing amigurumi project.
Join my Facebook group here, where you can ask questions, share your finished projects, and help me choose future designs!
Show me your work: Snap a photo of your finished pig and tag me @NatalinaCraft on Instagram or use the hashtag #NatalinaCraft. I love seeing your creations and sharing my favorites in my stories!
Have a question? Did your little pig turn out extra cute? Let me know in the comments below — I’m always happy to help!
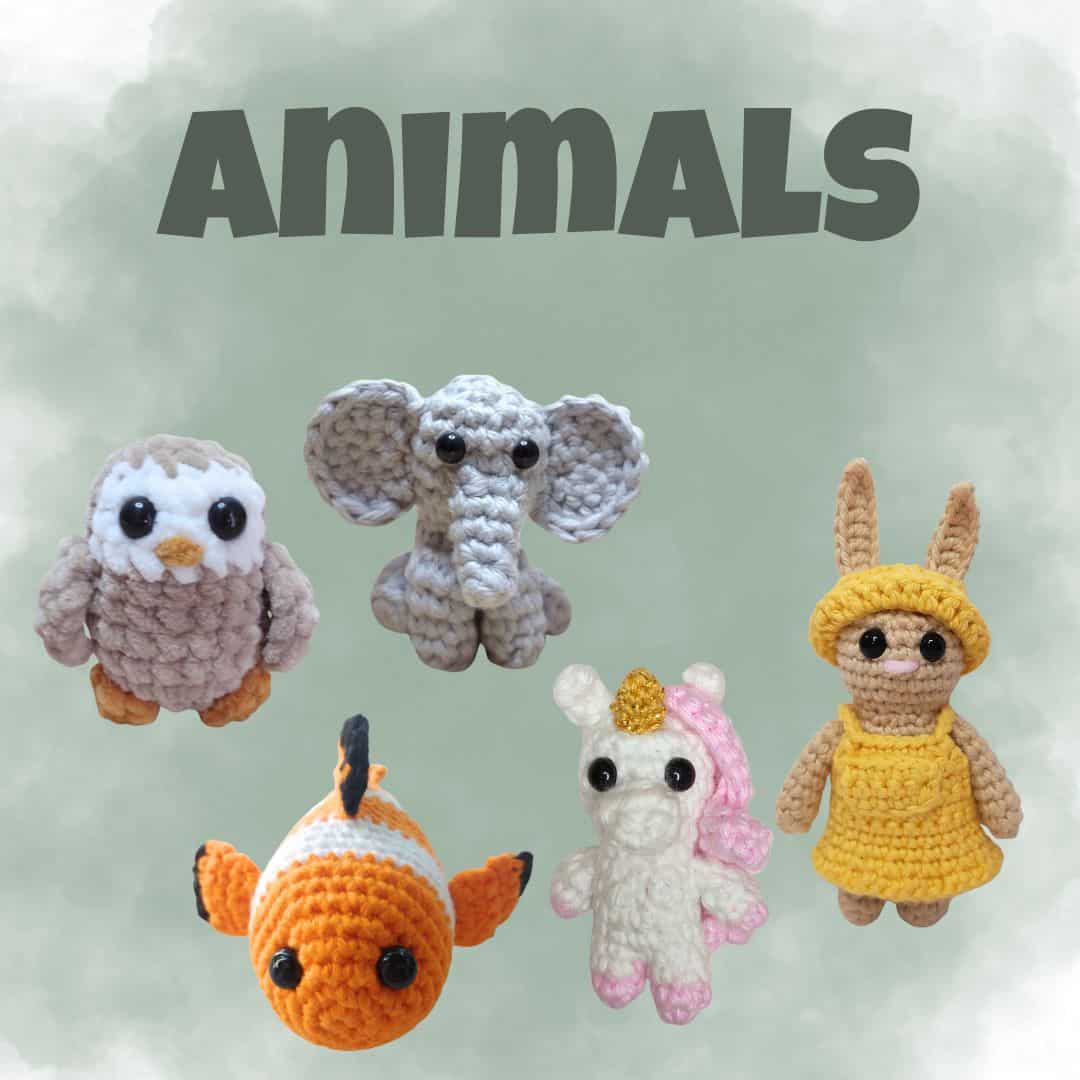
Looking for more Animal ideas?
Pattern Quick Facts:
- Skill Level: Beginner
- Finished Size: Approx. 2 inches with light worsted yarn or 4.5 inches with plush yarn (without the tail)
- Time to Complete: About 45 min
- Sewing Level: Minimal (Ears, nose, arms, legs and tail are small and quick to sew!)
- Yarn Weight: Light Worsted or Plush yarn
- Hook Size: US E (3.5 mm) for worsted yarn. US H (5 mm) for plush yarn
- Terms: US Crochet Terms
Designer Notes & Tips for Success:
- This pattern is worked in continuous rounds — use a stitch marker to keep track of your rounds.
- Use tight stitches to avoid gaps, especially when using plush yarn.
- If using safety eyes, insert them before fully stuffing the head/body.
- Light stuffing works best to keep the soft, rounded “squishy” shape.
- Take your time with placement of the muzzle and ears — it really brings your pig to life!
Why You’ll Love This Pig
- Quick and satisfying project
- Beginner-friendly and easy to follow
- Adorable, cuddly design everyone will love
- Perfect for gifts, markets, or farm animal collections
- Great for using up small yarn scraps
FAQ
Is this pig crochet pattern beginner-friendly?
Yes! It uses basic stitches and simple shaping, making it perfect for beginners.
How big is the finished pig?
It measures about 2 inches with worsted yarn or around 4–4.5 inches with plush yarn, depending on your tension.
Can I use this pattern for keychains or party favors?
Absolutely! This mini pig is the perfect size for keychains, gifts, or party favors.
Does this pattern require sewing?
Yes, there is a small amount of sewing for the ears, muzzle, arms, legs, and tail, but it’s simple and beginner-friendly.
What yarn works best for this pattern?
Cotton, acrylic, or plush yarn all work well. Use a smaller hook than usual to keep your stitches tight.
Materials
If you use worsted yarn:
- Light worsted yarn in: pink
- US E (3.5 mm) (you may adjust hook size to suit your tension)
- 2 black safety eyes (5 mm)
- Polyfill stuffing
- Stitch marker (optional)
- Tapestry needle
If you use plush yarn:
- Plush yarn in: pink.
- US H (5 mm) (you may adjust hook size to suit your tension)
- 2 black safety eyes (10 mm)
- Polyfill stuffing
- Stitch marker (optional)
- Tapestry needle
Abbreviations
- ch = chain
- mr = magic ring
- sc = single crochet
- hdc = half double crochet
- inc = increase
- dec = invisible decrease
- sl st = slip stitch
- st = stitch
How to crochet a Pig?
Head and Body
- Worked in continuous rounds. Do not turn unless stated. Use a stitch marker if needed.
- Start stuffing lightly as you go to keep the shape even.
- Note for plush yarn: Instead of a magic ring, ch 2 and work 6 sc in the 2nd chain from the hook.
With pink yarn and a 3.5 mm or 5 mm hook:
- Round 1: 6 sc in a magic ring. (6)
- Round 2: 6 inc. (12)
- Round 3: [1 sc in next st, 1 inc in next st] x6. (18)
- Round 4: 1 sc in each st. (18)
- Round 5: [1 sc in next 2 st, 1 inc in next st] x6. (24)
- Rounds 6 to 8: 1 sc in each st. (24)
- Round 9: [1 sc in next 2 st, 1 dec] x6. (18)
Insert safety eyes between Rounds 6 and 7, approximately 4 stitches apart.
- Round 10: [1 sc in next st, 1 dec] x6. (12)
Stuff the head with polyfill.
- Round 11: [1 sc in next 2 st, 1 dec] x3. (9)
- Round 12: [9 inc]. (18)
- Rounds 13 to 17: 1 sc in each st. (18)
- Round 18: [1 sc in next st, 1 dec] x6. (12)
Stuff the body with polyfill.
- Round 19: [6 dec]. (6)
Fasten off. Close the body with your tapestry needle by weaving it through the 6 remaining stitches and pulling it up.
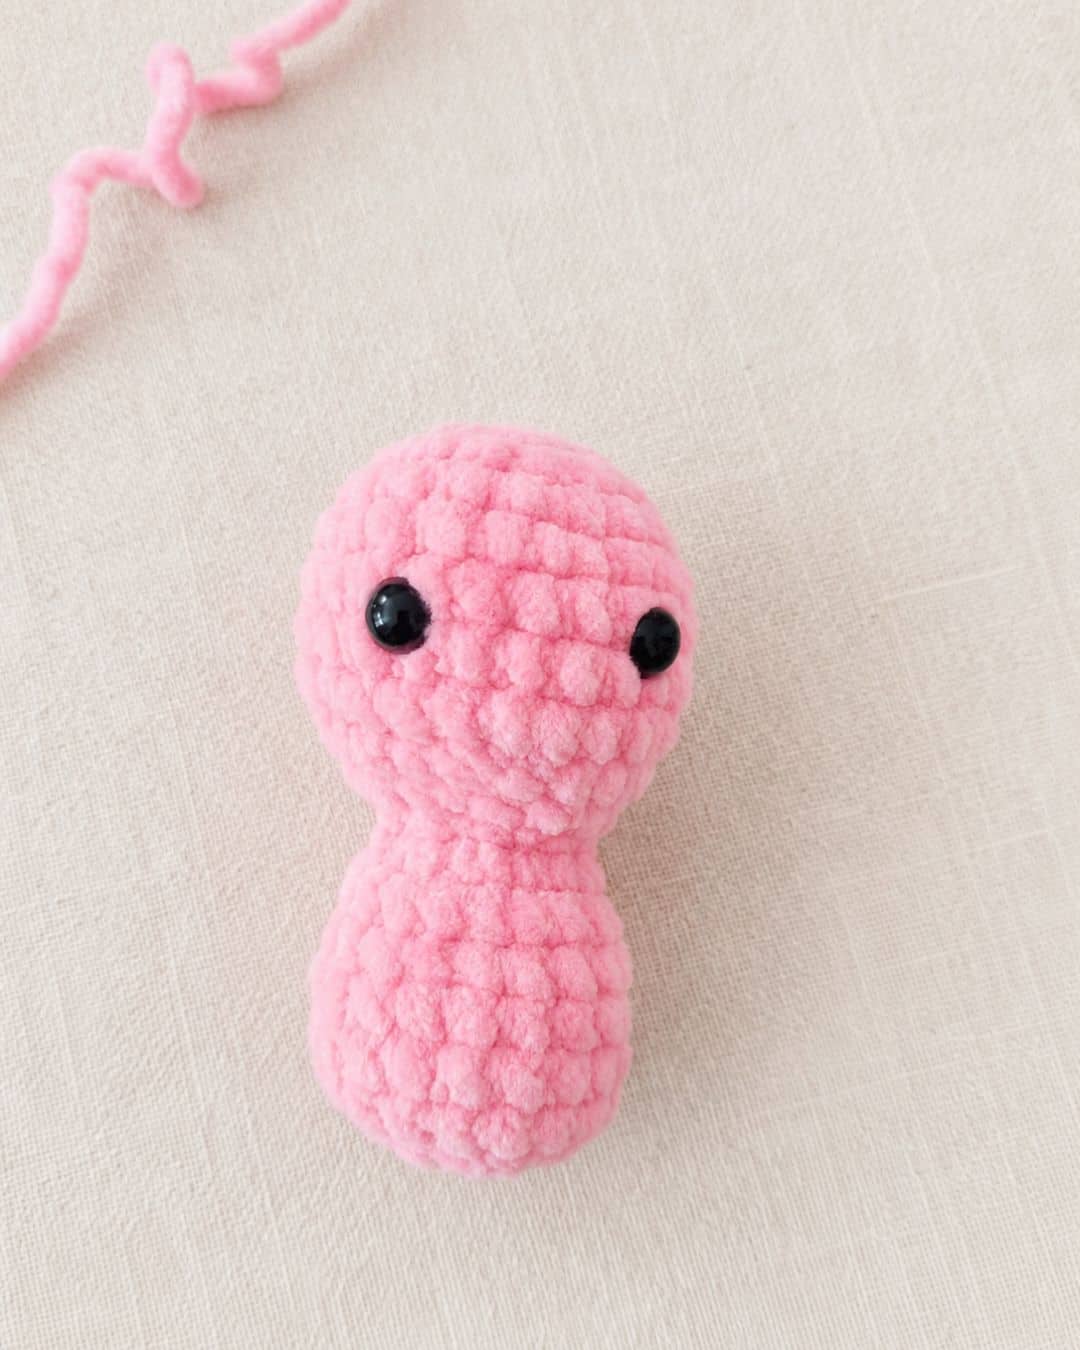
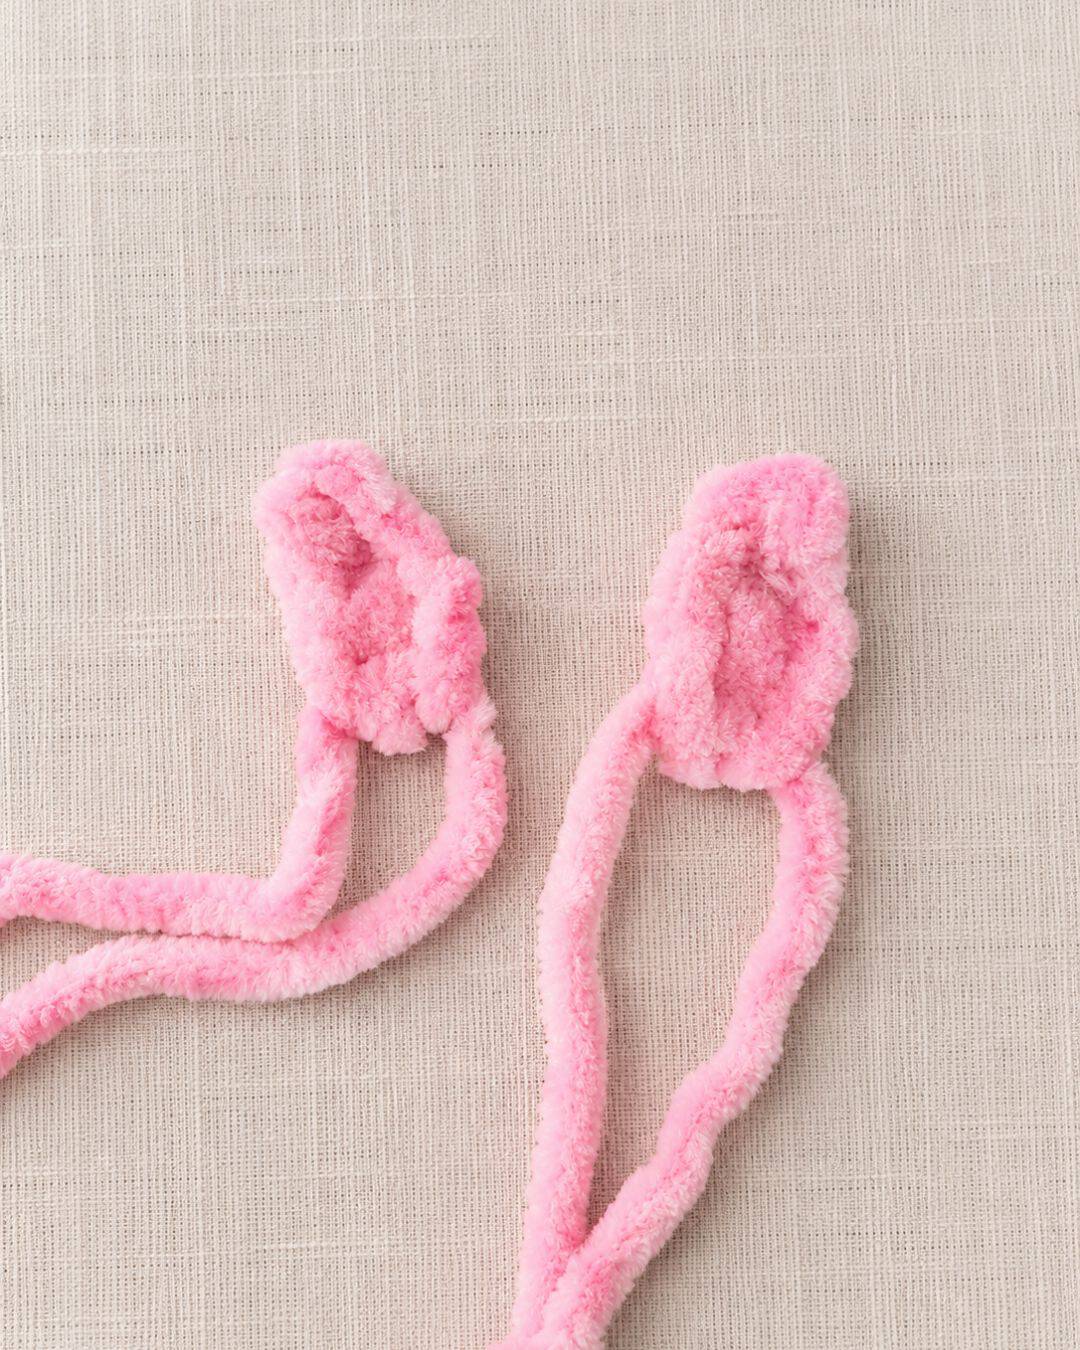
Ears (Make 2)
Worked in rows.
With pink yarn and a 3.5 or 5 mm hook:
- Row 1: ch5; starting in the 2nd ch from the hook: 1 sl st, 1 sc, 1 hdc, 1 hdc. (4)
Cut the yarn but leave a long tail for sewing. Fasten off.
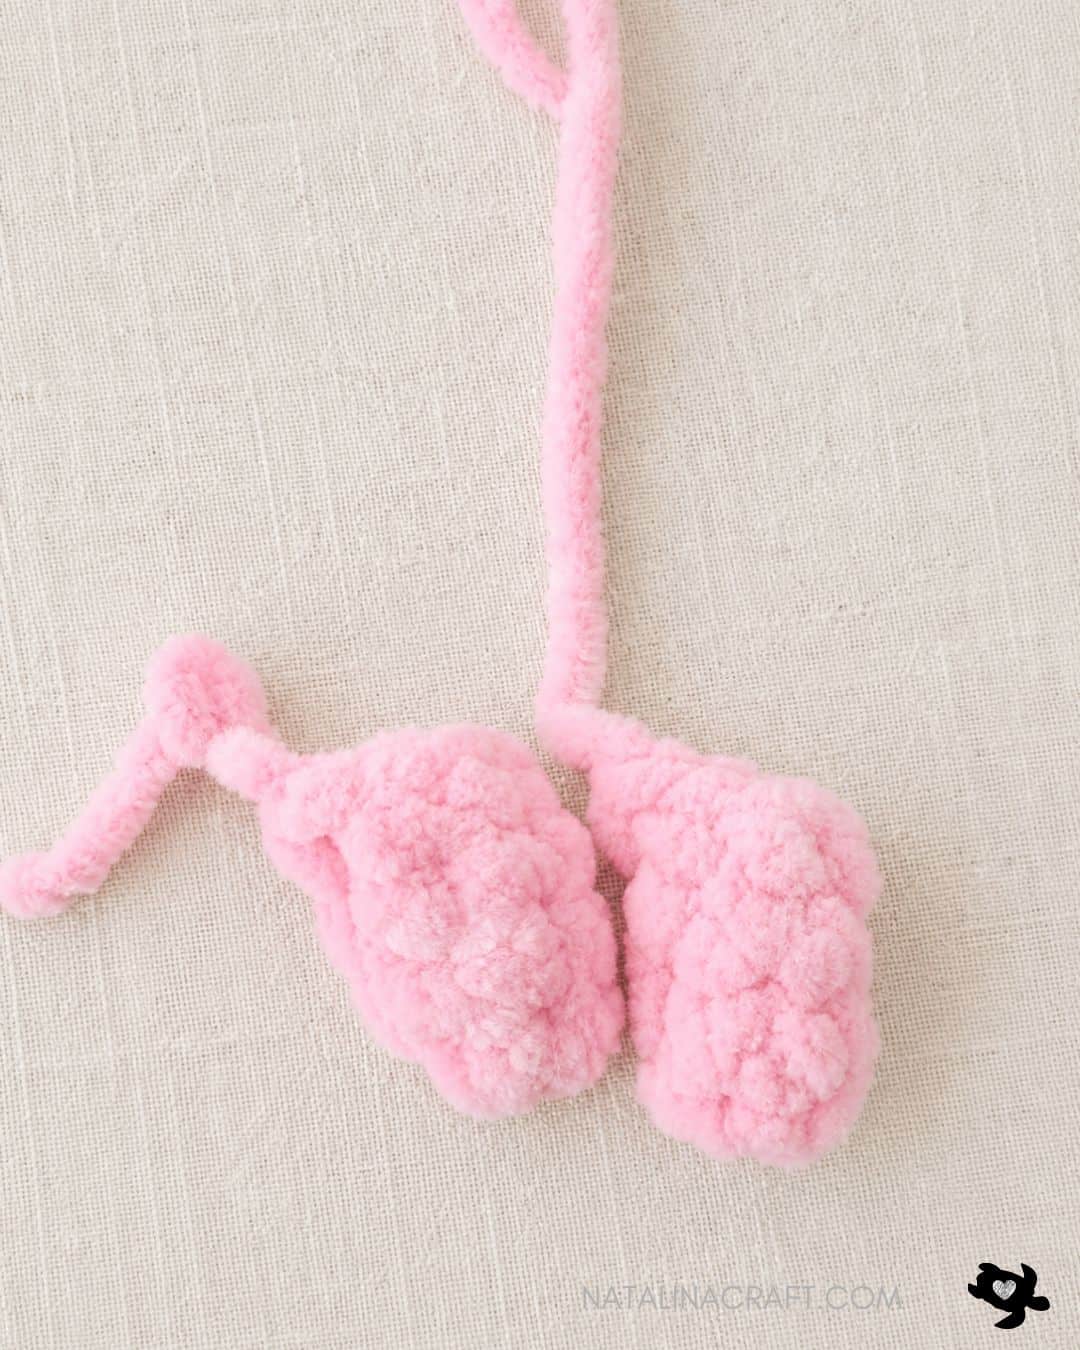
Arms (Make 2)
Worked in continuous rounds. Do not turn unless stated. Use a stitch marker if needed.
With pink yarn and a 3.5 or 5 mm hook:
- Round 1: 6 sc in a magic ring. (6)
- Rounds 2 to 4: 1 sc in each st. (6)
Cut the yarn but leave a long tail for sewing. Fasten off.
Legs (Make 2)
Worked in continuous rounds. Do not turn unless stated. Use a stitch marker if needed.
With pink yarn and a 3.5 or 5 mm hook:
- Round 1: 6 sc in a magic ring. (6)
- Round 2: [1 sc in next st, 1 inc] x3. (9)
- Round 3: 1 sc in each st. (9)
Cut the yarn but leave a long tail for sewing. Fasten off.
Tail
Worked in rows.
With pink yarn and a 3.5 or 5 mm hook:
- Row 1: ch 9; starting in the 2nd ch from the hook: 8 sl st. (8)
Cut the yarn but leave a long tail for sewing. Fasten off.
Muzzle
Worked in continuous rounds.
With pink yarn and a 3.5 or 5 mm hook:
- Round 1: 6 sc in a magic ring. (6)
- Round 2: working in the back loops only (blo): 6 sc. (6)
Finish with 1 sl st in the first sc of Round 2.
Cut the yarn but leave a long tail for sewing. Fasten off.
Assembly
- Pin all pieces in place before sewing to make sure you’re happy with the positioning.
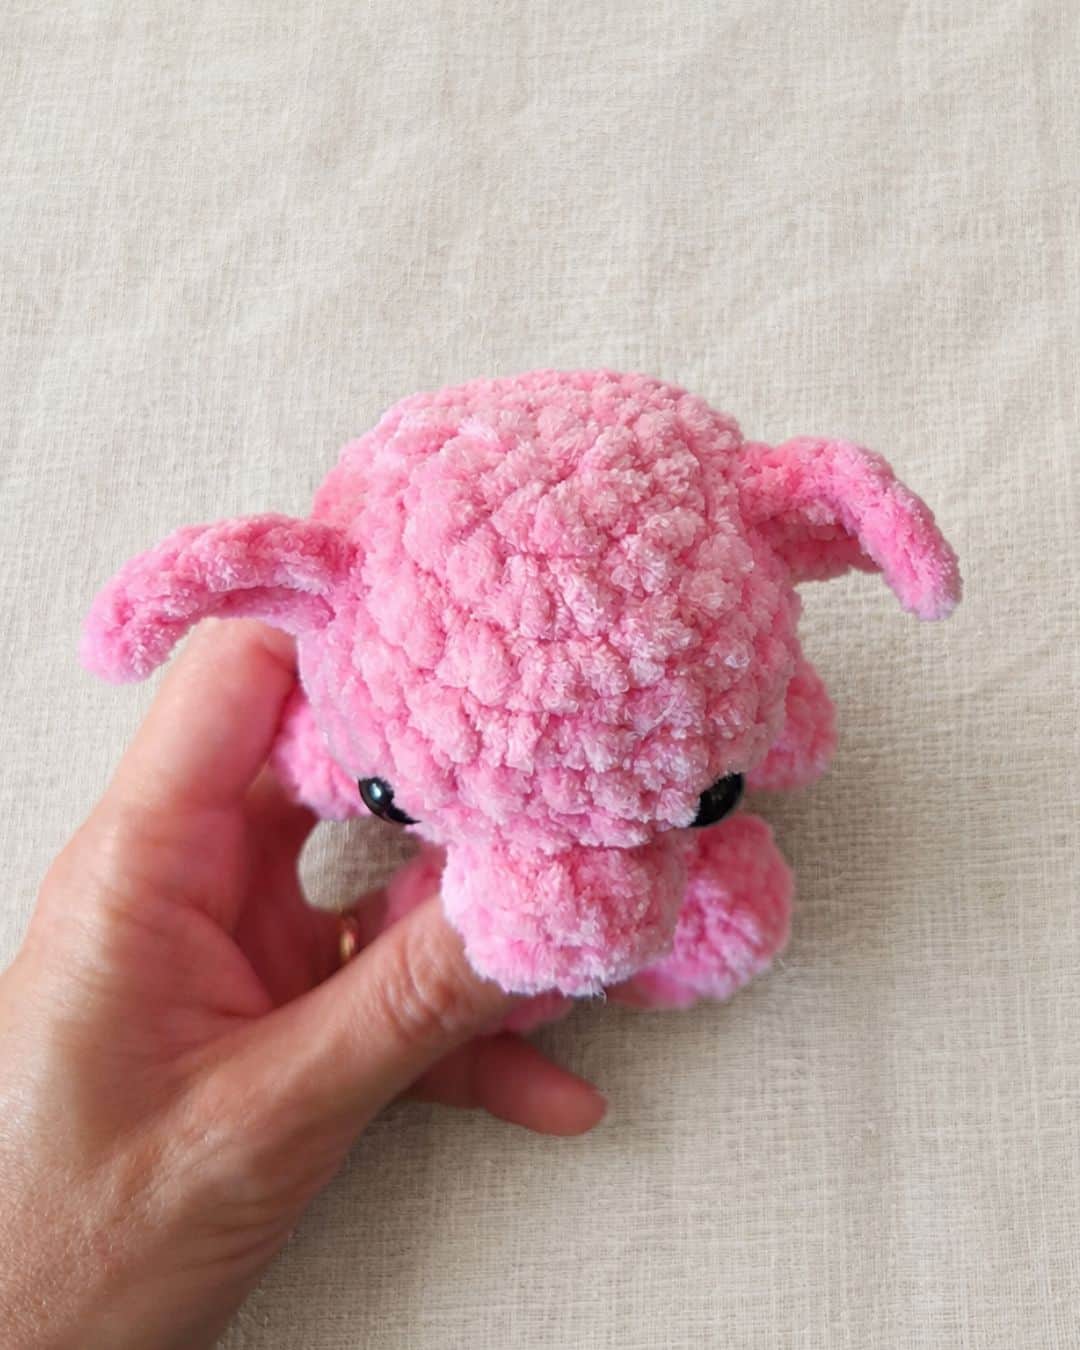
- Attach the ears over Rounds 4-5, to the sides of the head, about 5 stitches away from the eyes.
- Attach the muzzle centered between the eyes over Rounds 7–8.
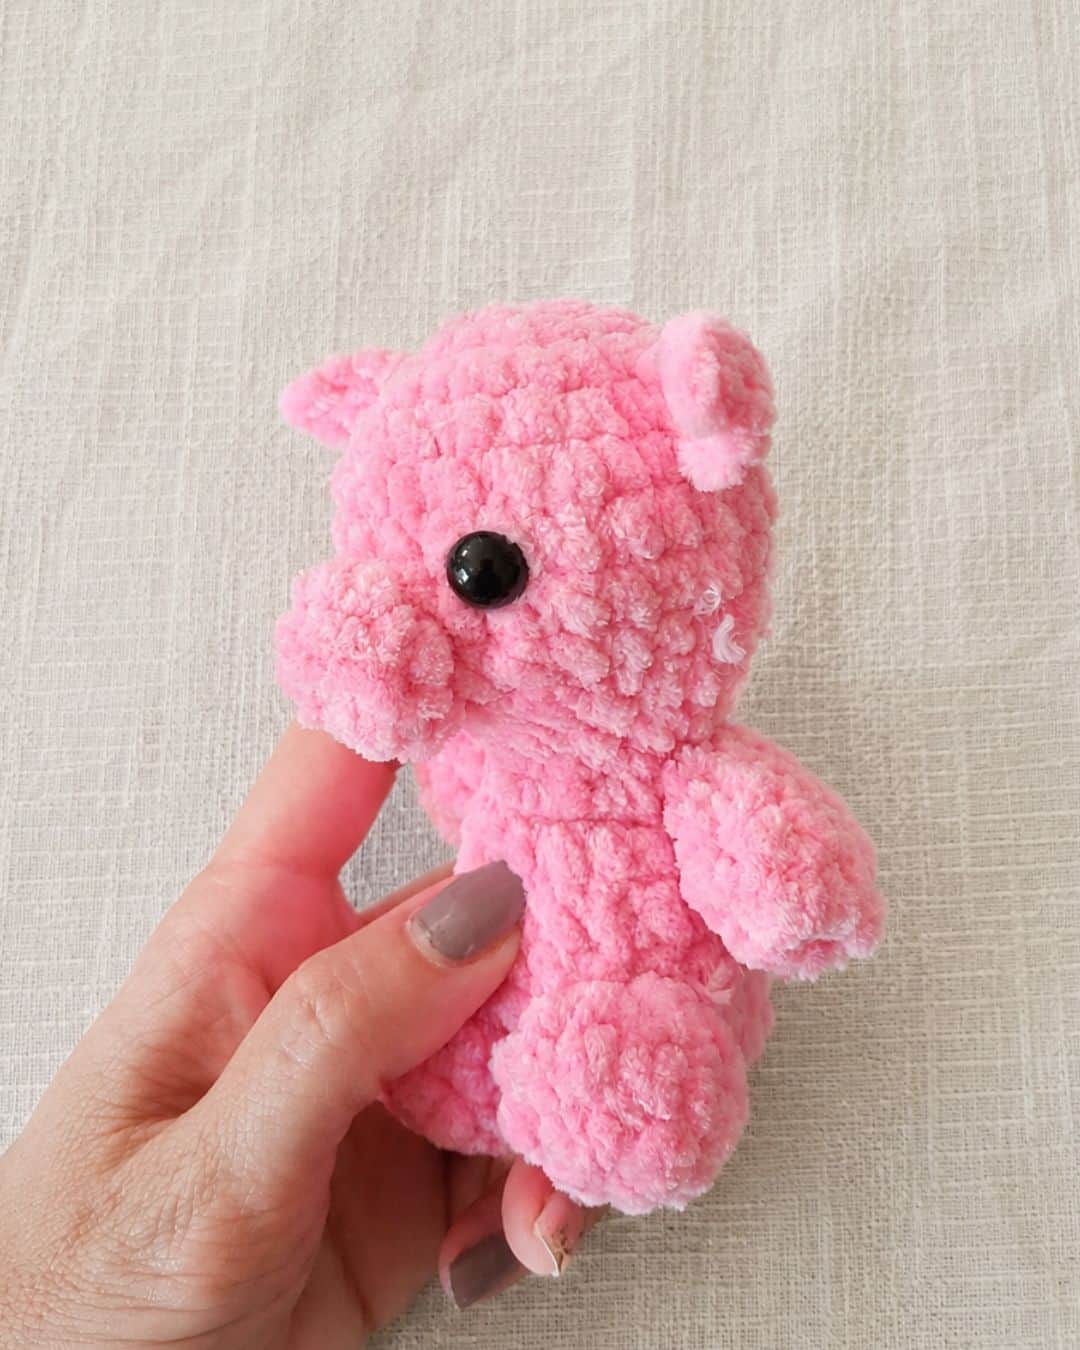
- Attach the arms to the body between Rounds 11 and 12. Do not stuff the arms.
- Attach the legs to the body over Rounds 16 to 18. Lightly stuff the legs before attaching.
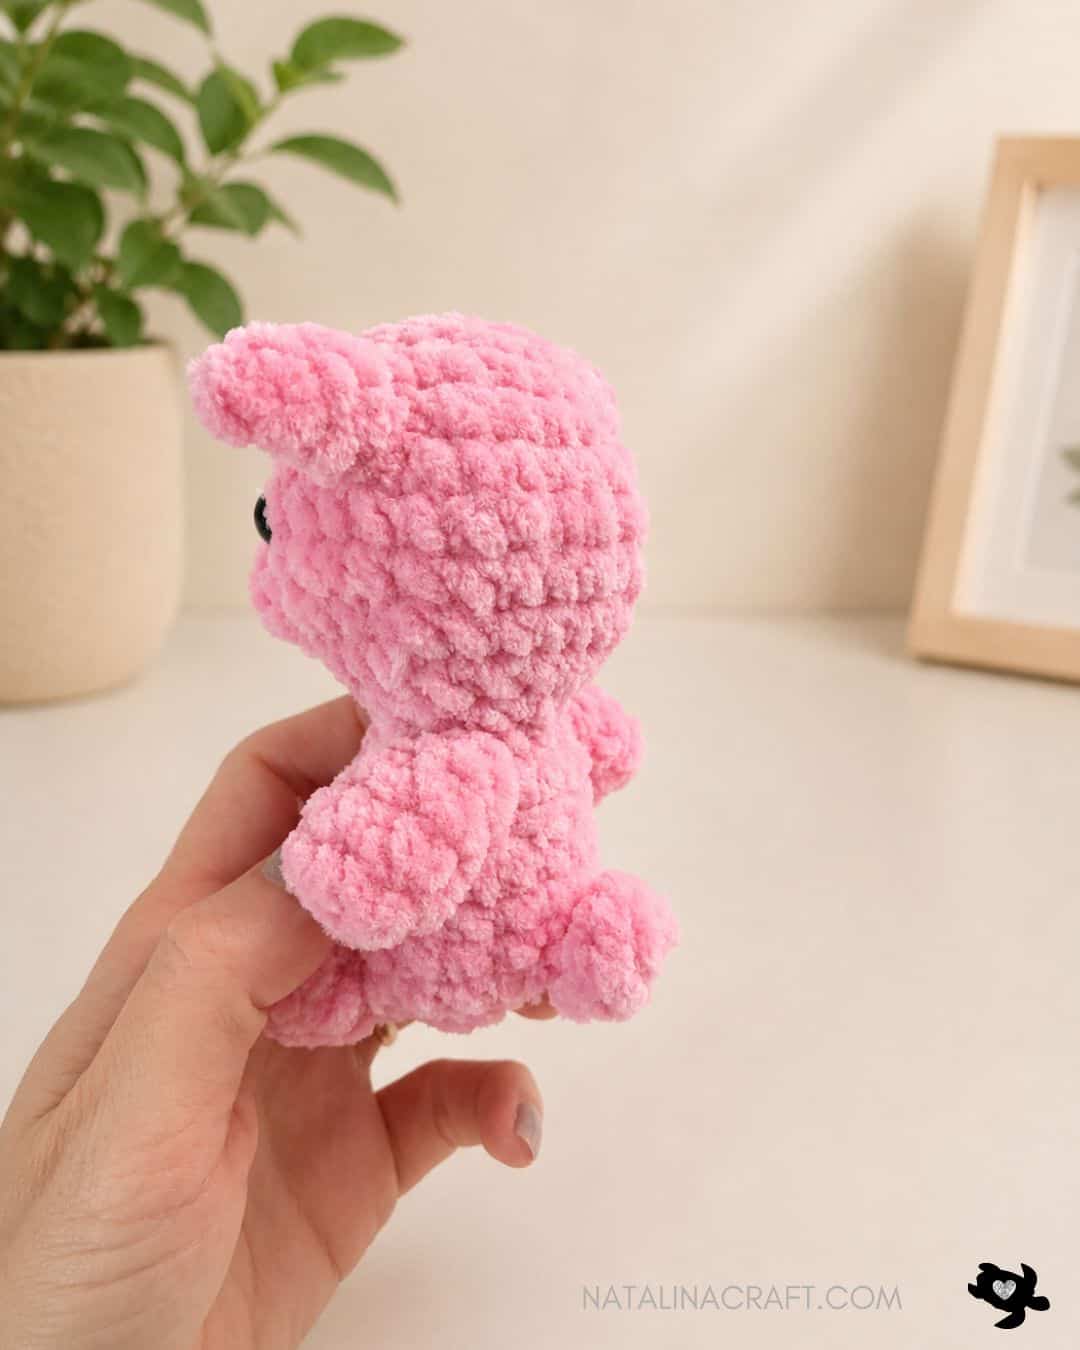
- Attach the tail at the bottom back of the body between Round 17 and 18.
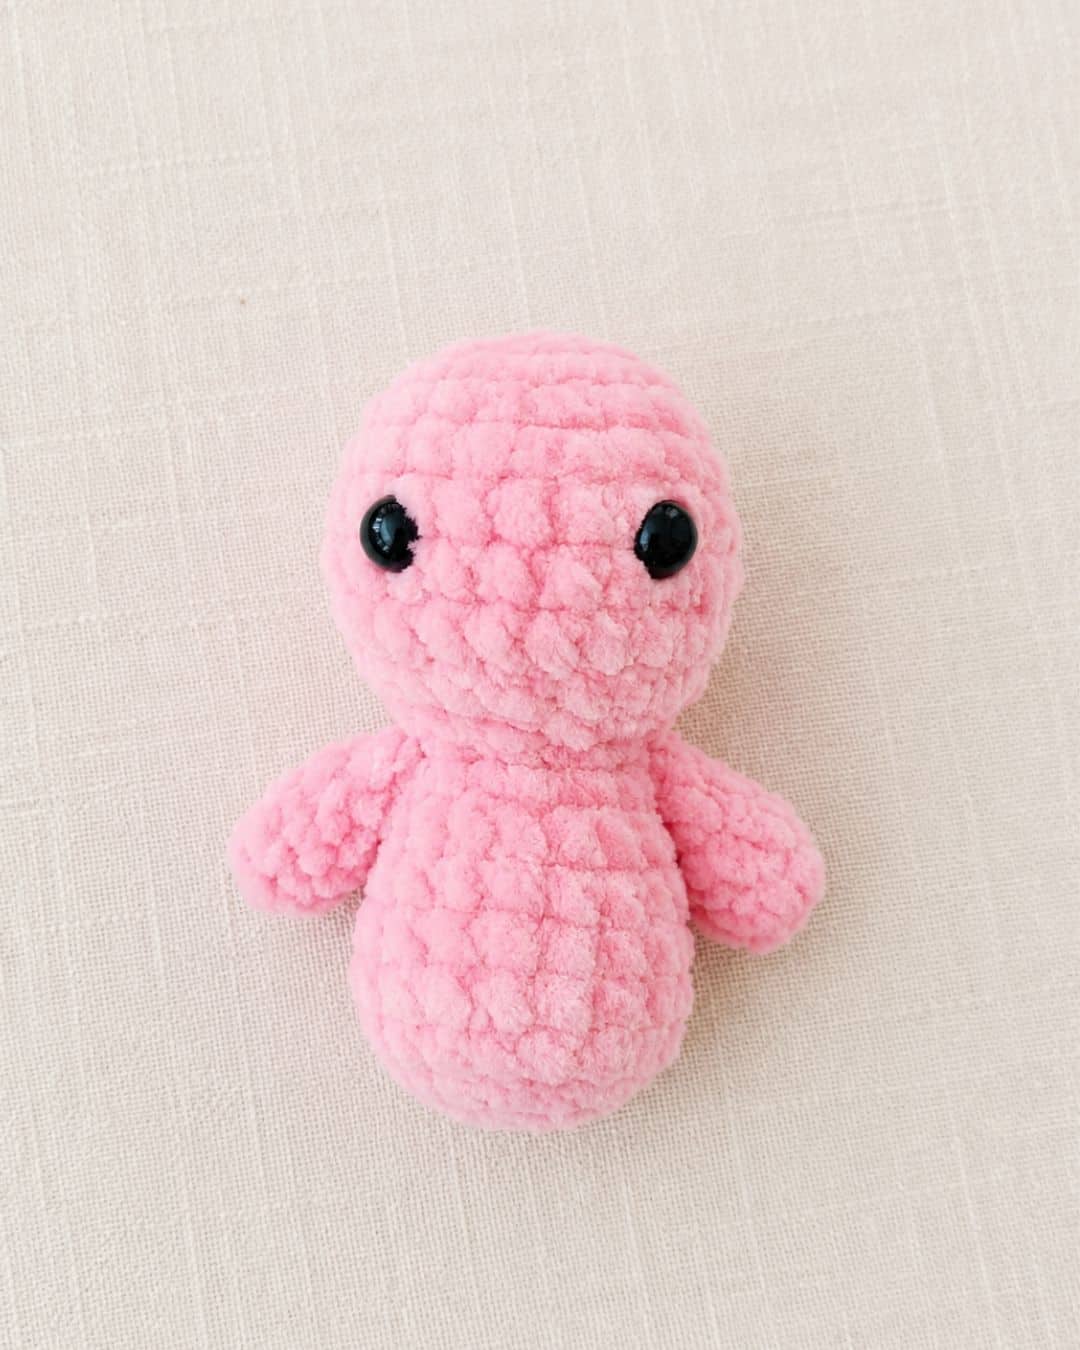
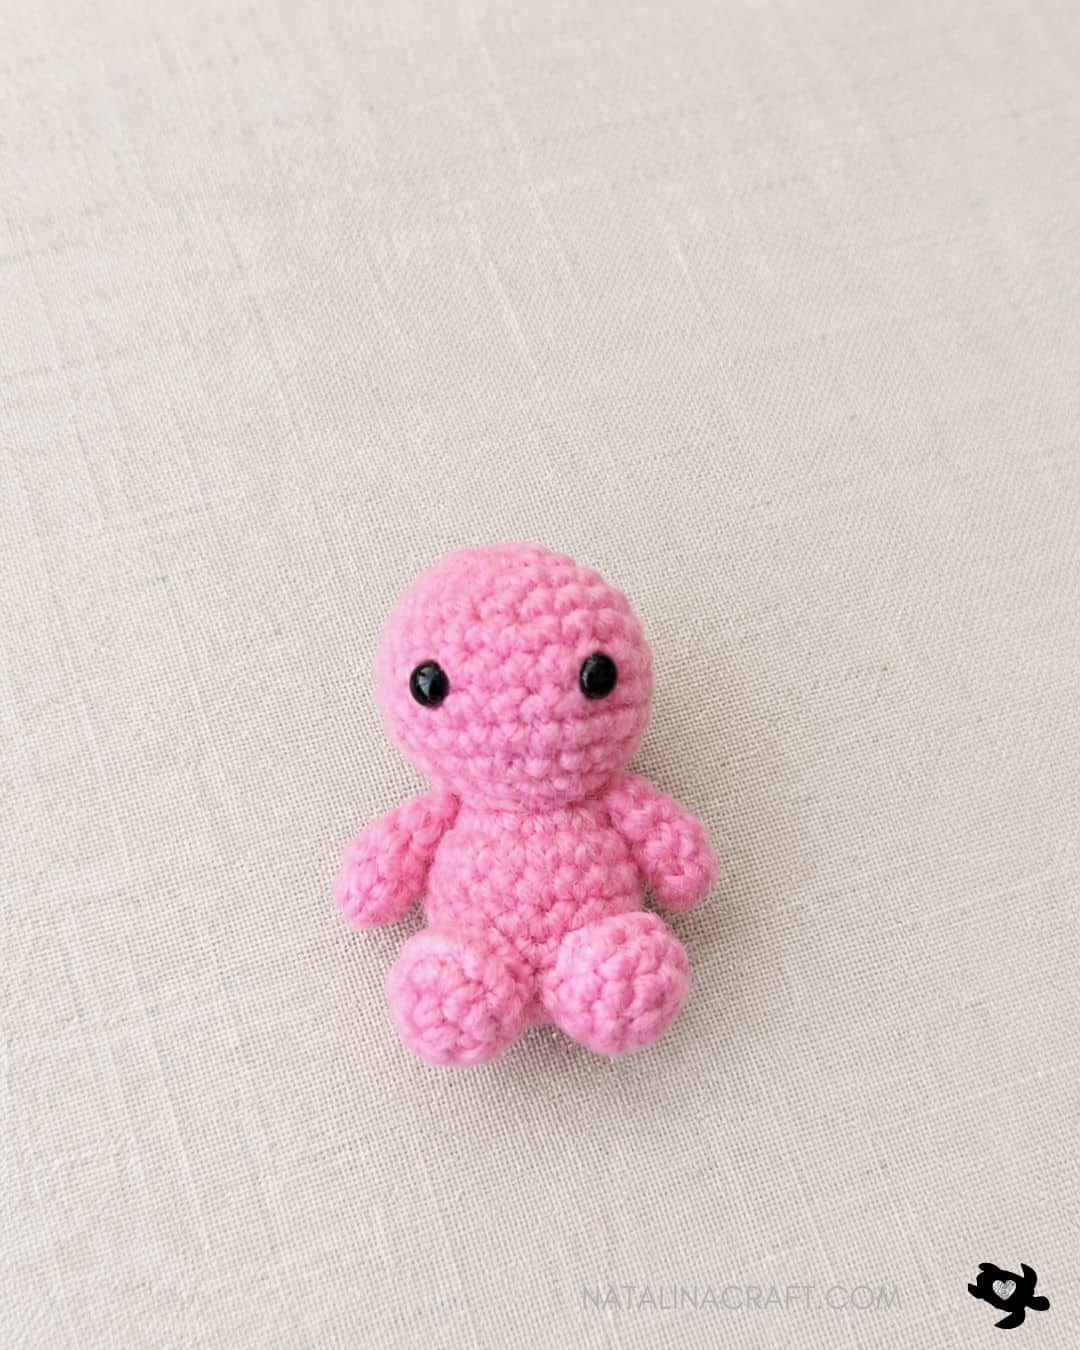
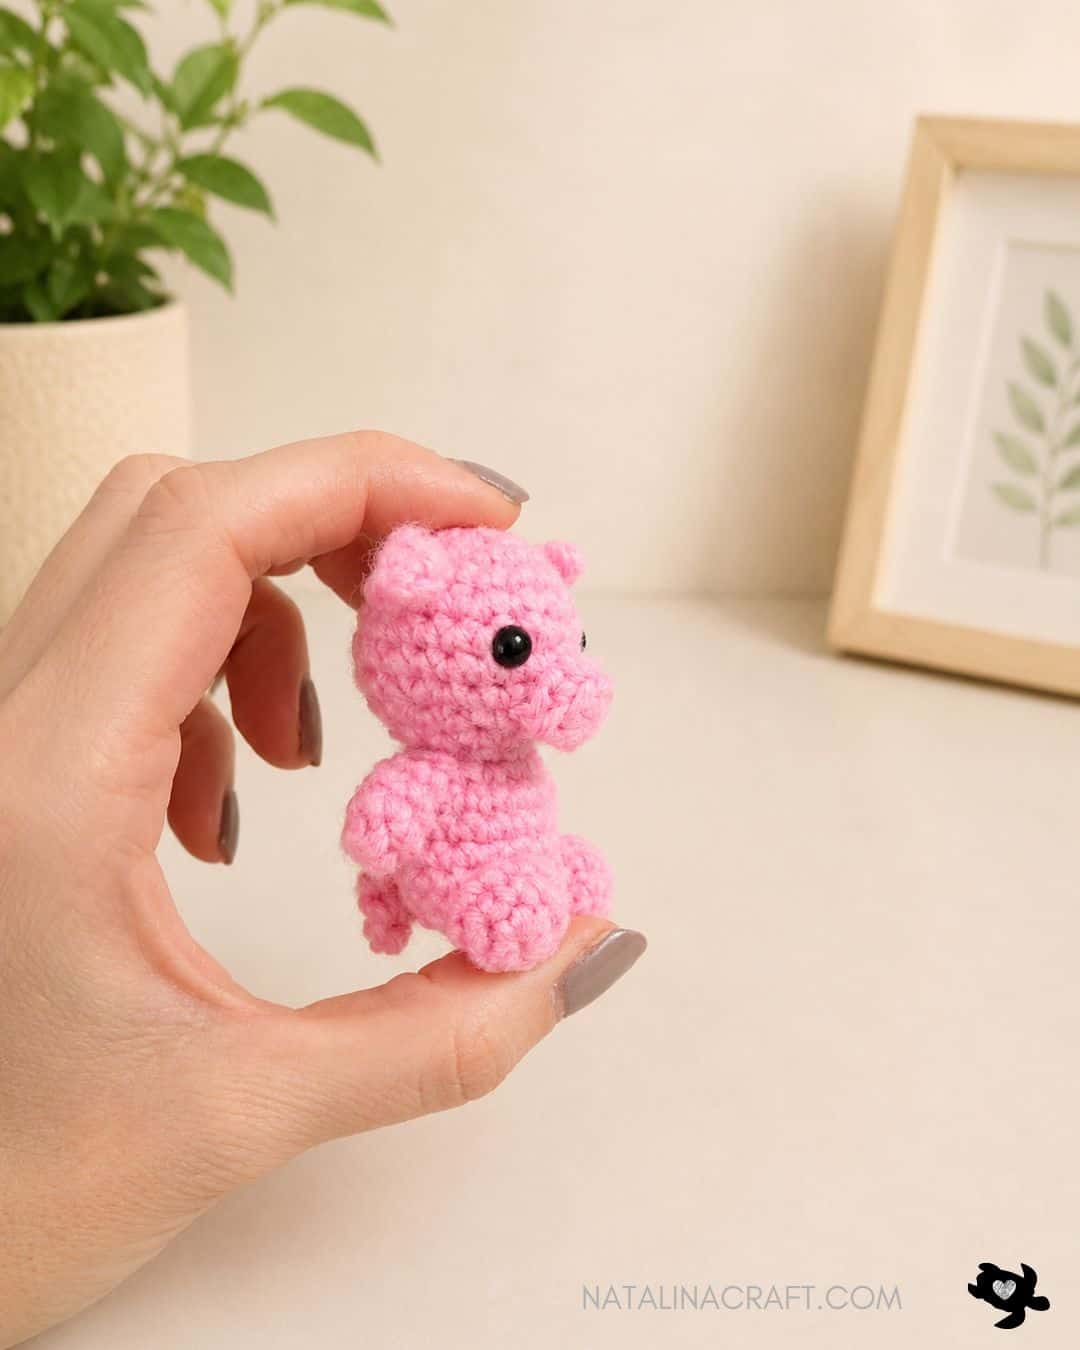
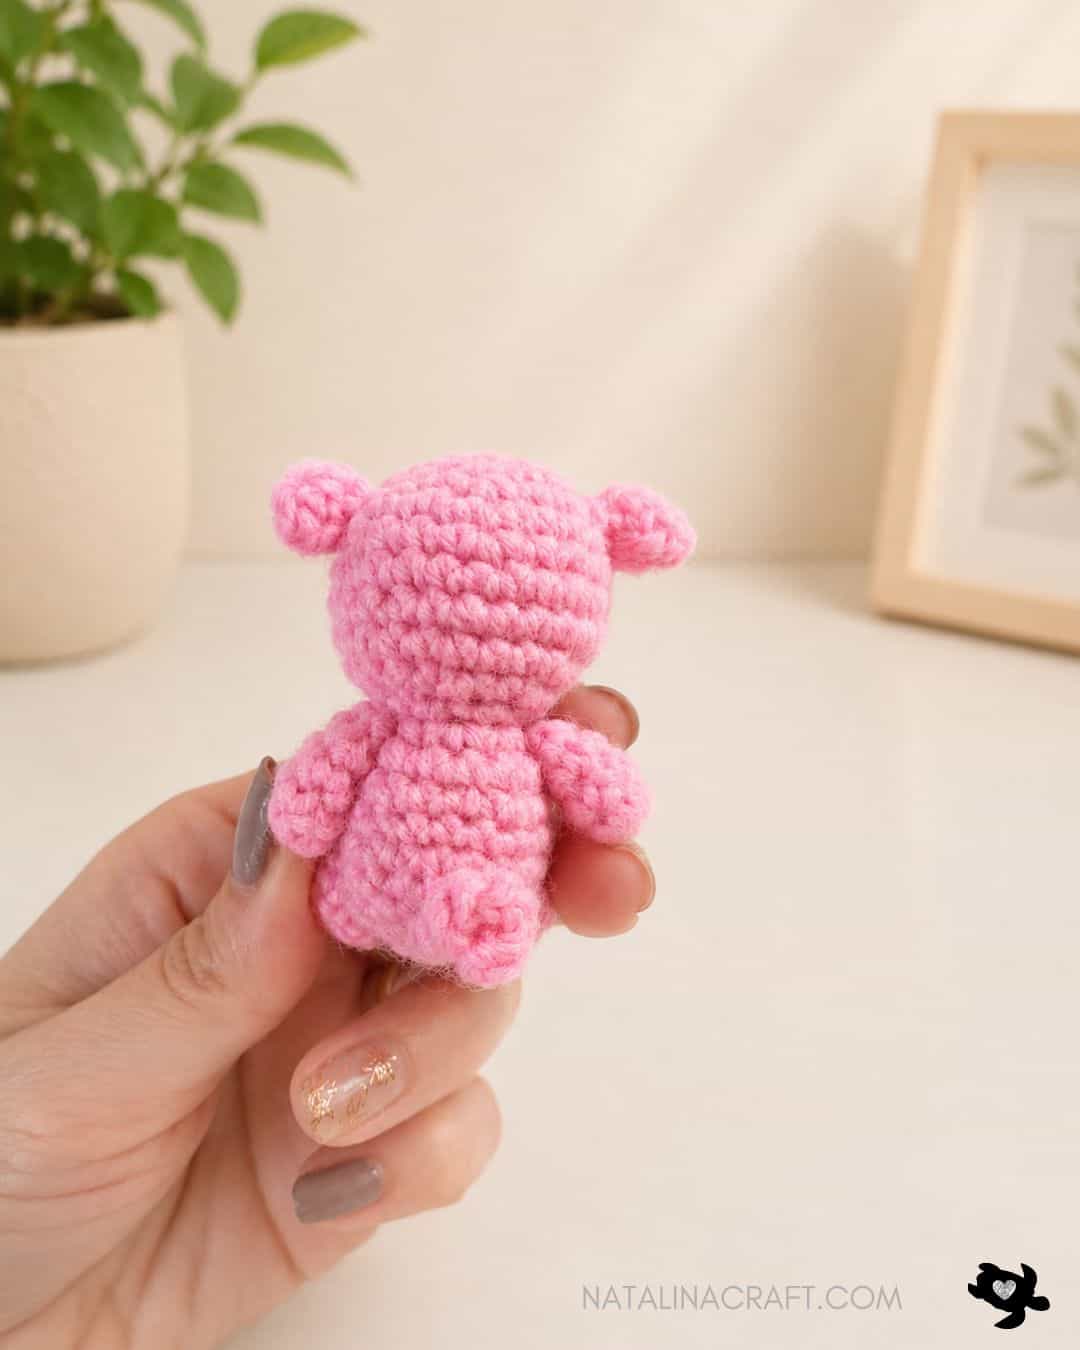
🎉 Congratulations on your new crochet buddy!
I’d love to see how yours turned out. Did you go with the light worsted or the plush yarn? Tell me in the comments! 👇
Share the love: Tag @NatalinaCraft on Instagram with #NatalinaCraft for a chance to be featured on my page.


Copyright Notice
All rights reserved. This pattern and all accompanying photographs are the property of Natalina Craft and are protected by copyright law. This pattern is for personal use only. Any unauthorized reproduction, redistribution, or publication of this pattern, in whole or in part, is strictly prohibited.
You are welcome to sell finished items made from this pattern in small quantities. While crediting Natalina Craft as the designer is not required, it is always greatly appreciated—especially when selling online—so others can find the original pattern.
Thank you for respecting these guidelines.
Free Pig crochet pattern
Mini Pig - Free Crochet Pattern
Instructions
Materials
If you use worsted yarn:
- Light worsted yarn in: pink
- US E (3.5 mm) (you may adjust hook size to suit your tension)
- 2 black safety eyes (5 mm)
- Polyfill stuffing
- Stitch marker (optional)
- Tapestry needle
If you use plush yarn:
- Plush yarn in: pink.
- US H (5 mm) (you may adjust hook size to suit your tension)
- 2 black safety eyes (10 mm)
- Polyfill stuffing
- Stitch marker (optional)
- Tapestry needle
Abbreviations
- ch = chain
- mr = magic ring
- sc = single crochet
- hdc = half double crochet
- inc = increase
- dec = invisible decrease
- sl st = slip stitch
- st = stitch
How to crochet a Pig?
Head and Body
- Worked in continuous rounds. Do not turn unless stated. Use a stitch marker if needed.
- Start stuffing lightly as you go to keep the shape even.
- Note for plush yarn: Instead of a magic ring, ch 2 and work 6 sc in the 2nd chain from the hook.
With pink yarn and a 3.5 mm or 5 mm hook:
- Round 1: 6 sc in a magic ring. (6)
- Round 2: 6 inc. (12)
- Round 3: [1 sc in next st, 1 inc in next st] x6. (18)
- Round 4: 1 sc in each st. (18)
- Round 5: [1 sc in next 2 st, 1 inc in next st] x6. (24)
- Rounds 6 to 8: 1 sc in each st. (24)
- Round 9: [1 sc in next 2 st, 1 dec] x6. (18)
Insert safety eyes between Rounds 6 and 7, approximately 4 stitches apart.
- Round 10: [1 sc in next st, 1 dec] x6. (12)
Stuff the head with polyfill.
- Round 11: [1 sc in next 2 st, 1 dec] x3. (9)
- Round 12: [9 inc]. (18)
- Rounds 13 to 17: 1 sc in each st. (18)
- Round 18: [1 sc in next st, 1 dec] x6. (12)
Stuff the body with polyfill.
- Round 19: [6 dec]. (6)
Fasten off. Close the body with your tapestry needle by weaving it through the 6 remaining stitches and pulling it up.
Ears (Make 2)
Worked in rows.
With pink yarn and a 3.5 or 5 mm hook:
- Row 1: ch5; starting in the 2nd ch from the hook: 1 sl st, 1 sc, 1 hdc, 1 hdc. (4)
Cut the yarn but leave a long tail for sewing. Fasten off.
Arms (Make 2)
Worked in continuous rounds. Do not turn unless stated. Use a stitch marker if needed.
With pink yarn and a 3.5 or 5 mm hook:
- Round 1: 6 sc in a magic ring. (6)
- Rounds 2to 4: 1 sc in each st. (6)
Cut the yarn but leave a long tail for sewing. Fasten off.
Legs (Make 2)
Worked in continuous rounds. Do not turn unless stated. Use a stitch marker if needed.
With pink yarn and a 3.5 or 5 mm hook:
- Round 1: 6 sc in a magic ring. (6)
- Round 2: [1 sc in next st, 1 inc] x3. (9)
- Round 3: 1 sc in each st. (9)
Cut the yarn but leave a long tail for sewing. Fasten off.
Tail
Worked in rows.
With pink yarn and a 3.5 or 5 mm hook:
- Row 1: ch 9; starting in the 2nd ch from the hook: 8 sl st. (8)
Cut the yarn but leave a long tail for sewing. Fasten off.
Muzzle
Worked in continuous rounds.
With pink yarn and a 3.5 or 5 mm hook:
- Round 1: 6 sc in a magic ring. (6)
- Round 2: working in the back loops only (blo): 6 sc. (6)
Finish with 1 sl st in the first sc of Round 2.
Cut the yarn but leave a long tail for sewing. Fasten off.
Assembly
- Pin all pieces in place before sewing to make sure you're happy with the positioning.
- Attach the ears over Rounds 4-5, to the sides of the head, about 5 stitches away from the eyes.
- Attach the muzzle centered between the eyes over Rounds 7–8.
- Attach the arms to the body between Rounds 11 and 12. Do not stuff the arms.
- Attach the legs to the body over Rounds 16 to 18. Lightly stuff the legs before attaching.
- Attach the tail at the bottom back of the body between Round 17 and 18.
🎉 Congratulations on your new crochet buddy!
I’d love to see how yours turned out. Did you go with the light worsted or the plush yarn? Tell me in the comments! 👇
Share the love: Tag @NatalinaCraft on Instagram with #NatalinaCraft for a chance to be featured on my page.
Copyright Notice
All rights reserved. This pattern and all accompanying photographs are the property of Natalina Craft and are protected by copyright law. This pattern is for personal use only. Any unauthorized reproduction, redistribution, or publication of this pattern, in whole or in part, is strictly prohibited.
You are welcome to sell finished items made from this pattern in small quantities. While crediting Natalina Craft as the designer is not required, it is always greatly appreciated—especially when selling online—so others can find the original pattern. Thank you for respecting these guidelines.