
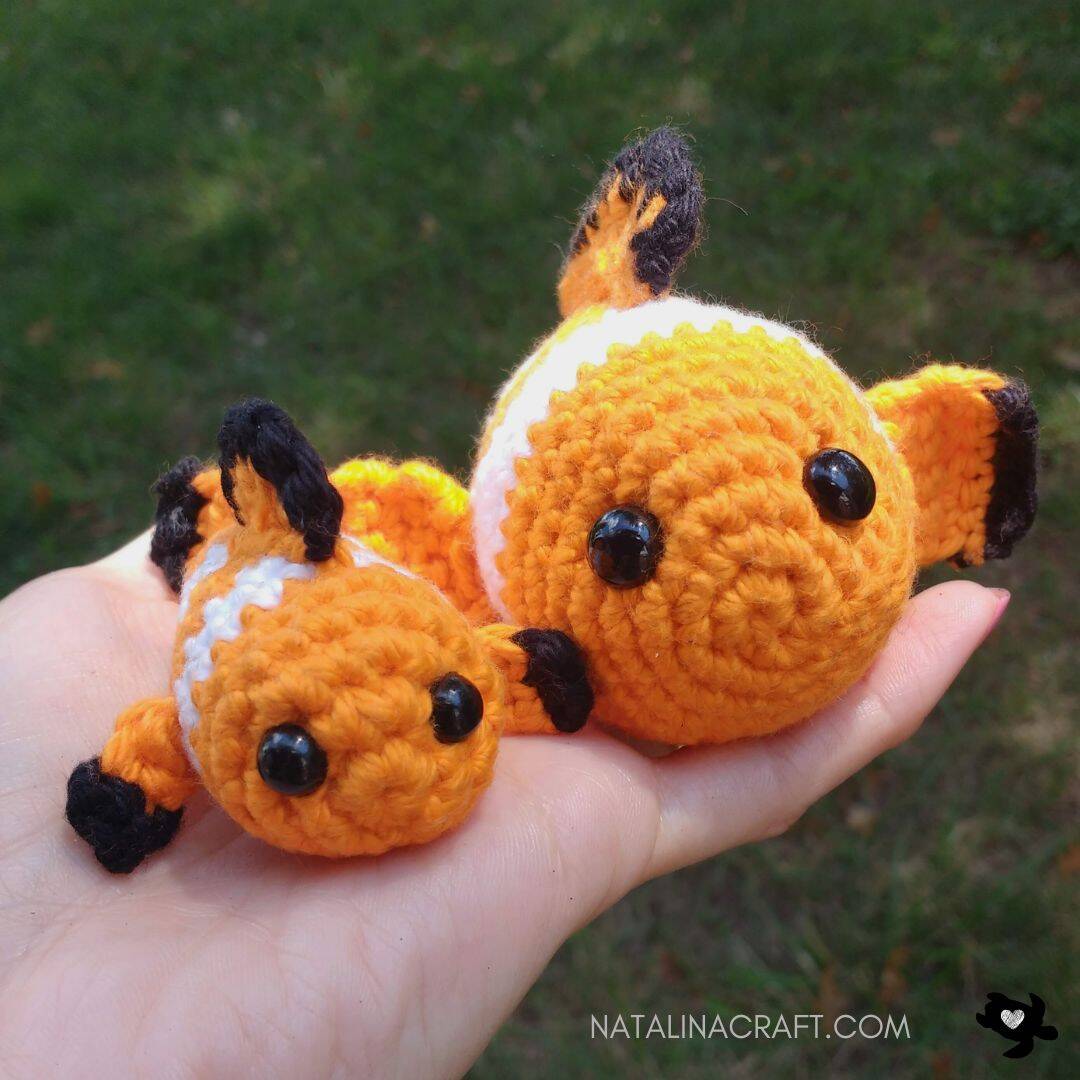
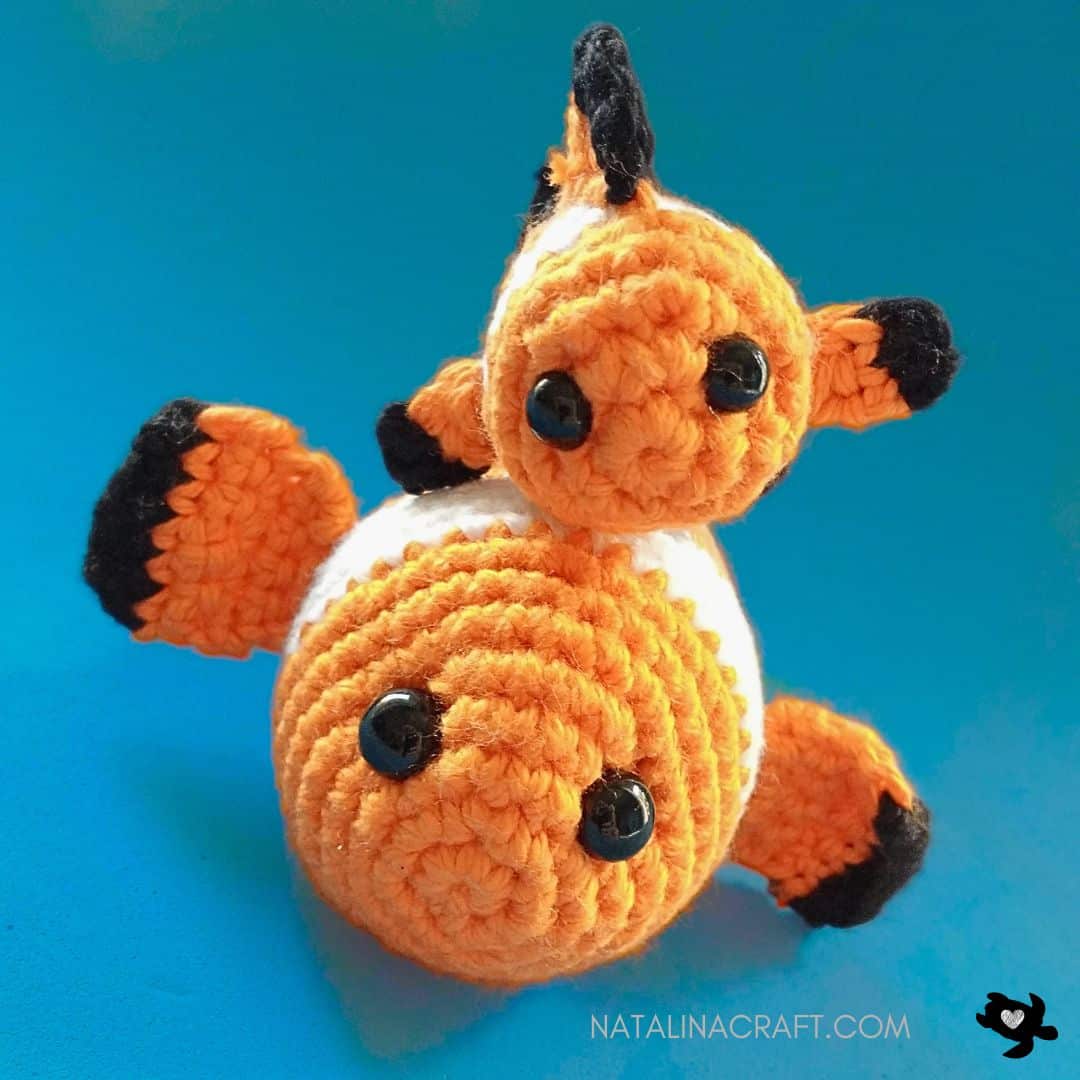
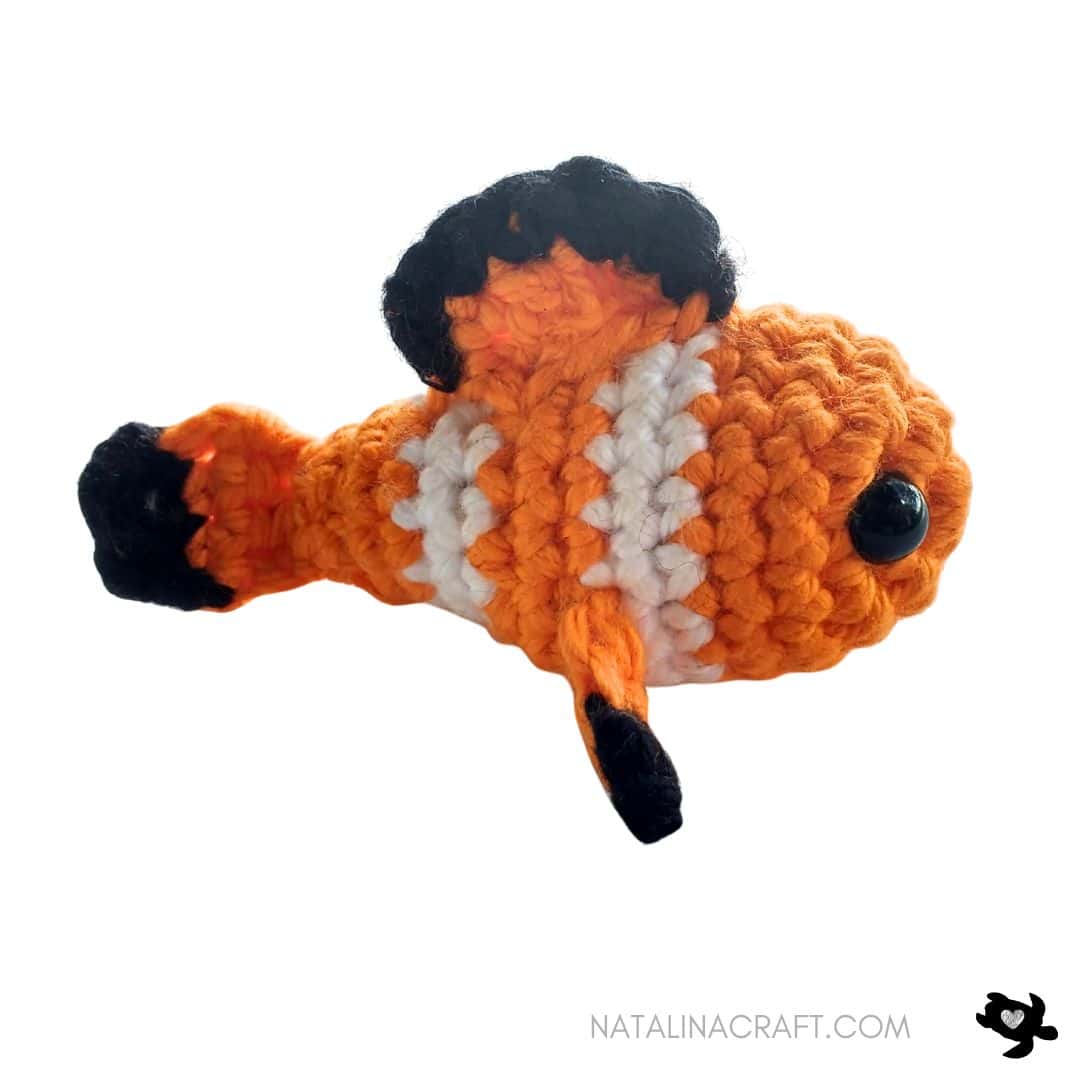
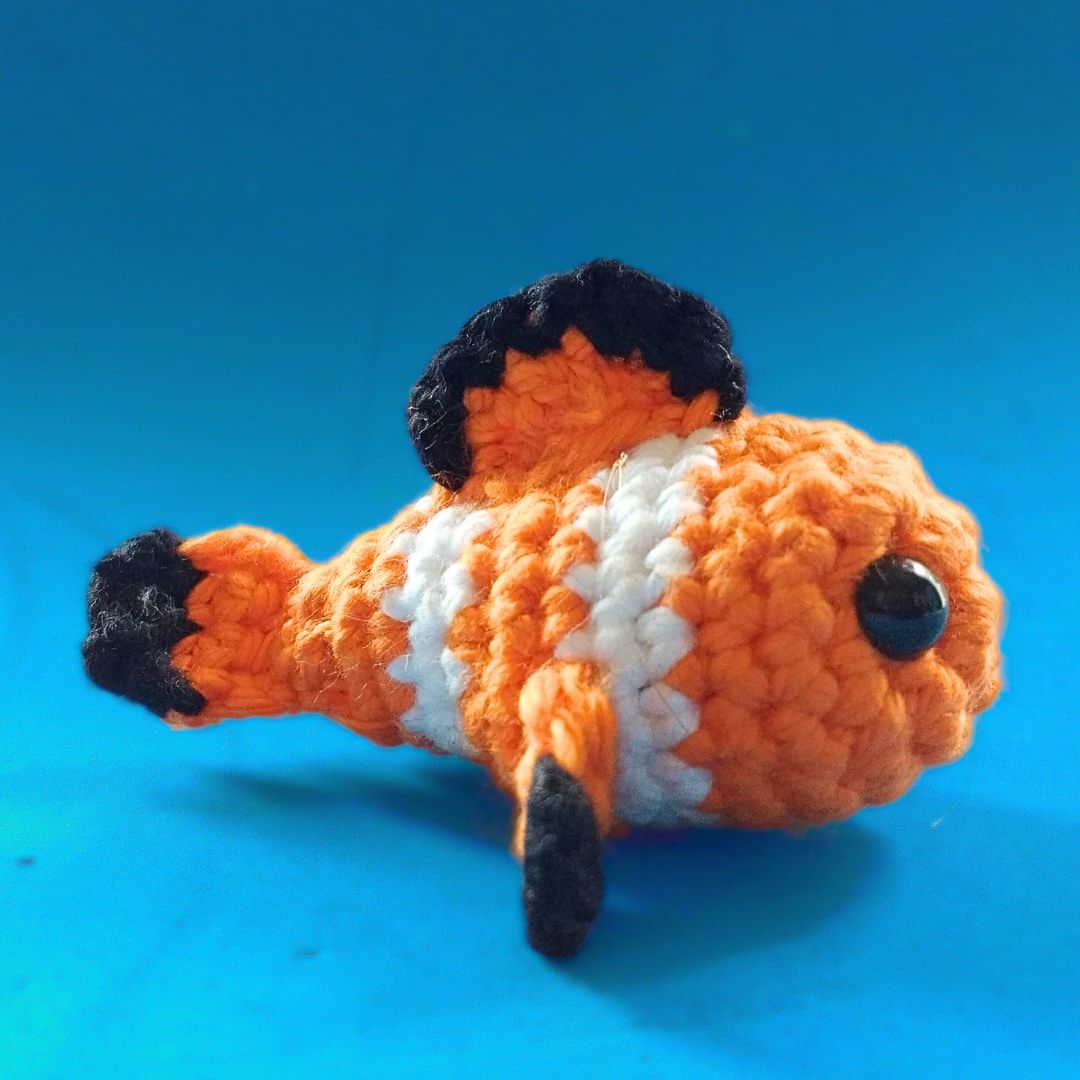
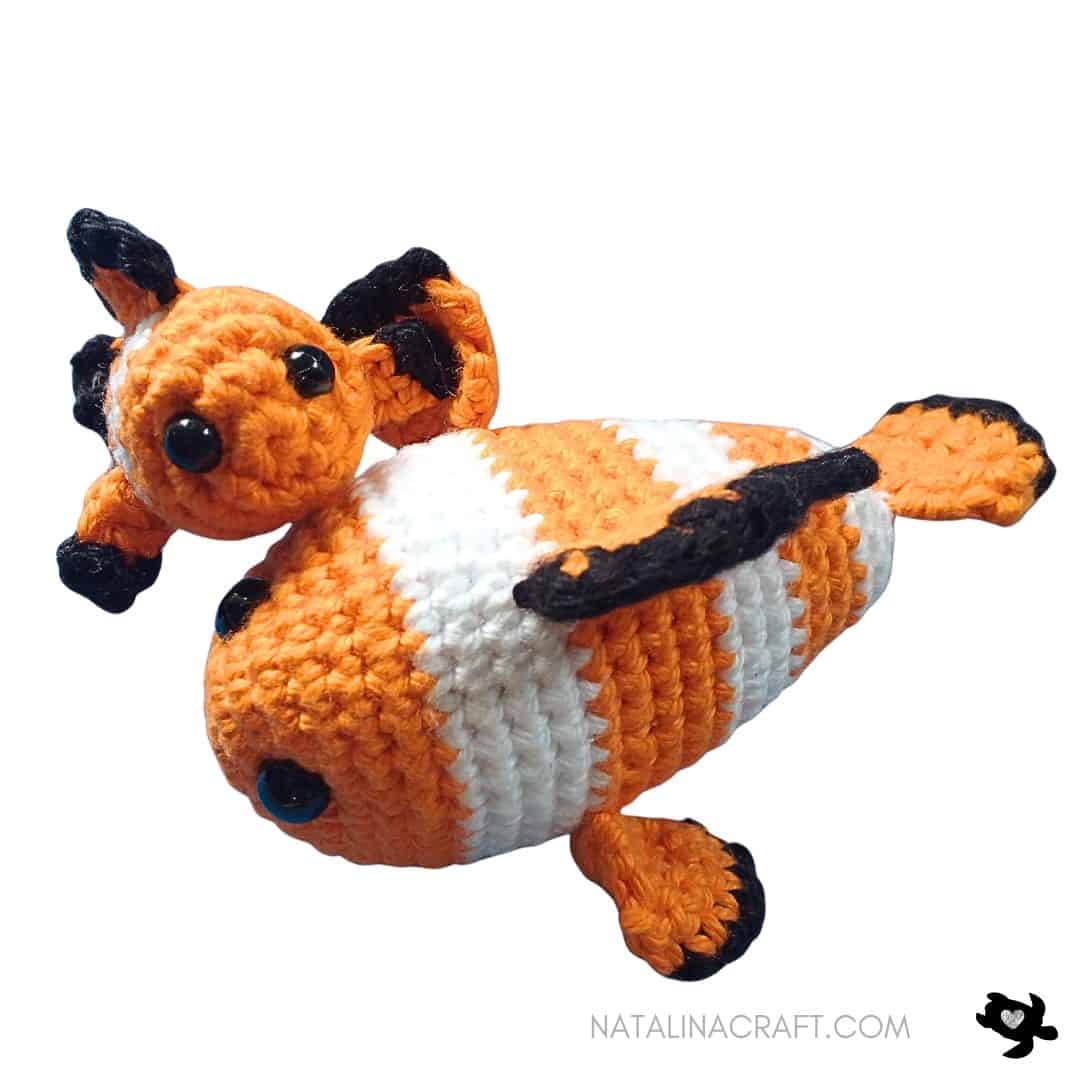
Remember when I shared the story of my 3-year-old son obsessing over Finding Nemo? Well, we had the big dad fish (Marlin), but the story wasn’t complete without his brave little son, Nemo! 🎬
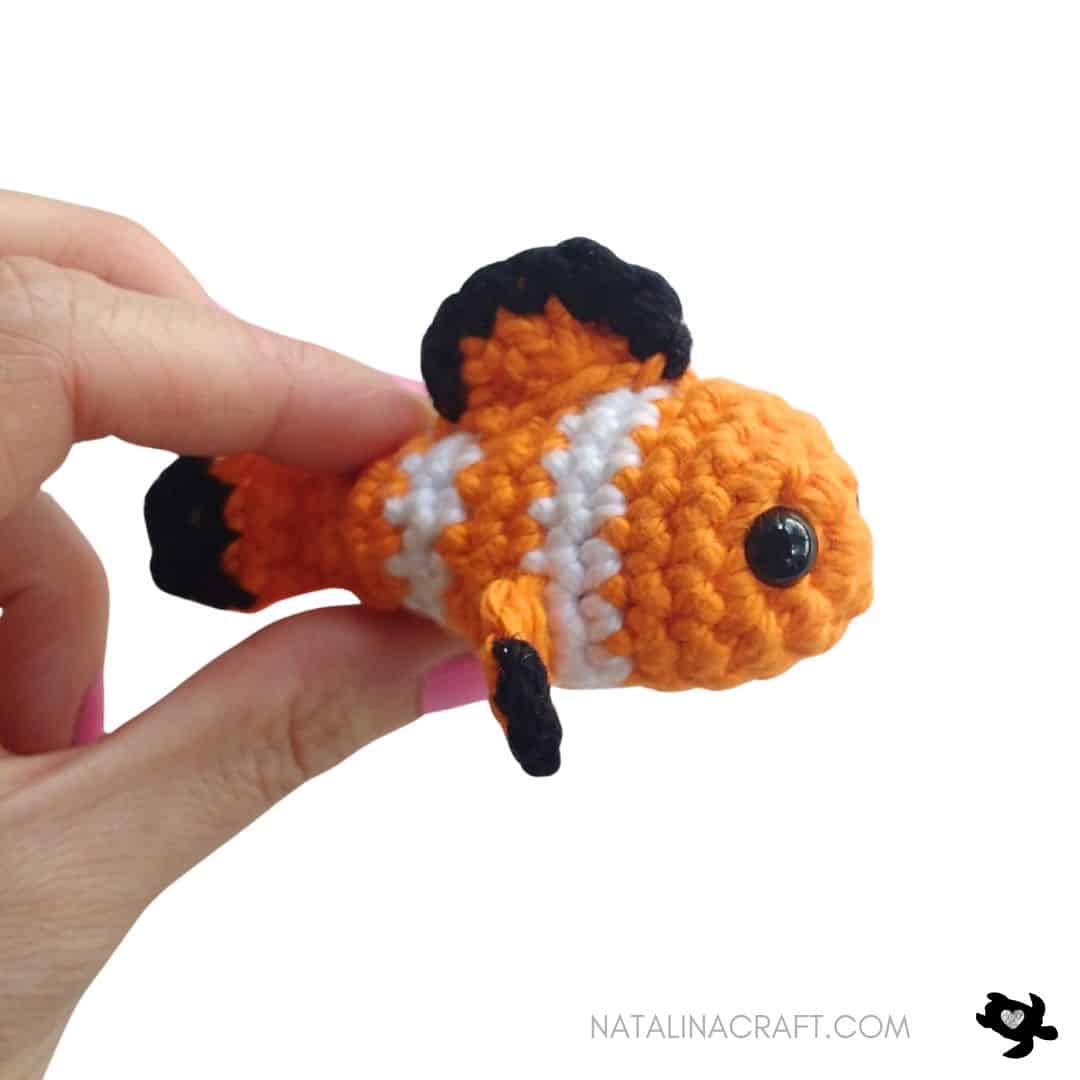
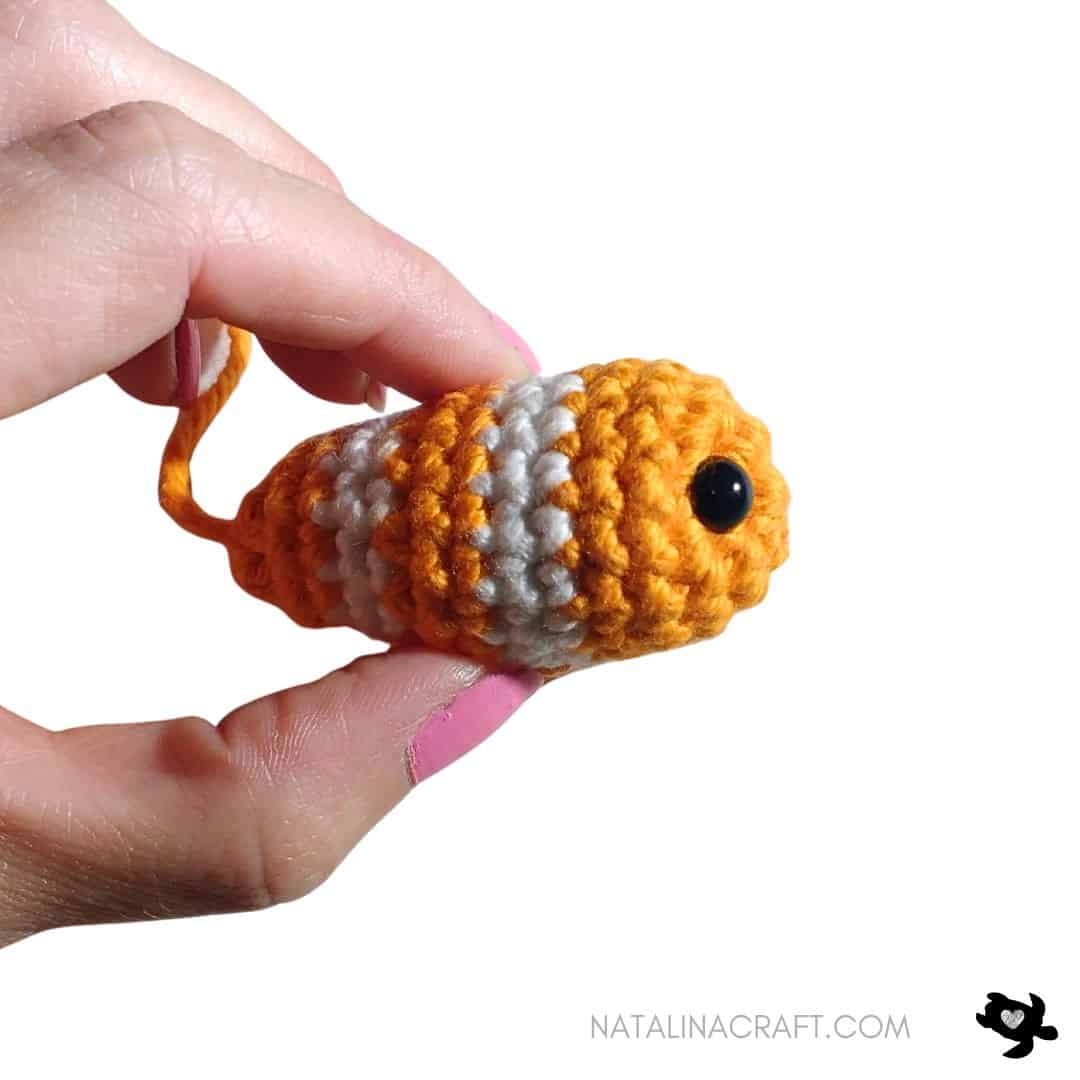
While my larger clownfish pattern is perfect for cuddling, I needed something tiny enough to fit in a little palm (or hang on a backpack). That’s why I designed this Mini Clownfish. At just 2 inches tall, he’s the perfect pocket-sized companion.
I’ll let you in on a little designer secret: To make this tiny fish look extra realistic, I actually used two different hook sizes for the side fins! Using a slightly smaller hook for one fin and a larger one for the other gives them a slightly asymmetrical look, just like the famous little fish. It’s a tiny trick that makes a huge difference in the final character!
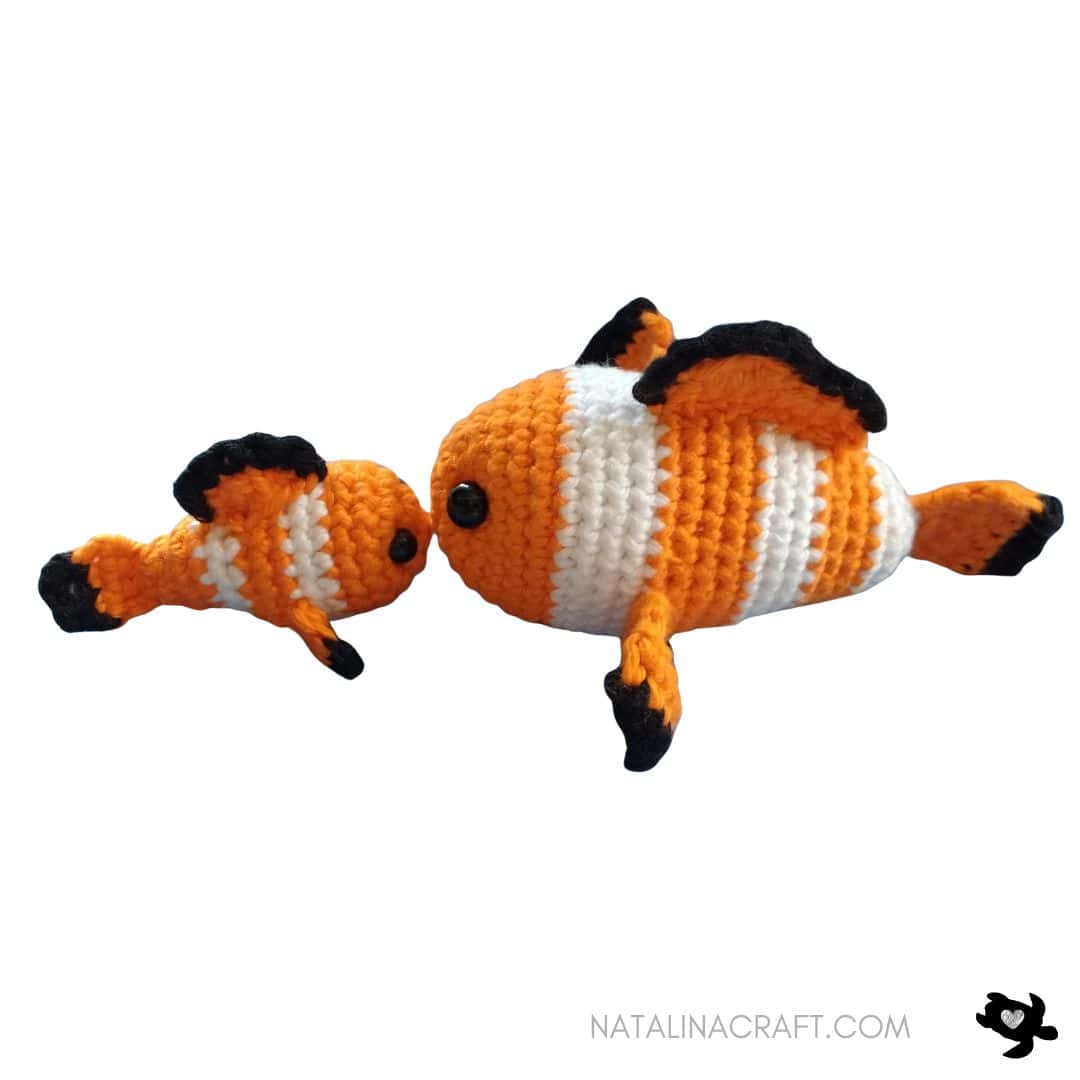
This pattern works up in under 30 minutes, making it the ultimate scrap-buster project. Whether you want to create the full Marlin & Nemo duo (grab the Large Clownfish pattern here! 👨👦), make a cute keychain, or even create a whimsical ‘fish in a jar’ decoration, this little guy is ready to swim.
Below, you’ll find the full free pattern, including my tips for stuffing such a small shape and how to attach the fins for maximum cuteness. Let’s dive in!
Join my Facebook group here, where you can ask questions, share your finished projects, and help me choose future designs!
I hope you enjoy the pattern and find it easy to follow. If you have questions, feel free to reach out—I’ll do my best to help. I’d love to see your fish! Share your finished projects using #natalinacraft.
Question for you: What should I design next? A mini turtle? Let me know in the comments below!


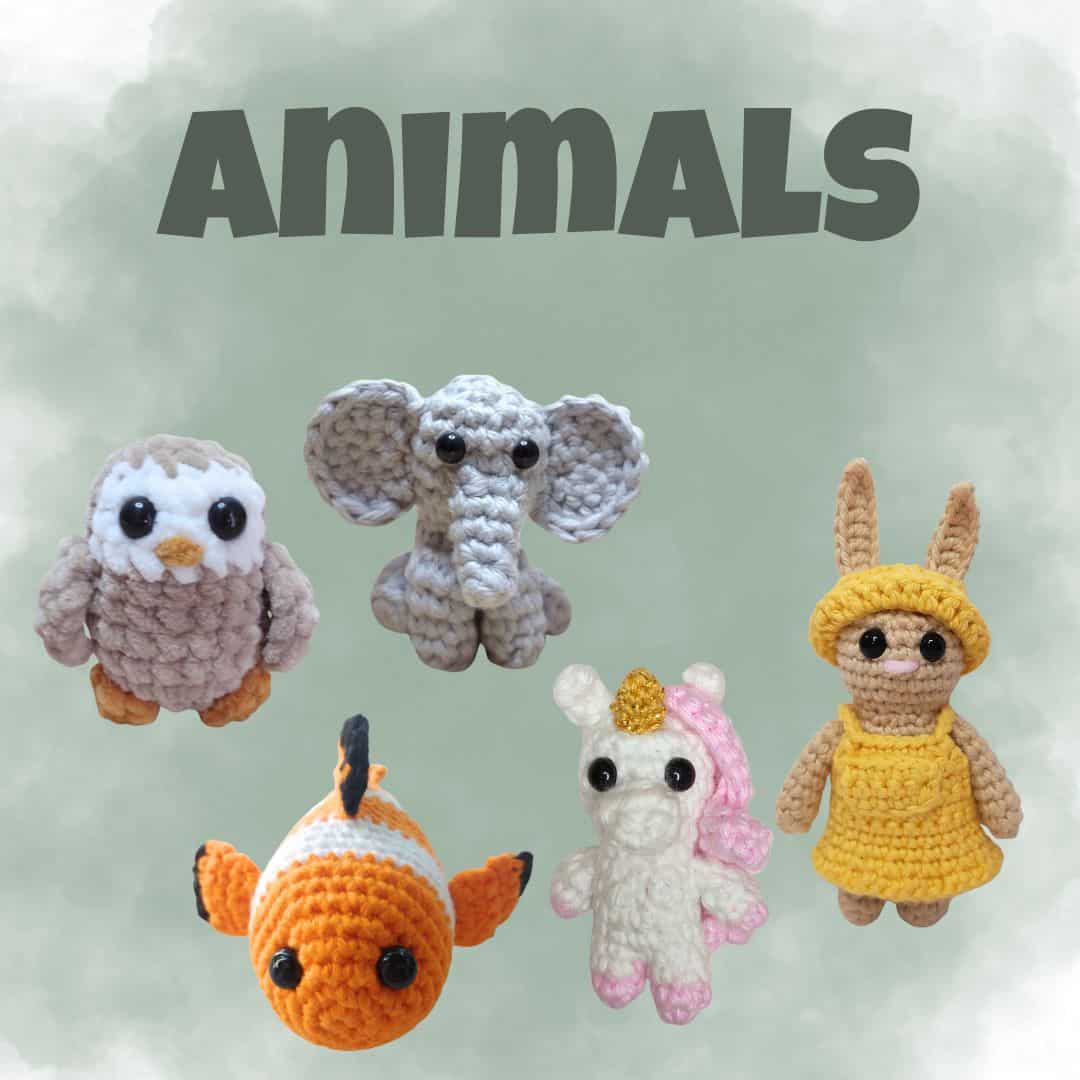
Looking for more Animal ideas?
Pattern Quick Facts:
- Skill Level: Beginner (Perfect for first-time amigurumi!)
- Finished Size: Approx. 2 inches (5 cm) tall (Very small – perfect for keychains!)
- Time to Complete: 20–30 minutes (Super Quick!)
- Sewing Level: Minimal (Tiny fins attach quickly)
- Yarn Weight: Light Worsted (Category 3)
- Hook Size: US E (3.5 mm) (See designer note for fins!)
- Terms: US Crochet Terms
Designer Notes & Tips for Success:
- The “Realistic Fin” Trick: Want your fish to look extra real? Try this: Crochet one side fin with a 3.5 mm hook and the other with a 3.0 mm hook. The slight size difference mimics the natural asymmetry of the famous fish! If you don’t have two hooks, don’t worry—using the same hook works perfectly too.
- Stuffing Tiny Spaces: Because this fish is so small, stuffing can be tricky. Tip: Roll your polyfill into tiny, firm balls before pushing them in. Use the blunt end of a crochet hook or a pencil eraser to pack the stuffing firmly into the head and tail.
- Yarn Choice: I used I Love This Cotton for crisp stripes and defined stitches. However, if you want a softer, squishier Nemo for a baby, acrylic yarn works great too!
- Baby-Safe Option: This pattern uses 6mm safety eyes. If making for a child under 3, embroider the eyes with black yarn instead.
Why You’ll Love This Mini Clownfish
- Super quick and easy project
- Perfect for beginners
- Ideal for keychains or small gifts
- Uses very little yarn (great for scraps)
- Cute and recognizable design
FAQ
Is this mini clownfish crochet pattern beginner-friendly?
Yes! It uses basic stitches and simple construction, making it great for beginners.
How big is the finished clownfish?
This is a very small amigurumi, perfect for keychains or tiny decorations.
Can I use this pattern for a keychain?
Yes! This pattern is ideal for making cute crochet keychains.
What yarn works best for this pattern?
Cotton or acrylic yarn works well. Use a smaller hook to keep the stitches tight.
Materials
- Light worsted yarn in: Orange, White, Black
- US E (3.5 mm) (See designer note for fins!)
- 2 black safety eyes (6 mm)
- Polyfill stuffing
- Stitch marker (optional)
- Tapestry needle
Abbreviations
- ch = chain
- mr = magic ring
- sc = single crochet
- inc = increase
- dec = invisible decrease
- sl st = slip stitch
- hdc = half double crochet
- dc = double crochet
Yarn Used
Light worsted cotton yarn in orange, white, and black
Brand: I Love This Cotton! by Hobby Lobby
Colors: Black (02), White (06), Glowing (102)
How to crochet a baby clownfish?
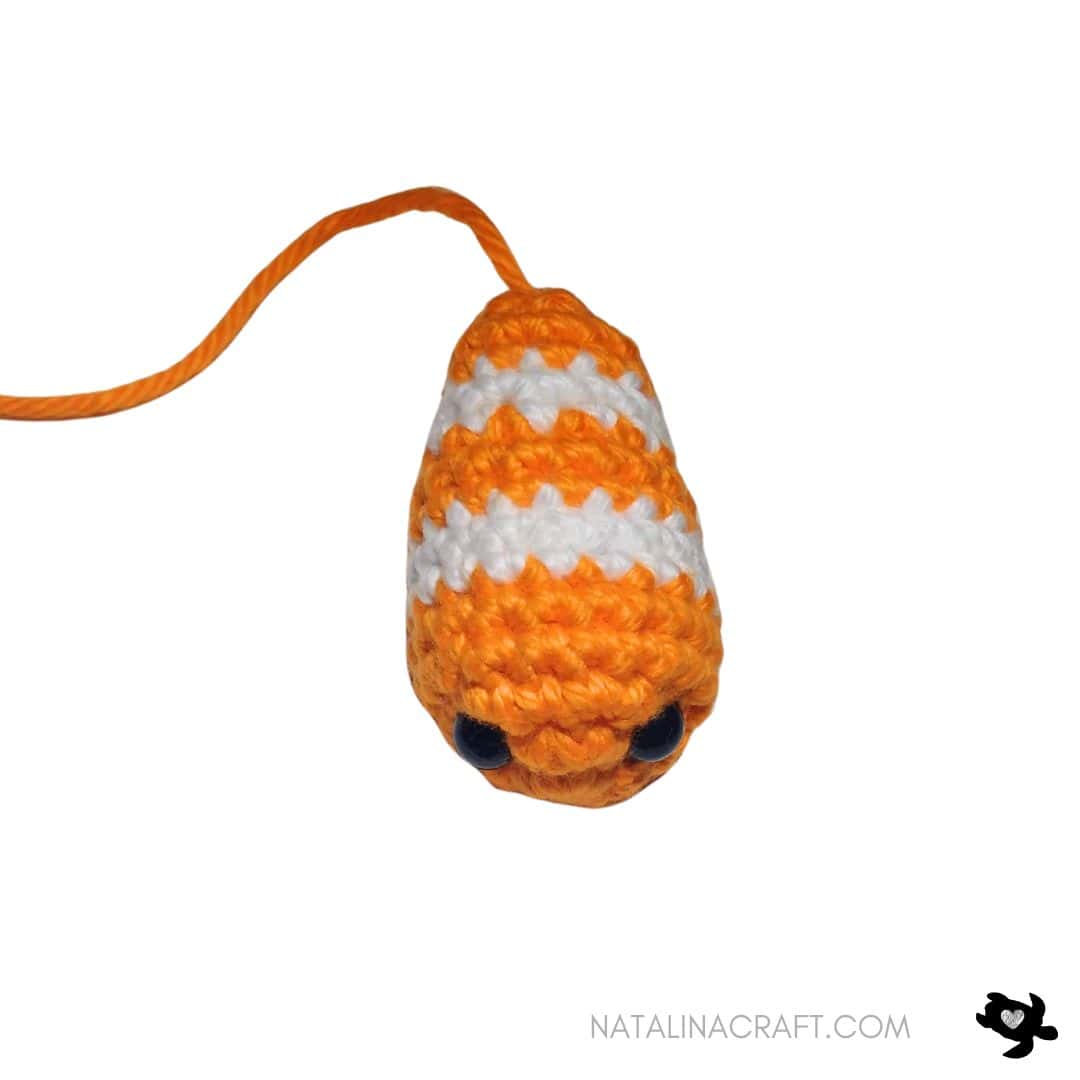
Head and Body
- Worked in continuous rounds. Do not turn unless stated. Use a stitch marker if needed.
With orange yarn and a 3.5 mm hook:
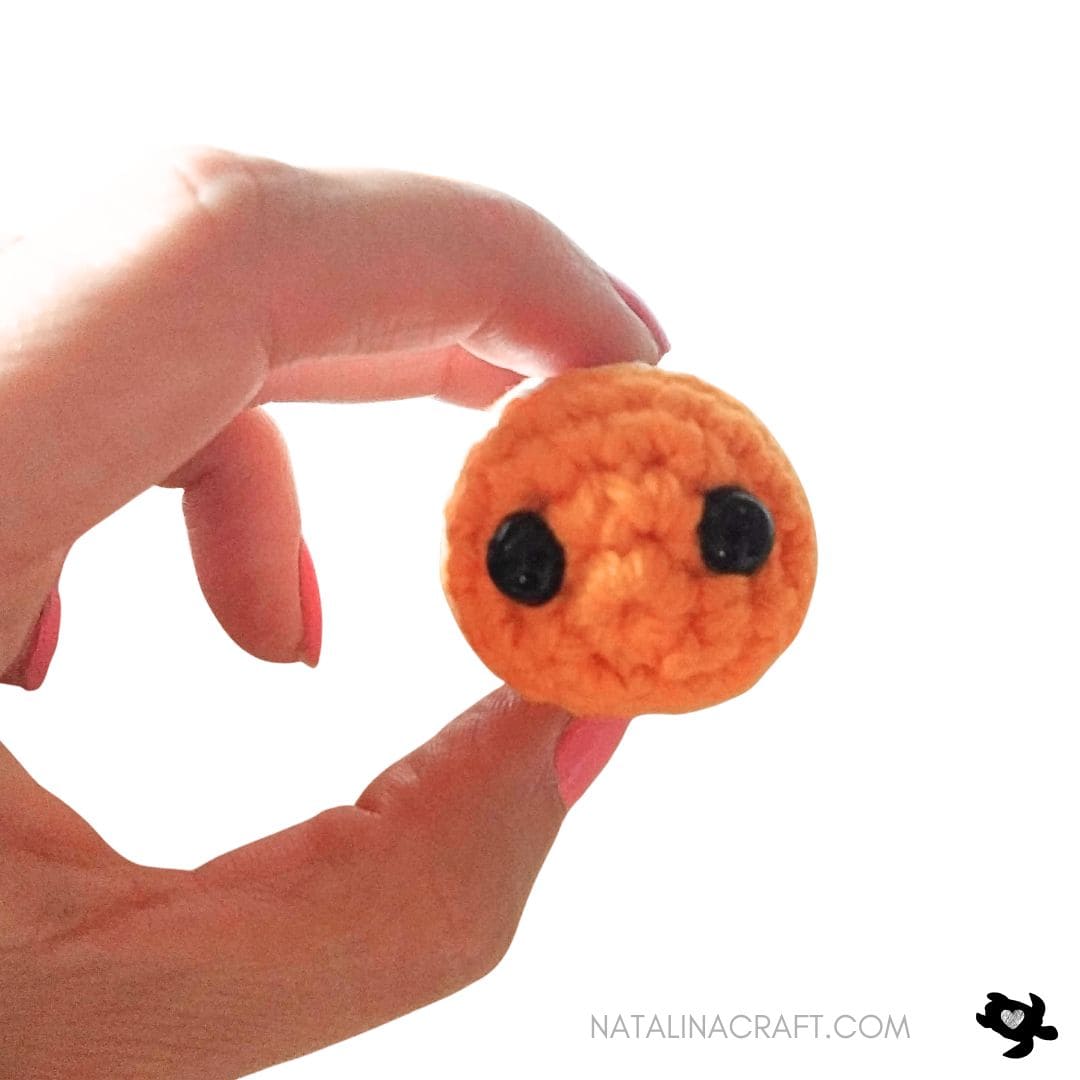
- Round 1: 6 sc in a magic ring. (6)
- Round 2: 6 inc. (12)
- Round 3: [1 sc in next st, 1 inc in next st] x6. (18)
- Rounds 4 to 5: 1 sc in all st. (18)
Change to white yarn:
- Rounds 6–7: 1 sc in all stitches. (18)
Insert safety eyes between Rounds 2 and 3, spaced 2 stitches apart.
Change to orange yarn:
- Rounds 8–9: 1 sc in all stitches. (18)
Begin stuffing the fish.
Change to white yarn:
- Round 10: (1 sc, 1 dec) × 6. (12)
- Round 11: 1 sc in all stitches. (12)
Change to orange yarn:
- Rounds 12–13: sc in all stitches. (12)
Finish stuffing firmly.
- Round 14: 6 dec. (6)
Fasten off and close the body.
Caudal (Tail) Fin
With black yarn and a 3.5 mm hook:
- Row 1: ch 4. (4)
- Row 2: turn, 1 sc in 2nd ch from hook, 1 sc in the 2 next st. (3)
Change to orange yarn:
- Row 3: ch 1, turn. 1 sc in the 3 st. (3)
- Row 4: ch 1, turn. 1 sc in the 3 st. (3)
- Row 5: ch 1, turn. 1 sc in the first st, 1 dec. (2)
Fasten off, leaving a tail for sewing.
Attach the fin to the back of the body.
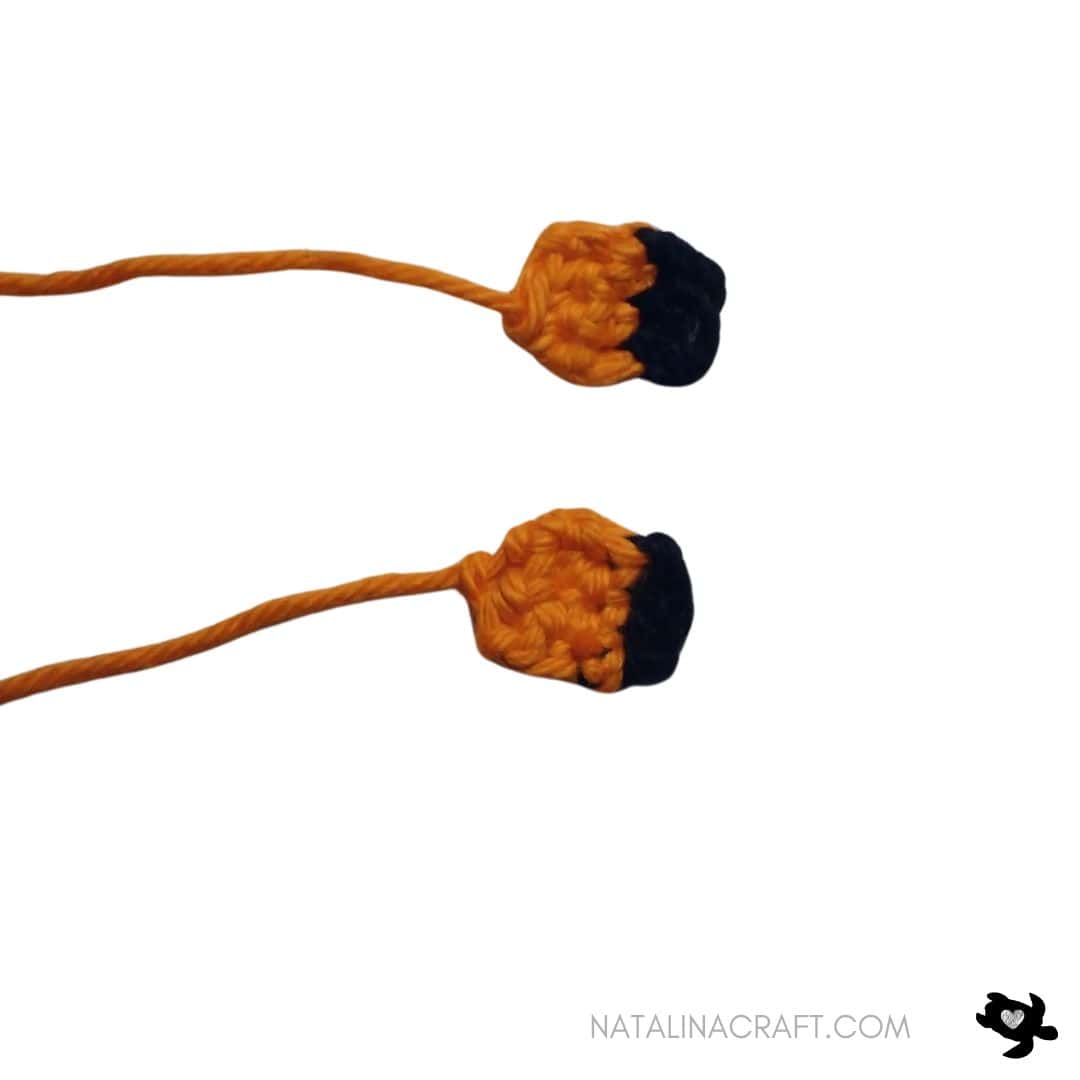
Pelvic Fins (Make 2)
Optional tip: To create slightly different-sized fins, you can use a 4 mm hook for one fin and a 3 mm hook for the other.
With black yarn and a 3.5 mm hook:
- Row 1: ch 3. (3)
- Row 2: 1 sc in 2nd ch from hook, 1 sc in the next st. (2)
Change to orange yarn:
- Row 3: ch 1, turn. 1 sc in the 2 st. (2)
- Row 4: ch 1, turn. 1 dec. (1)
Fasten off.
Attach one fin to each side of the body between Rounds 7 and 8.

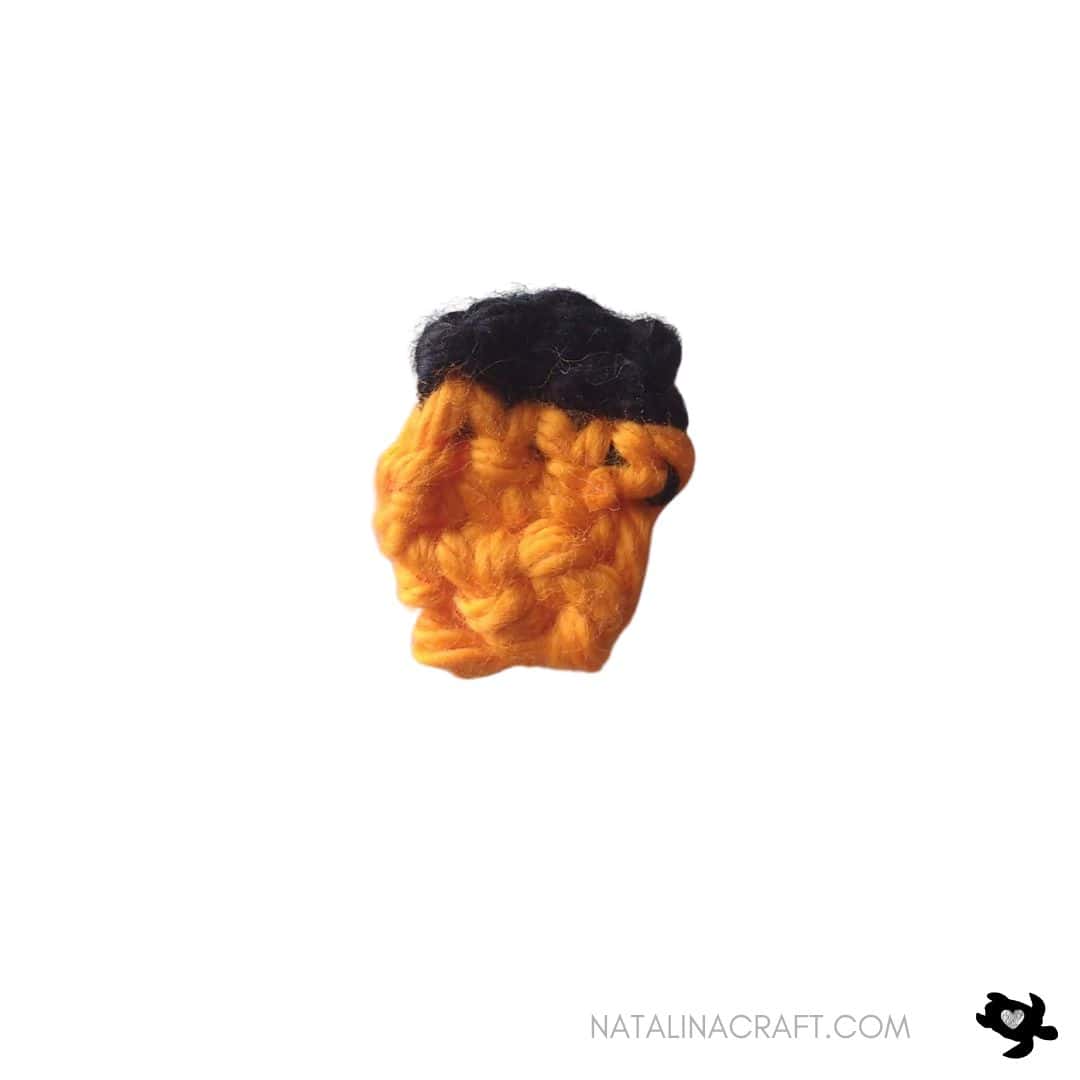
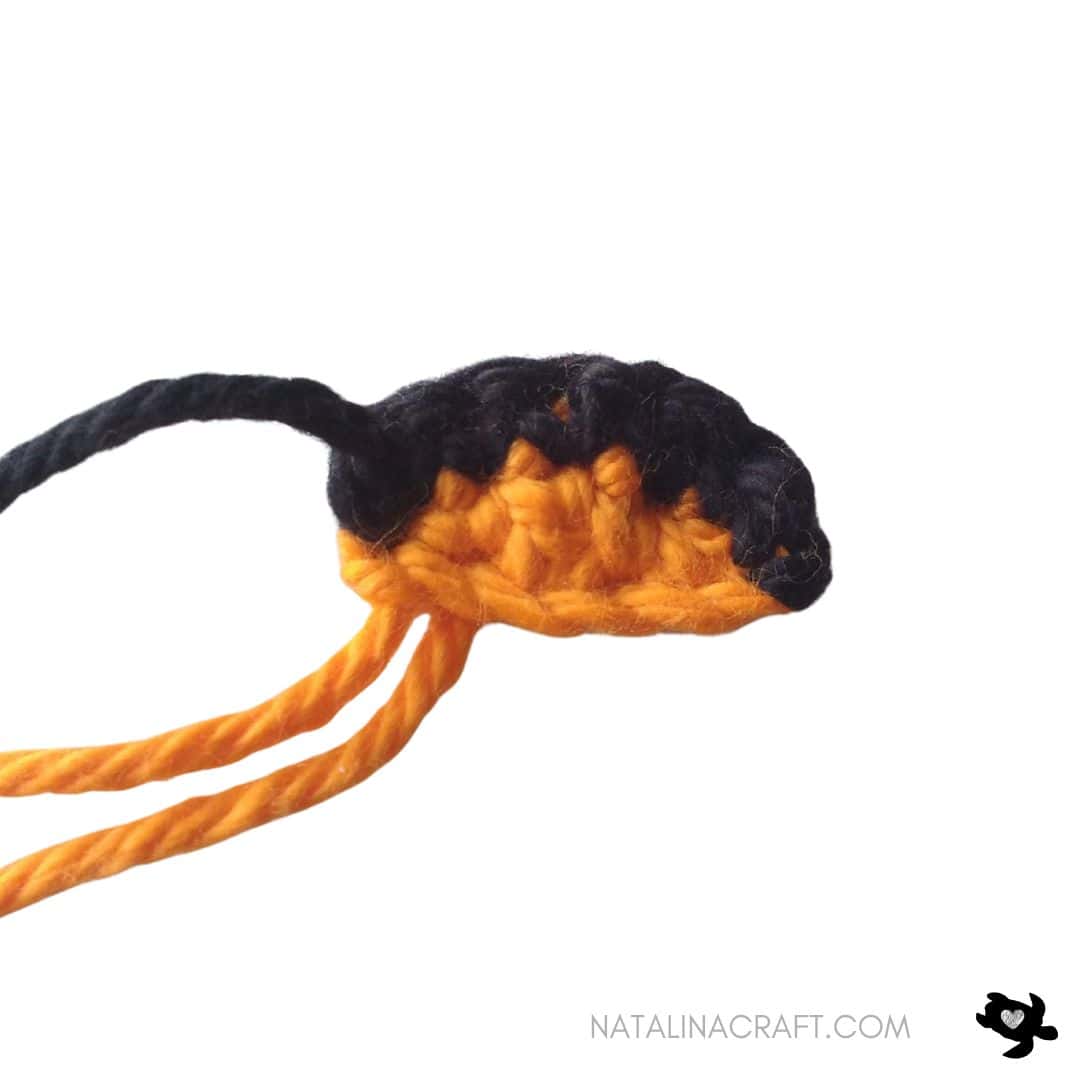
Dorsal Fin
With orange yarn and a 3.5 mm hook:
- Row 1: ch 6. (6)
- Row 2: 1 sc in 2nd ch from hook, 1 sc in the next st, 1 dc, 1 sc in the 2 next st. (5)
Change to black yarn:
- Row 3: ch 1, turn. 1 sc in all st. (5)
Fasten off.
Attach the dorsal fin to the top center of the body, with the front of the fin placed between Rounds 5 and 6.
🌊 You did it! Now you have your very own Nemo!
Show me your duo: Did you make just the baby, or did you pair him with the big Marlin? I’d love to see your father-son duo! Tag me @NatalinaCraft on Instagram with #NatalinaCraft for a chance to be featured.


Copyright Notice
All rights reserved. This pattern and all accompanying photographs are the property of Natalina Craft and are protected by copyright law. This pattern is for personal use only. Any unauthorized reproduction, redistribution, or publication of this pattern, in whole or in part, is strictly prohibited.
You are welcome to sell finished items made from this pattern in small quantities. While crediting Natalina Craft as the designer is not required, it is always greatly appreciated, especially when selling online, so others can find the original pattern.
Thank you for respecting these guidelines.
Crochet Fish Amigurumi: Baby Clownfish
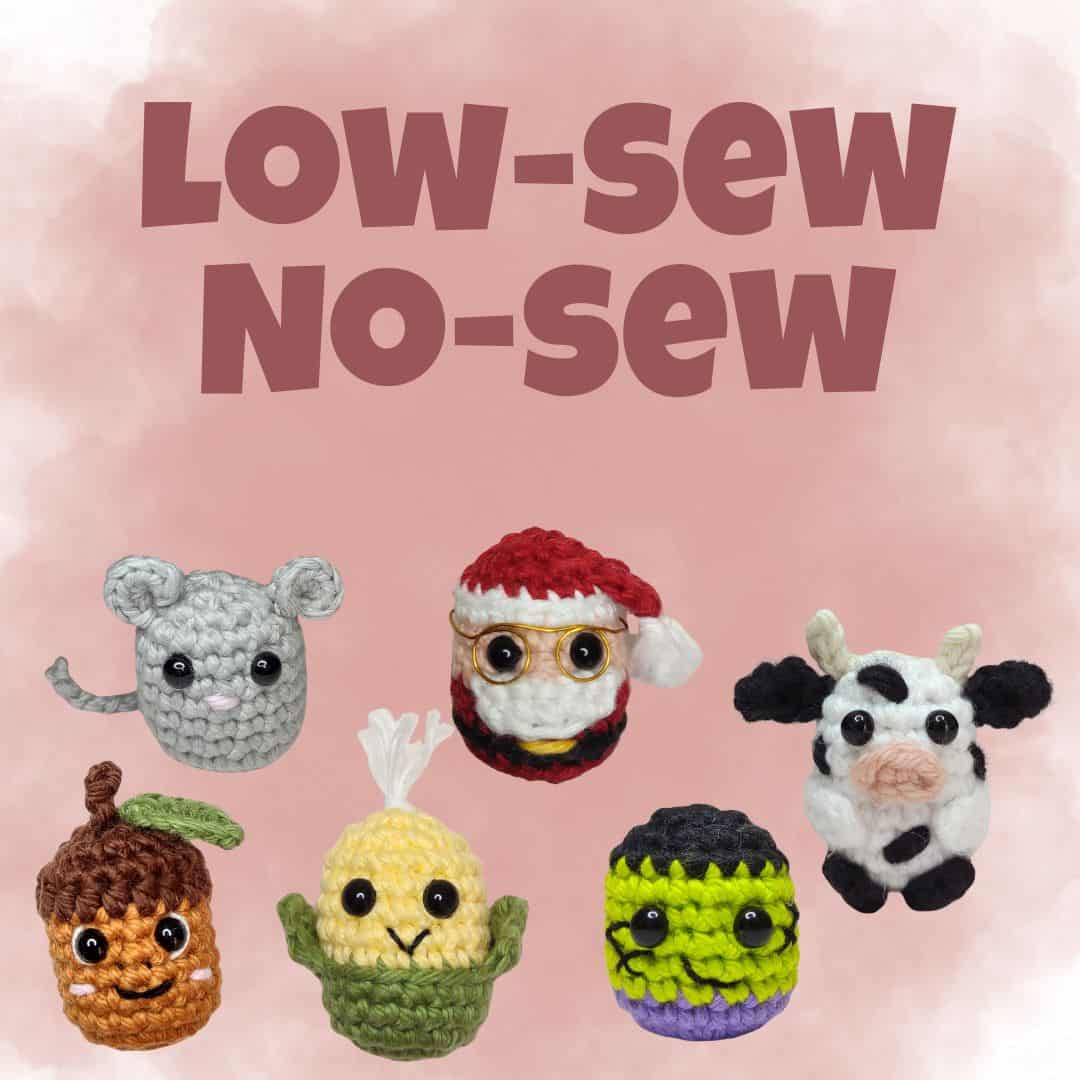
Looking for more Low-Sew/No-Sew crochet ideas?
Light worsted cotton yarn in orange, white, and black. Brand: I Love This Cotton! by Hobby Lobby. Colors: Black (02), White (06), Glowing (102) With orange yarn and a 3.5 mm hook: Change to white yarn: Insert safety eyes between Rounds 2 and 3, spaced 2 stitches apart. Change to orange yarn: Begin stuffing the fish. Change to white yarn: Change to orange yarn: Finish stuffing firmly. Fasten off and close the body. You may also like: With black yarn and a 3.5 mm hook: Change to orange yarn: Fasten off, leaving a tail for sewing. Attach the fin to the back of the body. Optional tip: To create slightly different-sized fins, you can use a 4 mm hook for one fin and a 3 mm hook for the other. With black yarn and a 3.5 mm hook: Change to orange yarn: Fasten off. Attach one fin to each side of the body between Rounds 7 and 8. With orange yarn and a 3.5 mm hook: Change to black yarn: Fasten off. Attach the dorsal fin to the top center of the body, with the front of the fin placed between Rounds 5 and 6. 🎉 Congratulations! Your baby clownfish is complete!If you made one, please tag @natalinacraft and use #natalinacraft—I’d love to see your creation Copyright Notice All rights reserved. This pattern and all accompanying photographs are the property of Natalina Craft and are protected by copyright law. This pattern is for personal use only. Any unauthorized reproduction, redistribution, or publication of this pattern, in whole or in part, is strictly prohibited. You are welcome to sell finished items made from this pattern in small quantities. While crediting Natalina Craft as the designer is not required, it is always greatly appreciated—especially when selling online—so others can find the original pattern.Thank you for respecting these guidelines.Crochet Fish Amigurumi: Baby Clownfish
Instructions
Start Here
Materials
Abbreviations
Yarn Used
How to crochet a baby clownfish?
Head and Body
Caudal (Tail) Fin
Pelvic Fins (Make 2)
Dorsal Fin
I wish there was a link to print the pattern from this page.
Debbie, I am sorry, I don’t have this option on my blog for the moment but I hope to be able to work on it soon.
copy and paste so you can leave out the adverts
I am a preschool teacher. One of my favorite students is moving and her favorite toy in our room is a clown fish. I made this and the daddy one (minus the eyes, she’s only 6 months old) for her to take with her and she loved it. Thank you so much for sharing this pattern. It was well written and easy to follow.
Thank you very much for your nice comment. I am glad you liked the pattern.
I thought I should give this a try because it’s just about the cutest thing I’ve ever seen. Have unfortunately never done anything crochet in my entire life and have (except for all the basic crochet that I’ll try to learn from youtube) two questions for this pattern; at what point (how) do you stuff the fish and how are the fins attached?
Hi Carina, I would start to do the stuffing after round 9 of the body and then I would add more stuffing after round 13 (just before to decrease to 6 st). You can push the stuffing in with a pen or the back of your crochet hook. When you do the fins, leave a long tail so you can attach them to the body with your tapestry needle. I hope that helps! Let me know if you have anymore questions.
Love this adorable little fishy!!! I am working on him now and he is almost finished but the only issue that I’m facing is weaving in the tails on the fins. They are so small that there isn’t many stitched to weave into and it ends up coming loose. Any tips?
Thank you. I did weave in the tails back and forth a couple of time, to make sure it stays in.
I completed this and it’s super cute, but I was having the same issues with the yarn tails on the fins keep poking out. I guess I didn’t leave long enough tails to weave back and forth. I should have read this first!
Dear Colleen, I’m so glad you finished it and found it super cute! Yes, those little tails can be tricky! Leaving longer tails definitely helps with weaving them in securely. And if they still try to sneak out, a tiny dab of fabric glue can really help hold them in place. Thanks so much for your message.
Me encanta tejer y éstos pecesitos son una ternura,mil gracias por el tutorial.
Muchas gracias!
What is a magic ring?
Hi, I am so sorry for my late reply. Let me know if you still need help and I will do my best.
Thank you for the nice pattern. Easy to follow! 🙂👍!
Made it into a “no fuss fish” for a work friend 😘!
Thank you!
Obrigada por partilhar vou fazer um Aquarium vai ficar muito bom mais uma vez obrigada da Alemanha
Thank you very much for your kind words
Love the clownfish. I just finish. So cute and easy. Thank you
Thank you for your kind words
Thanks for the pattern. I would like to make Nemo’s father Marlin too. do you have the free pattern?
You are very welcome. You can find the pattern for its father here: https://www.natalinacraft.com/free-crochet-pattern-clownfish-amigurumi-patron-gratuit-poisson-clown/
merci pour le partage ce petit Némo est très mignon je compte bientôt le crocheter ! bonne continuation à ce blog .
Merci beaucoup!
Adore able and so easy. maybe I do a fishtank
Thank you very much
My toddler recently watched Finding Nemo and I can’t wait to finish making this for him! One question though, do you have any tips on weaving the ends or hiding the knots? The fins are so small, so when I try to weave in the ends, the ends make the fins so bulky. Same with the knots from changing colors. Thank you!
I’m so glad you’re making this for your little one! Great question about the ends, those small fins can definitely be tricky. When I can’t hide a tail in a small piece, I’ll sometimes secure it with a dab of fabric glue and snip it close once it’s dry (just be careful not to use too much). Hope that helps! Let me know how your fish turns out, I’d love to see it!