
Today, I’m excited to share a brand-new addition to my Christmas Mini crochet collection—the No-Sew Crochet Penguin Amigurumi 🐧❄️
Small, adorable, and incredibly quick to make, this little penguin is perfect for the busy winter and holiday season. Whether you’re preparing items for a farmers market, creating last-minute handmade gifts, or spreading a bit of crochet kindness, this tiny penguin is sure to steal hearts with its charm.
Designed using a no-sew technique, this pattern is not only fast but also easy and enjoyable to crochet. These sweet penguins make delightful additions to your winter décor, fun stocking stuffers, and thoughtful surprises that are guaranteed to bring smiles wherever they go.
Join my Facebook group, where you can ask questions, share your finished projects, and help me choose future designs!
I hope you enjoy this pattern and find it easy to follow. If you have any questions, feel free to reach out—I’ll do my best to help. And I’d absolutely love to see your creations, so don’t forget to share your finished penguins using #natalinacraft. Seeing your beautiful work truly makes my day 🧶✨


Crochet Pattern – No-sew Crochet Penguin
Start Here
Please read the entire pattern before starting.
This pattern is written using US crochet terms.
Parts
- Body
- 2 wings (attached, no sewing)
Finished Size
Approx. 1.25 in (3 cm) using light worsted yarn.
Material:
- Worsted in black and orange
- Belly: Chunky/plush white yarn OR 2 strands of light worsted white yarn (used for embroidery, not crocheted)
- Small amount of white pearl cotton or cotton thread (size 8) for eye highlights
- 2.75 mm (US C-2) crochet hook
- 2 black safety eyes (6 mm) if you use worsted yarn
- Stitch markers (if needed)
- Tapestry needle
- Polyfill
Abbreviations:
- ch – chain
- mr – magic ring
- sc – single crochet
- inc – increase
- dec – invisible decrease
- sl st – slip stitch
- blo – back loop only
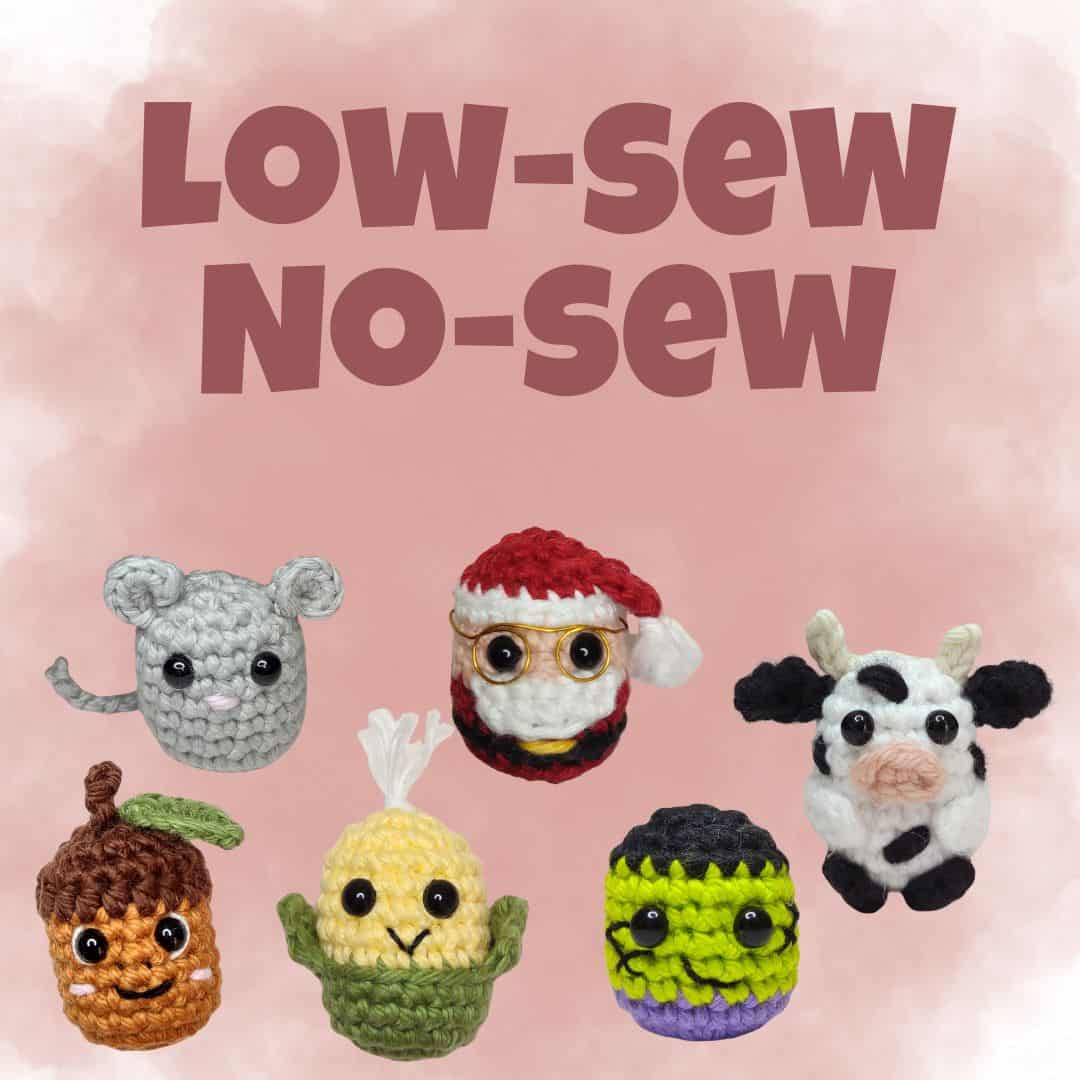
Looking for more Low-Sew/No-Sew crochet ideas?
How to crochet a penguin?
Body
- Worked in continuous rounds.
Use a stitch marker if needed. - Stuff as you go.
With black yarn:
-
- Round 1:6 sc in a magic ring. (6)
- Round 2: [6 inc]. (12)
- Round 3: [1 inc in the next st, 1 sc]x6. (18)
- Rounds 4-6: [1 sc in all st]. (18)
- Round 7 (Wing attachment round):
- 1 sc in next 3 st
- working in blo: 1 sc in next 2 st
- 1 sc in next 8 st (both loops)
- working in blo: 1 sc in next 2 st
- 1 sc in next 3 st (both loops)
(18)
👉 The unworked front loops from this round will be used to attach the wings.
- Rounds 8-10: [1 sc in all st]. (18)
Face Details
Place safety eyes between Rounds 8 and 9, spaced by 2 stitches and centered between the wing attachment points (the unworked front loops from Round 7).
Using a tapestry needle:
- With 2 strands of white cotton, embroider small highlights at the outer corners of the eyes.
- With 2 strands of orange yarn, embroider a small beak between Rounds 7 and 8.
Finish the Body
- Round 11: [1 dec, 1 sc] x6. (12)
Stuff firmly.
- Round 12: [6 dec]. (6)
Fasten off, leaving a long tail. Close the opening with a tapestry needle.

Wings (make 2)
- Worked in rows
- Worked directly onto the body using the unworked front loops of Round 6.
Right Wing
(On the penguin’s left when facing it)
With black yarn:
- Row 1: Join yarn to the second-to-last front loop stitch.
1 sc in the same stitch, 1 sc in the next front loop stitch (2) - Row 2: ch1, turn: 2 sc. (2)
- Row 3: ch1, turn: 1 dec. (1)
Fasten off.

Left Wing
(On the penguin’s right when facing it)
With black yarn:
- Row 1: Join yarn to the last front loop stitch.
1 sc in the same stitch, 1 sc1 in the next front loop stitch (2) - Row 2: ch1, turn: 2 sc. (2)
- Row 3: ch1, turn: 1 dec. (1)
Fasten off.
White belly (optional)
With white chunky yarn or 2 strands of worsted yarn and a tapestry needle:
- Cover 2 stitches between Rounds 3–4 (center)
- Cover 4 stitches between Rounds 4–5
- Cover 4 stitches between Rounds 5–6
Fasten off and weave in ends.

🎉 Congratulations!
Your No-Sew Crochet Penguin is complete 🐧🧶
I’d love to see your finished penguin—don’t forget to share and tag me!


Copyright Notice
All rights reserved. This pattern and all accompanying photographs are the property of Natalina Craft and are protected by copyright law. This pattern is for personal use only. Any unauthorized reproduction, redistribution, or publication of this pattern, in whole or in part, is strictly prohibited.
You are welcome to sell finished items made from this pattern in small quantities. While crediting Natalina Craft as the designer is not required, it is always greatly appreciated—especially when selling online—so others can find the original pattern.
Thank you for respecting these guidelines.
No-sew Crochet Penguin
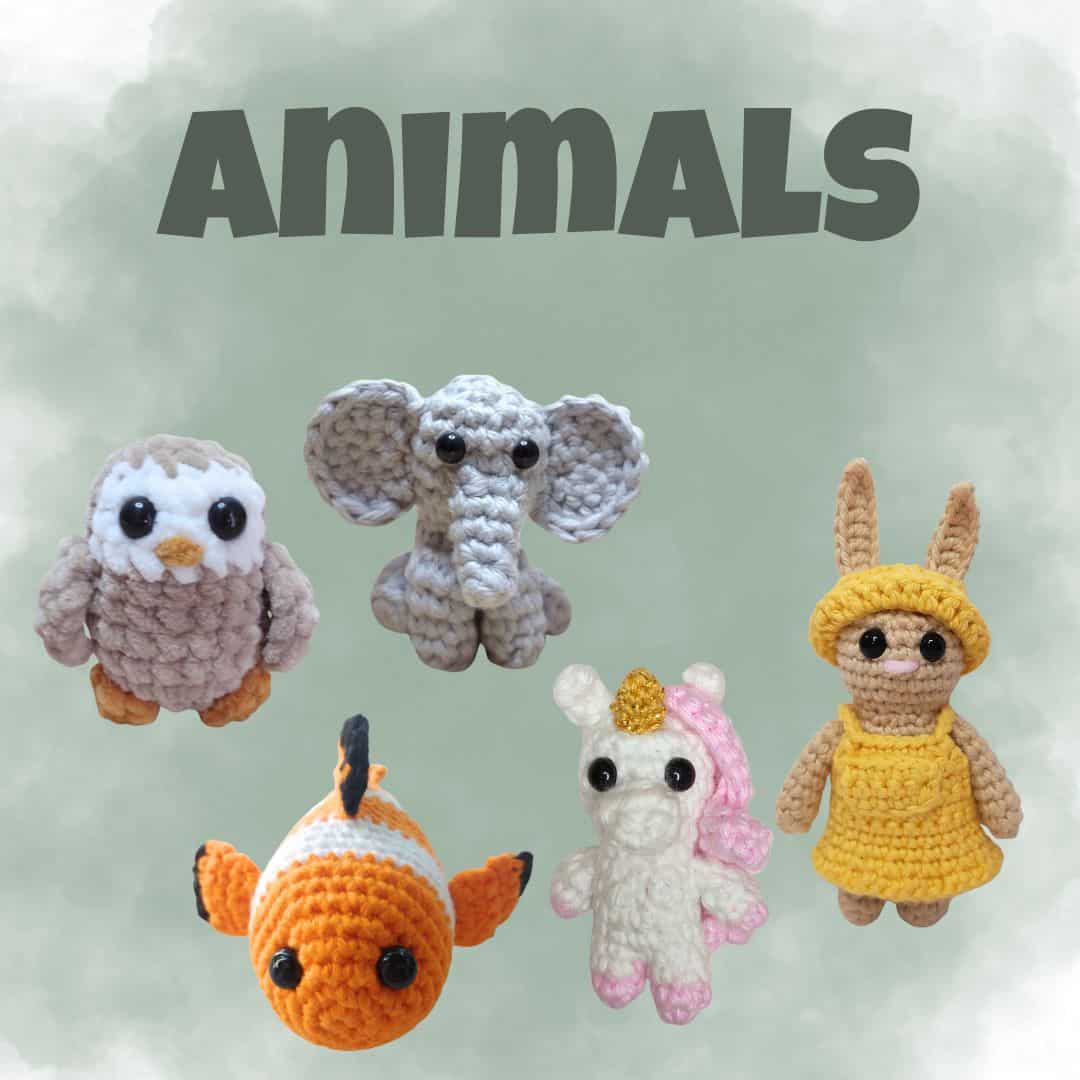
Looking for more Animal ideas?
No-sew Crochet Penguin
Instructions
Crochet Pattern - No-sew Crochet Penguin
Start Here
Please read the entire pattern before starting.This pattern is written using US crochet terms.
Parts
- Body
- 2 wings (attached, no sewing)
Finished Size
Approx. 1.25 in (3 cm) using light worsted yarn.
Material:
- Worsted in black and orange
- Belly: Chunky/plush white yarn OR 2 strands of light worsted white yarn (used for embroidery, not crocheted)
- Small amount of white pearl cotton or cotton thread (size 8) for eye highlights
- 2.75 mm (US C-2) crochet hook
- 2 black safety eyes (6 mm) if you use worsted yarn
- Stitch markers (if needed)
- Tapestry needle
- Polyfill
Abbreviations:
- ch – chain
- mr – magic ring
- sc – single crochet
- inc – increase
- dec – invisible decrease
- sl st – slip stitch
- blo – back loop only
Body
- Worked in continuous rounds.Use a stitch marker if needed.
- Stuff as you go.
With black yarn:
- Round 1:6 sc in a magic ring. (6)
- Round 2: [6 inc]. (12)
- Round 3: [1 inc in the next st, 1 sc]x6. (18)
- Rounds 4-6: [1 sc in all st]. (18)
- Round 7 (Wing attachment round):
- 1 sc in next 3 st
- working in blo: 1 sc in next 2 st
- 1 sc in next 8 st (both loops)
- working in blo: 1 sc in next 2 st
- 1 sc in next 3 st (both loops)(18)
👉 The unworked front loops from this round will be used to attach the wings.
- Rounds 8-10: [1 sc in all st]. (18)
Face Details
Place safety eyes between Rounds 8 and 9, spaced by 2 stitches and centered between the wing attachment points (the unworked front loops from Round 7).
Using a tapestry needle:
- With 2 strands of white cotton, embroider small highlights at the outer corners of the eyes.
- With 2 strands of orange yarn, embroider a small beak between Rounds 7 and 8.
Finish the Body
- Round 11: [1 dec, 1 sc] x6. (12)
Stuff firmly.
- Round 12: [6 dec]. (6)
Fasten off, leaving a long tail. Close the opening with a tapestry needle.
Wings (make 2)
- Worked in rows
- Worked directly onto the body using the unworked front loops of Round 6.
Right Wing
(On the penguin’s left when facing it)
With black yarn:
- Row 1: Join yarn to the second-to-last front loop stitch.1 sc in the same stitch, 1 sc in the next front loop stitch (2)
- Row 2: ch1, turn: 2 sc. (2)
- Row 3: ch1, turn: 1 dec. (1)
Fasten off.
Left Wing
(On the penguin’s right when facing it)
With black yarn:
- Row 1: Join yarn to the last front loop stitch.1 sc in the same stitch, 1 sc1 in the next front loop stitch (2)
- Row 2: ch1, turn: 2 sc. (2)
- Row 3: ch1, turn: 1 dec. (1)
Fasten off.
White belly (optional)
With white chunky yarn or 2 strands of worsted yarn and a tapestry needle:
- Cover 2 stitches between Rounds 3–4 (center)
- Cover 4 stitches between Rounds 4–5
- Cover 4 stitches between Rounds 5–6
Fasten off and weave in ends.
🎉 Congratulations!
Your No-Sew Crochet Penguin is complete 🐧🧶I’d love to see your finished penguin—don’t forget to share and tag me!
Copyright Notice
All rights reserved. This pattern and all accompanying photographs are the property of Natalina Craft and are protected by copyright law. This pattern is for personal use only. Any unauthorized reproduction, redistribution, or publication of this pattern, in whole or in part, is strictly prohibited.
You are welcome to sell finished items made from this pattern in small quantities. While crediting Natalina Craft as the designer is not required, it is always greatly appreciated—especially when selling online—so others can find the original pattern.Thank you for respecting these guidelines.